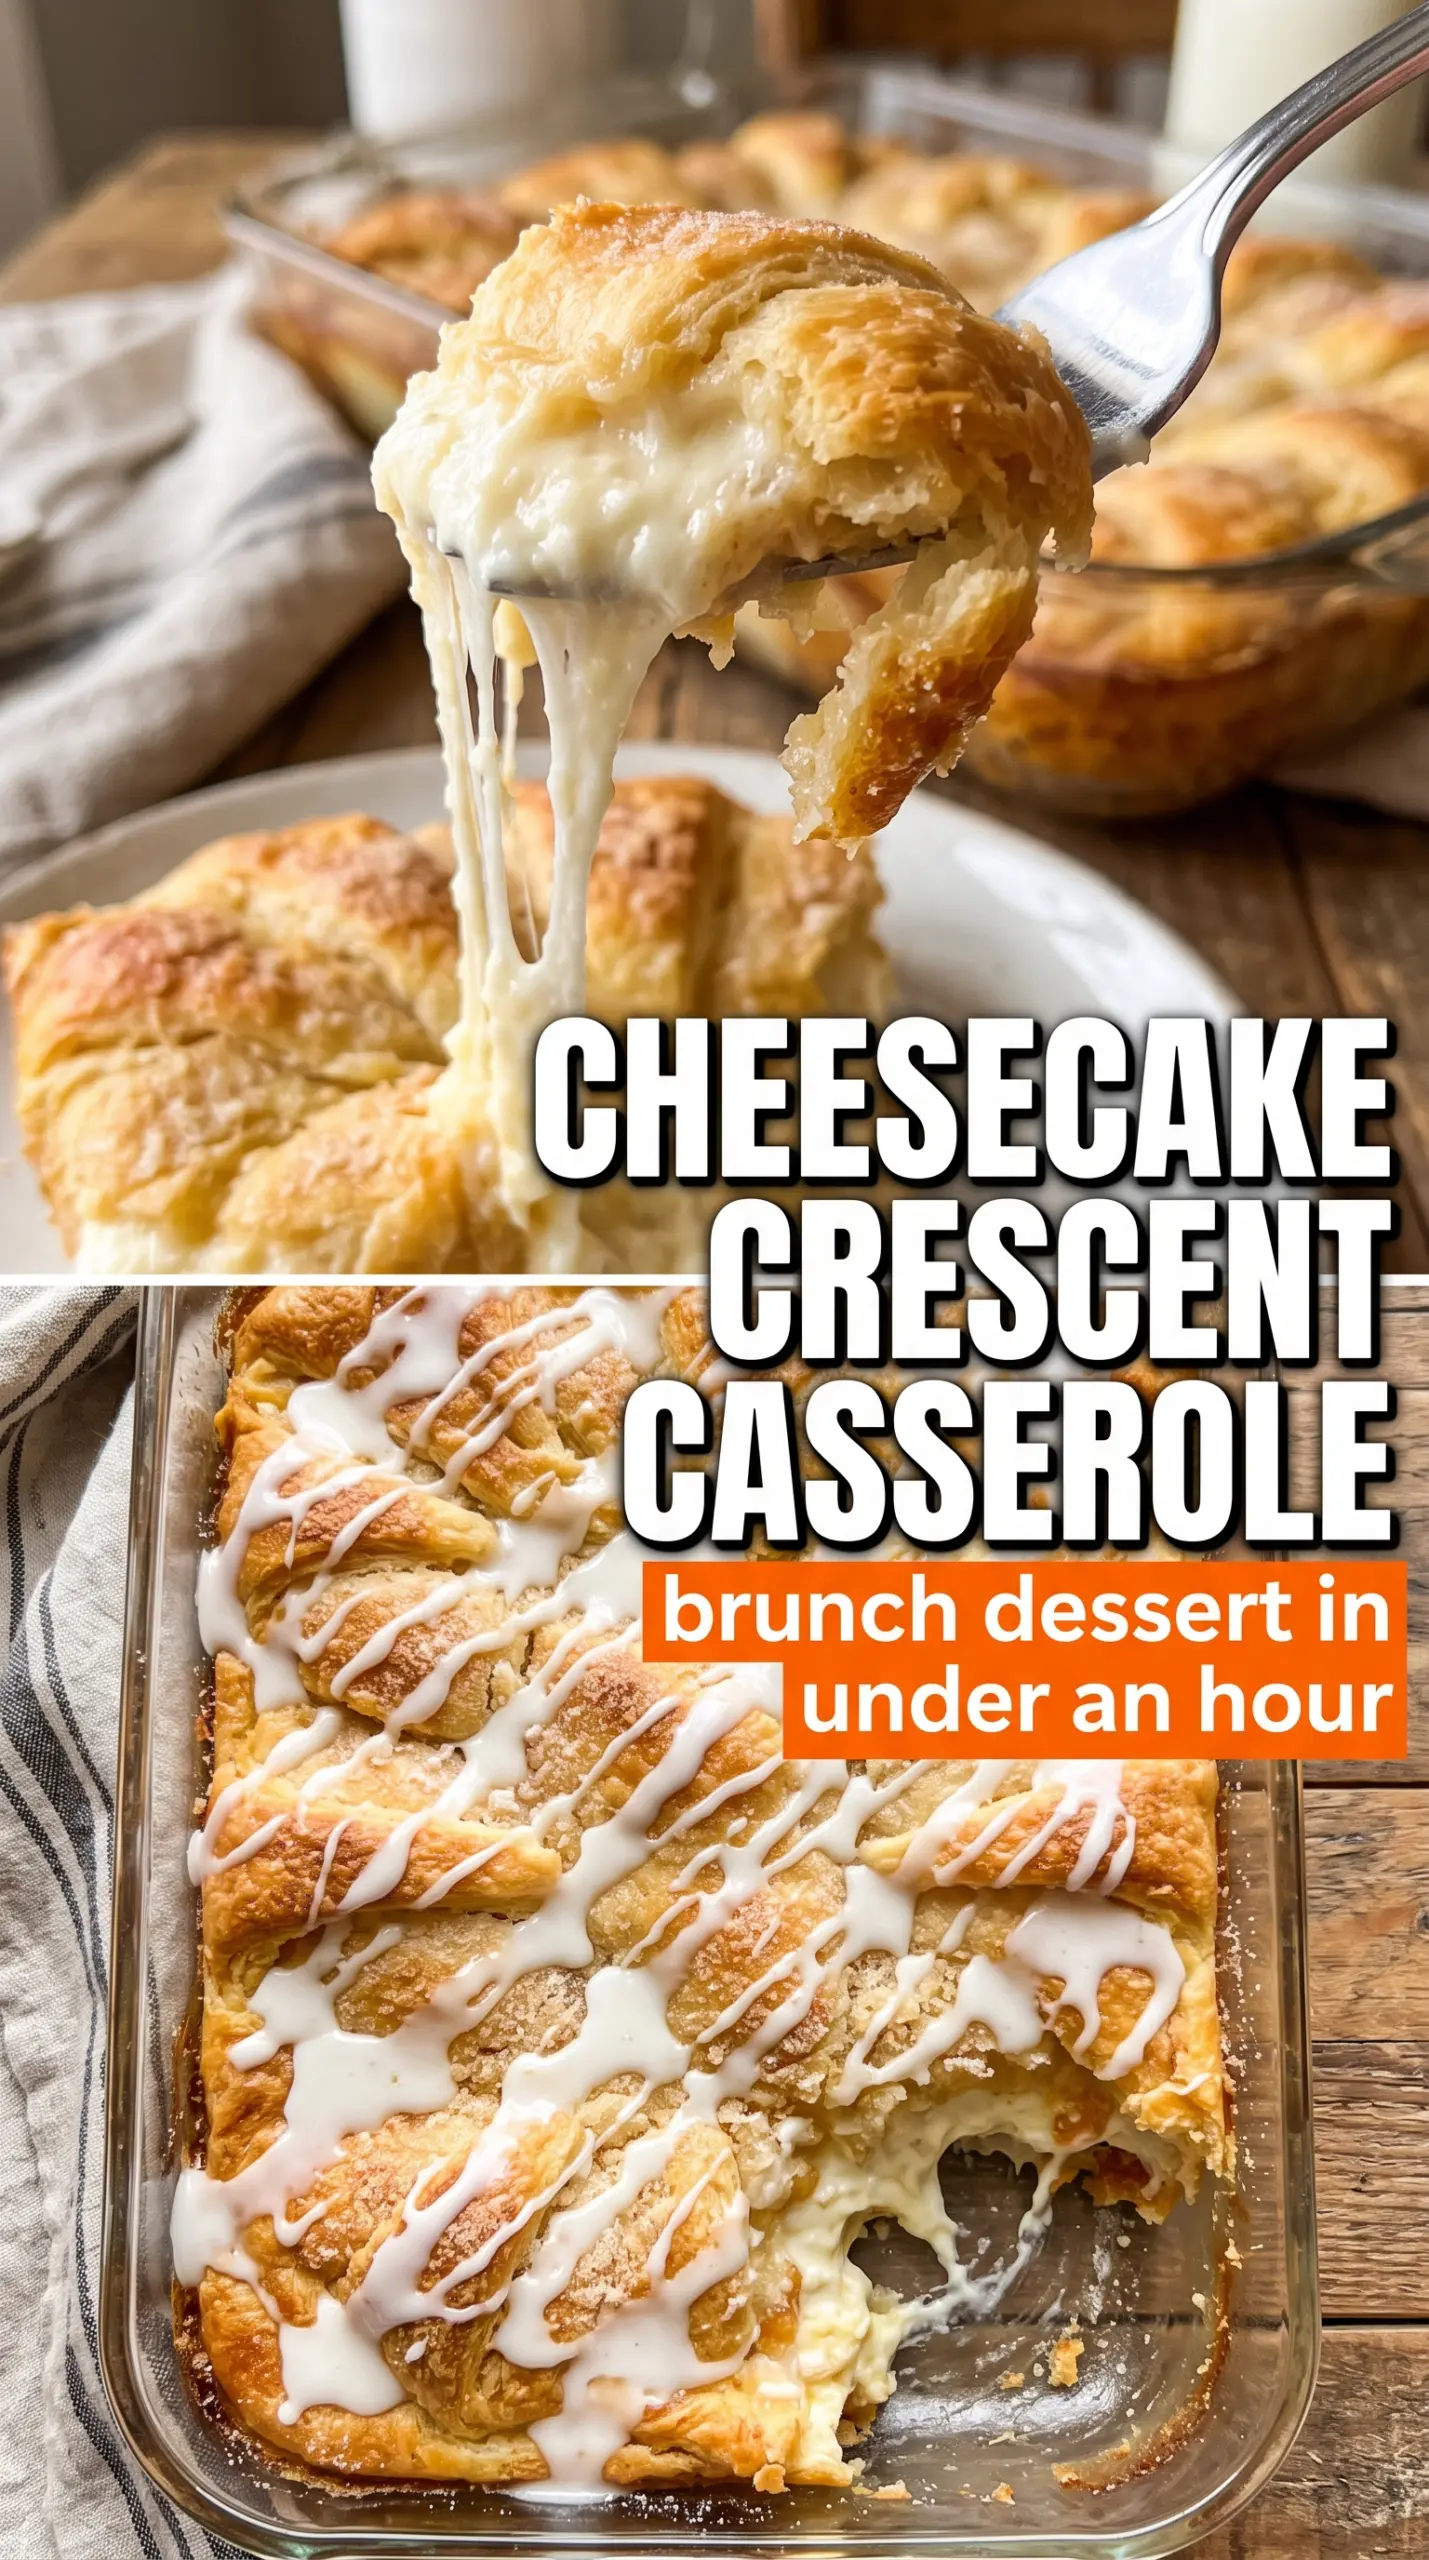
Golden crescent roll layers, a smooth cream cheese center, and a cinnamon sugar crust make this casserole land somewhere between breakfast bake and cheesecake bars. It bakes up with a flaky top that turns crisp at the edges while the filling stays soft and just set, which is exactly why it disappears fast when I put it on the table.
The trick is keeping the cream cheese filling completely smooth before it goes into the pan. If it’s even a little lumpy, those bumps stay in the finished casserole. Pressing the crescent seams together matters too, because gaps let the filling bubble up unevenly and can make slicing messy. The butter-and-cinnamon topping also needs to go on evenly so every bite gets that caramelized, slightly sticky finish.
Below, I’ve included the part that matters most: how to keep the layers from sliding, how to get clean squares, and what to change if you want a lighter or dairy-free version.
The cream cheese layer baked up smooth and the cinnamon sugar top turned crisp at the edges without getting soggy. I chilled the squares for 20 minutes and they cut cleanly, which never happens with these kinds of casseroles at my house.
Love this buttery cheesecake crescent rolls casserole? Save it to Pinterest for an easy breakfast bake with a crackly cinnamon sugar top.
The Reason This Casserole Stays Creamy Instead of Running
The biggest mistake with crescent roll cheesecake casseroles is letting the filling turn loose before it bakes. Cream cheese that isn’t fully softened and beaten smooth leaves little pockets that never blend out, and a filling that’s too thin will seep into the dough instead of sitting in a clean middle layer. This version works because the cream cheese is thick enough to stay put, but soft enough to spread without tearing the bottom crust.
The second thing that matters is the top layer. Crescent dough needs the seams pressed together or the butter and sugar will leak straight through the gaps and pool at the bottom. That doesn’t ruin the casserole, but it does give you uneven browning and soft spots where the top should be crisp.
- Softened cream cheese — Cold cream cheese is the fastest way to get a grainy filling. Let it sit at room temperature until it dents easily when pressed; that’s what gives you the smooth, cheesecake-like middle.
- Crescent roll dough — Refrigerated dough gives you the right flaky lift without any extra work. Generic dough works fine here, but don’t use a filling that’s too warm or it will stretch and tear when you press it into the pan.
- Butter — Melted butter carries the cinnamon sugar and helps the top bake into a crackly crust. If you try to brush on less butter, the sugar won’t melt evenly and you’ll lose that caramelized finish.
- Cinnamon sugar topping — This is more than garnish. It creates the baked-on top that makes the casserole taste like a cross between sopapilla cheesecake and breakfast pastry.
What Each Ingredient Is Actually Doing in This Recipe
- Primary ingredient (the star) — Quality matters most. Choose the best you can find.
- Cooking medium (oil, butter, or broth) — This carries flavors and prevents dryness.
- Seasonings (salt, pepper, spices, herbs) — Layer flavors so nothing overpowers. Build depth gradually.
- Aromatics (garlic, onion, herbs) — Cook with fat to bloom flavors. Become the foundation.
- Supporting ingredients — Complement the main ingredient without overpowering it.
- Sauce or liquid (if applicable) — Brings flavors together. Balance richness with acid.
- Acid (lemon, vinegar, wine, or other) — Brightens and prevents flat-tasting results.
- Final finish (garnish, glaze, or sauce) — Prevents one-dimensional taste and adds visual appeal.
Building the Layers So the Center Bakes Set and the Top Turns Crisp
Pressing the Bottom Crust
Unroll the first can of dough and press it into the bottom of the greased dish, sealing the seams as you go. The dough should cover the whole pan without big holes, because gaps let the filling sink through and bake unevenly. If the dough resists stretching, let it rest for a minute on the counter; cold dough tears more easily.
Whipping the Cheesecake Filling
Beat the cream cheese, sugar, and vanilla until the mixture looks glossy and completely smooth. Stop and scrape the bowl once or twice so there aren’t hidden streaks of cream cheese clinging to the sides. If the filling looks loose, it’s usually because the cream cheese was too warm or overbeaten, so keep mixing only until it turns silky.
Sealing in the Middle Layer
Spread the filling all the way to the edges in an even layer, then lay the second sheet of dough over the top and press the seams together again. Don’t worry if it looks a little patchy before baking; the dough puffs and evens out in the oven. The main goal is to keep the filling enclosed so it bakes into a defined center instead of bubbling out.
Finishing with Butter and Cinnamon Sugar
Pour the melted butter over the top in a slow, even layer, then shower on the cinnamon sugar mixture. Every corner should get covered, because dry spots bake up pale and soft instead of crisp. Bake until the top is deep golden and the center no longer looks loose when you give the pan a gentle shake.
Three Smart Ways to Adapt This Casserole Without Losing the Good Parts
Lighter Sweetness
Reduce the sugar in the filling to 3/4 cup if you want the cream cheese layer to taste a little less candy-sweet. The casserole still bakes up rich, but the tang from the cream cheese comes forward more, which works well if you’re serving it for breakfast.
Dairy-Free Version
Use a dairy-free cream cheese that bakes well and swap in plant-based butter. The texture will be a little softer and less tangy, but the layered structure still works as long as the substitute cream cheese is thick, not whipped.
Extra Cinnamon Swirl
Add an extra 1/2 teaspoon cinnamon to the filling if you want a stronger bakery-style note running through the center. It won’t make the casserole taste spiced in a heavy way; it just threads a little warmth through the cheesecake layer.
Make-Ahead and Reheat
Bake it, cool it completely, then cover and refrigerate. The top softens a bit in the fridge, but the flavor gets even better by the next day. Reheat individual squares in a 300°F oven for about 8 to 10 minutes so the pastry crisps back up instead of turning rubbery in the microwave.
Questions I Get Asked About This Recipe
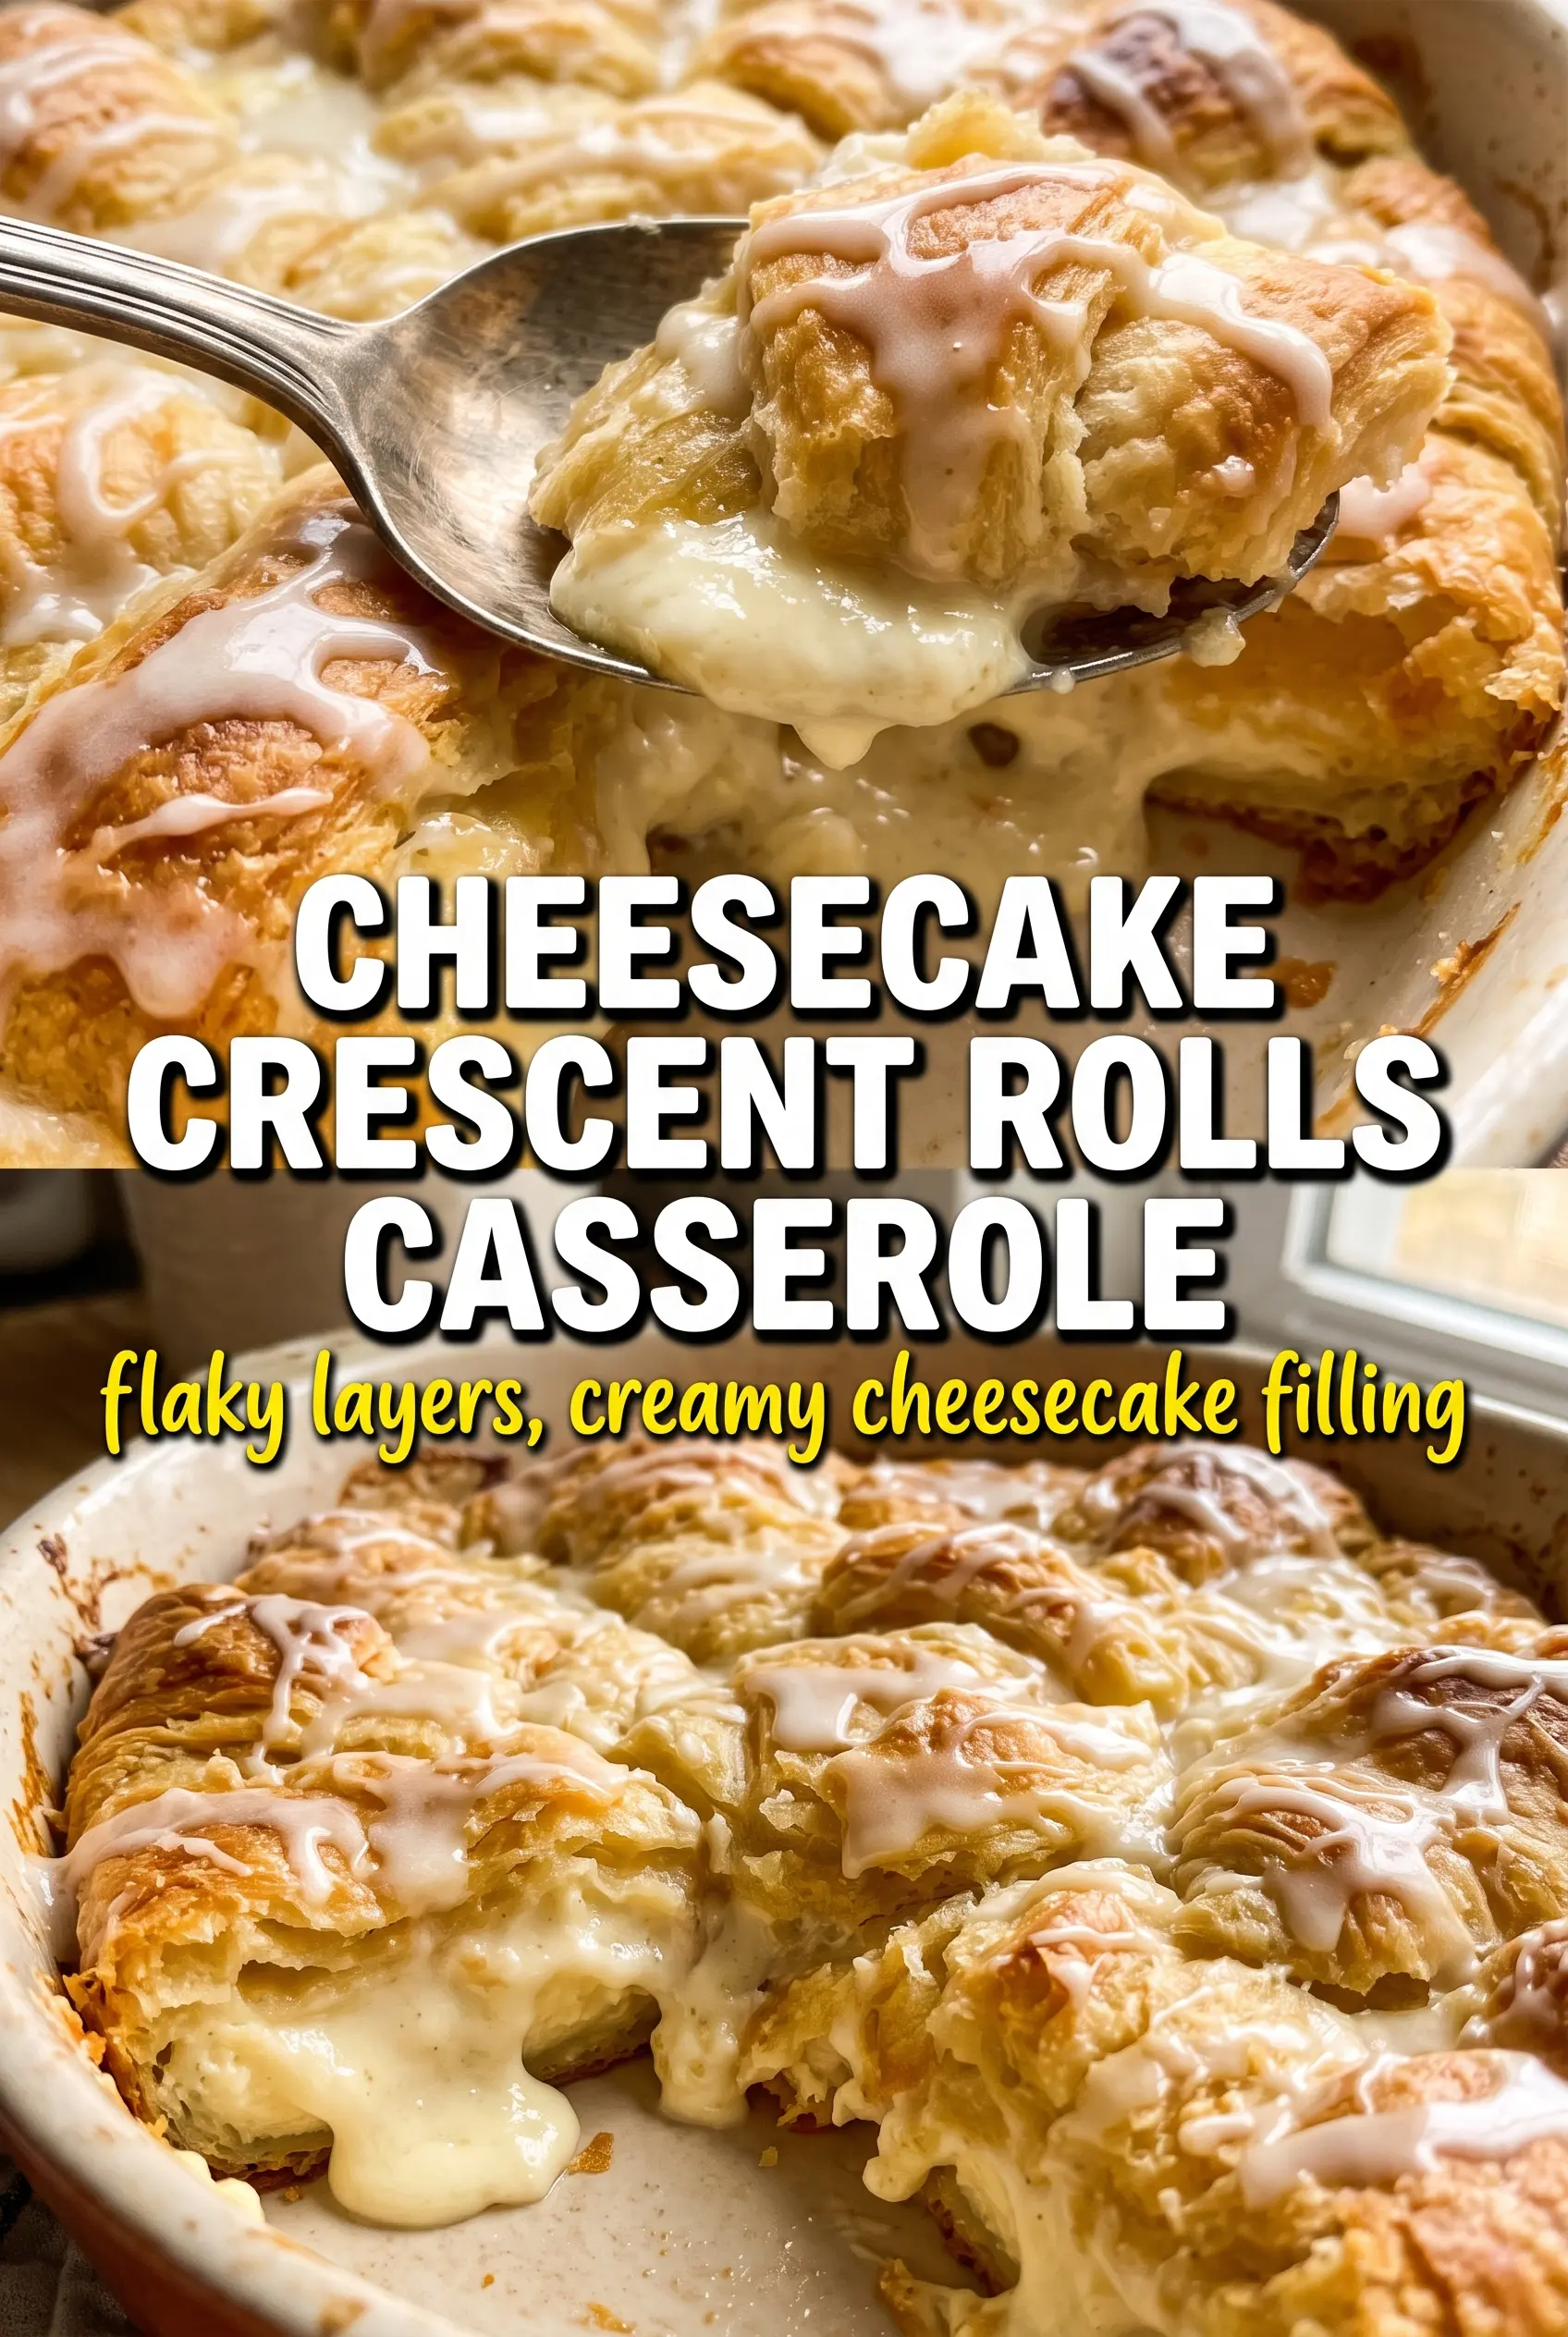
Cheesecake Crescent Rolls Casserole
Ingredients
Equipment
Method
- Preheat the oven to 350°F and grease a 9x13 baking dish.
- Unroll one can of crescent roll dough and press it into the bottom of the prepared dish, pressing the seams together to seal.
- Beat cream cheese, 1 cup sugar, and vanilla extract until completely smooth, then spread evenly over the dough layer.
- Unroll the second can of crescent roll dough and lay it over the cream cheese filling, pressing the seams together.
- Pour melted butter evenly over the top.
- Mix the remaining 1/2 cup sugar with cinnamon, then sprinkle generously over the butter for a visible cinnamon-sugar crust.
- Bake at 350°F for 28-32 minutes, until the top is deep golden and the filling is set.
- Cool for 15 minutes before cutting into squares, so the cheesecake filling firms up for clean slices.