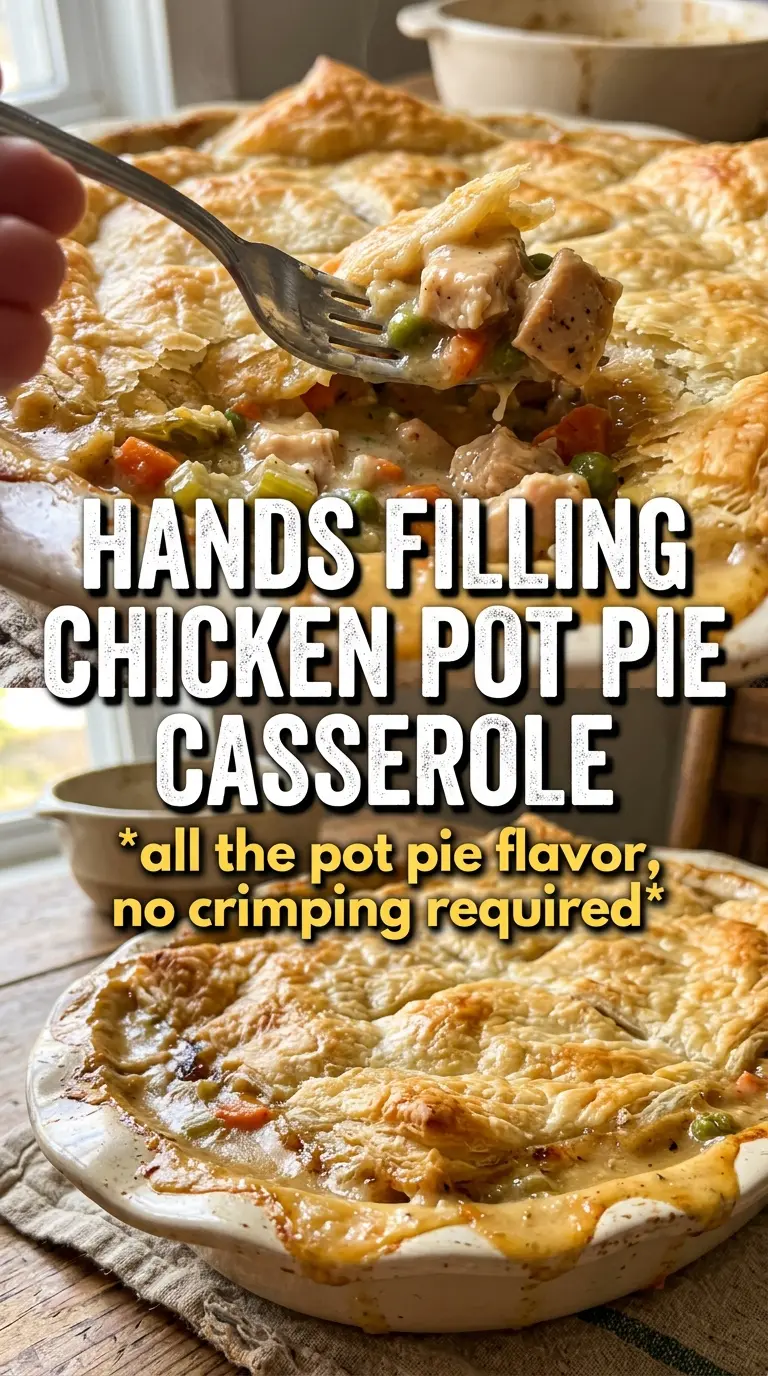
Chicken pot pie casserole delivers everything people love about the classic pie: a creamy filling, tender chicken, sweet vegetables, and a golden top that gives way with a spoon. The casserole version skips the fussy bottom crust, which means you still get all that cozy comfort without fighting a soggy base or rolling dough on a weeknight.
What makes this version work is the way the filling is thickened before it ever goes into the oven. The flour cooks briefly in the butter first, so it loses that raw taste, then the broth and cream are added slowly to keep the sauce smooth instead of lumpy. Biscuit topping gives you a more rustic, bread-like finish, while puff pastry makes the top lighter and flakier. Either one turns the filling into something you can scoop cleanly without it running all over the plate.
Below, I’ve included the small details that matter most: how thick the filling should look before baking, when to cover the top if it browns too fast, and which swap makes this casserole easiest to adapt for whatever you have on hand.
The sauce thickened up beautifully and the biscuit topping stayed crisp on top instead of getting soggy. I used leftover rotisserie chicken, and my husband went back for seconds before I even sat down.
Save this chicken pot pie casserole for the nights when you want a creamy filling and a golden biscuit top without rolling out a crust.
The Sauce Has to Thicken Before the Oven Gets a Say
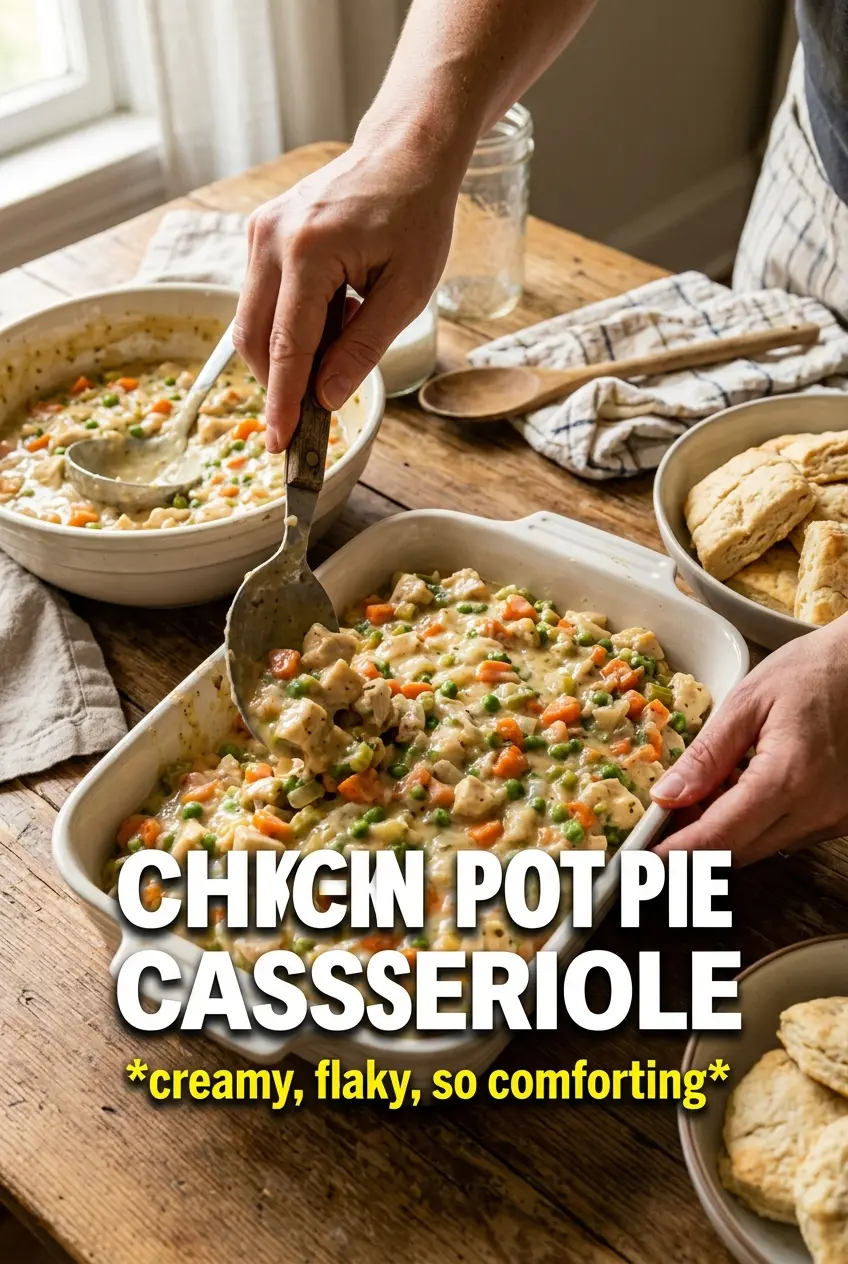
Chicken pot pie filling fails in one of two ways: it stays thin and runs all over the plate, or it gets gluey because the flour never cooked properly. The fix is to build the sauce on the stove until it coats the back of a spoon before you add the chicken and vegetables. That extra minute or two matters more than a lot of people realize. If it looks loose in the pan, it will look loose in the casserole dish.
The other thing that makes a difference is the baking dish size. A 9×13 dish gives the filling room to bubble around the edges without overflowing, and that bubbling is your cue that the center is hot and the sauce has finished setting. If your topping is browning too fast before the filling bubbles, lay a piece of foil loosely over the top for the last part of baking.
What Each Ingredient Is Actually Doing in This Casserole
- Cooked chicken — Rotisserie chicken or leftover roast chicken both work well here because the meat is already seasoned and tender. Shred it into bite-size pieces so every spoonful gets chicken instead of long stringy strands.
- Butter, flour, broth, and cream — This is the backbone of the filling. The butter and flour make a quick roux, the broth adds savory depth, and the cream gives the sauce that classic pot pie body. Half-and-half works in a pinch, but the filling will be a little less rich.
- Onion, carrots, and celery — These need a head start in the pan so they soften before baking. If they go in raw, they stay a little crunchy even after the casserole is done.
- Frozen peas and corn — Frozen vegetables are the right choice here because they hold their shape and keep the filling from turning muddy. Add them straight from the freezer; thawing first just adds extra water.
- Biscuits or puff pastry — Biscuits give you a hearty, homey topping, while puff pastry bakes into a lighter, flakier lid. Biscuit dough is the easier choice for an even, sturdy crust; puff pastry needs a little more attention so it can puff without being weighed down by excess filling.
- Fresh thyme and garlic powder — Thyme keeps the filling tasting like pot pie instead of plain cream sauce, and garlic powder rounds out the savory base without overpowering the vegetables. Fresh thyme is worth using if you have it, but dried thyme works too; just cut the amount back a bit.
Building the Filling So the Topping Stays Crisp
Softening the vegetables first
Start by cooking the onion, carrots, and celery in butter until the onion turns translucent and the carrots lose their raw edge. You’re not looking for color here, just a little softness and a fragrant base. If you rush this stage, the vegetables can stay firm under the topping while the sauce is already done.
Cooking out the flour
Once the flour hits the butter and vegetables, stir it for about a minute so it smells a little nutty and no longer tastes dusty. This is what keeps the sauce from tasting like paste. If the mixture looks dry, that’s fine; the broth is what turns it into gravy.
Thickening the sauce without lumps
Add the broth slowly while whisking, then pour in the cream and let the mixture simmer until it looks glossy and slightly thicker than you think you need. It should coat a spoon and drip off in a slow ribbon. If you dump the liquid in all at once, the flour can clump and leave you chasing lumps after the fact.
Finishing with the chicken and vegetables
Stir in the chicken, peas, corn, thyme, and garlic powder only after the sauce has thickened. The filling should look creamy and spoonable, not soupy. Taste it now and season it a little more boldly than you think, because the biscuit or pastry top will soften the impact once it bakes.
How to Adapt It When You Need a Different Top or a Lighter Pan
Make it dairy-free
Swap the butter for olive oil or a dairy-free butter alternative, and use unsweetened full-fat oat milk or canned coconut milk instead of cream. Oat milk keeps the sauce more neutral; coconut milk adds a faint sweetness, so use it only if that won’t bother you. The filling will still thicken, but it won’t have quite the same rich finish.
Use puff pastry for a lighter finish
Puff pastry makes the casserole feel a little fancier and bakes into a crisp, flaky lid. Dock it lightly with a fork if it puffs too dramatically, and brush the top with egg wash for better color. It does soften faster than biscuits once it sits, so serve this version soon after baking.
Make it gluten-free
Use a gluten-free flour blend for the roux and top the casserole with a gluten-free biscuit dough or potato topping. Gluten-free flour thickens the sauce just fine, but it usually needs a minute or two longer on the stove to lose any chalky taste. Don’t skip that simmer.
Stretch it for a bigger crowd
You can add another cup of vegetables or an extra cup of chicken without changing the method much, as long as the filling still looks thick before it goes into the dish. If it starts looking thin, simmer it a little longer on the stove instead of hoping the oven will fix it.
Storage and Reheating
- Refrigerator: Store covered for up to 4 days. The topping will soften a bit, but the filling stays creamy.
- Freezer: Freeze the baked casserole in portions or freeze the filling separately for up to 2 months. Biscuit topping freezes better than puff pastry after baking; pastry is best baked fresh.
- Reheating: Warm in a 350F oven until the center is hot and the top crisps back up. The biggest mistake is microwaving the whole dish until the topping turns rubbery and the sauce separates.
Answers to the Questions Worth Asking
Chicken Pot Pie Casserole
Ingredients
Equipment
Method
- Preheat the oven to 400F. In a skillet, sauté the onion, carrots, and celery in the butter for 5 minutes, stirring occasionally until softened and fragrant.
- Whisk in the flour and cook for 1 minute. This should look slightly paste-like and smell nutty (visual cue: no dry flour streaks).
- Gradually add the chicken broth and heavy cream while whisking. Simmer until thick, about 3–5 minutes (visual cue: the sauce coats the back of a spoon).
- Stir in the chicken, peas, corn, fresh thyme, and garlic powder, then season with salt and pepper to taste. Cook 1–2 minutes just to heat through (visual cue: steady bubbling at the edges of the filling).
- Pour the filling into a 9x13 dish. Spread it into an even layer so it bakes uniformly (visual cue: flat, level surface).
- Top with the refrigerated biscuits or puff pastry. Arrange to cover the surface evenly with edges meeting lightly (visual cue: a full golden-browning top).
- Bake for 25–30 minutes at 400F until golden and the filling is bubbling. Let it stand 5 minutes before serving so the sauce thickens (visual cue: bubbles settle slightly).