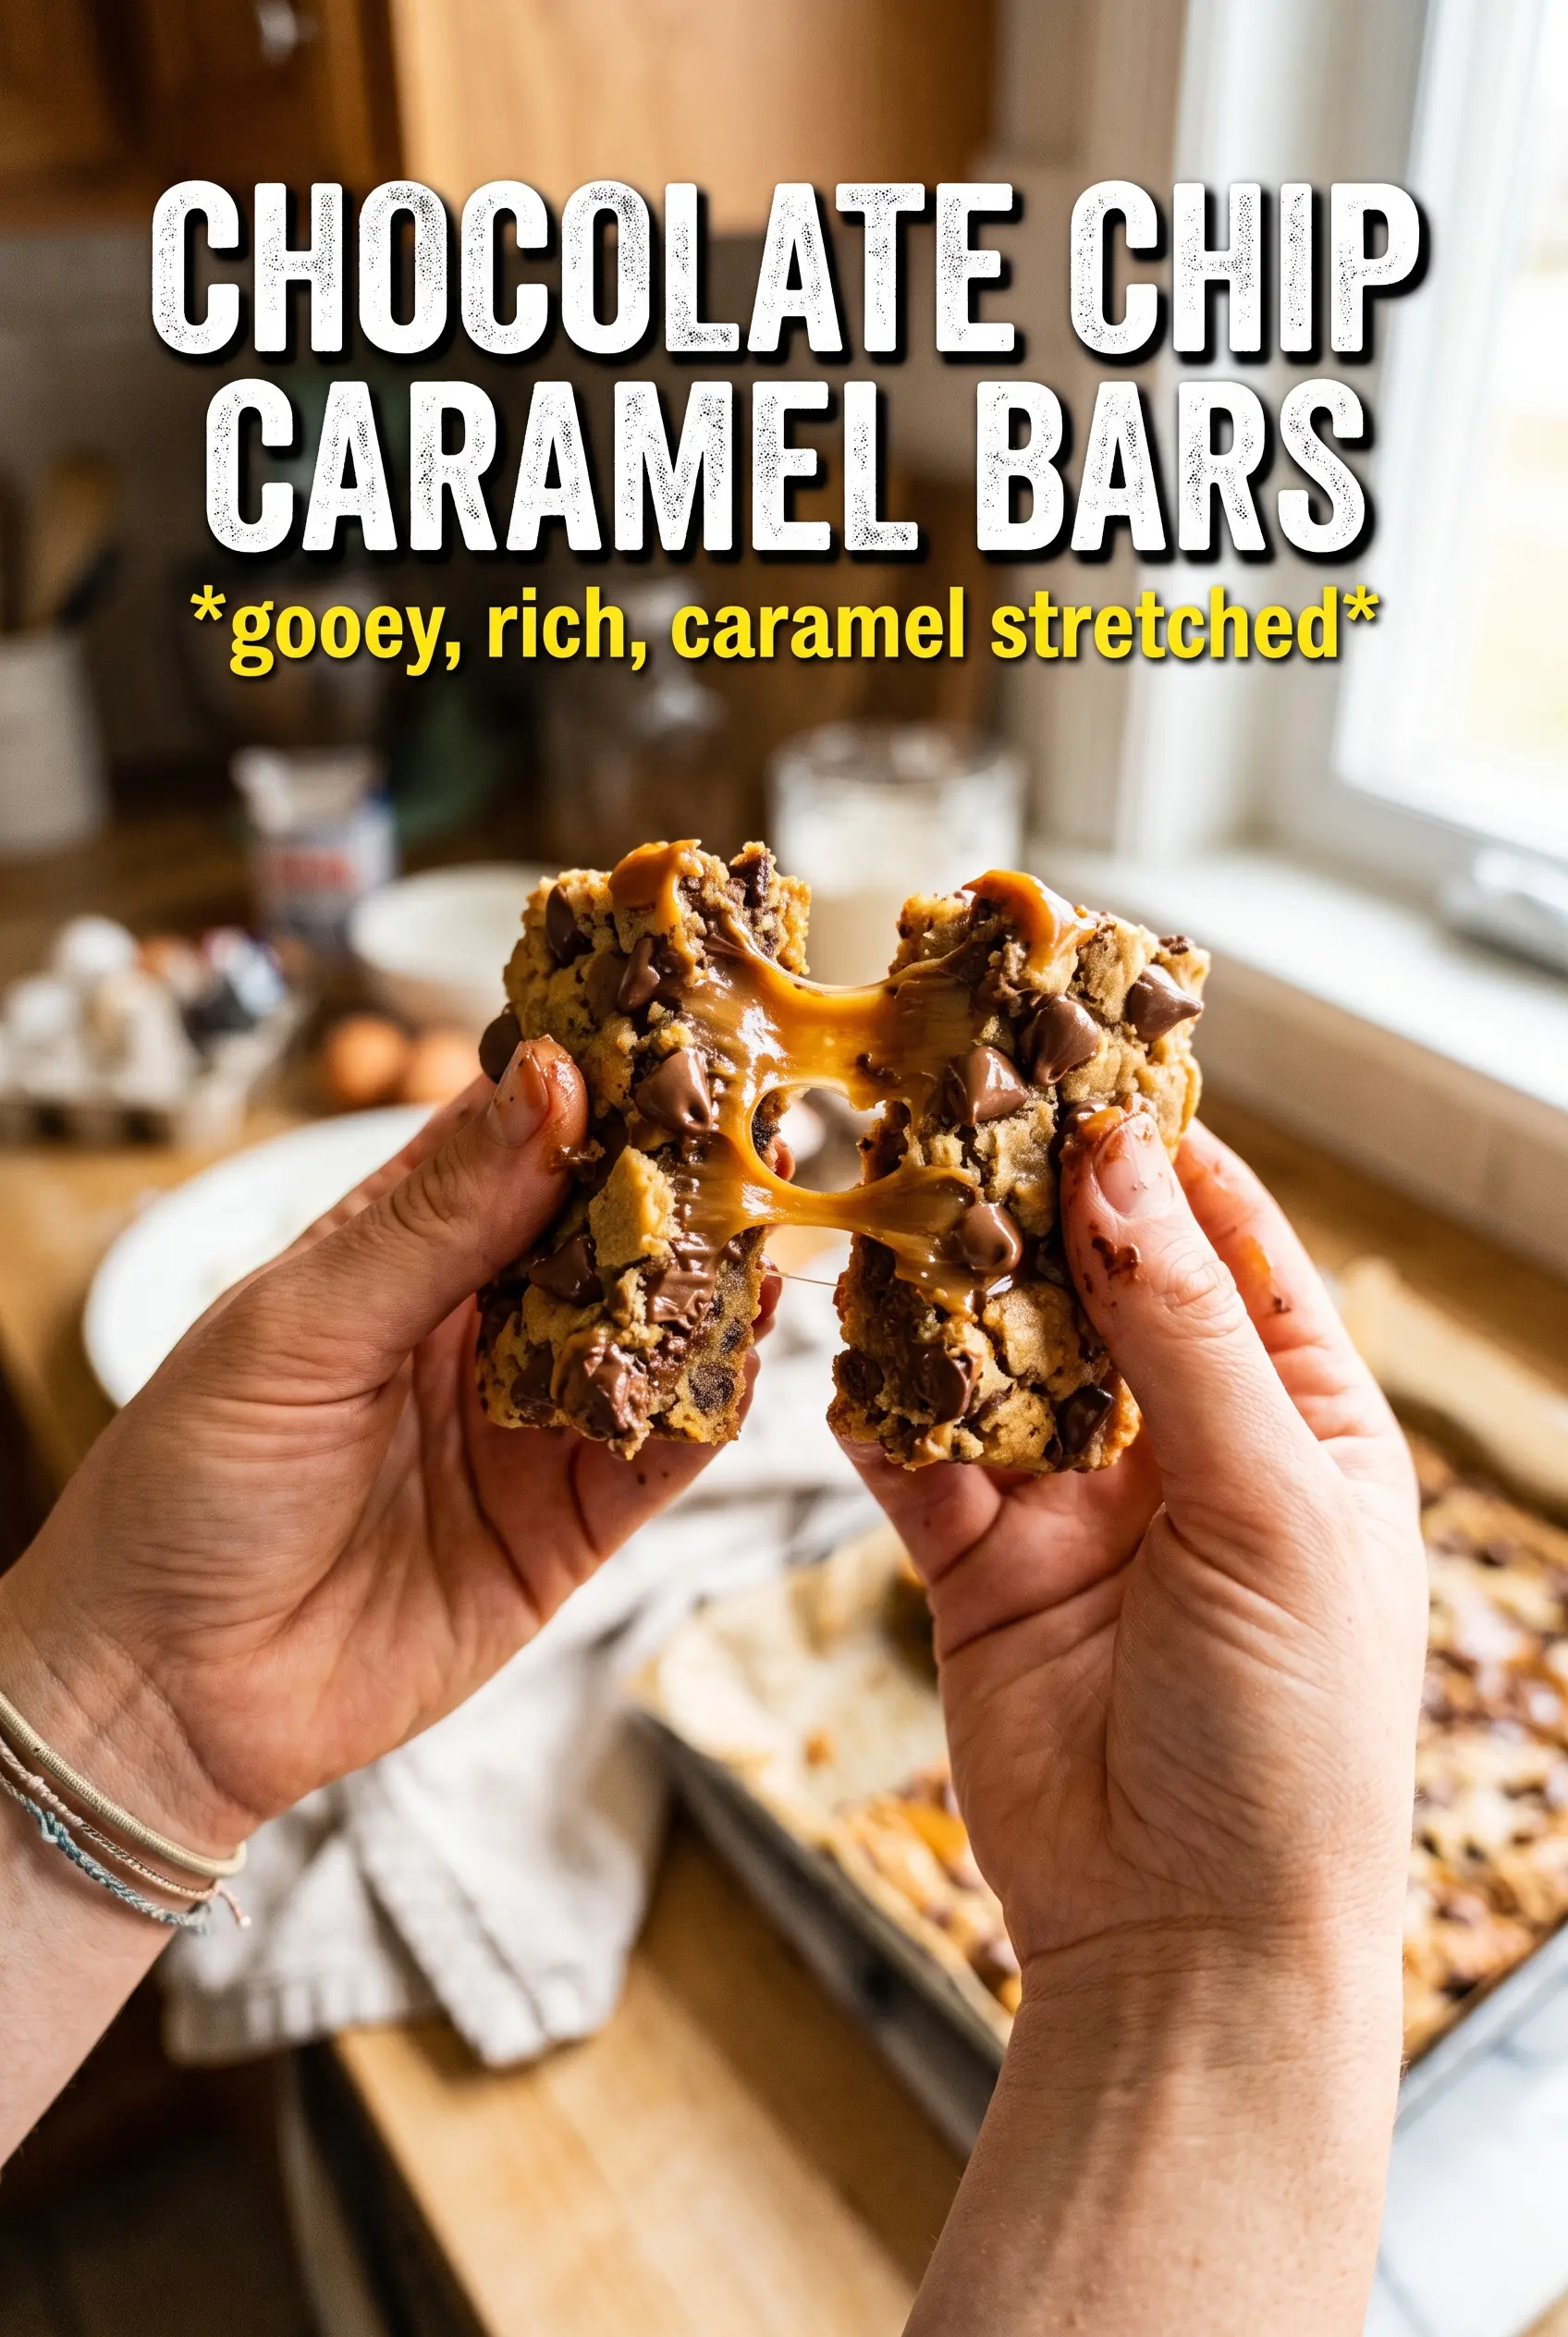
Chocolate chip caramel bars hit that sweet spot between a cookie bar and a candy bar: a sturdy, oat-flecked base, a middle layer of soft caramel, and a crumbly top that bakes into golden clusters around pools of melted chocolate. The best part is the texture contrast. You get chew, goo, and a little crisp edge in every square.
This version works because the base is mixed with melted butter instead of creamed, which gives you a denser, more pressable dough that bakes up with a shortbread-like bite instead of turning cakey. The bars are parbaked before the caramel goes in, so the bottom sets enough to hold the filling without getting soggy. A little cream loosens the caramel just enough to pour and settle smoothly.
Below, I’ll walk through the part that matters most: how to press the base firmly enough, how to tell when the top is baked just right, and why you should wait for the bars to cool completely before slicing.
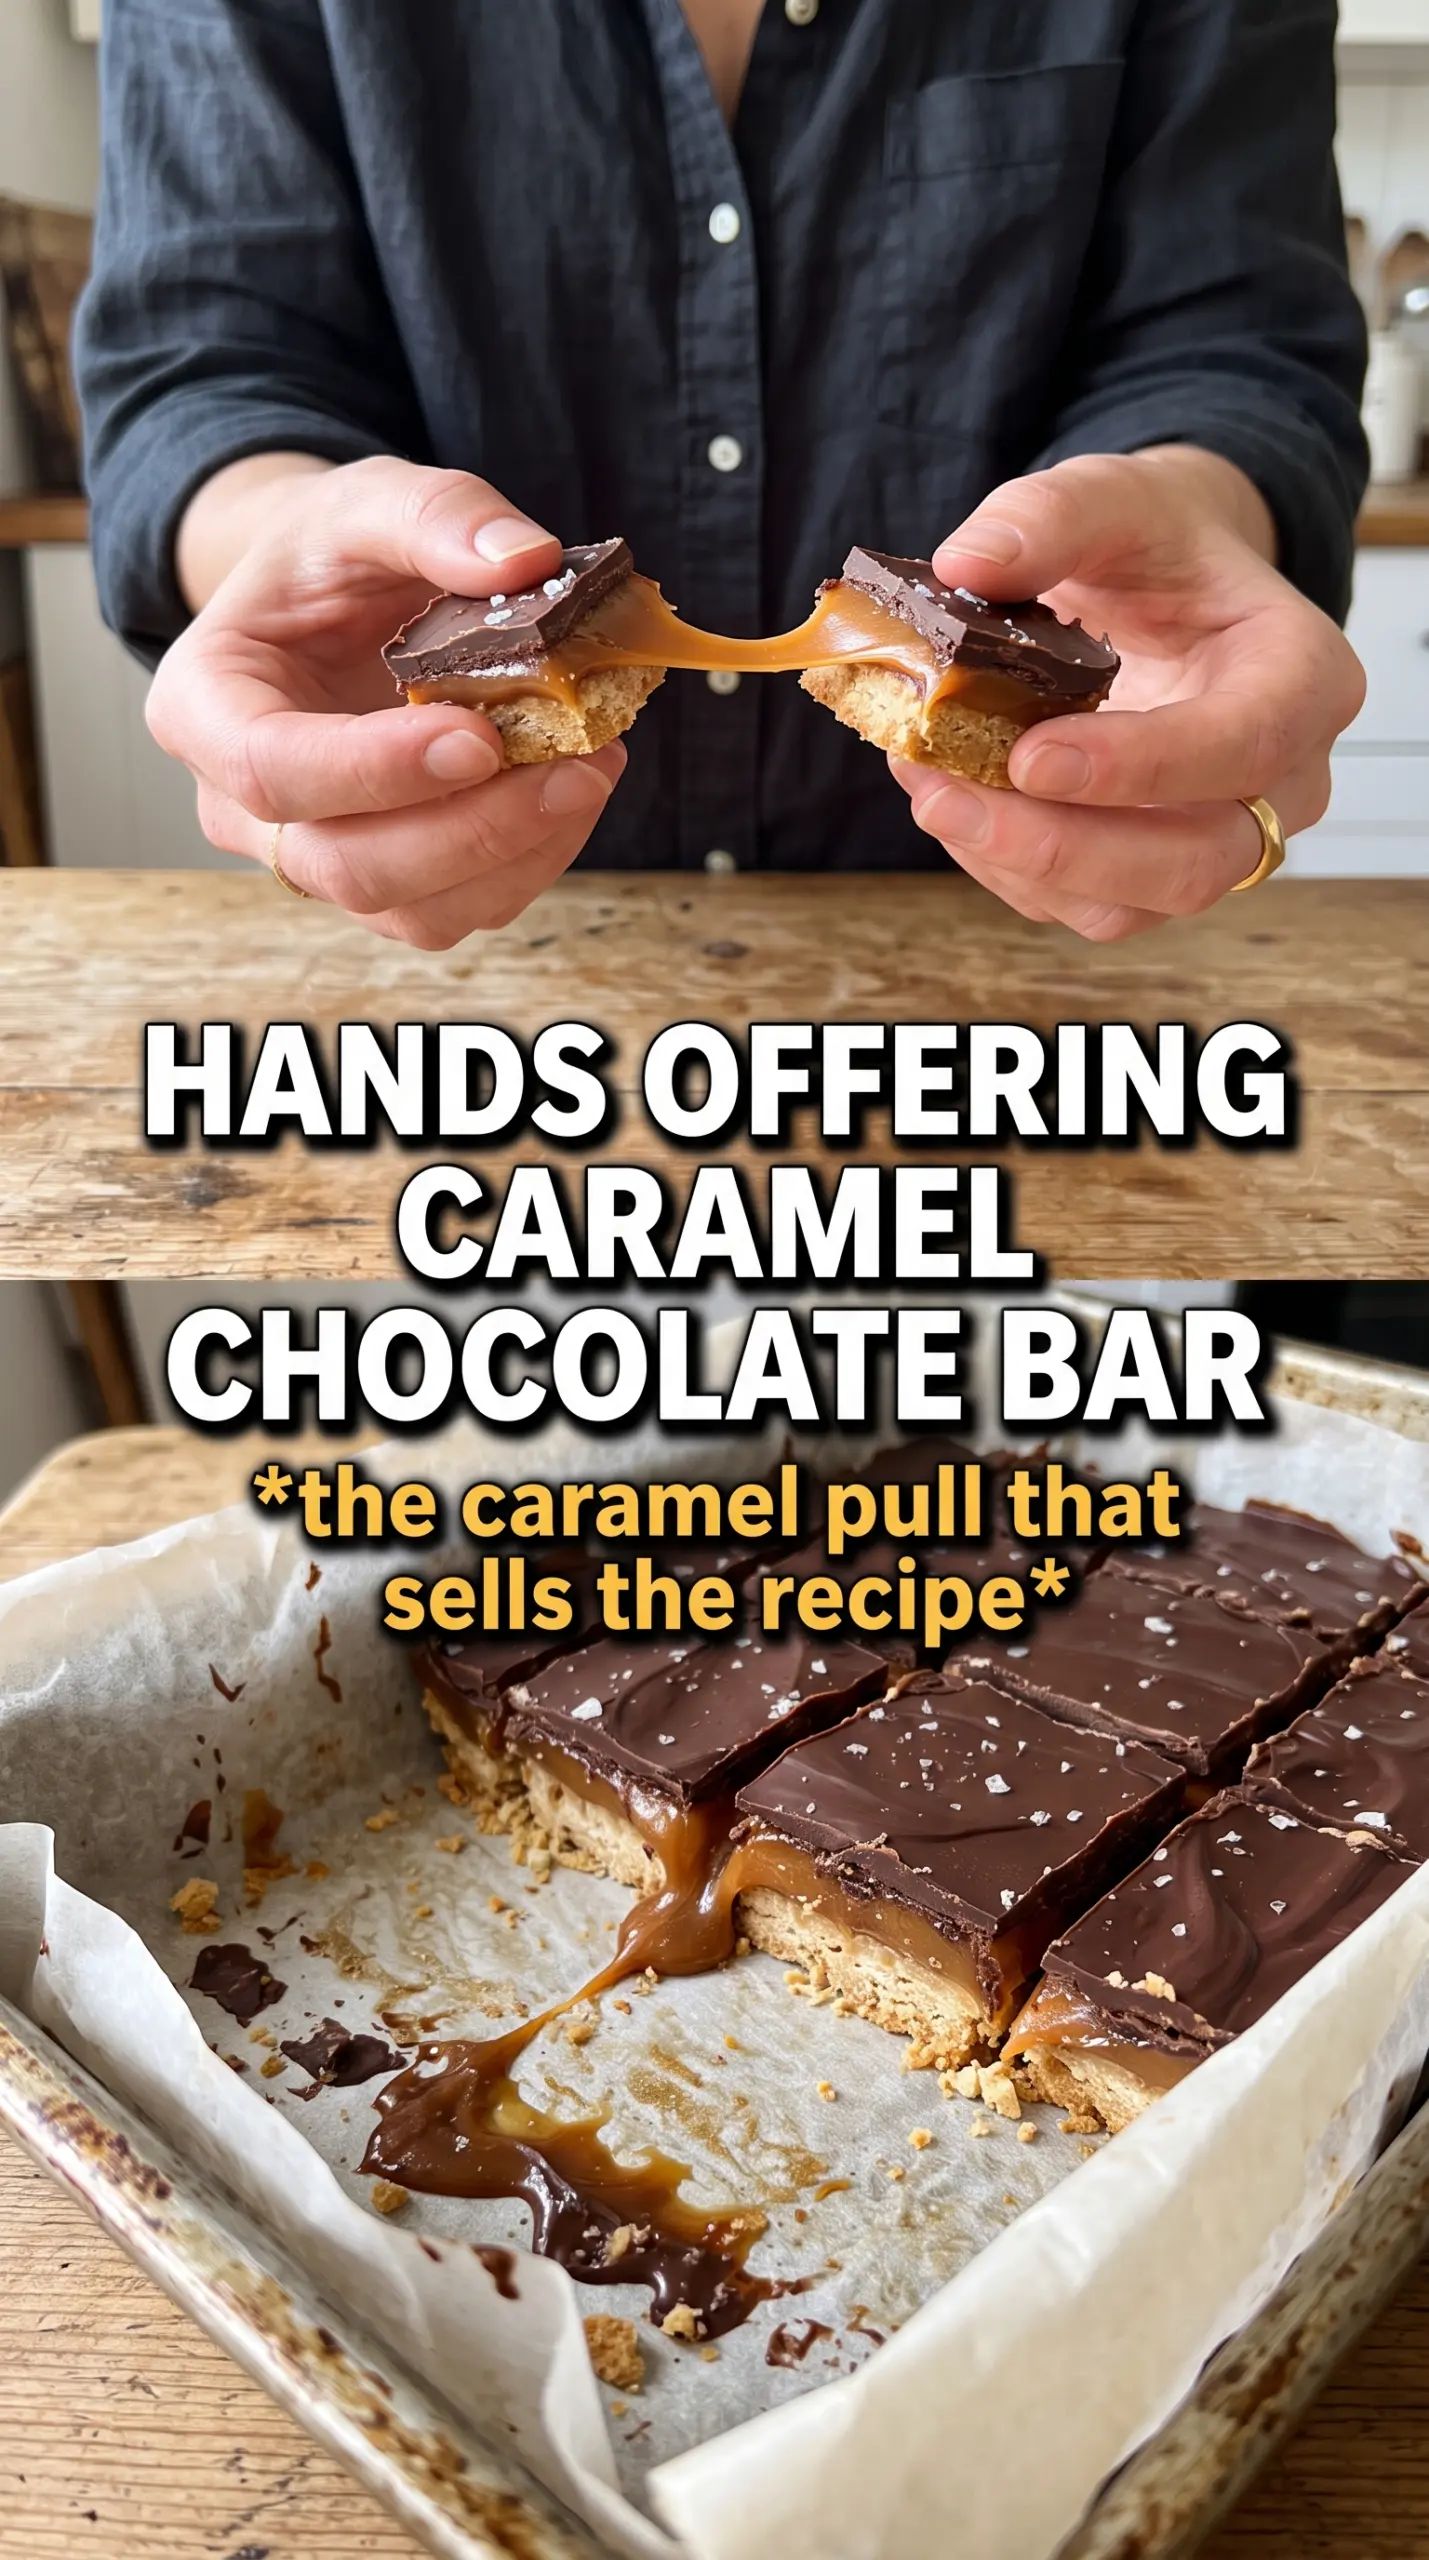
The caramel layer stayed soft and the bottom baked up sturdy enough to cut clean squares once it cooled. I added a pinch of flaky salt on top and it made the chocolate taste even better.
Like these chocolate chip caramel bars? Save them to Pinterest for the days when you want a buttery oat bar with gooey caramel and a salty chocolate finish.
The Reason the Bottom Stays Chewy Instead of Turning Dry
The trick with bars like this is not the caramel. It’s the base. If you pack it too loosely, the layers slip apart when you slice it. If you bake it too long before the filling goes in, the edges turn hard and the whole pan eats dry by day two.
Melted butter gives you a dough that clumps and presses without needing eggs, and the oats help the base stay tender instead of cookie-crisp. The quick par-bake sets the structure, but it should still look pale with just a hint of color at the edges. The final bake finishes everything together and gives the top those toasted bits that make the bars taste homemade, not overly sweet.
- Pressing the base firmly — This matters more than the topping. Use the bottom of a measuring cup or a flat spatula to compress it evenly so the caramel has a stable layer to sit on.
- Par-baking — Ten minutes is enough to keep the base from soaking through. Longer than that, and the bottom turns crumbly instead of chewy.
- Cooling completely — The bars need time for the caramel to set back up. If you cut them warm, the filling slides and the layers smear.
What Each Ingredient Is Actually Doing in These Bars
- Rolled oats — These bring chew and a little structure to the crumb topping. Quick oats work in a pinch, but the texture gets softer and less defined.
- Brown sugar — This adds moisture and a deeper caramel note that plain white sugar can’t match. It’s part of what keeps the bars chewy even after they cool.
- Melted butter — This is what holds the dough together without making it fluffy. It also helps the topping bake into those craggy golden pieces instead of a uniform crust.
- Caramel sauce — Use a thick sauce, not a thin syrup. A looser caramel can bubble into the crumb and disappear; a thicker one stays as a distinct middle layer.
- Heavy cream — Just enough to loosen the caramel so it pours across the warm base. Don’t add much more or the filling can stay too soft after chilling.
- Semi-sweet chocolate chips — These balance the sweetness without turning the bars cloying. Milk chocolate will work, but the finished bars taste sweeter and the caramel stands out less.
Building the Layers So They Bake Cleanly
Mixing the Oat Dough
Stir the flour, oats, sugars, baking soda, and salt first so the dry ingredients are evenly distributed. Once the melted butter goes in, toss until everything looks evenly moistened and sandy with a few larger clumps. If you see dry flour hiding at the bottom, keep mixing a little longer before you press it into the pan.
Setting the Base
Press about two-thirds of the mixture into the lined pan and pack it firmly into the corners. The surface should look level and compact, not loose or dusty. Bake it until it looks set and just barely starting to color at the edges; that short head start keeps the caramel from sinking straight through.
Layering the Caramel and Chocolate
Whisk the caramel sauce with the cream until it loosens enough to pour, then spread it over the hot base. Scatter the chocolate chips over the caramel while it’s still warm so they begin to soften on contact. Crumble the remaining dough over the top in uneven pieces; a completely even layer blocks the caramel and gives you less of that tucked-in, bakery-style look.
Finishing and Slicing
Bake until the top is golden and the caramel is bubbling at the edges. The center should still look slightly soft when it comes out, because it firms up as it cools. Sprinkle on flaky salt right away so it sticks, then let the pan cool all the way before lifting out the bars and slicing with a sharp knife.
How to Change the Bars Without Losing the Good Part
Make Them Gluten-Free
Use a 1:1 gluten-free flour blend and certified gluten-free oats. The bars will still be chewy and layered, though the crumb on top may bake a little more tender and less crisp than the original.
Make Them Dairy-Free
Swap in dairy-free butter and use a dairy-free caramel sauce plus a splash of full-fat coconut milk instead of cream. The flavor stays close, but the caramel layer may set a touch softer, so give the bars extra cooling time.
Change the Chocolate
Dark chocolate chips make the bars less sweet and give the caramel more contrast. If you use milk chocolate, the bars will taste softer and sweeter, which some people love but can edge into candy-bar territory fast.
Storage and Reheating
- Refrigerator: Store in an airtight container for up to 5 days. The caramel firms up in the fridge, so the bars will be a little denser straight from cold.
- Freezer: These freeze well. Wrap individual bars tightly and freeze for up to 2 months, then thaw in the fridge or at room temperature.
- Reheating: Warm a bar in the microwave for 10 to 15 seconds if you want the caramel softer. Don’t heat it too long or the chocolate turns greasy and the bottom gets tough.
Questions I Get Asked About This Recipe
Chocolate Chip Caramel Bars
Ingredients
Equipment
Method
- Preheat oven to 350F and line a 9x13 pan with parchment so the bars lift out easily later.
- Mix all-purpose flour, rolled oats, brown sugar, granulated sugar, baking soda, and salt, then drizzle in melted butter and toss until the mixture is evenly moistened and clumps.
- Press 2/3 of the mixture firmly into the prepared pan to form a compact base, then bake for 10 minutes.
- Whisk caramel sauce and heavy cream until smooth, then pour it over the hot baked base.
- Scatter semi-sweet chocolate chips over the caramel, then crumble the remaining dough on top to form an even layer.
- Bake 20-22 minutes at 350F until the topping is golden and set.
- Sprinkle flaky sea salt over the warm bars, then cool completely before slicing so the caramel firms up.