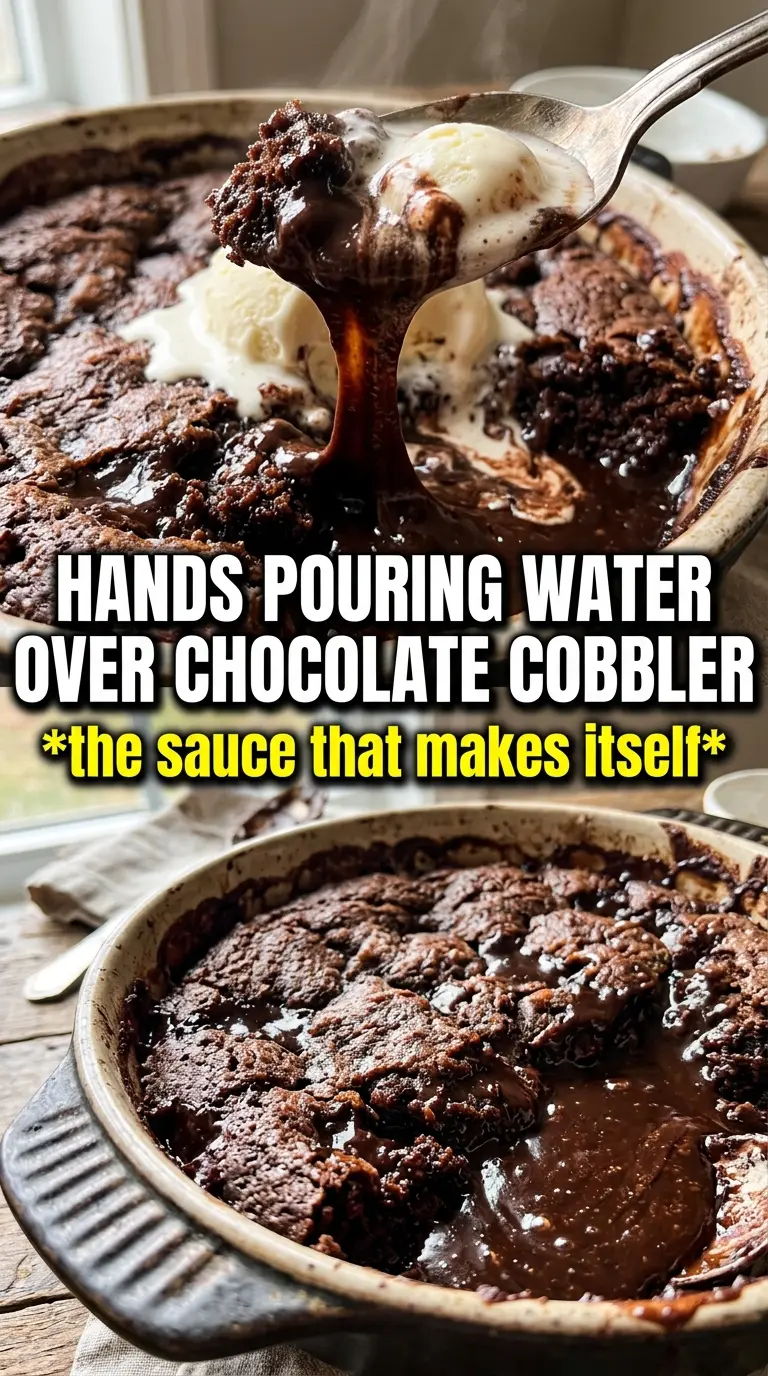
Chocolate cobbler bakes into something part cake, part pudding, with a crackly cocoa top and a molten sauce hiding underneath. The top sets into a soft, brownie-like layer while the bottom stays spoonable and glossy, which is exactly why this dessert disappears fast at the table. Warm vanilla ice cream on top turns every serving into that hot-and-cold contrast people keep going back for.
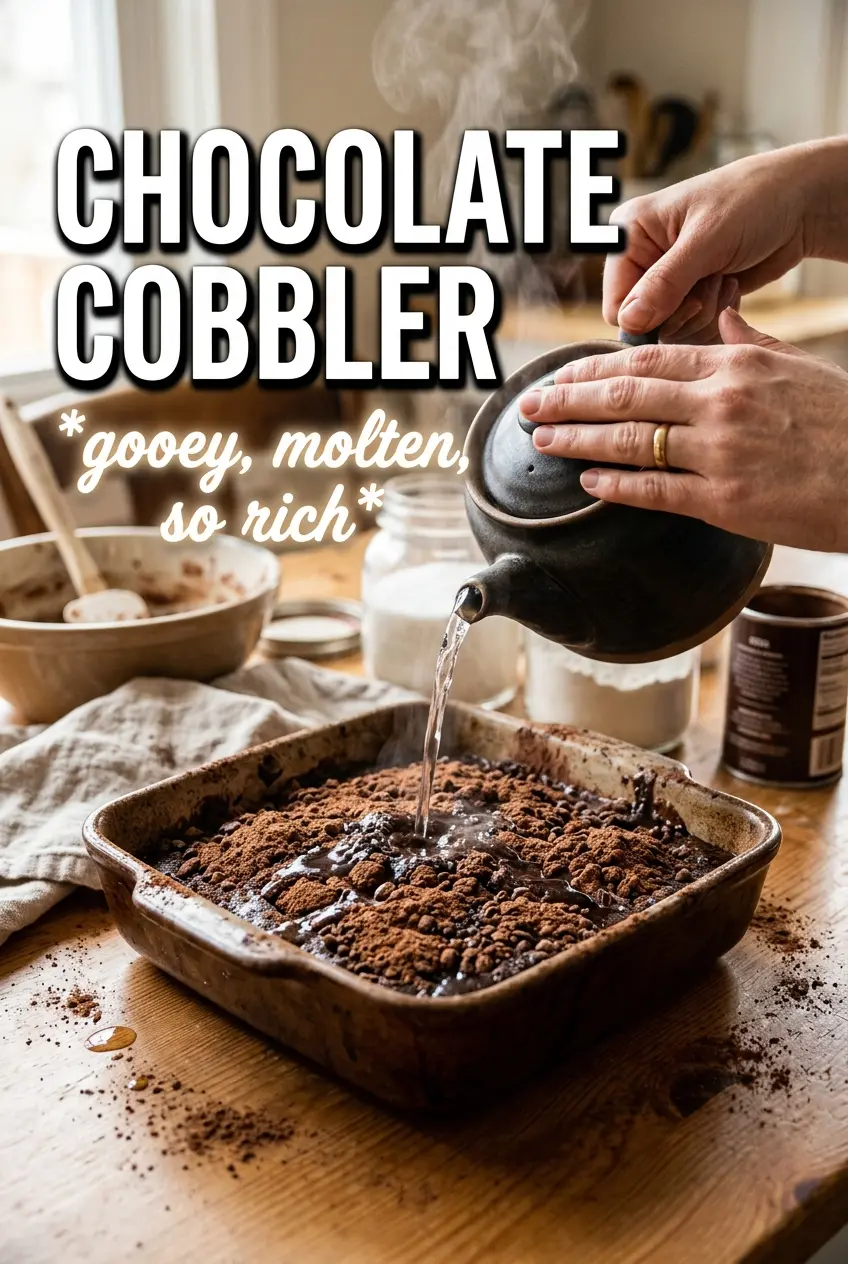
The trick is leaving the topping alone once the hot water goes in. The batter rises through the cocoa-sugar layer as it bakes, and that is what creates the sauce beneath the cake. If you stir at that point, you lose the separate layers and end up with a much drier chocolate cake instead of the self-saucing dessert you were after.
Below you’ll find the one step that matters most, the ingredient notes that keep the texture right, and a few variations for when you want to switch up the pan size or make it dairy-free.
The top baked up fudgy and the sauce underneath was silky, not grainy. I served it after 38 minutes and it was perfect with vanilla ice cream.
Save this chocolate cobbler for the nights when you want a fudgy cake top and a molten chocolate sauce underneath.
The Water Goes On Last for a Reason
Chocolate cobbler works because the batter and topping stay separate long enough to bake into two textures in one dish. The brown sugar and cocoa create a layer that dissolves into sauce as the water sinks through and heats up, while the batter on top sets into a tender crust. If the water isn’t hot enough, the sauce takes longer to form and the cobbler can bake up a little unevenly.
The most common mistake is stirring after the water goes in. Don’t do it. You want the liquid to sit on top and move down through the dry topping while the oven heat does the rest, which is what gives you that fudgy top and spoonable base.
What Each Ingredient Is Actually Doing in This Dish
- All-purpose flour — Gives the batter enough structure to rise without turning cakey or dry. A cup is enough here; more flour makes the top heavy and blocks the sauce from moving through the pan.
- Cocoa powder — There are two jobs for cocoa in this recipe: it flavors the batter and helps build the sauce layer. Natural cocoa works best because it gives a clean chocolate flavor and plays nicely with the baking powder.
- Brown sugar — This is the key to the syrupy layer under the cake. Packed brown sugar melts into the hot water and cocoa, giving the sauce depth and that glossy finish you want when a spoon cuts through the center.
- Whole milk and melted butter — Milk keeps the batter smooth and the butter adds richness without needing a mixer. Use melted butter, not softened, so the batter comes together quickly and stays pourable.
- Very hot water — This is the ingredient that makes the cobbler self-saucing. The water has to be hot when it goes in so the sugar starts dissolving right away and the sauce forms properly in the oven.
Building the Layers Without Mixing Them Up
Mix the Batter Just Until Smooth
Whisk the dry ingredients first so the cocoa and baking powder are evenly distributed, then stir in the milk, melted butter, and vanilla until the batter looks smooth and thick but still easy to spread. Stop as soon as the flour disappears. Overmixing makes the top tougher and takes away the tender, pudding-like feel that makes this dessert work.
Spread, Sprinkle, and Leave It Alone
Scrape the batter into the buttered dish and spread it into the corners in an even layer. Mix the brown sugar and cocoa together, then scatter that mixture over the batter without pressing it down. When you pour the hot water over the top, use a spoon or pour it slowly over the back of a spoon so you don’t blast a hole through the cocoa layer. The surface will look wrong at this stage. That’s normal.
Bake Until the Top Sets and the Sauce Thickens
Bake until the top looks set around the edges and the center no longer looks wet and glossy, usually 35 to 40 minutes. You’ll still see sauce bubbling around the sides, and that is a good sign. If you pull it too early, the top collapses and turns gummy; if you bake it too long, the sauce reduces too far and the whole dessert eats more like cake.
Serve It Hot With Ice Cream
Let the cobbler sit for a few minutes after it comes out of the oven so the sauce settles slightly and doesn’t run everywhere the second you cut into it. Spoon it into bowls while it’s still warm, getting down through the top layer into the chocolate underneath. Vanilla ice cream melts into the sauce and gives you the contrast that makes each bite taste complete.
Three Ways to Change the Pan, the Richness, or the Diet
Dairy-Free Version
Swap the milk for an unsweetened non-dairy milk and use a plant-based butter with a neutral flavor. The cobbler still self-sauces, but the top will be a little less rich and the flavor will depend more on the cocoa, so use a good one.
Baking It in a Larger Dish
An 8×8 pan gives you a deeper sauce and a more pudding-like center. In a 9×9, the cobbler bakes a little thinner and may finish a few minutes sooner, so start checking at 33 minutes. A wider pan means more surface area, which gives you a firmer top and less sauce in each spoonful.
Extra Dark Chocolate Flavor
Replace part of the cocoa in the batter with Dutch-process cocoa if you want a deeper, darker flavor. Keep the baking powder as written; the recipe doesn’t need extra leavening just because the cocoa is darker. The finished cobbler tastes less sharp and more like a rich brownie sauce.
Storage and Reheating
- Refrigerator: Store covered for up to 4 days. The sauce thickens as it chills, so the texture turns more spoonable and less runny.
- Freezer: It freezes, but the sauce loses some of its silky texture. Freeze tightly wrapped portions for up to 2 months if needed.
- Reheating: Warm individual servings in the microwave in short bursts or reheat the dish covered in a low oven. Don’t blast it on high heat or the sauce can dry out before the center warms through.
Answers to the Questions Worth Asking
Chocolate Cobbler
Ingredients
Equipment
Method
- Preheat oven to 350F and butter a 9x9 or 8x8 baking dish.
- Whisk together all-purpose flour, granulated sugar, cocoa powder, baking powder, and salt.
- Stir in whole milk, melted unsalted butter, and vanilla extract until smooth.
- Spread the batter into the prepared baking dish.
- Sprinkle the brown sugar, packed and cocoa powder evenly over the batter.
- Pour very hot water over everything and do not stir.
- Bake for 35-40 minutes, until the top is set; the cobbler will look like a cake on top with chocolate pooled underneath.
- Serve warm with vanilla ice cream.