Golden chicken thighs, sweet onions, and a glossy cider pan sauce make this the kind of braised dinner that tastes like it took all day, even though the active cooking is straightforward. The skin starts out crisp and the onions melt down into the sauce, so every bite lands with a little richness, a little sweetness, and enough tang from the cider and Dijon to keep it from feeling heavy.
What makes this version work is the order. The chicken gets a deep sear first, then the onions cook in the same pan long enough to pick up color and lose their raw edge. That browned fond is what gives the sauce its depth, and the apple cider pulls it all together without needing flour or cream. The result is a braise that tastes balanced instead of muddy.
Below, I’ve included the small details that keep the sauce smooth, the onions properly caramelized, and the chicken skin from turning soft too soon. If you’ve ever had a braised chicken dish where the sauce felt thin or one-note, this method fixes that.
The sauce reduced into this gorgeous glossy gravy and the onions practically disappeared into it. My husband kept saying the chicken tasted like it came from a restaurant.
Save this cider braised chicken for the nights when you want tender thighs, caramelized onions, and a pan sauce that tastes like it simmered for hours.
The Trick to Keeping the Braise Bright, Not Muddy
The easiest way to lose the balance in a cider braise is to let the onions rush past caramelized and into burnt, bitter territory. You want them deeply golden and sweet, but still soft enough to melt into the sauce. That slow onion cooking matters because the cider already brings sweetness; the onions should deepen that flavor, not fight it.
The other mistake is covering the chicken too early or braising it at a hard boil. High heat pulls the skin loose and turns the sauce cloudy. A gentle simmer keeps the thighs juicy and lets the cider reduce into a glossy pan sauce that clings to the meat instead of pooling underneath it.
- Chicken thighs — Bone-in, skin-on thighs give you the best contrast here: crisp skin from the sear and rich meat that stays tender during the braise. Boneless thighs will work in a pinch, but they cook faster and won’t give you the same depth.
- Onions — Three large onions might sound like a lot, but they cook down to almost nothing and form the backbone of the sauce. Yellow onions are the best choice because they turn sweet without collapsing into sugar.
- Hard or fresh apple cider — Use a dry cider if you can. Sweet cider can work, but it makes the finished sauce softer and sweeter, so the Dijon and vinegar matter even more to keep it balanced.
- Dijon mustard and apple cider vinegar — These are the sharp notes that keep the braise from tasting flat. Dijon also helps the sauce emulsify a little, which gives it that silky finish when it’s simmered down.
- Apples — Choose apples that hold their shape, like Honeycrisp, Braeburn, or Fuji. They should soften at the edges without dissolving into the sauce.
What Each Ingredient Is Actually Doing in This Recipe

- Primary ingredient (the star) — Quality matters most. Choose the best you can find.
- Cooking medium (oil, butter, or broth) — This carries flavors and prevents dryness.
- Seasonings (salt, pepper, spices, herbs) — Layer flavors so nothing overpowers. Build depth gradually.
- Aromatics (garlic, onion, herbs) — Cook with fat to bloom flavors. Become the foundation.
- Supporting ingredients — Complement the main ingredient without overpowering it.
- Sauce or liquid (if applicable) — Brings flavors together. Balance richness with acid.
- Acid (lemon, vinegar, wine, or other) — Brightens and prevents flat-tasting results.
- Final finish (garnish, glaze, or sauce) — Prevents one-dimensional taste and adds visual appeal.
Building the Pan Sauce in the Same Skillet
Getting the Skin Brown First
Season the chicken well and place it skin-side down in the hot oil and butter. Don’t move it while it sears; the skin needs steady contact with the pan to turn deep golden and release cleanly. If the pan is crowded, the chicken will steam instead of brown, so use a wide skillet or braiser and give the thighs room.
Turning the Onions Sweet and Deep
After the chicken comes out, the onions go into the same pan and cook slowly over medium-low heat. Stir them often enough to keep them from catching, but not so often that they never get color. If the heat is too high, they’ll burn on the edges before they soften through, and the sauce will taste harsh instead of sweet.
Finishing the Braise Without Drying Out the Meat
Once the garlic, thyme, apples, cider, broth, Dijon, and vinegar go in, return the chicken skin-side up. Keep the liquid at a gentle simmer, then cover and cook until the chicken is done and pulls back slightly from the bone. Uncover it for the last few minutes only if you need the sauce a touch thicker; otherwise, let it rest after cooking so the sauce settles and the flavors come together.
Make It More Savory
Add a few sliced mushrooms when the onions are about halfway caramelized. They absorb the pan drippings and make the braise earthier, but they also loosen a little moisture into the pan, so give them time to cook off before adding the cider.
Dairy-Free Without Losing Richness
This recipe is already naturally dairy-free if you swap the butter for more olive oil. You’ll lose a little roundness, but the cider, onions, and browned chicken carry enough richness on their own that the dish still feels full and finished.
Make It Ahead for a Dinner Party
Cook the braise a day ahead, chill it, then reheat gently before serving. The sauce actually gets better overnight as the onions and cider settle together, but rewarm it slowly so the chicken stays juicy and the sauce doesn’t separate.
Storage and Reheating
- Refrigerator: Store leftovers in an airtight container for up to 4 days. The sauce thickens as it sits, which is a good thing here.
- Freezer: It freezes well for up to 2 months. Cool completely first and freeze the chicken with plenty of sauce so it doesn’t dry out.
- Reheating: Warm it covered over low heat on the stove or in a 325°F oven until hot through. Don’t blast it on high heat or the chicken will tighten up and the sauce can turn greasy.
Questions I Get Asked About This Recipe
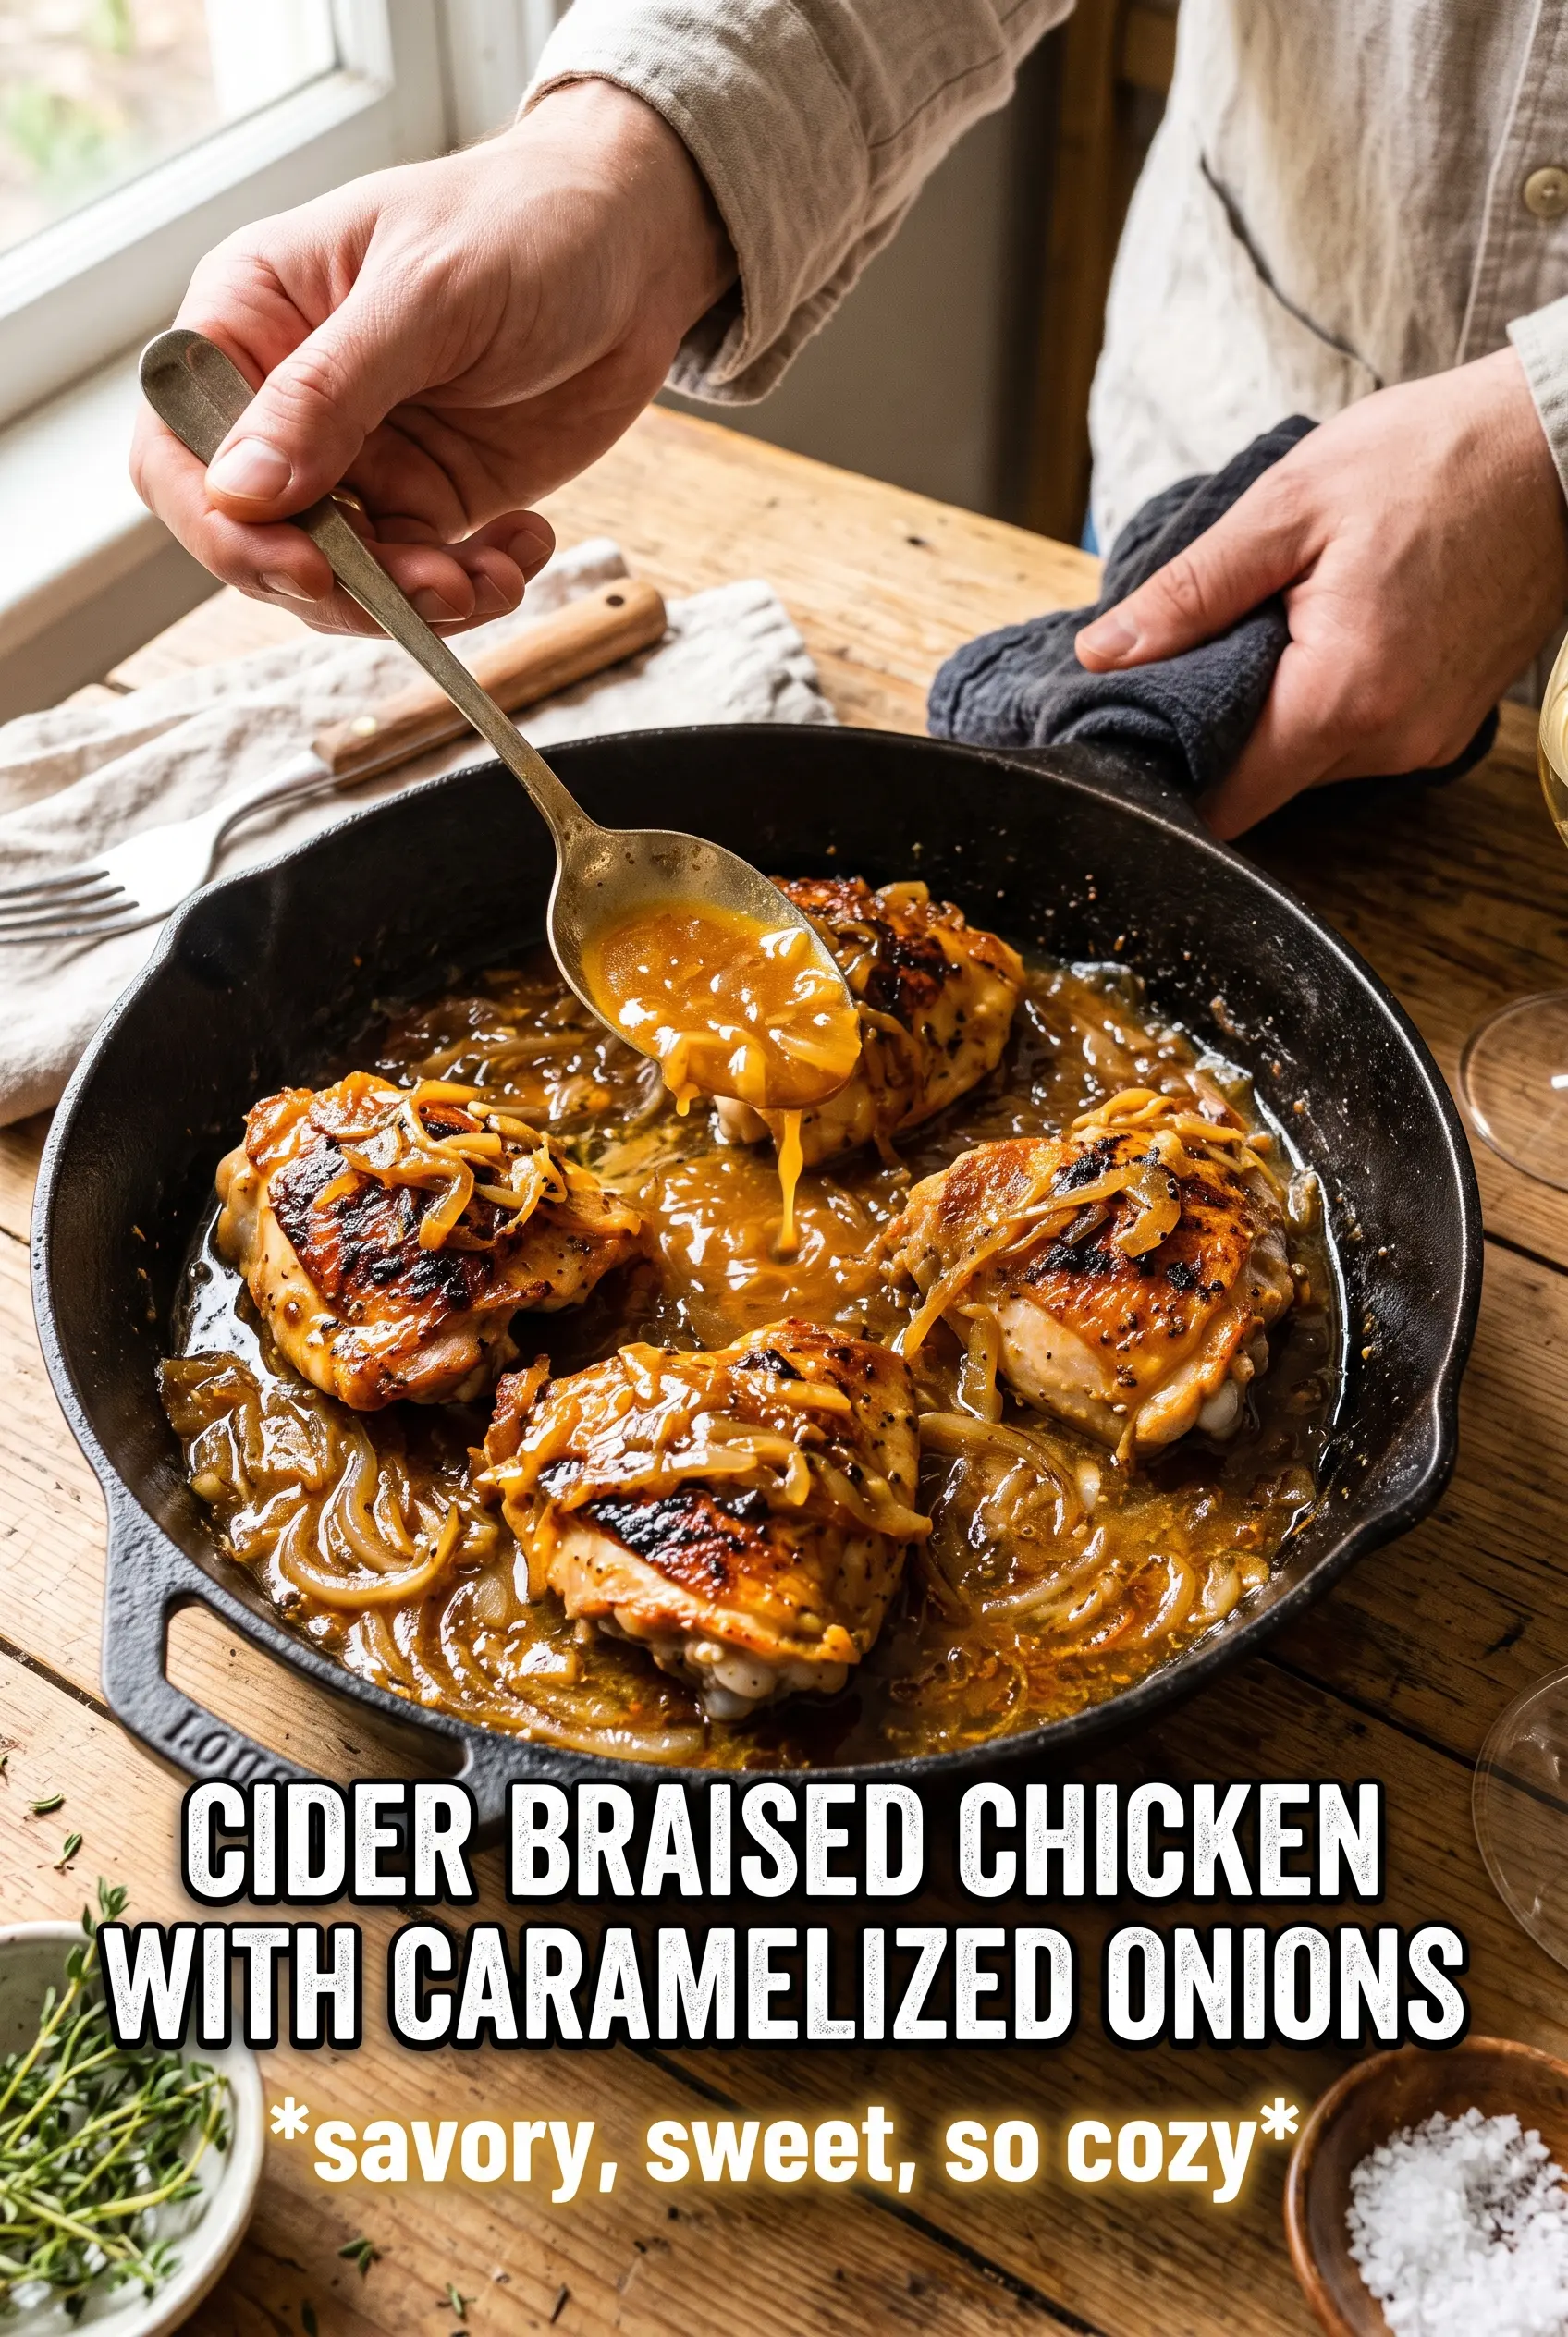
Cider Braised Chicken With Caramelized Onions
Ingredients
Equipment
Method
- Season the chicken thighs with salt and pepper, then sear skin-side down in olive oil and butter over medium-high heat for 7-8 minutes until deep golden and crisp.
- Flip the chicken and sear for 3 minutes until browned on the second side, then remove to a plate.
- In the same pan, cook the sliced onions over medium-low heat for 20 minutes until deeply caramelized, stirring occasionally so they don’t burn.
- Add the minced garlic and fresh thyme and cook for 1 minute until fragrant, then add the sliced apples and cook for 2 minutes.
- Deglaze with apple cider by pouring it into the hot pan, then add chicken broth, Dijon mustard, and apple cider vinegar, stirring to dissolve the browned bits.
- Return the chicken to the pan skin-side up, cover, and simmer for 25 minutes until the chicken is cooked through.
- Rest uncovered for 5 minutes so the pan sauce thickens slightly, spooning sauce over the chicken as it stands.