Flaky crust, jammy spiced apples, and a thick layer of apple butter make this pie taste like the best parts of apple pie turned up a notch. The apple butter melts into the fruit as it bakes, so every slice holds together cleanly instead of collapsing into a runny filling. You still get tender apple slices and that classic cinnamon-sugar finish on top, but the flavor goes deeper and the filling feels richer.
The part that makes this version work is balance. Apple butter brings concentrated apple flavor and body, while cornstarch keeps the juices in check so the bottom crust doesn’t go soggy. A little lemon juice keeps the filling from tasting flat, and the egg wash with cinnamon sugar gives the top crust a crackly finish that bakes into a sweet, fragrant shell. The apples should be sliced thin enough to soften through, but not so thin that they disappear.
Below you’ll find the trick for keeping the filling thick, the best way to layer the apple butter, and a few swaps if you want to use homemade crust or adjust the sweetness.
The filling set up beautifully and the cinnamon sugar on top gave the crust this crisp, bakery-style finish. I served it warm and every slice held its shape.
Save this cinnamon sugar apple butter pie for the days when you want a deep apple filling and a crackly sweet crust in one slice.
The Layer That Keeps This Pie From Turning Watery
The filling in this pie has two moisture sources: fresh apples and apple butter. That sounds indulgent, but it means you need a little structure in the filling so the juices thicken before they ever hit the crust. Cornstarch does that job, and it works best when it gets evenly coated on the apple slices before baking. If you dump it in unevenly, you’ll get pockets that taste starchy and others that stay loose.
Apple slices should be thin enough to soften in time, but not shaved paper-thin. Thin slices release juice and cook through at the same pace, which keeps the filling from turning half-mushy and half-crisp. The bottom crust also benefits from the apple butter layer because it acts like a barrier between the pastry and the fruit juices. Without it, the crust has to fight for its life.
What Each Ingredient Is Actually Doing in This Pie
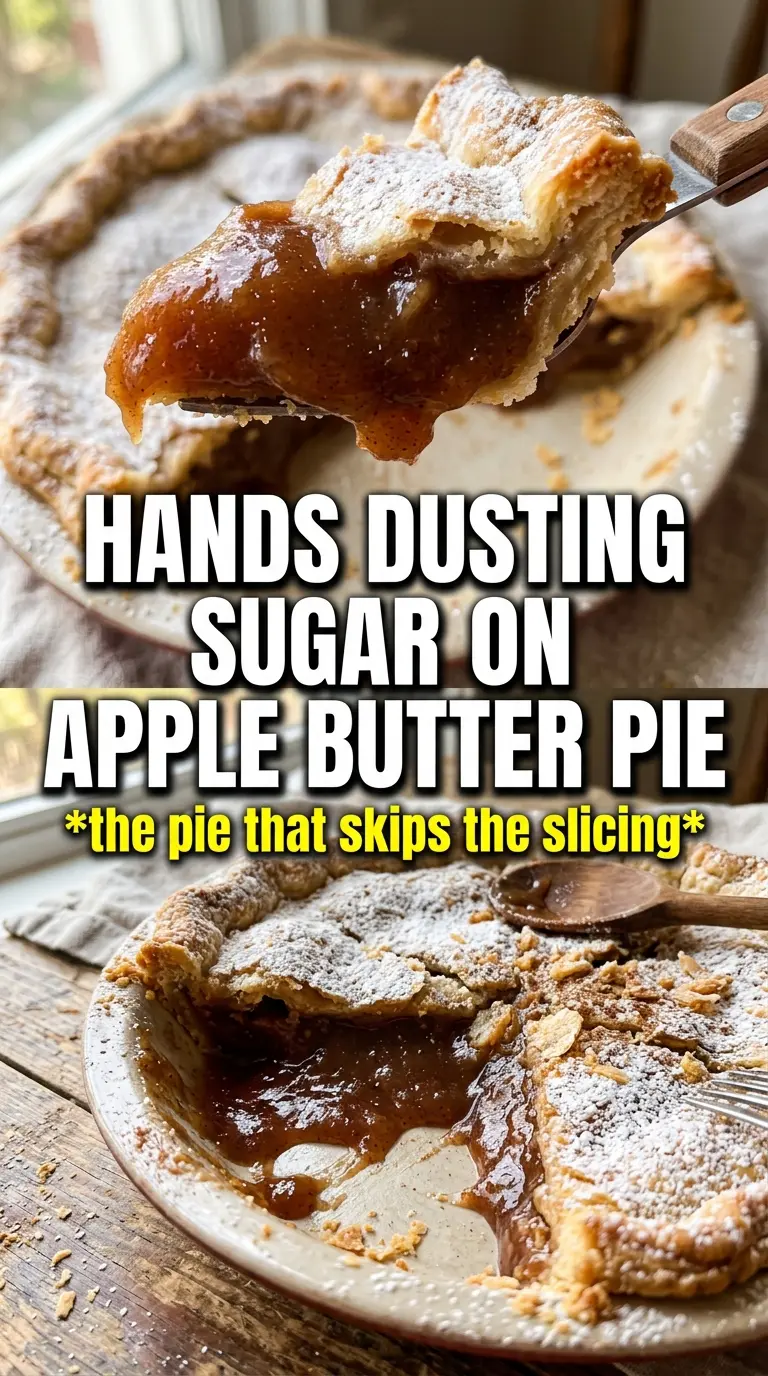
- Apple butter — This is the backbone of the pie’s flavor. It gives you concentrated apple taste and a naturally thick, spreadable layer that keeps the filling from tasting thin. Homemade or store-bought both work, but choose one that’s thick rather than pourable.
- Fresh apples — These provide texture and keep the pie from eating like preserves in a crust. A mix of tart and sweet apples gives the best balance, but any firm baking apple will hold up. Softer apples can work, but they’ll collapse more and make the filling softer.
- Cornstarch — This thickens the apple juices as they bake, which is what keeps the slice neat. Flour can work in a pinch, but it leaves the filling a little cloudier and less clean. Toss it with the sugar before adding the apples so it distributes evenly.
- Refrigerated pie crusts — These make the pie fast and reliable, and they brown well when baked at the right temperature. Homemade crust is great if you want extra flavor, but a cold store-bought crust is still the easiest path to a flaky finish.
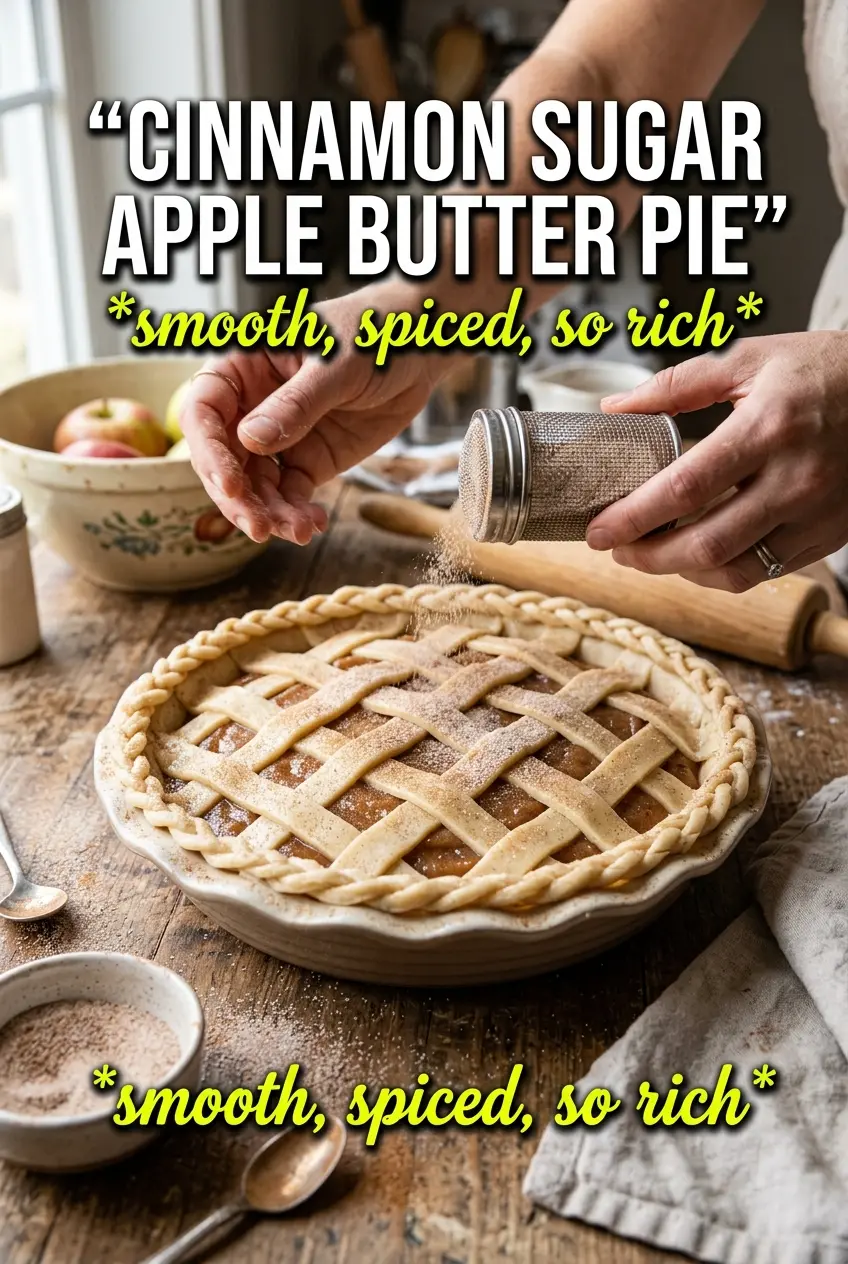
- Egg wash with cinnamon sugar — The egg gives the top crust color and a little shine, while the sugar bakes into a crisp, lightly sparkly shell. Brush it on right before baking so it doesn’t slide off the pastry.
Building the Filling So the Crust Stays Crisp
Prep the pan and bottom crust
Set the oven to 375F before you start mixing the filling, then fit one crust into a 9-inch pie dish and let it settle into the corners without stretching. If you pull the dough tight, it shrinks as it bakes and leaves the filling exposed. Keep the crust cold until it goes into the oven; warm dough gets soft and loses definition fast.
Toss the apples with the dry ingredients first
Mix the apple slices with both sugars, cinnamon, nutmeg, cornstarch, and lemon juice until every slice looks lightly coated. That dry coating is what keeps the filling from pooling at the bottom of the pie dish. If the apples start releasing a lot of liquid in the bowl, don’t wait around — get them into the crust so the cornstarch can start working in the oven instead of in the mixing bowl.
Layer the apple butter beneath the fruit
Spread the apple butter evenly over the bottom crust, then pile the apples on top. That order matters because the apple butter softens into the fruit as the pie bakes instead of disappearing into the apple juices. Dot the apples with the butter cubes, which adds a little richness and helps the top layer bake into a glossy, tender filling.
Seal, vent, and finish with sugar
Lay the second crust over the pie, crimp the edges, and cut a few steam vents so the filling can bubble without blowing the top apart. Brush the surface with beaten egg, then sprinkle on the cinnamon sugar while the egg is still wet so it sticks. Bake until the crust is deep golden and the filling is bubbling through the vents; those bubbles are the sign that the cornstarch has thickened the juices and the pie is set.
How to Adapt This Pie When You Need a Different Finish
Use a gluten-free crust
A gluten-free pie crust works well here because the filling is sturdy and doesn’t need special handling. Keep the dough cold and expect a slightly more delicate edge, especially when crimping. The flavor stays the same; the main difference is a crust that can brown a little faster, so watch the last 10 minutes closely.
Make it dairy-free
Swap the butter dots for a plant-based baking stick with a neutral flavor. You still get richness and a nicely tender filling, though the flavor will be a little less round than with real butter. Choose a dairy-free crust too if your store-bought version contains butter.
Adjust the sweetness for tart apples
If your apples are very tart, keep the sugar as written or add another tablespoon of brown sugar for a deeper caramel note. If the apples are already sweet, reduce the granulated sugar by 2 tablespoons so the pie doesn’t turn candy-like. The apple butter already brings a lot of sweetness, so don’t overcorrect before baking.
Store and reheat slices without losing the crust
Cover leftover pie and keep it in the refrigerator for up to 4 days. It freezes well in tightly wrapped slices for about 2 months, which is handy if you want dessert ready later. Reheat slices in a 325F oven until the crust crisps back up; the microwave will soften the pastry and turn the top sticky instead of flaky.
Answers to the Questions Worth Asking
Cinnamon Sugar Apple Butter Pie
Ingredients
Equipment
Method
- Preheat oven to 375F and fit one crust into a 9-inch pie dish.
- Trim and place any overhang neatly so the second crust can seal properly.
- Toss the apple slices with granulated sugar, brown sugar, cinnamon, nutmeg, cornstarch, and lemon juice until evenly coated.
- Spread apple butter over the bottom crust in an even layer.
- Layer the spiced apples over the apple butter so the filling sits mounded slightly.
- Dot the top of the apples with diced unsalted butter.
- Cover with the second crust, crimp the edges, and cut steam vents to release heat.
- Beat the egg, brush it over the top crust, then mix sugar and cinnamon and sprinkle it over the egg-washed crust.
- Bake 45-50 minutes at 375F until the crust is golden and the filling bubbles through the vents.