Cinnamon sugar apple butter pie bakes into one of those old-fashioned desserts that tastes like it came from a kitchen that knew exactly what to do with a bag of apples and a half-used jar of apple butter. The filling lands somewhere between a classic apple pie and a spiced preserves pie: soft, jammy, warmly sweet, and sturdy enough to slice without collapsing. The top crust turns deeply golden while the cinnamon sugar finishes with a faint crunch that makes each bite feel complete.
The trick here is using apple butter as the base layer instead of hiding it in the background. It melts into the bottom of the pie and gives the whole filling a deeper apple flavor, almost like the apples were cooked down for hours even though they weren’t. Cornstarch keeps the juices from running loose, and the lemon juice keeps the sweetness from going flat.
Below, I’ve included the details that matter most: how to keep the bottom crust from turning soggy, why the apple slices should be thin, and what to watch for so you pull the pie at the right moment.
The apple butter made the filling taste like it had been simmered all afternoon, and the cornstarch kept the slices neat instead of runny. I also loved the cinnamon sugar crust on top — it crackled just enough when I cut into it.
Save this cinnamon sugar apple butter pie for the kind of dessert that bakes up with a flaky top crust and a thick, spiced apple filling.
The Reason the Bottom Crust Stays Crisp Instead of Going Soggy
Apple pie filling usually fails in one of two ways: it turns watery, or it bakes into a dry heap of apples that never quite come together. This version avoids both problems because the apple butter acts like a thick, concentrated base, while the cornstarch catches the juices released by the fresh apples before they can pool in the crust. The result is a filling that sets up instead of sliding apart when you cut into it.
Thin slices matter here. Thick wedges stay firm too long and can leave you with a pie that slices cleanly on top but stays crunchy in the middle. If your apples are cut thin enough to bend a little, they’ll soften at the same pace as the pie bakes and the filling will feel cohesive instead of layered and separate.
What Each Ingredient Is Actually Doing in This Pie
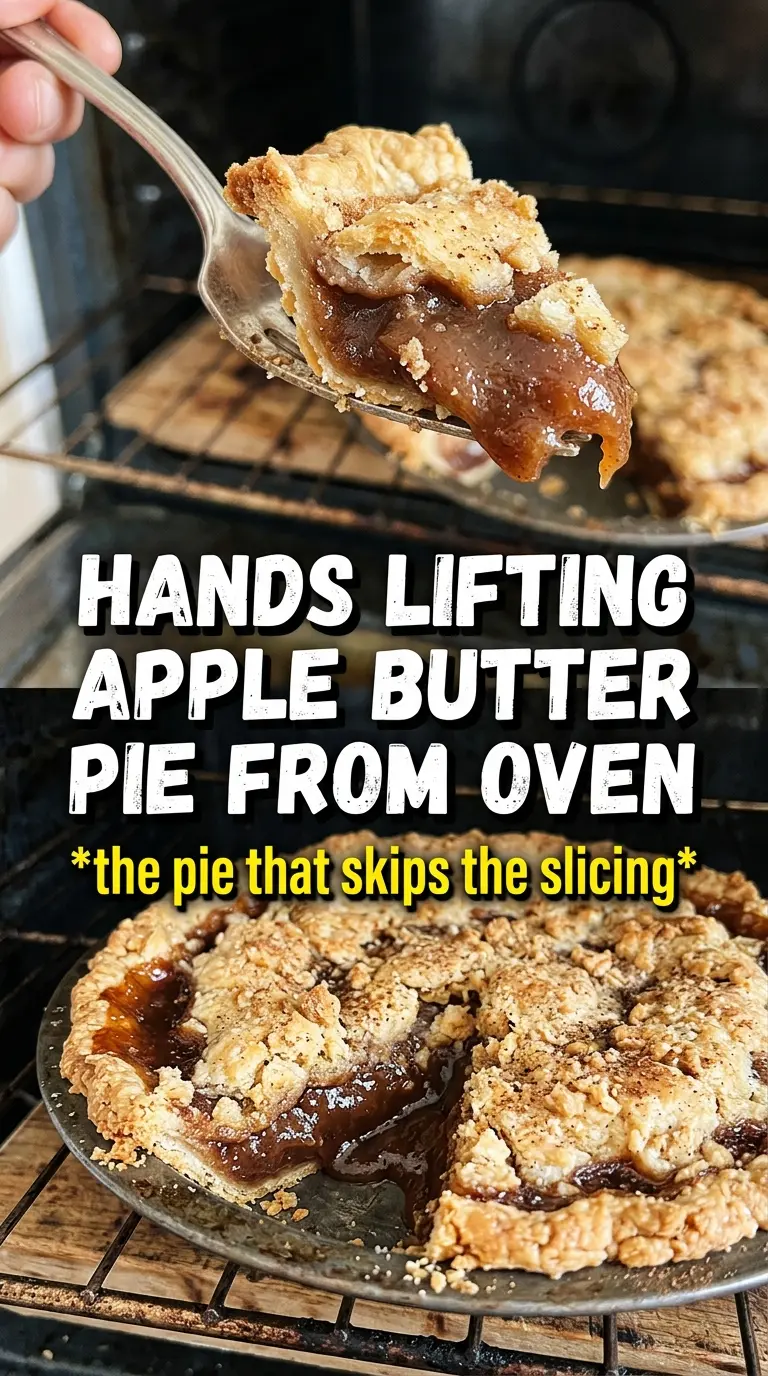
- Apple butter — This is the backbone of the filling. It brings deep apple flavor and a thick texture that regular apples alone can’t give you. Store-bought works well here if it’s flavorful and not overly sweet.
- Fresh apples — These give the pie structure and that familiar apple-pie bite. Use a baking apple that holds its shape, or mix one tart apple with one sweeter one for a more balanced filling.
- Cornstarch — This is what keeps the juices from running all over the plate. If you skip it, the filling will taste fine but cut like soup. Toss it evenly with the fruit before filling the crust so it can work right away in the oven.
- Lemon juice — A small amount keeps the filling from tasting flat and helps the apples stay bright as they bake. Fresh juice is best, but bottled is fine in a pinch.
- Egg wash and cinnamon sugar topping — The egg wash gives the top crust color and helps the sugar cling. That final sprinkle is what gives the pie its crackly, bakery-style finish.
Building the Filling So It Bakes Up Thick and Sliceable
Start with the crust already in place
Fit the bottom crust into the pie dish before you mix anything else. That keeps the filling from sitting around and releasing juice while you work. If the crust cracks, patch it with a small scrap of dough and press it gently back together; leaks at the bottom are what ruin a neat slice later.
Toss the apples until every slice looks coated
Mix the apples with the sugars, cinnamon, nutmeg, cornstarch, and lemon juice until the cornstarch disappears into the fruit. You’re looking for a light, pasty coating on the slices, not dry white spots. If the spices cling unevenly, the filling will bake with pockets of sweetness instead of one even flavor.
Layer the apple butter underneath the apples
Spread the apple butter in an even layer over the bottom crust, then pile the apples on top. Don’t mix the apple butter into the fruit; leaving it as a base lets it melt and perfume the whole pie from the bottom up. Dotting with butter over the apples adds a little richness and helps the filling look glossy instead of dull.
Bake until the center is bubbling, not just browned
The pie is done when the crust is deeply golden and you can see the filling bubbling through the vents. That bubbling matters more than color alone, because it tells you the cornstarch has actually thickened the juices. If the top starts browning too fast, cover it loosely with foil and keep baking until the filling is active in the center.
Use brown butter in the crust for a deeper finish
If you want a nuttier, more bakery-style pie, swap a homemade crust made with browned butter for the refrigerated crusts. It adds a toasty flavor that plays well with the apple butter, but it’s best if you’re comfortable rolling dough and handling a slightly softer crust.
Make it dairy-free without changing the filling
Use a dairy-free pie crust and swap the butter dots for a plant-based butter. The filling doesn’t need dairy to work, so this is one of the easiest ways to adapt the pie without losing texture.
Lean into a sharper apple flavor
Use half tart apples and half sweet apples if you want the filling to taste less candy-like. The apple butter already brings sweetness, so the extra tang keeps the pie balanced and prevents it from tasting one-note.
Storage and Reheating
- Refrigerator: Store covered for up to 4 days. The crust softens a little after the first day, but the filling stays firm and flavorful.
- Freezer: Freeze baked pie tightly wrapped for up to 2 months. Thaw overnight in the fridge before reheating so the crust doesn’t turn soggy.
- Reheating: Warm slices in a 300F oven for about 10 to 15 minutes. The mistake people make is using the microwave, which softens the crust and makes the filling weep.
Questions I Get Asked About This Recipe
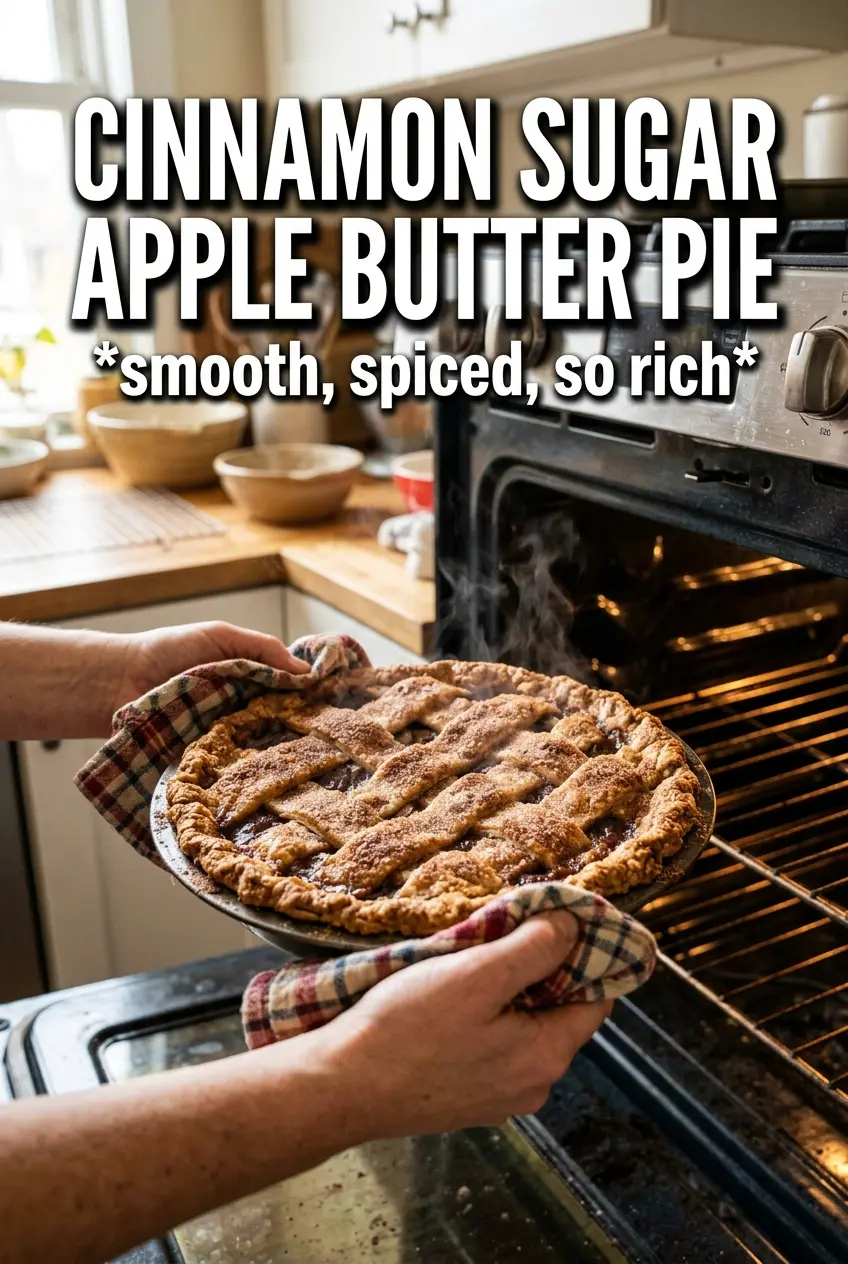
Cinnamon Sugar Apple Butter Pie
Ingredients
Equipment
Method
- Preheat the oven to 375F, then set a sheet pan on the middle rack to catch any drips. Fit one pie crust into a 9-inch pie dish and gently press it into the corners.
- Toss the sliced apples with granulated sugar, brown sugar, cinnamon, nutmeg, cornstarch, and lemon juice until evenly coated. Leave the mixture to sit briefly while you prepare the bottom crust.
- Spread the apple butter over the bottom crust in an even layer, covering the surface. Layer the spiced apples over the butter, keeping the pile fairly level.
- Dot the top with diced unsalted butter so small pieces are scattered across the apples. Place the second crust on top and crimp the edges to seal.
- Cut steam vents in the top crust so steam can escape while baking. Brush the crust with the beaten egg for a glossy finish.
- Mix the remaining cinnamon and sugar, then sprinkle the mixture over the top crust. The surface should look speckled with cinnamon sugar.
- Bake for 45-50 minutes at 375F until the crust is deeply golden and the filling is bubbling through the vents. If the top browns too quickly, tent loosely with foil for the remaining time.
- Cool the pie at least 1 hour before slicing. The filling should set so the slices hold together cleanly.