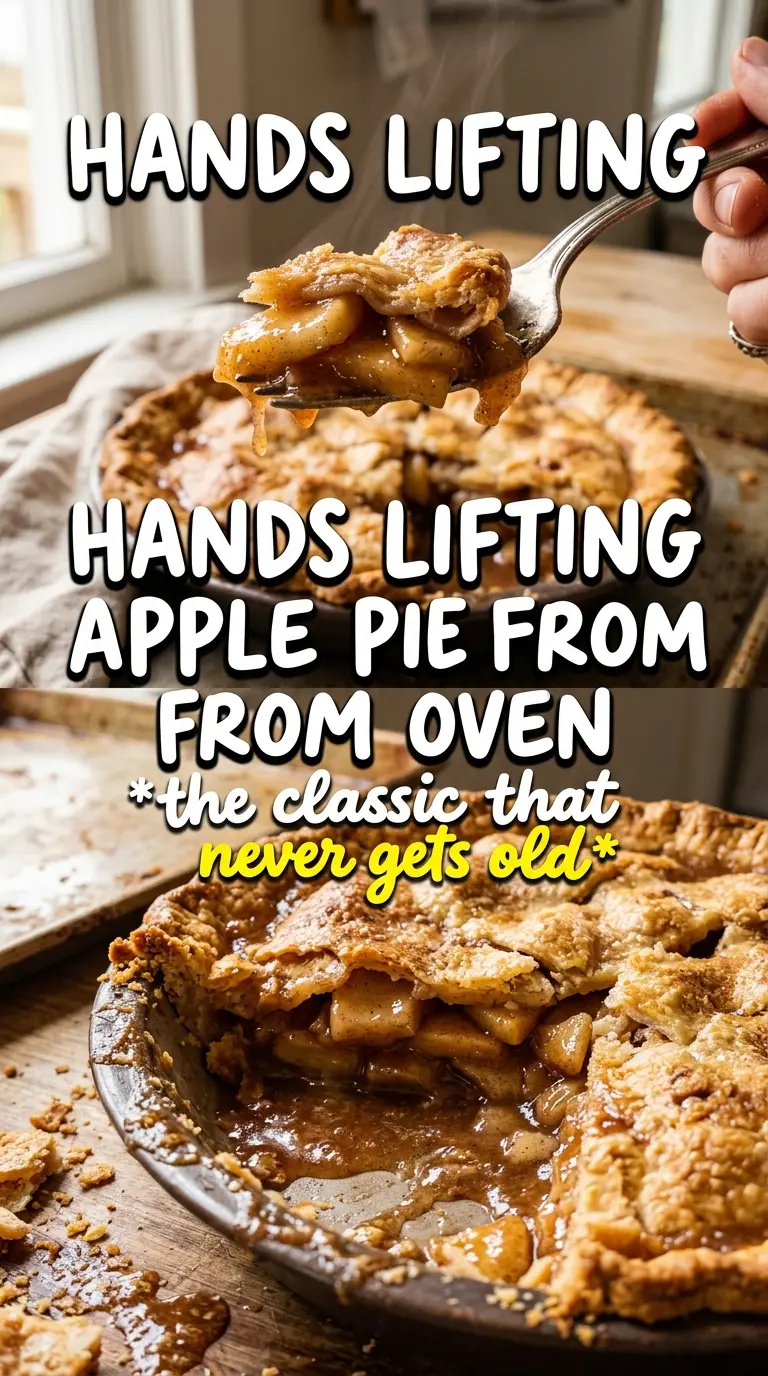
Apple pie earns its place when the crust shatters at the fork and the filling stays thick instead of sliding into a runny puddle. The best versions taste like apples first, spice second, and butter all the way through the finish. When it’s done right, the top crust turns deeply golden, the filling bubbles in the center, and every slice holds its shape long enough to make a clean, proud wedge.
This version relies on a mix of Granny Smith and Honeycrisp, which gives you both structure and sweetness without the filling turning soft or flat. The cornstarch is doing more than thickening; it catches the apple juices released during the rest time so they bake into a glossy filling instead of leaking out in the pan. Letting the apples sit before baking matters here. It pulls out enough liquid to keep the pie from collapsing later, but not so much that the fruit loses its texture.
Below, I’ll show you the small timing details that keep the bottom crust from going soggy, plus the one cooling step that makes slicing worth the wait.
The filling set up beautifully after the full cooling time, and the mix of tart apples with the cinnamon sugar topping tasted like the pie I grew up eating.
Like this classic apple pie? Save it to Pinterest for the days when you want a flaky double crust and a clean, thick slice of spiced apple filling.
The Step That Keeps Apple Pie From Turning Watery
The part that trips up most apple pies happens before the pie even goes into the oven. Apples release juice as soon as the sugar hits them, and if that liquid stays in the filling, it pools at the bottom and softens the crust. The short rest with sugar, spices, cornstarch, and lemon juice gives the fruit time to shed some of that moisture on purpose.
Drain the excess liquid before filling the pie. That step is easy to skip because the apples look glossy and ready, but the drained juices are the difference between a slice that holds and one that slumps. The apples should still look coated and juicy, just not swimming.
- Granny Smith apples bring tartness and stay firm after baking, which keeps the filling from turning mushy.
- Honeycrisp apples add sweetness and a softer bite, so the pie tastes balanced instead of sharply tart.
- Cornstarch thickens the juices as the pie bakes. Flour can work in a pinch, but it gives a duller, heavier filling and doesn’t set as cleanly.
- Lemon juice brightens the flavor and slows browning while the apples rest. Fresh is best here, but bottled works if that’s what you have.
What Each Part Is Doing Before the Pie Goes Into the Oven
- Pie crusts are the structure. Refrigerated crusts work fine if they’re the kind that unroll cleanly; homemade gives you the best flavor and flake, but either one needs to stay cold until it goes into the oven.
- Apples are the whole point, and the mix matters. Use at least one tart baking apple so the filling doesn’t taste flat after the sugar and spices go in.
- Brown sugar deepens the filling with a light caramel note. A little goes a long way, so it supports the apples instead of turning the pie into something overly sweet.
- Butter melts between the fruit and the top crust, giving the filling a richer finish. Dice it small so it distributes instead of sitting in one greasy pocket.
- Egg wash and cinnamon sugar build color and crunch on top. The egg wash helps the sugar stick and gives the crust that glossy, bakery-style finish.
Building the Pie So the Crust Stays Flaky and the Center Sets
Fitting the Bottom Crust
Press the first crust into the pie dish without stretching it. Stretching is what causes shrinkage later, which pulls the edges down and can leave the filling exposed. Keep the dough relaxed in the pan and trim any overhang after it settles into place.
Drawing Out the Apple Juices
Toss the sliced apples with both sugars, the spices, cornstarch, and lemon juice, then let them sit for 15 minutes. You’ll see liquid gather in the bowl, which is exactly what you want. Drain that off before filling the pie so the oven can thicken the remaining juices instead of steaming the fruit from below.
Sealing, Venting, and Coloring the Top
Pile the apples high in the center because they shrink as they bake. Dot the butter over the filling, lay on the second crust, and crimp the edges firmly enough to seal but not so hard that you compress the layers. Cut steam vents in the top, brush with egg wash, and sprinkle on the cinnamon sugar before baking.
The Bake That Sets the Filling
Start the pie at 425F for 25 minutes to set the crust fast. Then lower the oven to 375F and bake until the crust is deep golden and the filling bubbles through the vents, which tells you the cornstarch has thickened properly. If the top starts to brown too fast, lay a loose piece of foil over it while the center finishes.
Make It with an All-Butter Crust
A homemade all-butter crust gives you the flakiest result and the richest flavor. It also browns a little faster than most refrigerated crusts, so watch the edges during the second bake and cover them if needed.
Gluten-Free Version
Use a gluten-free pie crust that you trust for blind stability and handling. The filling is already gluten-free, but the crust usually needs a gentler touch and a little extra chill time so it doesn’t crack when you move it.
Less-Sweet Apple Pie
Cut the granulated sugar slightly if your apples are very sweet, but don’t remove it entirely. Sugar isn’t only for sweetness here; it also helps pull out the juices and gives the filling the thick, jammy texture you want.
How to Make It Ahead
You can assemble the pie and refrigerate it for a few hours before baking, but don’t leave it overnight unbaked or the crust will get soggy. For the best texture, bake it the same day you assemble it, then cool it fully before slicing.
Storage and Reheating
- Refrigerator: Store covered for up to 4 days. The crust softens a little after day one, but the filling stays flavorful.
- Freezer: Apple pie freezes well baked. Wrap the cooled pie tightly and freeze for up to 2 months, or freeze an unbaked assembled pie and bake from frozen with extra time.
- Reheating: Warm slices in a 300F oven until the filling is heated through. The microwave will make the crust limp, which is the fastest way to lose the flaky top you worked for.
Questions I Get Asked About This Recipe

Apple Pie
Ingredients
Equipment
Method
- Preheat the oven to 425°F, then fit one pie crust into a 9-inch pie dish.
- Preheat to 425°F and keep the oven at that temperature while you mix the filling.
- Toss the sliced apples with granulated sugar and brown sugar, then add cinnamon, nutmeg, allspice, cornstarch, and lemon juice.
- Let the apple mixture sit for 15 minutes to draw out juices, then drain any excess liquid.
- Pile the drained apple filling into the crust, mounding in the center.
- Dot the filling with the diced unsalted butter.
- Top with the second pie crust, crimp the edges, and cut steam vents to let pressure escape.
- Brush the crust with egg wash made from the beaten egg and water, then sprinkle with a mix of sugar and cinnamon.
- Bake at 425°F for 25 minutes, until the crust begins to set and color.
- Reduce the oven to 375°F and bake 30-35 minutes more, until the crust is deep golden and the filling bubbles.
- Cool the pie at least 2 hours before slicing so the filling can firm up.