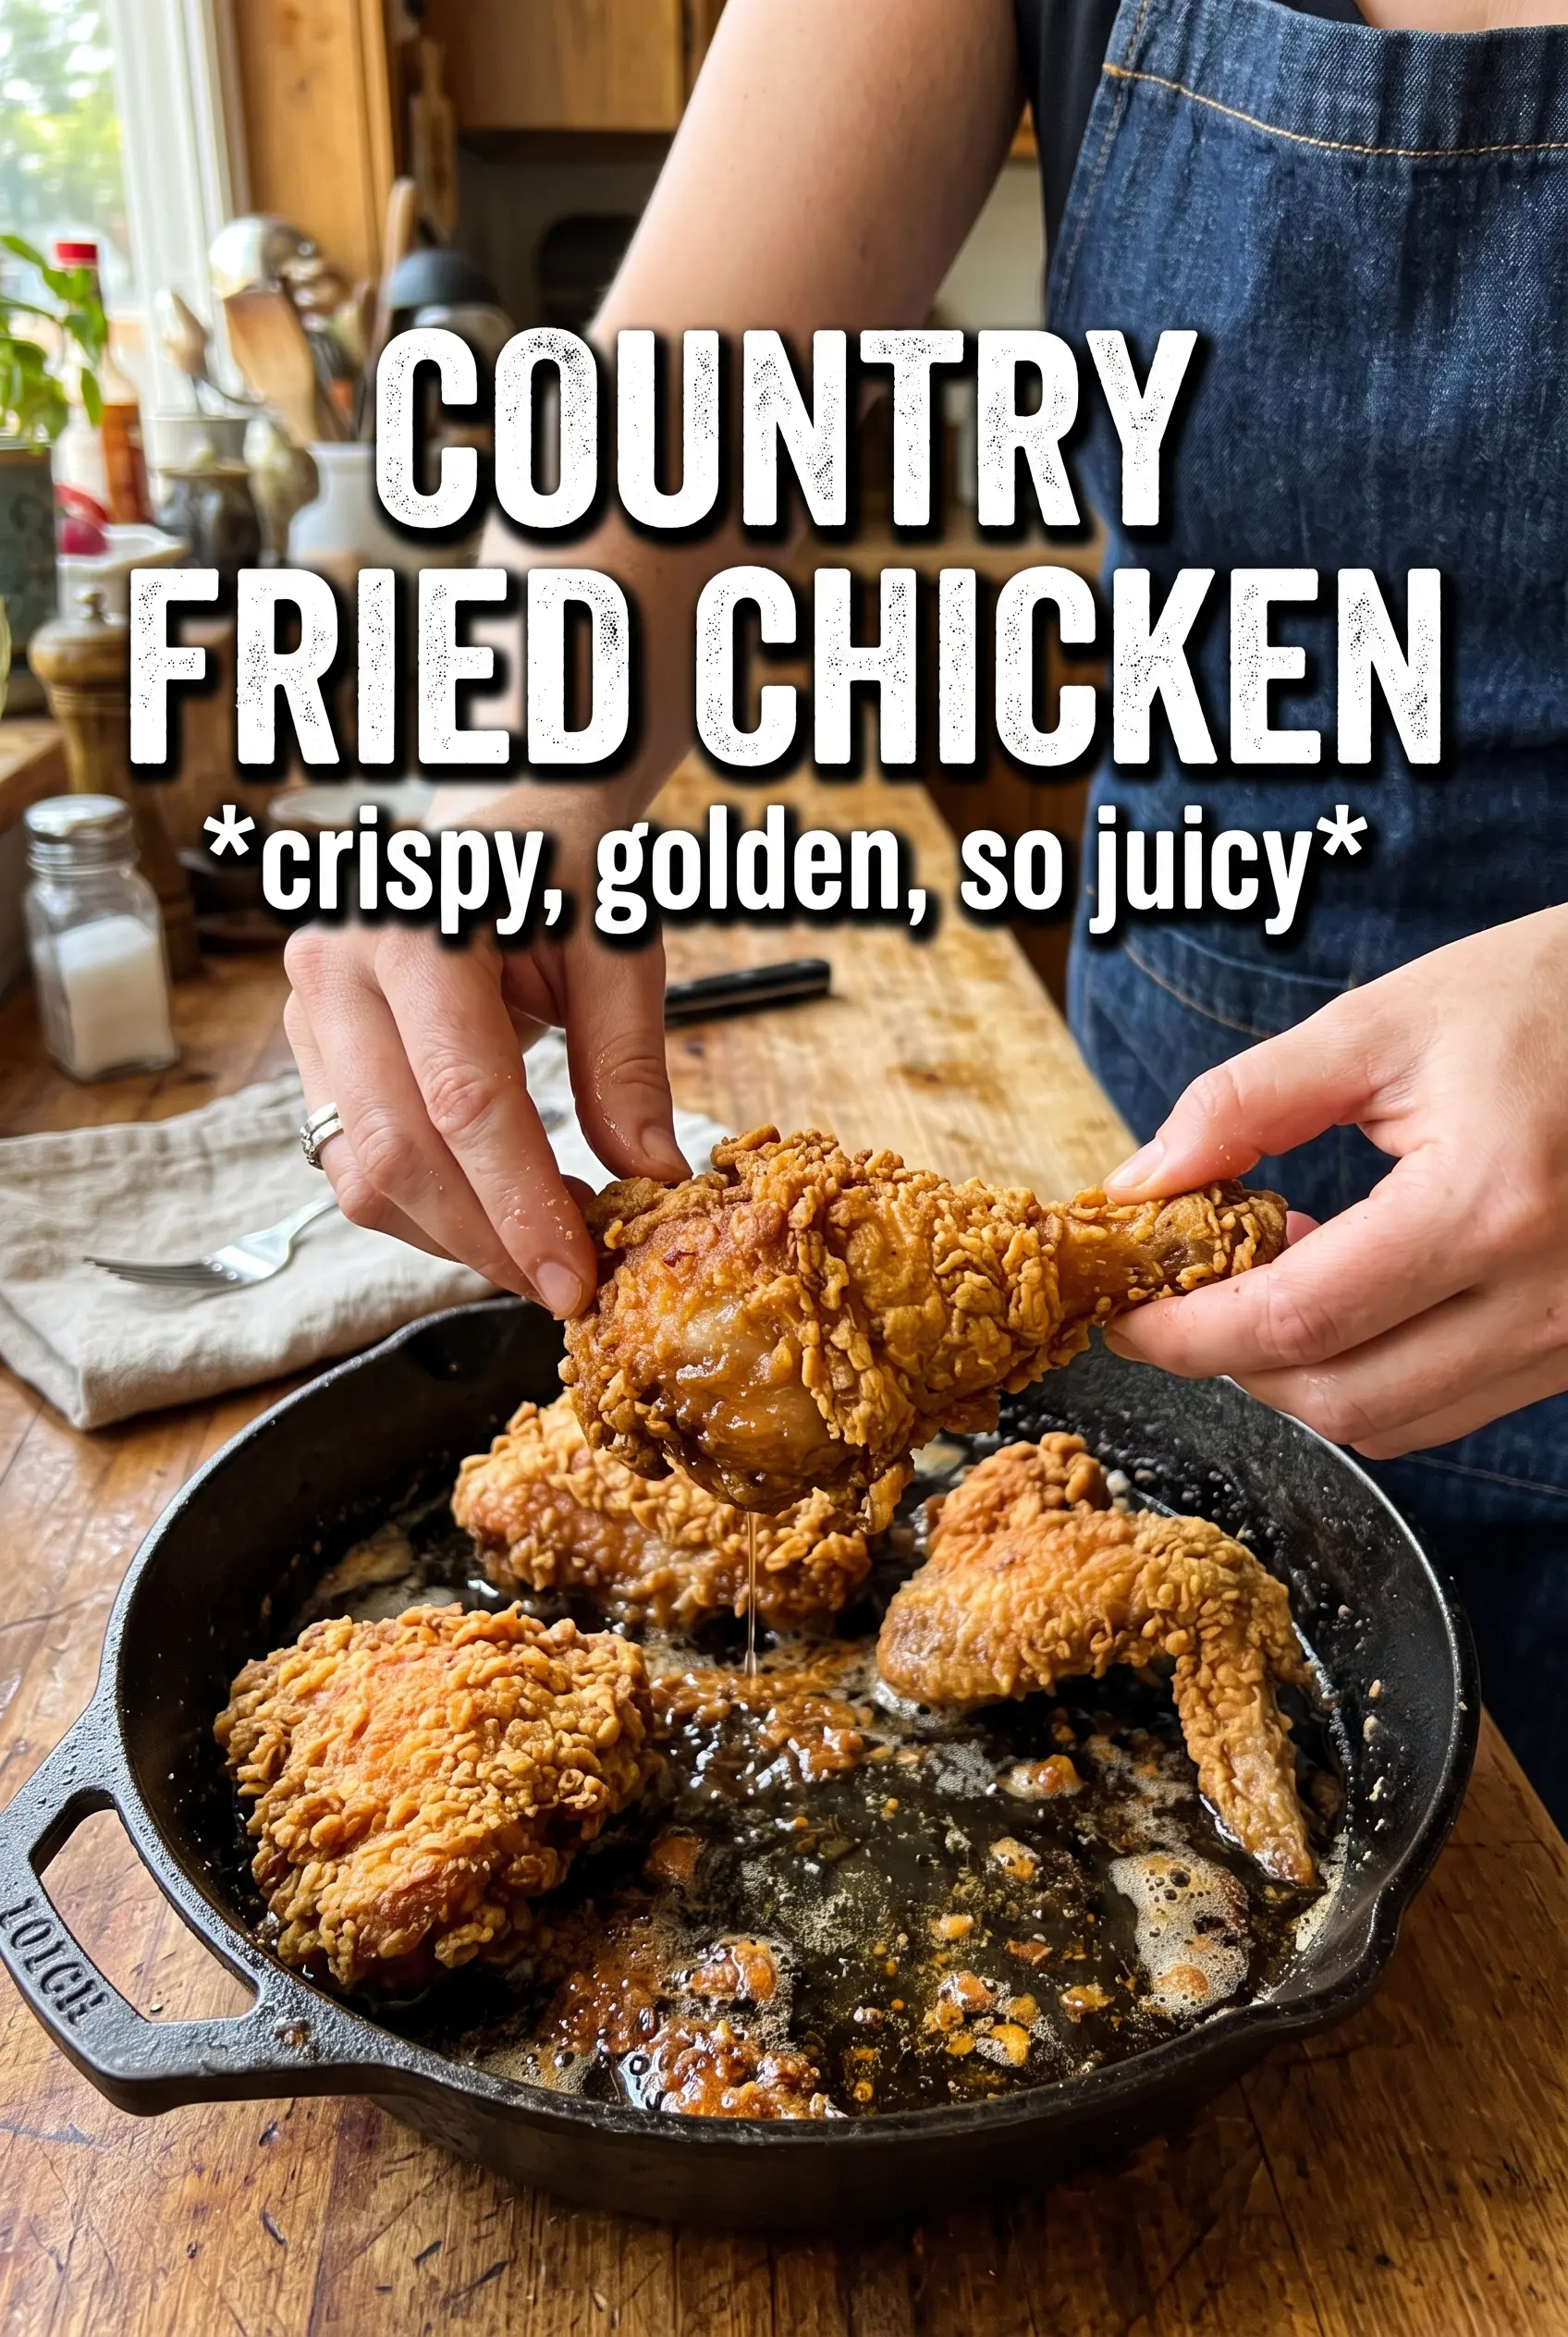
Country fried chicken earns its place when the crust comes out deeply craggy and crisp, with juicy meat underneath and a peppery white gravy that clings to every ridge. The best version doesn’t need fancy tricks. It just needs a smart marinade, a seasoned dredge that actually sticks, and steady frying heat so the coating turns golden before the chicken dries out.
Buttermilk does more than tenderize here. It loosens the surface of the chicken just enough for the flour mixture to grab, which is what gives you that rough, shattering crust instead of a slick breading that slides off in the oil. Cornstarch keeps the coating lighter and crisper, while a little cayenne and smoked paprika give the crust more depth than plain seasoned flour ever could. The gravy matters just as much as the chicken: cook the flour in the butter long enough to lose the raw taste, then add the milk and broth gradually so it turns smooth instead of lumpy.
Below you’ll find the little details that keep the coating on the chicken, the oil at the right temperature, and the gravy silky. Those are the parts that separate a decent plate from the kind people remember.
The crust stayed on beautifully and the gravy thickened up smooth without any lumps. I let the chicken rest after dredging like you said, and it fried up extra craggy instead of gummy.
Save this country fried chicken for the night you want a shatteringly crisp crust and peppery gravy on the same plate.
The Marinade That Keeps the Crust From Sliding Off
Most country fried chicken problems start before the pan ever gets hot. If the chicken goes from a dry surface straight into flour, the coating doesn’t have anything to hold onto, and you end up with patchy breading that falls off in the skillet. Buttermilk changes that by coating the chicken in a thick, tangy layer that helps the flour cling and gives the meat a little head start on tenderness.
The other piece people miss is rest time after dredging. Once the chicken is coated, let it sit for a few minutes so the flour hydrates and forms a paste-like surface. That step is what builds those rough little flakes that fry up extra crisp. If you drop it straight into hot oil, the coating can look dusty and separate.
- Buttermilk — This is the base of the marinade for a reason. Its thickness and acidity help tenderize the meat and create the tacky surface the dredge needs.
- Hot sauce — It doesn’t make the chicken hot. It adds a little background tang and helps season the marinade all the way through.
- Cornstarch in the dredge — This lightens the coating and keeps it from frying up dense. All flour works in a pinch, but the crust won’t have the same crisp snap.
- Smoked paprika and cayenne — These don’t just season the outside. They keep the crust from tasting flat once the gravy goes on top.
What Each Ingredient Is Actually Doing in This Recipe

- Primary ingredient (the star) — Quality matters most. Choose the best you can find.
- Cooking medium (oil, butter, or broth) — This carries flavors and prevents dryness.
- Seasonings (salt, pepper, spices, herbs) — Layer flavors so nothing overpowers. Build depth gradually.
- Aromatics (garlic, onion, herbs) — Cook with fat to bloom flavors. Become the foundation.
- Supporting ingredients — Complement the main ingredient without overpowering it.
- Sauce or liquid (if applicable) — Brings flavors together. Balance richness with acid.
- Acid (lemon, vinegar, wine, or other) — Brightens and prevents flat-tasting results.
- Final finish (garnish, glaze, or sauce) — Prevents one-dimensional taste and adds visual appeal.
Getting the Chicken Crispy Before the Gravy Ever Hits It
Coating the Chicken Evenly
Lift each piece out of the marinade and let the extra drip off before it goes into the flour mixture. Press the dredge onto the chicken with your hands so it really adheres, then set it aside for a few minutes instead of frying immediately. If the coating looks thick in spots, that’s fine; those uneven bits are what give you the rugged crust people want from this dish.
Frying at the Right Heat
Heat the oil to 325°F and keep it there. If the oil runs too hot, the crust darkens before the meat cooks through; too cool, and the coating soaks up oil and turns heavy. A cast-iron skillet helps hold the temperature steady, which is especially important once the chicken hits the pan and cools the oil down. Fry the pieces until they’re deeply golden and the internal temperature reaches 165°F.
Building the Gravy in the Same Pan
Don’t clean out the skillet after frying. The browned bits left behind carry a lot of the chicken flavor, and the gravy benefits from every one of them. Melt the butter, whisk in the flour, and let that mixture cook for a minute or two so the finished gravy doesn’t taste raw. Then add the milk and broth gradually, whisking constantly until it turns thick and smooth. If it looks lumpy, the liquid went in too fast; keep whisking over low heat and it usually comes together.
How to Adjust This Without Losing the Crunch
Make It Gluten-Free
Use a cup-for-cup gluten-free flour blend in place of the all-purpose flour, then keep the cornstarch in the mix. The texture won’t be identical, but the cornstarch helps compensate and keeps the crust lighter. Watch the coating closely in the pan, since some gluten-free blends brown a little faster.
Skip the Deep Fry and Use a Shallow Fry
This recipe already works well in a cast-iron skillet with enough oil to come partway up the chicken. You don’t need a fryer. Keep the oil level steady and turn the pieces carefully so the crust cooks evenly on both sides without losing too much heat from the pan.
Lighter Gravy With More Chicken Flavor
Use more chicken broth and a little less milk if you want the gravy a touch lighter and more savory. It will still thicken, but the flavor will lean less creamy and a little more toward pan gravy. Whisk it long enough to fully smooth out the flour before calling it done.
Storage and Reheating
- Refrigerator: Store the chicken and gravy separately for up to 3 days. The crust will soften in the fridge, but it still reheats well.
- Freezer: The fried chicken freezes better than the gravy. Freeze the chicken on a tray until firm, then bag it; make the gravy fresh for the best texture.
- Reheating: Warm the chicken on a rack in a 375°F oven until hot and crisp again. Reheat the gravy slowly on the stove with a splash of milk or broth, whisking often so it doesn’t seize or turn pasty.
Questions I Get Asked About This Recipe
Country Fried Chicken
Ingredients
Equipment
Method
- In a bowl, mix buttermilk, hot sauce, salt, and black pepper. Add the bone-in chicken pieces and ensure they’re coated.
- Cover and refrigerate for 1 hour, or up to overnight. Keep the chicken chilled while it soaks to tenderize for frying.
- Whisk all-purpose flour, cornstarch, garlic powder, onion powder, smoked paprika, cayenne, salt, and black pepper in a shallow bowl. Stir until the dry mix looks evenly speckled.
- Remove the chicken from the buttermilk marinade and let the excess drip off. Dredge each piece in the flour mixture and press to help it adhere tightly.
- Heat vegetable oil to 325F in a large cast-iron skillet. Keep the oil at 325F so the crust crisps without burning.
- Fry the chicken for 12-15 minutes per side until deeply golden and cooked through. Continue until the internal temperature reaches 165F, using that visual deep-gold crust as your cue.
- Melt butter in the skillet and whisk in flour. Cook for 1-2 minutes, until it smells nutty and the mixture thickens.
- Gradually whisk in whole milk and chicken broth. Cook until thick, then season with plenty of salt and black pepper.
- Serve the fried chicken smothered in country gravy. Finish with a generous grind of black pepper for a pepper-forward top layer.