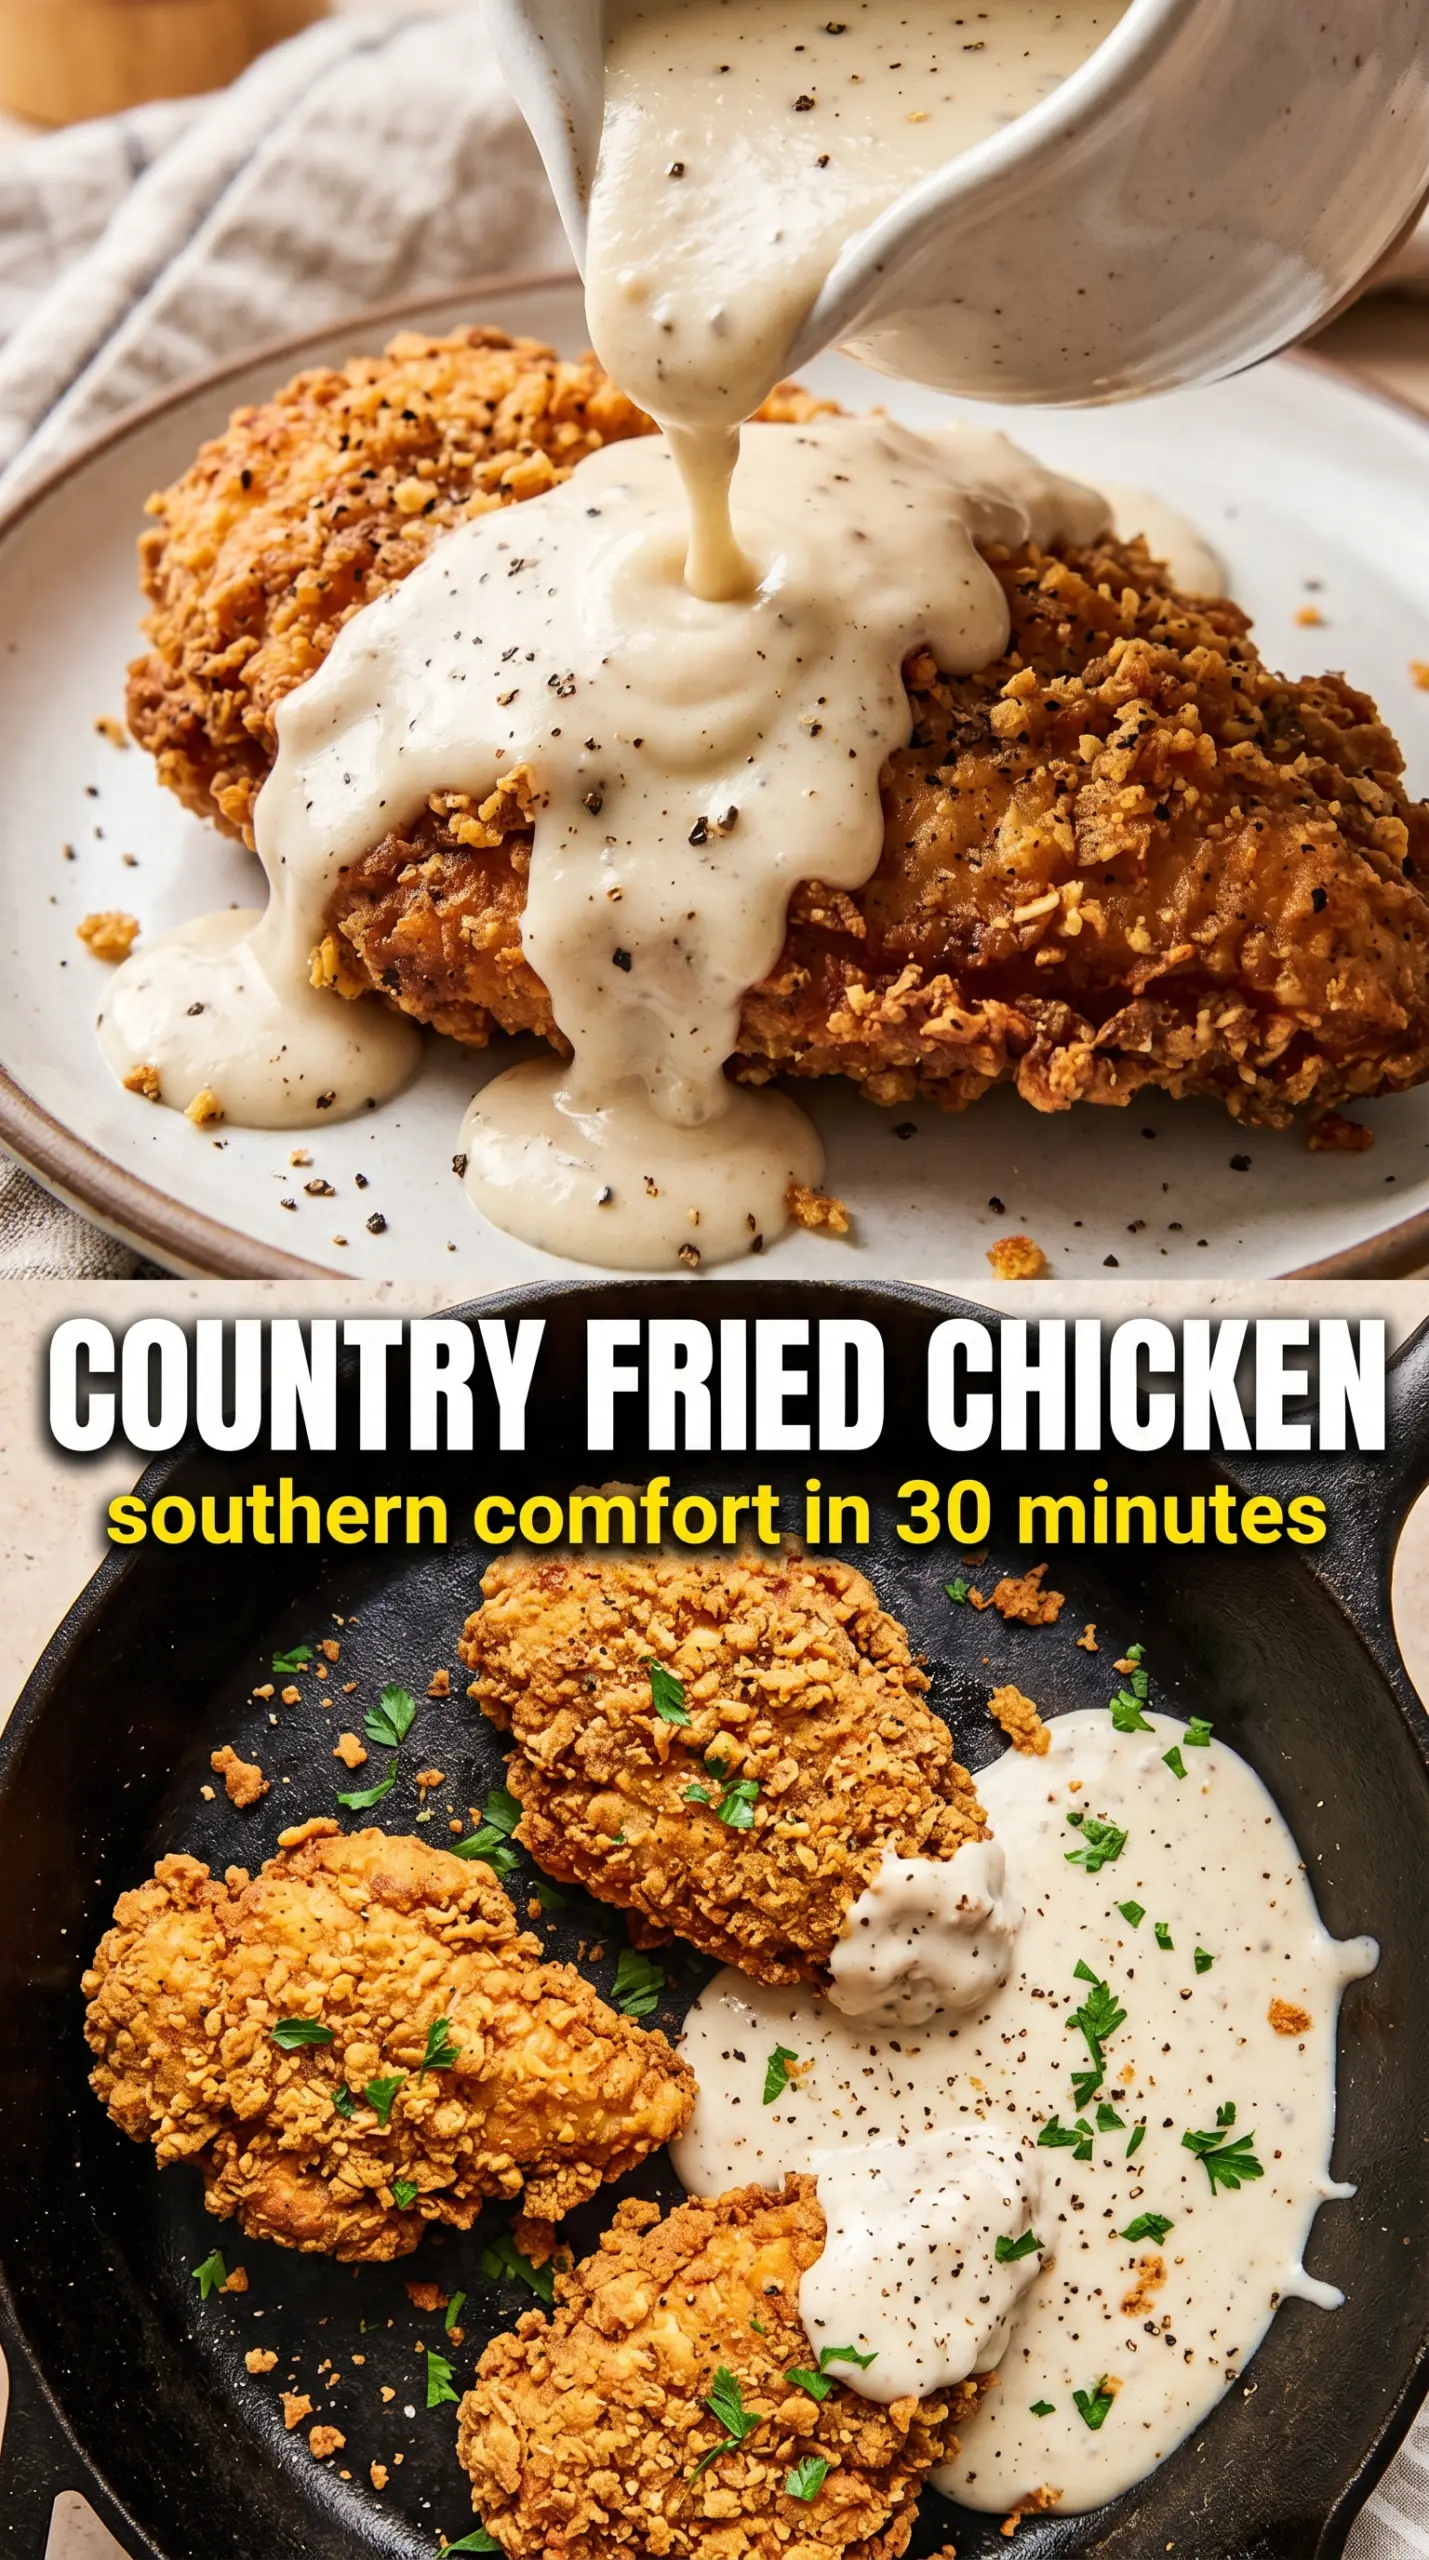
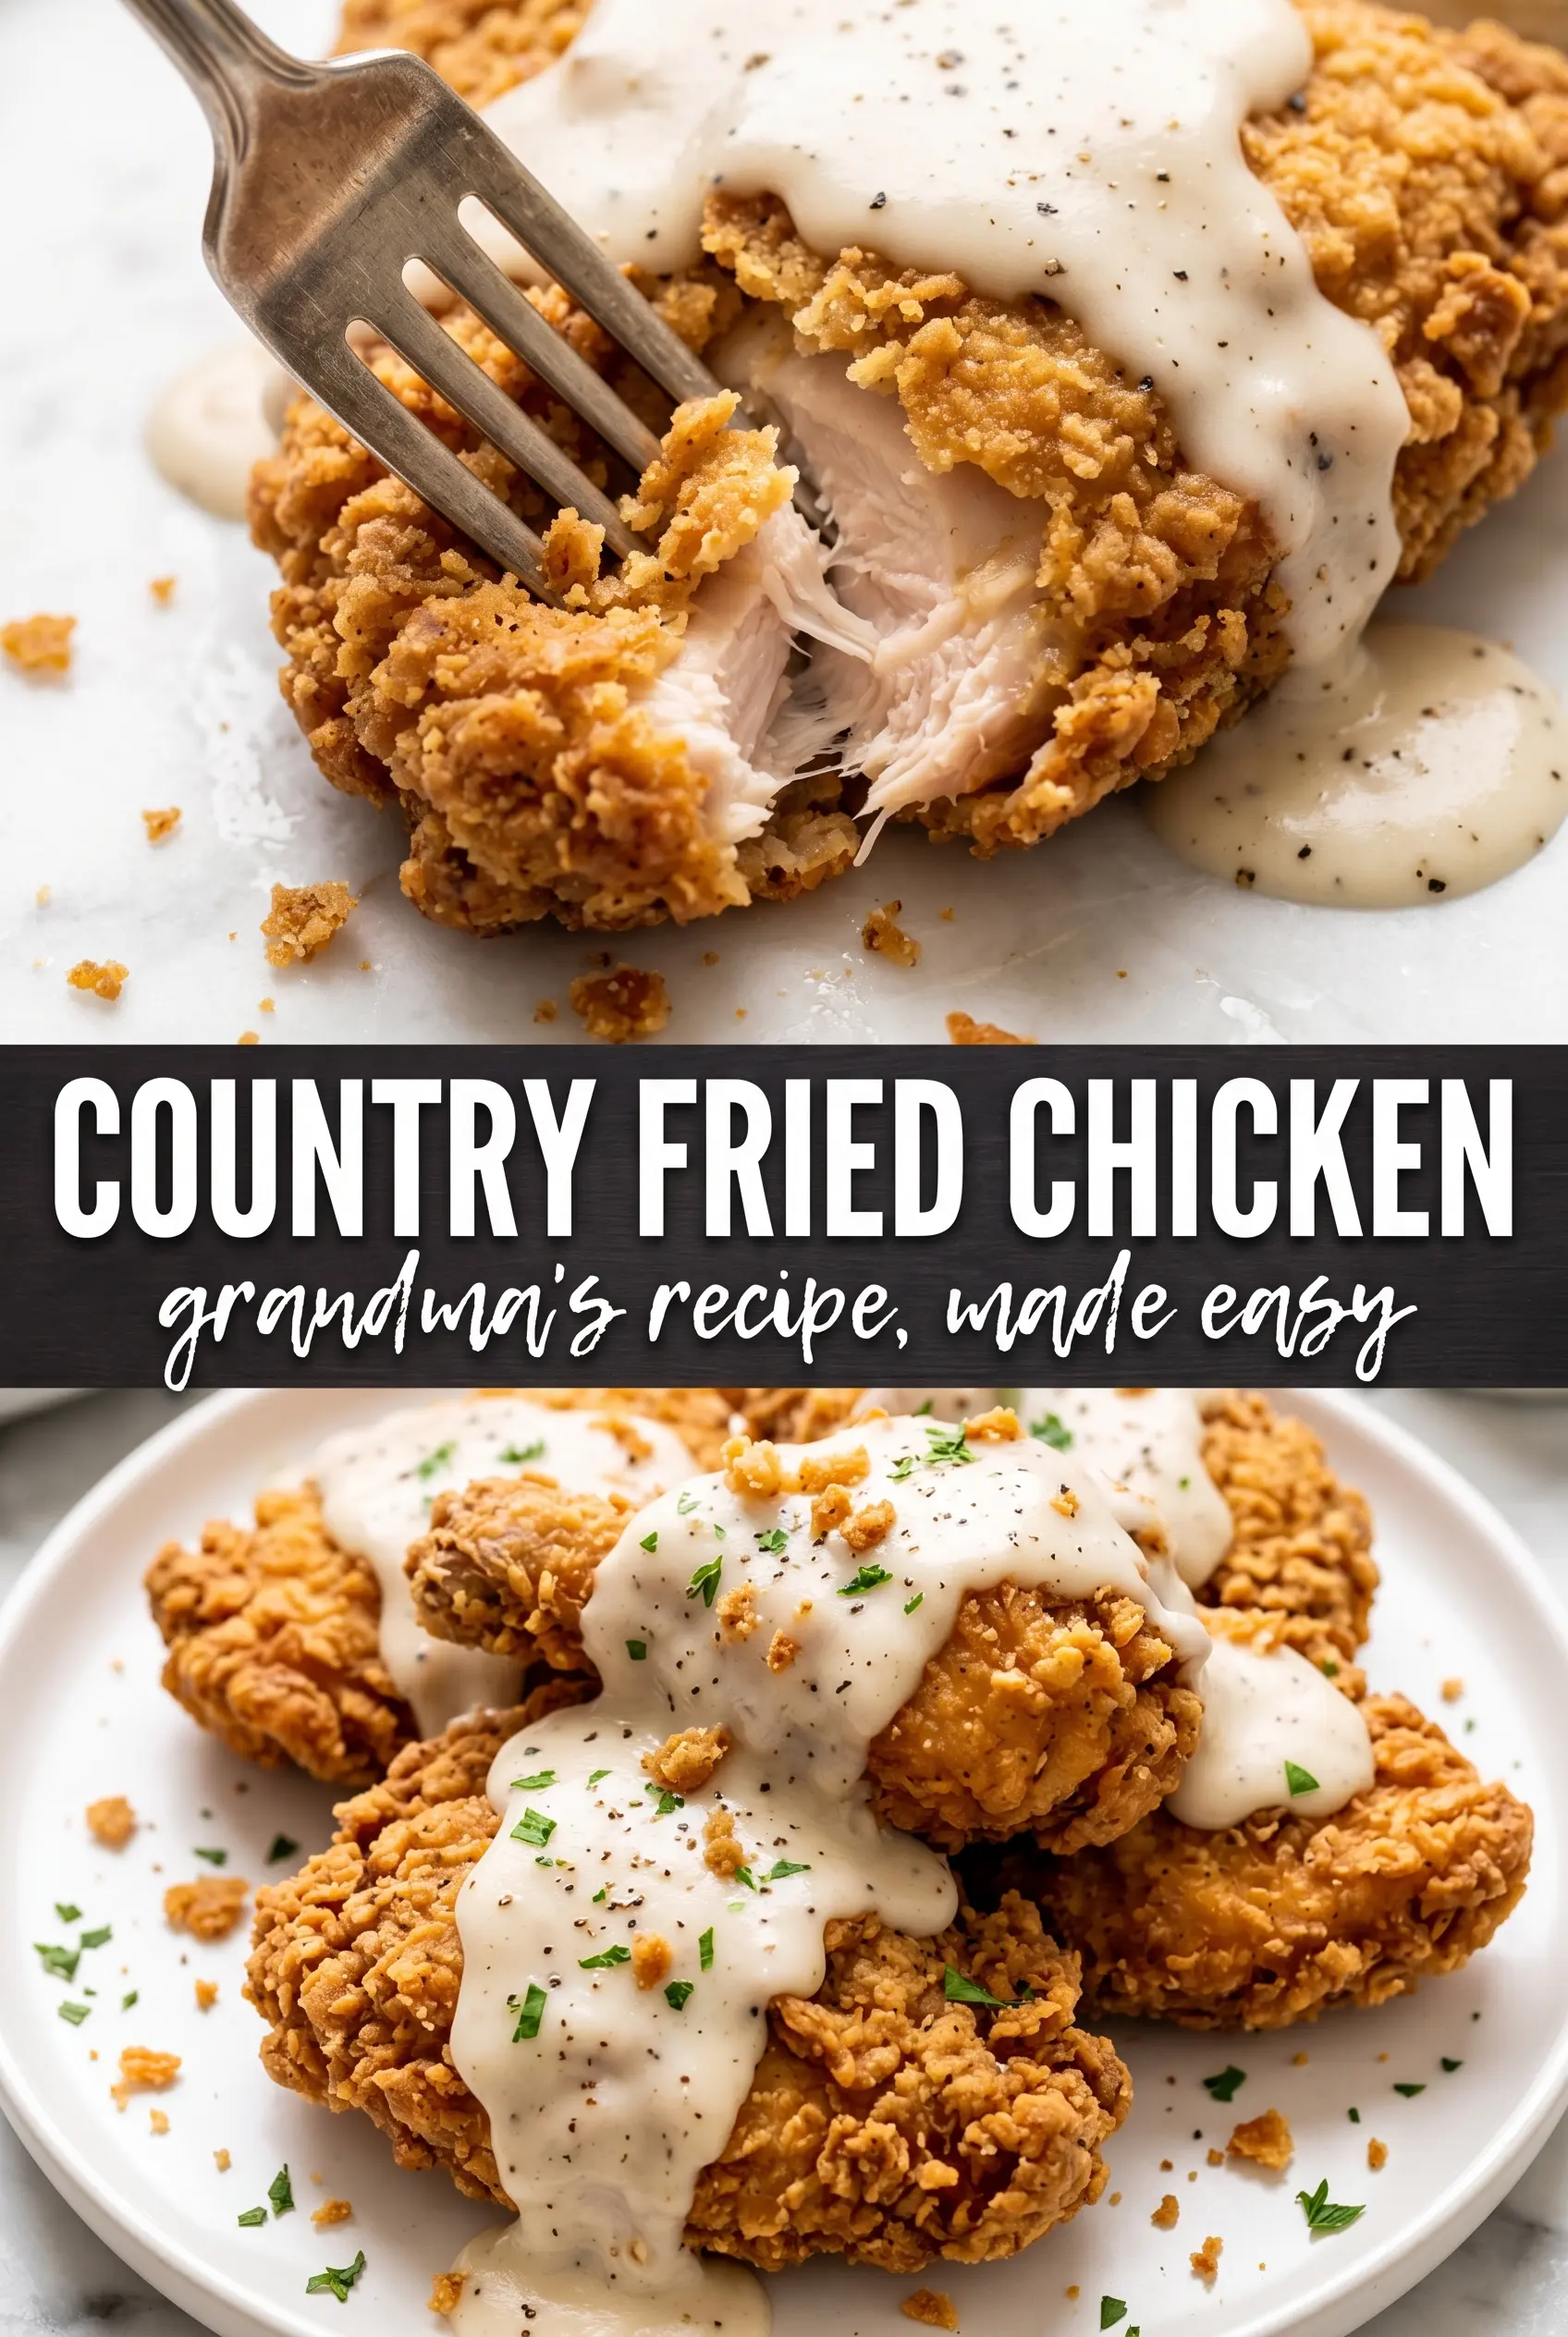
Country fried chicken hits the table with the kind of crust that cracks when you cut into it and a juicy center that stays tender all the way through. The coating is thick, deeply seasoned, and fried until the surface turns a rugged golden brown that stands up to a pour of white gravy without turning soggy in the first minute.
What makes this version work is the buttermilk soak and the double dredge. The buttermilk seasons the chicken from the inside and helps the flour cling, while the second coating builds those craggy bits that fry up extra crisp. Keeping the oil at a steady 350°F matters just as much as the breading — too cool and the crust goes greasy, too hot and the outside burns before the meat is done.
Below, I’ve included the small details that make this recipe reliable, from getting the breading to stick to making the gravy off the pan drippings without lumps. If country fried chicken has ever come out pale, soft, or bland for you, the fix is in the process, not just the ingredients.
The crust stayed shatteringly crisp even after I poured the gravy on, and the buttermilk made the chicken super tender. My husband kept saying the coating had those little craggy bits he loves.
Save this country fried chicken for the night you want a crunchy crust, juicy meat, and gravy that clings to every bite.
The Trick to a Craggy Crust That Stays Put
The biggest mistake with fried chicken is rushing the coating. If the chicken goes straight from the buttermilk into the flour and then into the oil, the crust can slide off in sheets. Pressing the flour on firmly, then dipping and dredging again, creates a thicker shell with little ridges that fry up into the best crunchy edges.
The other thing that matters is rest time after dredging. Give the coated chicken a few minutes on a rack or tray before frying so the flour hydrates and grabs on. That short pause helps the breading set, which means less loss in the skillet and a better chance of getting that rugged, textured crust instead of a smooth one.
What Each Ingredient Is Doing in This Chicken
- Bone-in chicken pieces — Bone-in cuts stay juicier through frying and are much more forgiving than boneless pieces. Thighs give you the richest result, but breasts work well if you keep an eye on temperature and don’t overcook them.
- Buttermilk — This is the soak that makes the meat tender and gives the flour something sticky to cling to. Regular milk won’t give the same tang or texture; if you’re out of buttermilk, mix milk with a little lemon juice or vinegar and let it sit 5 minutes.
- Hot sauce — You won’t taste heat in a bold way here, but it sharpens the buttermilk and seasons the chicken all the way through. Any vinegar-based hot sauce works.
- Smoked paprika, garlic powder, onion powder, cayenne, black pepper — These build a savory, peppery crust that tastes seasoned all the way through, not just salty. Freshly cracked black pepper gives the coating a better bite than finely ground pepper.
- All-purpose flour — This is what creates the crust and the gravy. Self-rising flour can work in a pinch, but it changes the texture and can make the breading puffier and less crisp.
- Whole milk — The gravy needs the body of whole milk to turn creamy instead of thin. Lower-fat milk works, but the sauce won’t have the same round, rich finish.
- Pan drippings — Those browned bits left after frying are the base of the gravy and carry the best flavor in the dish. If your drippings are dark but not burnt, they’ll make the gravy taste deeper and more savory.
How to Fry the Chicken Without Losing the Coating
Soaking the Chicken
Submerge the chicken in the buttermilk and hot sauce long enough for the surface to soften and absorb seasoning. Thirty minutes works if you’re short on time, but overnight gives you the most tender meat and the best grip for the flour. If you skip the soak, the coating won’t cling as well and the chicken can taste flat in the middle.
Building the Flour Crust
Mix the flour with the spices in a shallow dish, then lift each piece out of the buttermilk and let the excess drip off before dredging. Press the flour on with your hands so it actually sticks, then dip the chicken back into the buttermilk and coat it again for those rough, craggy patches. The surface should look shaggy, not smooth.
Keeping the Oil at 350°F
Heat enough oil to come halfway up the chicken and watch the thermometer closely. Around 350°F is the sweet spot: hot enough to seal the crust quickly, but not so hot that the outside darkens before the center reaches 165°F. If the oil drops hard when the chicken goes in, let it climb back before adding more pieces.
Frying to the Right Color and Temperature
Fry in batches so the skillet isn’t crowded, and turn the chicken only when the first side is a deep golden brown and releases easily. Crowding traps steam and softens the coating, which is how fried chicken turns patchy instead of crisp. Drain on paper towels or, better yet, a rack so the bottom doesn’t steam itself limp.
Making the White Gravy from the Drippings
Whisk the flour into the warm drippings first and cook it for a minute to knock out the raw flour taste. Then add the milk slowly while whisking so the gravy stays smooth and lump-free. If it turns too thick, splash in a little more milk; if it tastes pasty, it needed a touch more time on the heat.
How to Adapt Country Fried Chicken for Different Kitchens
Bone-in thighs instead of breasts
Thighs stay juicier and are a little more forgiving if your oil runs hot. They also give you a richer bite under the gravy, though they can take a few extra minutes to reach temperature.
Gluten-free coating
Use a cup-for-cup gluten-free flour blend that includes starches for a lighter crust. The texture won’t be exactly the same as wheat flour, but it will still fry up crisp if you press the coating on firmly and don’t crowd the pan.
Lighter spice level
Cut the cayenne in half if you want a milder finish. You’ll still get plenty of savory flavor from the garlic, onion, paprika, and black pepper, just with less heat in the crust.
Gravy without drippings
If you want the chicken on its own or don’t have enough drippings, start the gravy with 2 tablespoons of butter instead. It won’t have the same fried-chicken depth, but it will still come out creamy and smooth.
Storage and Reheating
- Refrigerator: Store the chicken for up to 3 days. The crust softens in the fridge, but it can be brought back with dry heat.
- Freezer: Freeze the fried chicken without gravy for up to 2 months. Wrap pieces tightly and thaw in the fridge before reheating so the coating doesn’t steam.
- Reheating: Reheat on a wire rack in a 375°F oven until hot and crisp again, usually 15 to 20 minutes. The biggest mistake is microwaving, which makes the breading go limp fast.
Questions I Get Asked About This Recipe
Country Fried Chicken
Ingredients
Equipment
Method
- Combine the bone-in chicken pieces with buttermilk and hot sauce, then soak for at least 30 minutes or overnight, fully submerging as best as possible. Keep it in the refrigerator during soaking for food safety, and pause when the chicken looks evenly coated with buttermilk.
- Whisk all-purpose flour, garlic powder, onion powder, smoked paprika, cayenne pepper, salt, and cracked black pepper together in a shallow dish. Mix until the flour looks evenly speckled with spices.
- Remove chicken from the buttermilk, letting excess drip off, then dredge firmly in the seasoned flour coating. Press to form a thick layer, and shake off loose flour.
- Repeat the dip-and-dredge process by returning the chicken to any remaining buttermilk, letting excess drip off again, then dredging a second time in the seasoned flour coating. Stop when the coating looks rough and clinging thickly to the chicken.
- Heat 2-3 inches of vegetable oil to 350°F in a large cast iron skillet. Wait until the oil holds a steady 350°F and looks shimmering before frying.
- Fry chicken for 10-12 minutes per side, turning once when the coating is deeply golden. Cook until the internal temperature reaches 165°F and the crust looks firm and crisp.
- Transfer fried chicken to paper towels to drain. Let it rest briefly so the coating sets and stays crunchy.
- For the gravy, whisk pan drippings and flour in a skillet over medium heat for 1 minute. Stir constantly until the mixture looks smooth and slightly thickened.
- Gradually whisk in whole milk and cook until thickened, keeping the mixture at a gentle simmer level. Continue whisking until the gravy coats the back of a spoon.
- Season with salt and pepper to taste. Taste and adjust until the flavor is balanced without thinning the gravy.
- Serve the chicken immediately with white gravy poured over the top. Pour generously so the gravy pools around the base while the chicken coating is still crisp.