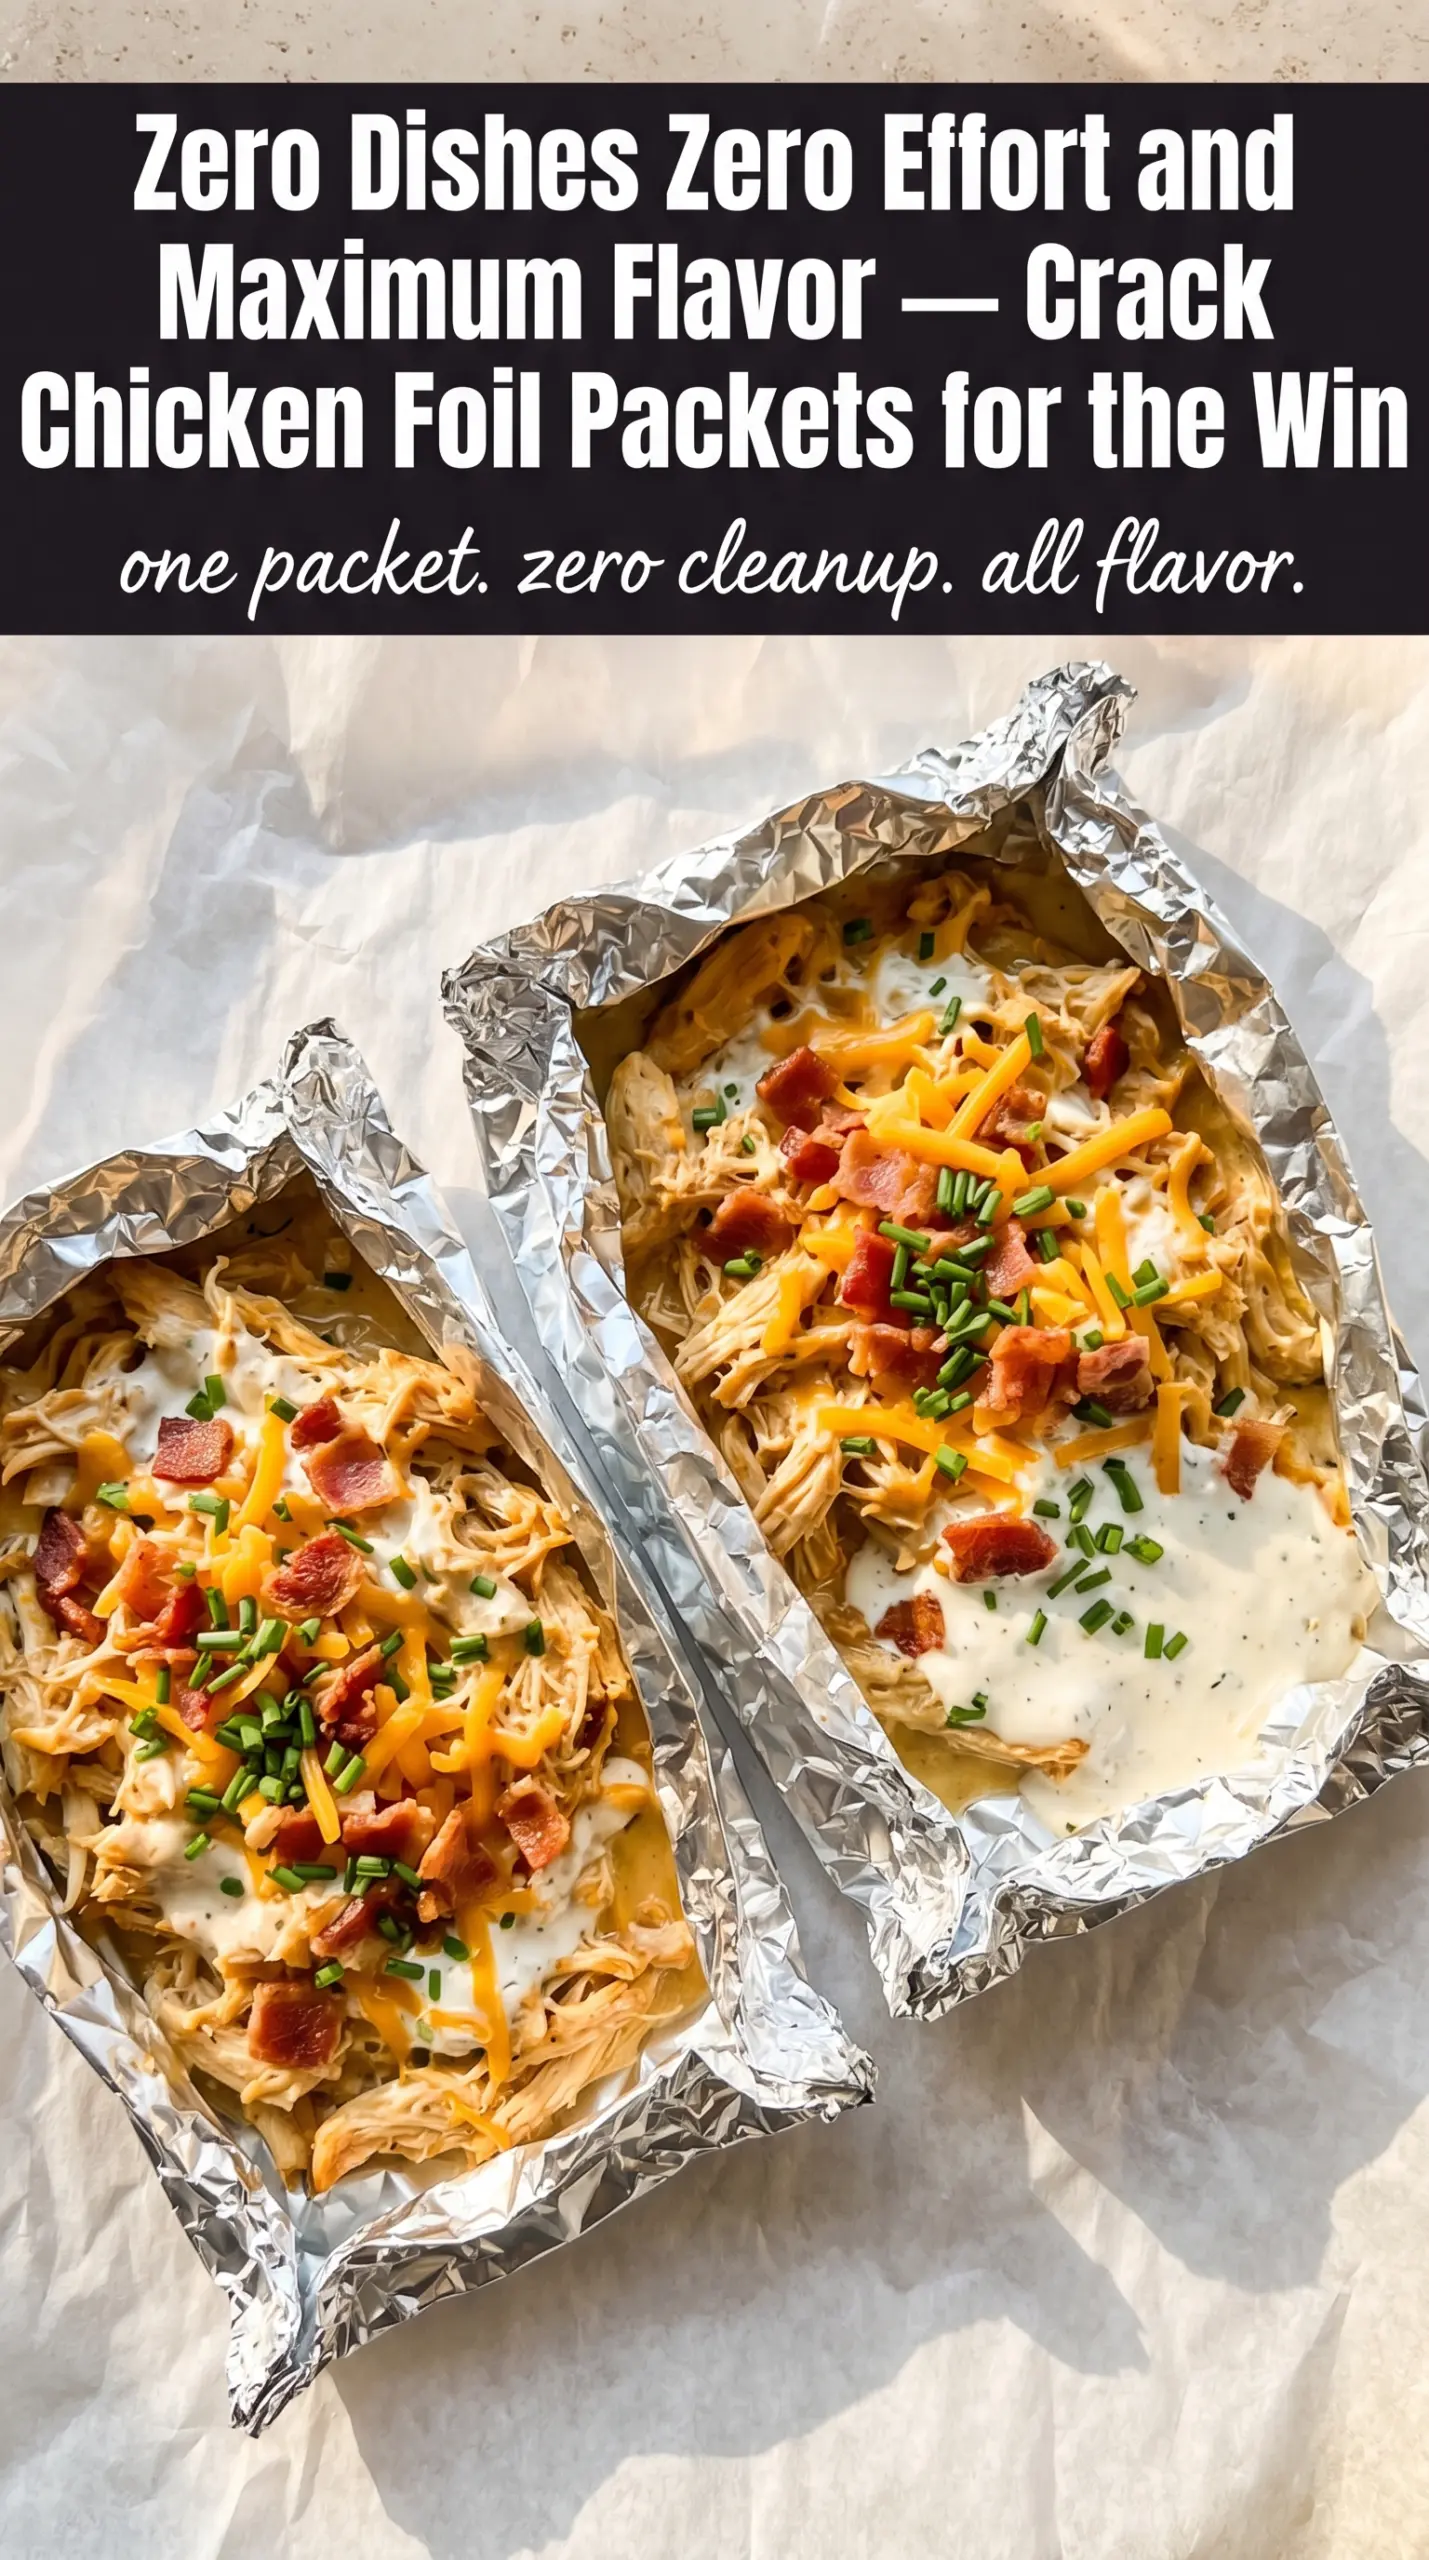
Crack Chicken Foil Packets come out tender, smoky, and packed with the kind of melted ranch-and-cheddar topping that turns a simple chicken breast into a meal people hover over at the table. The foil keeps everything contained while the chicken steams and the cheese melts into the bacon, so you get juicy meat instead of dry, overcooked chicken.
What makes this version work is the order: the seasoning goes directly on the chicken, then the cream cheese sits in little cubes so it melts evenly instead of disappearing into a greasy puddle. Heavy-duty foil matters here, too, because thin foil tears when the packets are moved on and off a hot grate. If you’ve ever opened a packet and found stubbornly undercooked chicken in the center, the fix is simple: keep the pieces in a single layer and give them the full 20 to 25 minutes over medium heat.
Below you’ll find the little details that keep the packets sealed, the cheese creamy, and the chicken cooked through without drying out. I also included a few smart swaps for oven baking and easy make-ahead prep.
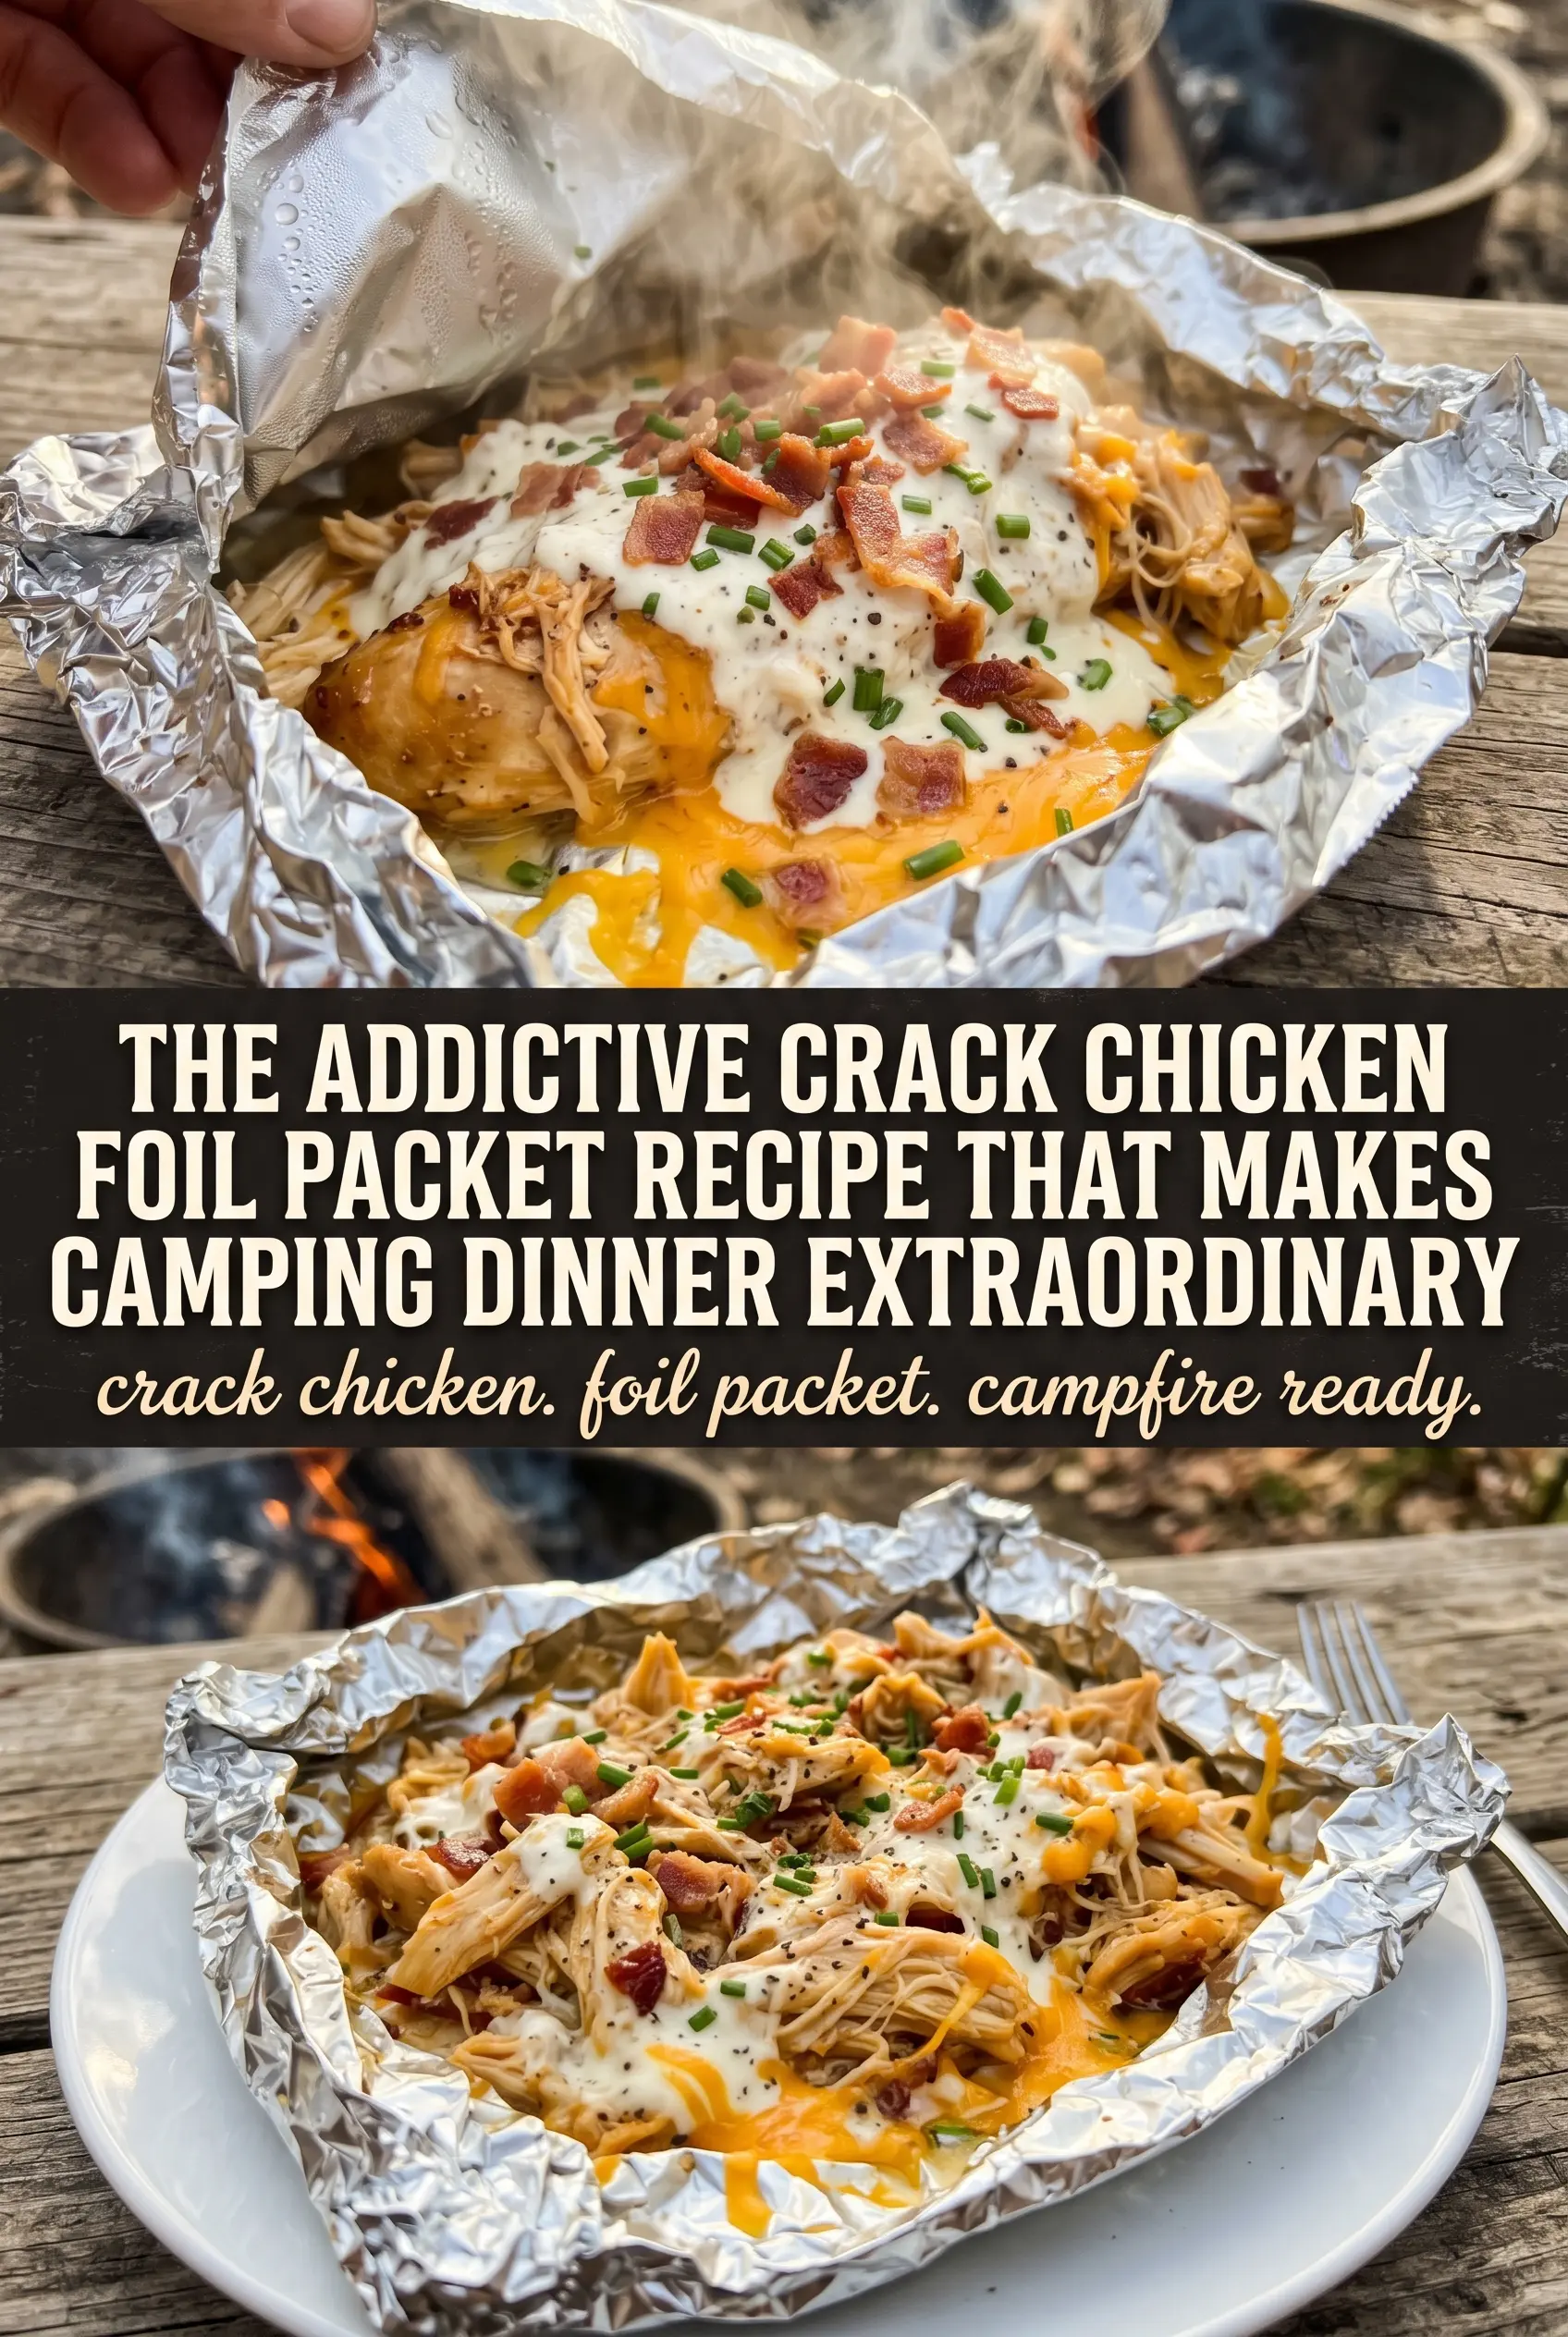
The chicken stayed juicy, and the cream cheese melted into the bacon and ranch instead of clumping up. I cooked them on the grill for 22 minutes and the packets opened up perfectly.
Save these Crack Chicken Foil Packets for an easy campfire dinner with juicy chicken, bacon, ranch, and melted cheddar.
The Trick to Keeping Foil Pack Chicken Juicy Instead of Dry
Foil packet chicken lives or dies by steam control. If the packet is loosely folded, the juices escape and the chicken dries out before the cheese has time to melt properly. If it is sealed too tightly around a thick pile of toppings, the center can cook unevenly because heat moves slowly through the filling. The sweet spot is a snug packet with enough room for the steam to circulate.
Even thickness matters more than most people think. A chicken breast with one thick end and one thin end will finish in two different states, which is how you end up with dry edges and a pink center. Pound the chicken lightly if it is especially uneven, or choose breasts that are close in size so they finish together. Medium heat gives the chicken time to cook through while the cheese softens instead of scorching at the edges.
What Each Ingredient Is Actually Doing in the Packet
- Boneless chicken breasts — These are the base and need to be close in size so they cook at the same rate. If yours are large, slice them horizontally into thinner cutlets; that gives you a faster, more even cook and keeps the packets from needing extra time that would dry out the cheese.
- Ranch seasoning mix — This carries the salt, herbs, and tang that make the whole packet taste complete. Homemade ranch-style seasoning can work, but the packaged mix has the exact punch this recipe needs without adding extra moisture.
- Bacon — Cook it first and crumble it. Raw bacon won’t fully crisp in the packet, and it can release too much fat before the chicken is done. Pre-cooked bacon gives you smoky flavor without making the filling greasy.
- Cream cheese — Cube it instead of spreading it. Small pieces melt into the chicken and bacon more evenly, while a solid block takes too long to soften in the center.
- Cheddar cheese — Sharp cheddar gives the packets the best balance against the ranch seasoning. Pre-shredded cheese works fine, though freshly shredded melts a little smoother if you have the extra minute.
- Heavy-duty aluminum foil — This is worth using because the packets need to be flipped, lifted, and opened over heat without tearing. Regular foil can split at the seams, which lets the juices leak out and can leave you with scorched edges and a dry center.
- Green onions — Add these for a fresh bite at the end. They don’t need to cook down completely; they just need enough heat to soften slightly and brighten the rich filling.
Building the Packet So Everything Melts at the Same Time
Seasoning the Chicken Directly
Lay each chicken breast on its own sheet of foil and sprinkle the ranch seasoning evenly over the top. The seasoning needs direct contact with the meat, not just the cheese layer, or it ends up tasting salty in spots and bland in others. If a breast is especially thick, press the seasoning onto the surface with your hand so it sticks before you add the toppings.
Stacking the Toppings in the Right Order
Go with bacon first, then cheddar, then the cream cheese cubes, then the green onions. That order matters because the bacon and cheddar help hold the cream cheese in place while it melts, instead of letting it run off the sides. If you pile everything into one tight mound, the center cooks slower than the edges, so spread the toppings across the top of the chicken in an even layer.
Sealing and Cooking Over Medium Heat
Fold the foil into a tight packet with the seam crimped well, but leave a little space above the toppings so the steam can move. Set the packets on a campfire grate over medium heat for 20 to 25 minutes, and resist the urge to open them early. If the packets are opened too soon, the chicken drops heat fast and the cheese can look underdone even when the meat is nearly there. The safest check is internal temperature: 165°F in the thickest part.
Opening Without Losing the Juices
Open each packet carefully and angle the steam away from your hands and face. The chicken should be juicy, the cheese glossy, and the bacon edges a little crisped from the heat. If there is a pool of liquid in the packet, that is normal; let it sit for a minute after opening so the sauce settles instead of running everywhere when you serve.
How to Adapt These Foil Packets for the Oven, the Grill, or a Lower-Carb Plate
Oven-Baked Foil Packets
Bake the sealed packets on a sheet pan at 400°F for about 25 minutes. This is the easiest swap when you don’t have a grill or campfire, and the result is nearly the same: juicy chicken and melted topping without the smoke. Use a rimmed pan so any leaked juices stay contained.
Grill Version with a Little More Char
Keep the packets over medium heat and move them to a cooler spot if the foil starts to darken too fast. The grill gives the bacon and cheese a deeper savory edge, but hot spots can burn the outside before the chicken cooks through. Rotate the packets once if your grill has uneven heat.
Low-Carb Serving Ideas
The recipe is already naturally low in carbs, so the main adjustment is what you serve alongside it. Spoon the chicken and sauce over cauliflower rice or serve with roasted broccoli to catch the melted cheese. That keeps the meal filling without changing the packet itself.
Storage and Reheating
- Refrigerator: Store leftovers in an airtight container for up to 3 days. The bacon softens a bit, but the flavor stays strong.
- Freezer: Freeze cooked chicken and sauce together for up to 2 months, though the cream cheese filling can separate slightly after thawing. Wrap tightly and thaw overnight in the fridge before reheating.
- Reheating: Reheat covered in a 325°F oven until hot, or warm gently in the microwave at half power. High heat is the fastest way to make the chicken tough and push the cheese oil out of the sauce.
Answers to the Questions Worth Asking
Crack Chicken Foil Packets
Ingredients
Equipment
Method
- Place each boneless chicken breast on a sheet of heavy-duty aluminum foil.
- Sprinkle each chicken breast with ranch seasoning mix.
- Top each chicken breast with crumbled bacon slices, shredded cheddar cheese, cubed cream cheese, and sliced green onions.
- Fold the foil into sealed packets so the seams are tightly closed.
- Place the sealed packets on a campfire grate over medium heat for 20-25 minutes, until the chicken reaches 165°F.
- Carefully open the foil packets and serve hot, letting the melted cheese and bacon-ranch mixture pool in the packet.