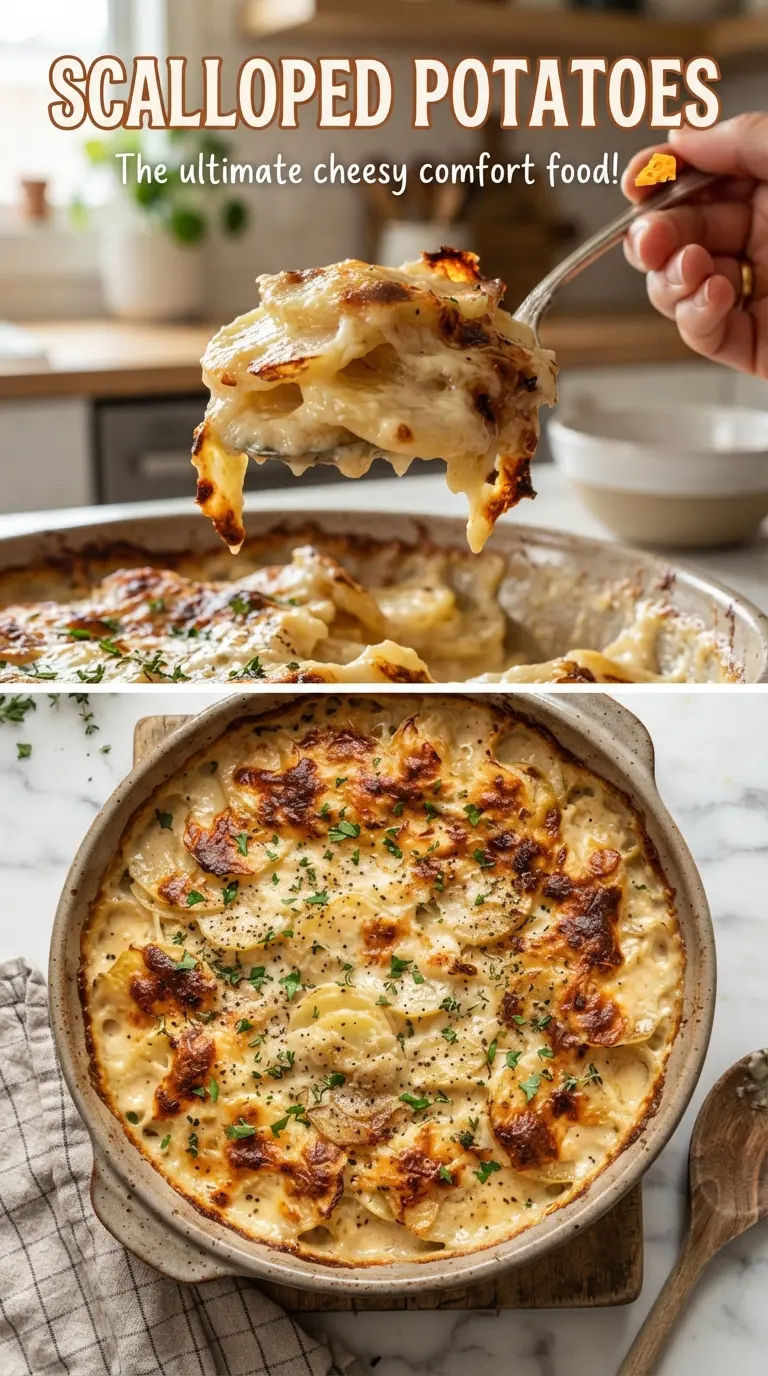
Scalloped potatoes land on the table as a soft, creamy stack with crisp edges and a browned top that cracks just a little when the spoon goes in. The best versions don’t turn to mush or separate into greasy layers; they hold their shape, but only just, with each slice tender enough to eat cleanly and rich enough to stand on its own. When they’re done right, the sauce clings to the potatoes instead of pooling at the bottom of the dish.
This version leans on a simple milk-and-cream sauce thickened with a flour roux, which gives the dish enough body to coat every layer without turning gluey. Russet potatoes work well here because they release starch as they bake, helping the sauce tighten around the slices. Thin, even slicing matters more than anything else. If the potatoes are cut unevenly, the thin ones collapse before the thicker ones are tender.
Below, I’ll walk through the part that keeps scalloped potatoes creamy instead of watery, plus the one resting step that makes serving a lot easier. There’s also a good shortcut for getting ahead if you’re cooking for a holiday or a crowd.
The sauce thickened beautifully and stayed creamy after baking, and the potatoes were tender all the way through without falling apart.
Save these creamy scalloped potatoes for the side dish that bakes up tender, layered, and golden on top.
The Step That Keeps Scalloped Potatoes Creamy Instead of Watery
The biggest failure in scalloped potatoes is usually a sauce that looks perfect going into the oven and then turns thin around the edges or greasy on top. That happens when the sauce never thickens enough before it meets the potatoes, or when the pan goes into the oven with uneven slices that cook at different speeds. A properly made roux gives the sauce enough backbone to stay creamy through a long bake.
There’s another detail worth respecting: the potatoes need to be sliced evenly and layered with some overlap, not dumped in loose. The overlapping slices help the sauce settle between layers instead of sliding straight to the bottom. Once the dish is covered, the steam finishes the potato slices gently, and the final uncovered bake sets the top without drying out the center.
What Each Ingredient Is Actually Doing in This Dish
- Russet potatoes — These are the right choice because they soften deeply and release enough starch to help the sauce cling. Yukon Golds can work, but the finished texture will be a little silkier and less sturdy. Slice them as evenly as you can; that matters more than the specific knife you use.
- Whole milk and heavy cream — The combination gives the sauce richness without making it too heavy. If you swap in all milk, the dish still works, but the sauce will be a little looser. If you use lower-fat dairy, expect a thinner finish.
- Butter and flour — This roux is what keeps the sauce stable during the bake. If you skip it, the dairy can separate and the dish ends up pooling liquid around the potatoes. Cook the flour for the full minute so the sauce doesn’t taste raw.
- Onion and garlic — They build the savory base under the cream. The onion softens as the dish bakes, so it doesn’t need pre-cooking, but the garlic should go into the butter first just long enough to smell fragrant, not brown.
- Parmesan and thyme — Parmesan gives the top a salty, nutty finish and helps the crust brown. Thyme keeps the sauce from tasting flat and heavy. Fresh thyme is best here, but dried thyme works in a smaller amount if that’s what you have.
Building the Sauce and Layering the Pan So Nothing Breaks
Start with the roux
Melt the butter, then cook the garlic for about 30 seconds just until fragrant. Whisk in the flour and let it bubble for a full minute; it should look pasty and smooth, not wet and sandy. That minute matters because raw flour tastes chalky, and an undercooked roux won’t hold the dairy as well.
Thicken the dairy before it meets the potatoes
Pour in the milk and cream gradually while whisking, which keeps the sauce smooth instead of lumpy. Let it simmer until it lightly coats a spoon, then season with salt, pepper, and thyme. If it looks thin on the stove, it will stay thin in the oven, so don’t rush this part.
Build the layers with even coverage
Spread the potatoes and onion in three layers, pouring sauce over each layer so the bottom doesn’t dry out. The sauce should seep between the slices, not just sit on top. Cover tightly with foil for the first bake; that trapped steam is what softens the potatoes without browning them too soon.
Finish uncovered for the top and edges
Once the potatoes are fork-tender, remove the foil and add the Parmesan. Bake until the top is golden and the edges are bubbling, with a knife sliding through the center without resistance. Let it rest for 15 minutes before serving, or the sauce will run apart the moment you cut in.
How to Adapt These Potatoes for a Crowd, a Simpler Menu, or a Dairy-Free Table
Make-ahead for a holiday meal
You can assemble the dish earlier in the day, cover it, and refrigerate it before baking. The potatoes may need a little extra time in the oven if they go in cold, so judge doneness by tenderness in the center rather than the clock alone. Let the dish sit at room temperature for about 20 minutes before baking so it heats more evenly.
Dairy-free version
Use a full-fat unsweetened oat milk or cashew milk and a plant-based cream that holds up to heat. The sauce won’t be quite as rich as the original, and it may not brown as deeply, but it will still bake into a creamy casserole if you keep the sauce properly thickened on the stove.
Using Yukon Gold potatoes
Yukon Golds give a smoother, more buttery texture and hold their shape a little better than russets. The dish will taste slightly less fluffy and a little more dense, which some people prefer. Slice them just as evenly, because their lower starch content means the sauce won’t thicken around them quite as much.
Storage and Reheating
- Refrigerator: Store leftovers covered for up to 4 days. The sauce will tighten as it chills, and the potatoes will slice a little more cleanly the next day.
- Freezer: It can be frozen, but the texture softens after thawing and reheating. For the best result, cool completely, wrap well, and freeze in portions so you only reheat what you need.
- Reheating: Cover with foil and warm in a 350°F oven until hot in the center. Microwaving works for a single serving, but it softens the texture faster; if you use the microwave, heat in short bursts so the sauce doesn’t split.
Answers to the Questions Worth Asking

Scalloped Potatoes
Ingredients
Equipment
Method
- Preheat oven to 375F, then butter a 9x13-inch baking dish.
- Melt butter, cook garlic for 30 seconds, then whisk in flour for 1 minute.
- Gradually whisk in milk and cream, then simmer until slightly thickened.
- Season the sauce with salt, black pepper, and thyme.
- Layer potatoes and onion in the dish in three layers, pouring sauce over each layer.
- Cover with foil and bake for 1 hour.
- Uncover, sprinkle with Parmesan, and bake 25 to 30 minutes until golden and fork-tender.
- Rest 15 minutes before serving so the layers set and the sauce thickens.