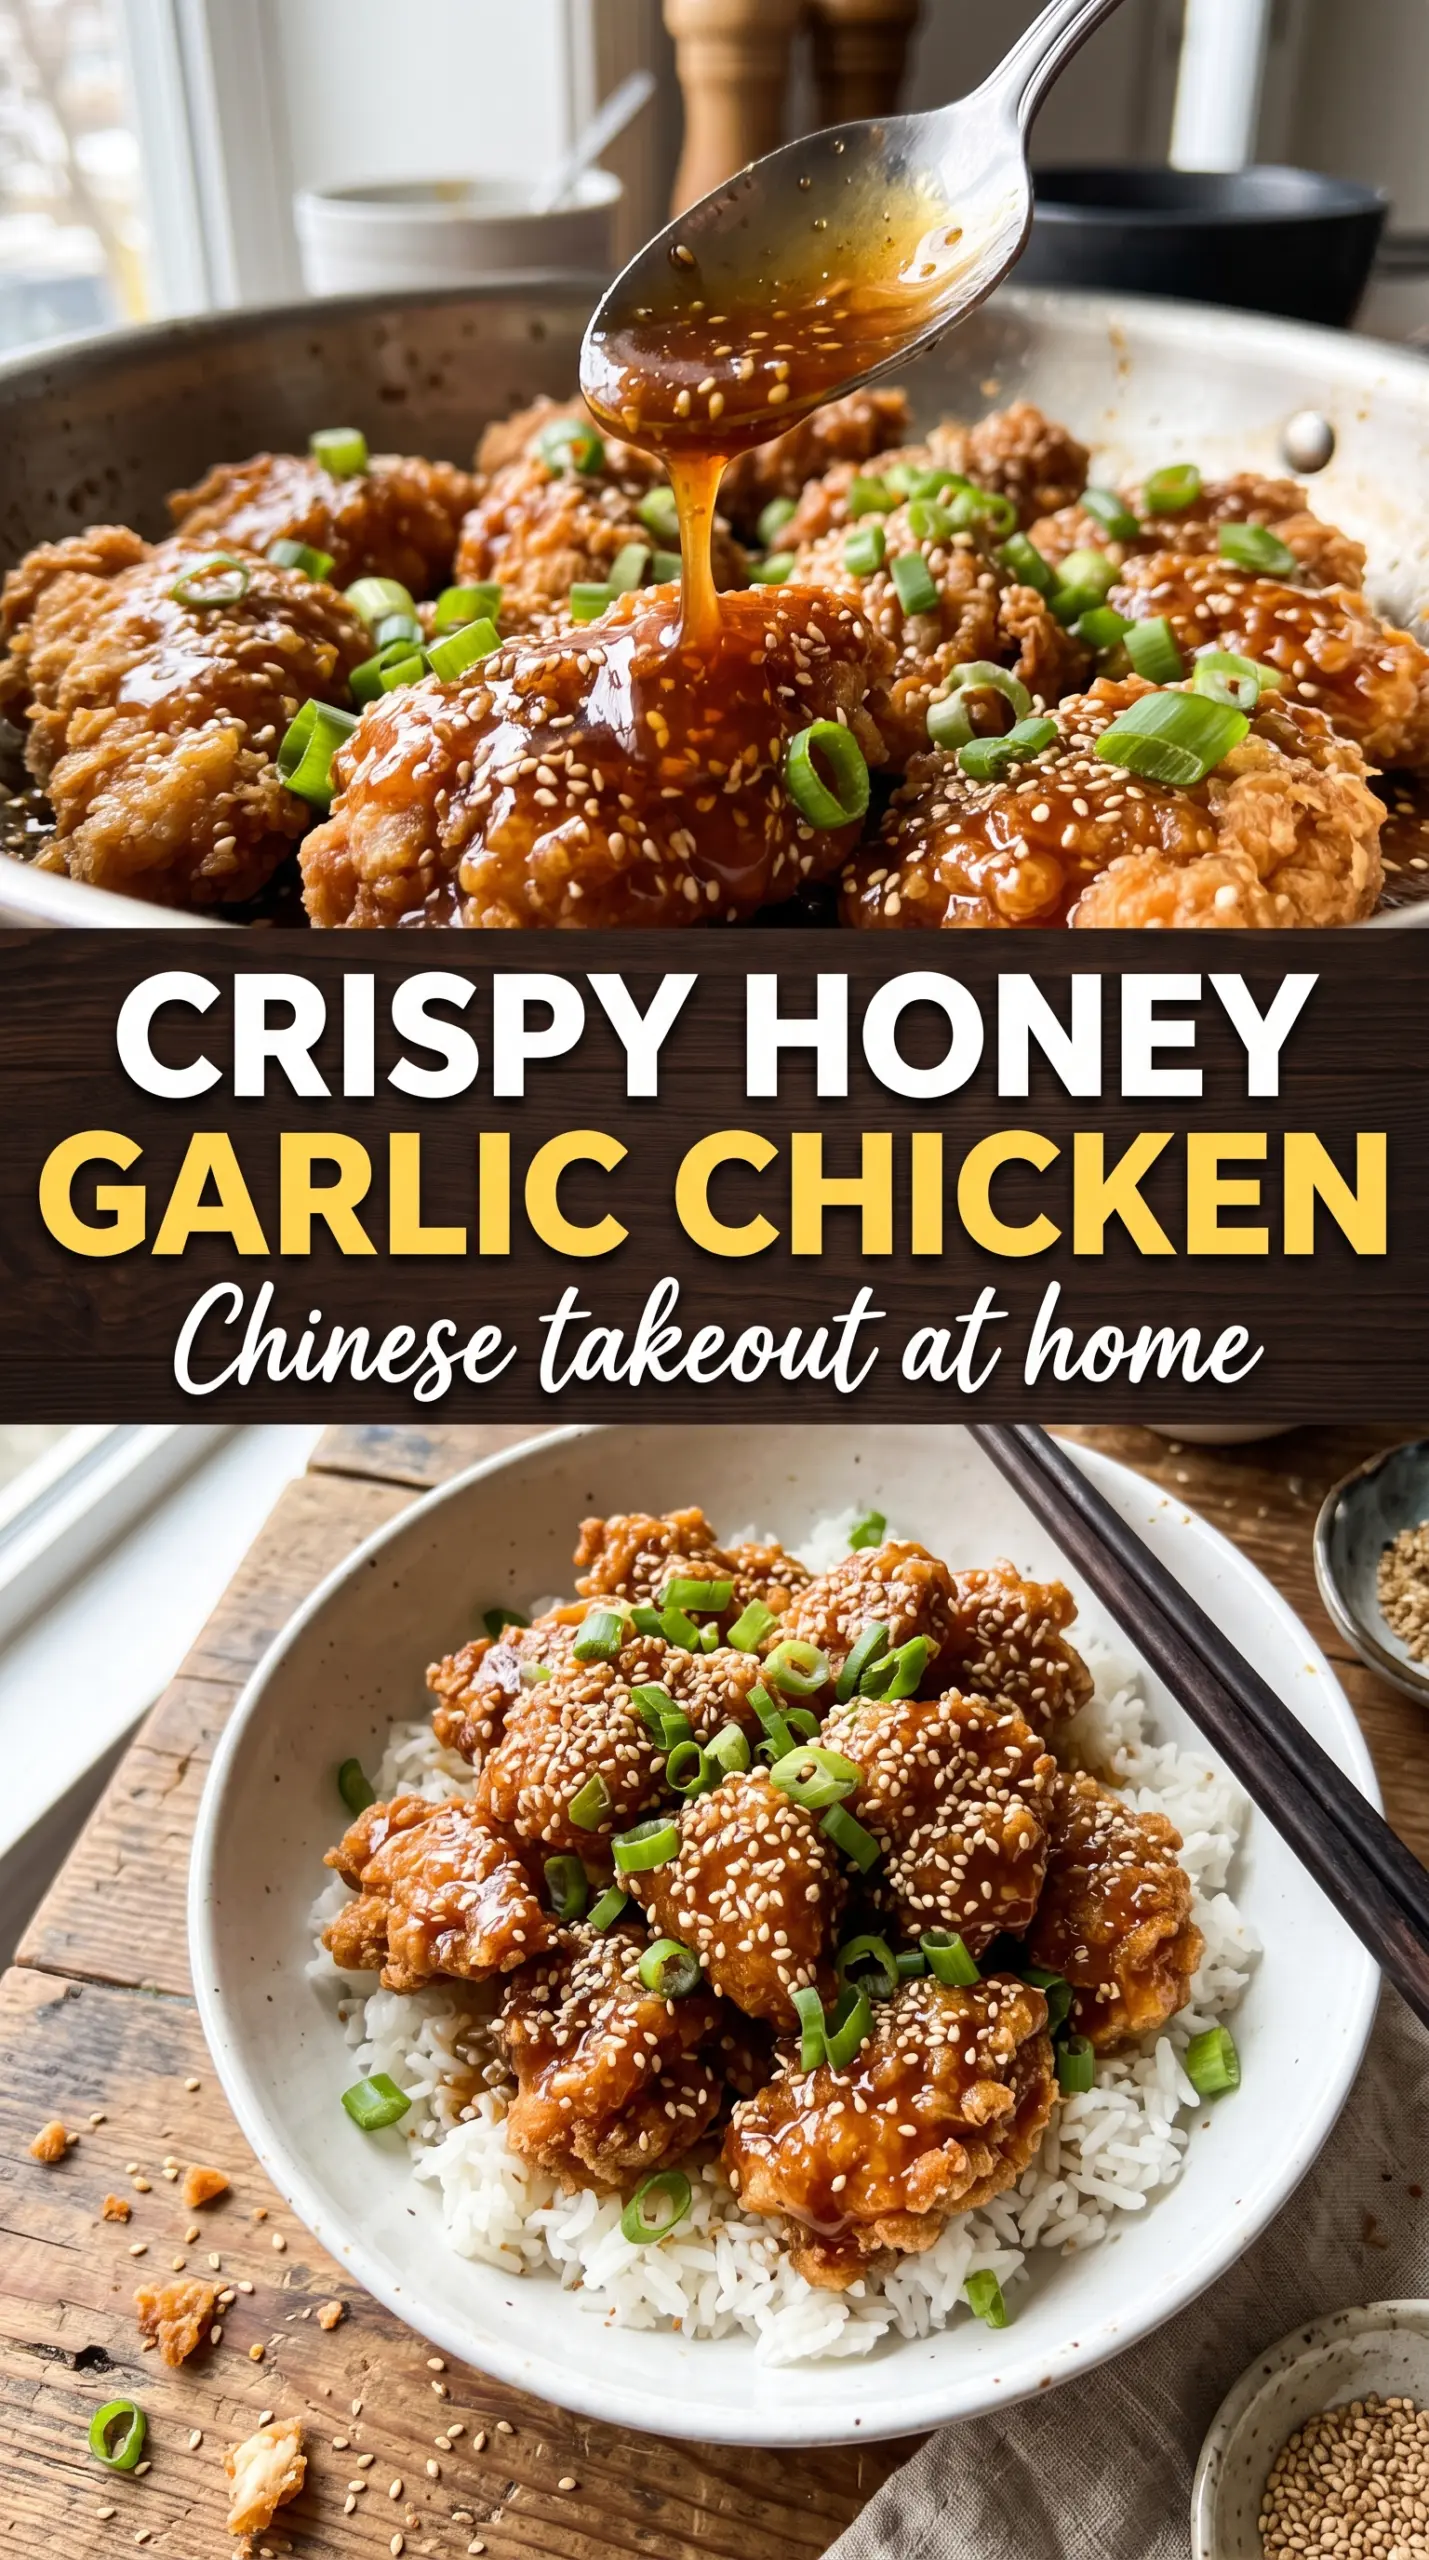
Shatteringly crisp chicken coated in a sticky honey garlic glaze earns its place at the table fast. The crust stays crunchy under the sauce long enough to get from pan to plate, and the glaze lands glossy, sweet-salty, and garlicky without turning syrupy or bland. It tastes like takeout, only fresher, brighter, and a lot more satisfying when you hear that first bite crackle.
The trick is a dry dredge built with both cornstarch and flour. Flour gives the chicken structure, while cornstarch keeps the coating light and blistered instead of heavy. Frying in batches matters too; crowded oil drops the temperature and gives you pale, greasy chicken instead of that deep golden crust everyone wants. The sauce uses a quick cornstarch slurry, so it thickens in minutes and clings to every ridge instead of pooling in the bowl.
Below you’ll find the small details that make this one work: how hot the oil should be, when to take the sauce off the heat, and how to keep the coating crisp long enough to serve. If you’ve had honey garlic chicken turn soggy before, this version fixes that.
The coating stayed crisp even after I tossed it in the sauce, and the honey garlic glaze thickened into that sticky takeout-style finish instead of running everywhere. My husband kept sneaking pieces from the bowl before I could serve it.
Crispy Chinese Honey Garlic Chicken is the one to pin for a glossy takeout-style dinner with crunchy coating and sticky garlic sauce.
The Coating Needs Cornstarch and Flour Working Together
Most crispy chicken recipes lean too far one way. All flour gives you a sturdier shell, but it can turn dense. All cornstarch gives you crunch, but it can go dusty and fragile. The blend here lands in the middle: thin enough to fry up light, sturdy enough to hold onto the sauce for a few minutes without collapsing immediately.
The egg wash matters because it gives the dry mixture something to grab onto. If you skip it, the coating tends to fall off in the oil or patch up during frying. The other part that matters is shaking off the extra dredge before the chicken hits the oil. Thick clumps brown too fast on the outside while the meat underneath is still catching up.
What the Sauce Ingredients Are Really Doing Here
- Honey — This is the body of the glaze. It gives you that lacquered shine and the sticky finish that clings to the chicken. A thinner syrup won’t give the same coating, so if you swap it, expect a looser sauce.
- Soy sauce — This keeps the sweetness in check and gives the sauce its deep savory edge. Use regular soy sauce for the best balance; low-sodium works too, but the sauce will taste a little softer and may need a pinch more salt.
- Rice vinegar — The acid keeps the glaze from tasting flat. If you use white vinegar instead, start with a little less because it bites harder. This tiny splash is what keeps the sauce tasting bright after the honey goes in.
- Cornstarch slurry — This is what turns the sauce from thin and drippy into glossy and clingy. Mix it with cold water before adding it or you’ll get lumps that never cook out cleanly.
- Sesame oil — Add it off the heat. It doesn’t thicken the sauce, but it adds the nutty finish that makes the dish taste complete. If it goes in early and cooks hard, the aroma fades fast.
Frying the Chicken Before the Sauce Goes On
Getting the Oil Hot Enough
Heat the oil to 375°F and keep it there as close as you can. If the oil is too cool, the chicken drinks it up and turns heavy. If it runs too hot, the coating browns before the thighs cook through. A thermometer takes the guesswork out here, and with a shallow batch fry like this, it earns its keep.
Frying in Small Batches
Lay the chicken into the oil gently and give each piece space. The surface should bubble immediately and steadily, not violently spike or go quiet. If the pieces touch, they steam each other and the crust goes patchy. Pull them when they’re deep golden and the centers are cooked through, then drain on a rack or paper towels while you finish the rest.
Building the Glaze Fast
Put the honey, soy sauce, garlic, and vinegar in a saucepan and bring it to a simmer. Once the slurry goes in, the sauce should thicken within a couple of minutes and coat the back of a spoon. If it turns paste-thick, you’ve cooked it too long; pull it off the heat as soon as it looks glossy and spoonable. Stir in the sesame oil after the burner is off so the flavor stays fresh.
Tossing Without Losing the Crunch
Move fast at the end. The sauce should go over the chicken right before serving, and each piece needs only enough tossing to get coated. If you let the chicken sit in the glaze, the crust softens. That doesn’t mean the dish fails, but the crisp edge is the whole point, so get it plated while the exterior still has some bite.
How to Change This Dish Without Losing the Crisp
Gluten-Free Version
Swap the all-purpose flour for a 1:1 gluten-free blend and use tamari instead of soy sauce. The coating still fries up crisp because the cornstarch is doing most of the textural work, but the shell may be a little more delicate, so handle the chicken gently after frying.
Air Fryer Adaptation
Spritz the coated chicken with oil and air fry in a single layer until deeply golden and cooked through. You won’t get the same shattering crust as a true fry, but you’ll still get a crisp exterior and a lighter finish. Toss it in the sauce only after cooking so the coating stays as firm as possible.
Less Sweet, More Savory
Cut the honey back a little and add an extra splash of soy sauce or a few drops more vinegar. That shifts the glaze away from candy-sweet and toward a darker, more savory finish. The sauce will still cling, but it tastes sharper and less sticky on the palate.
Storage and Reheating
- Refrigerator: Store leftovers in an airtight container for up to 3 days. The coating softens in the fridge, but the flavor stays strong.
- Freezer: Freeze the fried chicken pieces without sauce for the best texture. The sauce can be frozen separately, then reheated and tossed with freshly reheated chicken.
- Reheating: Reheat on a rack in a 375°F oven or air fryer until hot and crisp again, then warm the sauce separately and toss together right before serving. Microwaving makes the coating soggy fast.
Answers to the Questions Worth Asking
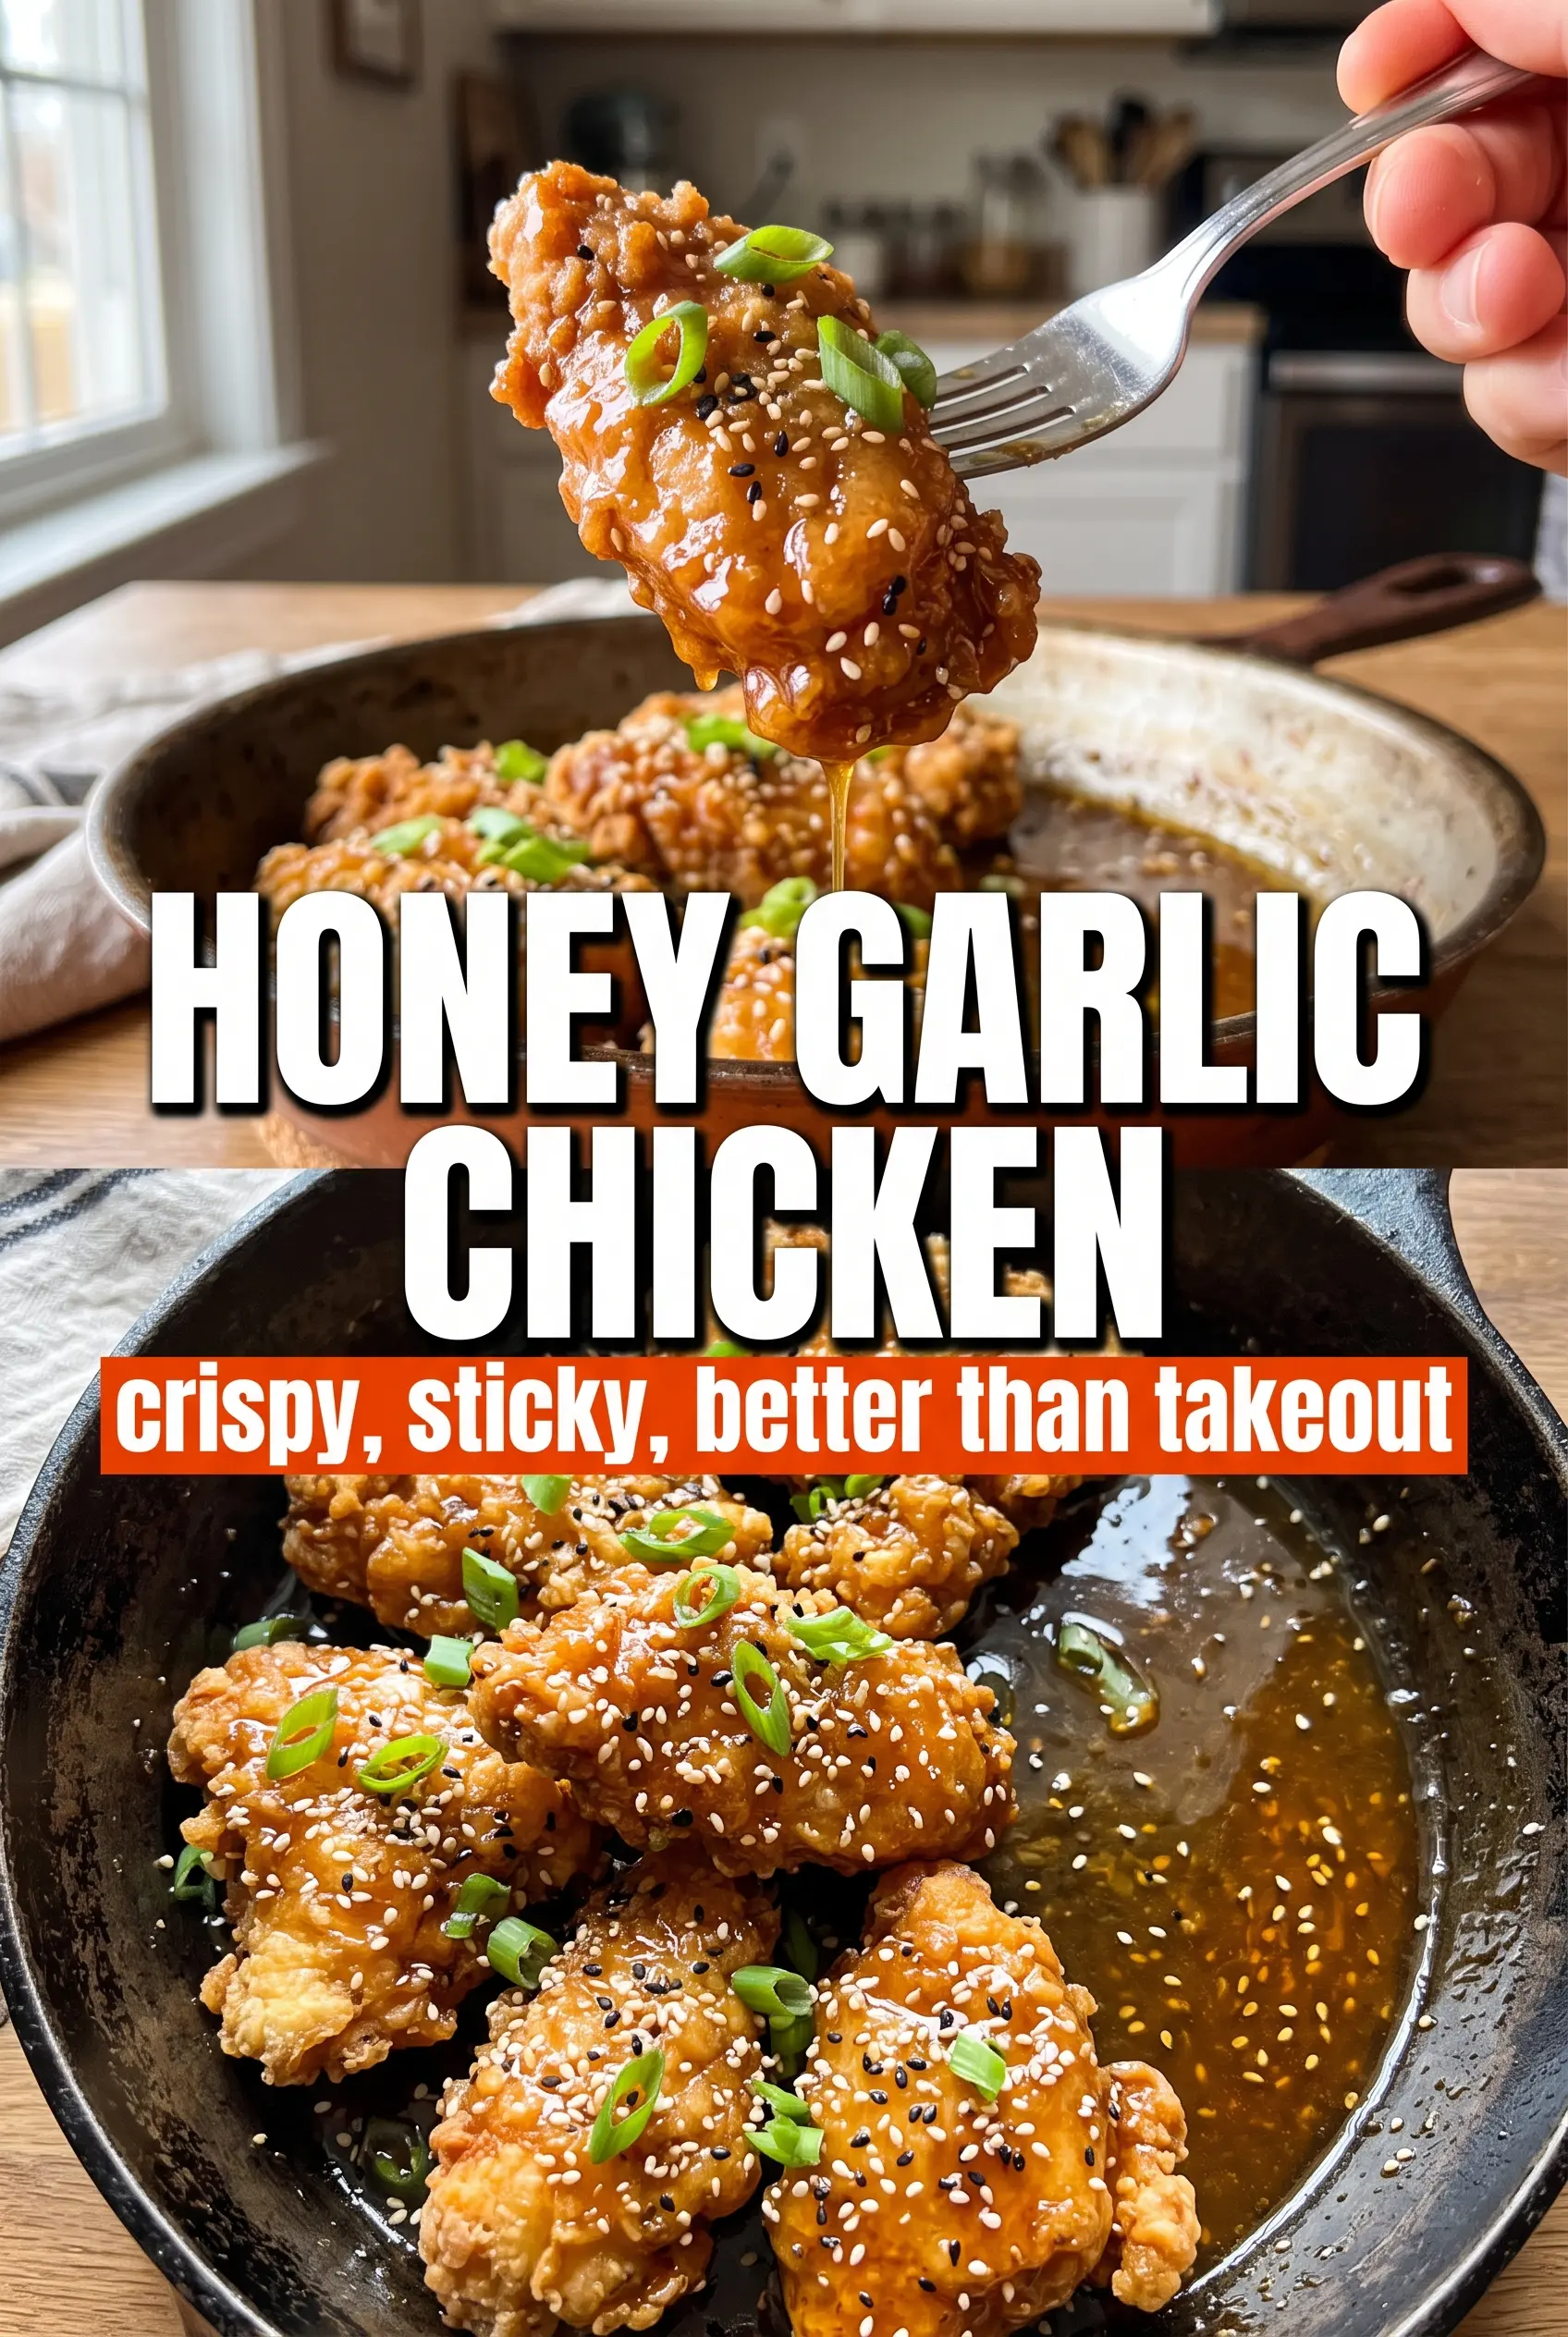
Crispy Chinese Honey Garlic Chicken
Ingredients
Equipment
Method
- Whisk together cornstarch, all-purpose flour, garlic powder, salt, and white pepper in a bowl; use a smooth, even mixture so the coating clings well.
- Dip the bite-sized chicken pieces in the beaten large egg, then dredge in the cornstarch-and-flour mixture until fully coated with no dry spots.
- Heat about 2 inches of vegetable oil in a cast iron skillet to 375°F; wait until the oil holds a steady temperature before frying.
- Fry the chicken in batches for 5-6 minutes at 375°F until deep golden and cooked through; the coating should look shatter-crisp at the edges.
- Drain the fried chicken on a rack or paper towels so excess oil doesn’t soften the crust.
- Combine honey, soy sauce, minced garlic, and rice vinegar in a saucepan; bring to a simmer and stir until the garlic smells fragrant, about 1-2 minutes.
- Stir in the cornstarch slurry (cornstarch mixed with water) and cook 2-3 minutes until glossy and thickened, turning the sauce darker amber as it coats a spoon.
- Remove from heat and stir in sesame oil for a rich aroma and a smooth finish.
- Toss the crispy chicken in the honey garlic sauce until fully coated; lift a piece to confirm a thick, clingy coating that lightly caramelizes.
- Serve immediately over steamed rice and top with sesame seeds and green onions for bright freshness and crunch.