Crispy panko crusted chicken breasts come out with a crackly, bronzed coating that stays light instead of heavy. The crust shatters when you cut into it, and the chicken underneath stays juicy if you bake it hot and keep the breasts even in thickness. This is the kind of weeknight chicken that still feels worth sitting down for.
The trick is in the breading order and the heat. Flour gives the egg something to cling to, egg gives the panko a tacky surface, and the panko mixture gets help from Parmesan and a little smoked paprika so the coating browns before the chicken dries out. A quick spray or drizzle of olive oil is the difference between pale crumbs and that deep golden, bakery-style crunch.
Below you’ll find the little details that matter most: how to keep the crust from going sandy, how to bake it on a rack so the bottom stays crisp, and the swaps that still give you a proper crunch when you need to change things up.
The crust stayed crunchy even after sitting for a few minutes, and the Parmesan in the panko gave it a salty edge that my kids actually noticed.
Like this shatteringly crisp panko chicken? Save it to Pinterest for the nights when you want a golden oven-baked crust without frying.
The Crust Falls Apart When You Skip the Dry-Wet-Dry Logic
Panko needs a tacky surface to hold on to, and flour is what gives it that grip. If you go straight from chicken to egg and then into crumbs, the coating tends to slide off in patches after baking. The flour layer should look thin and dusty, not paste-like, and the egg should coat every bit without pooling at the bottom of the bowl.
Pressing the panko mixture on firmly matters more than people think. You want the crumbs to look packed onto the chicken, especially around the edges where the coating usually lifts first. The other thing that protects the crust is a rack. If the chicken sits flat on a pan, steam softens the bottom before the top has time to brown.
What the Parmesan, Panko, and Paprika Are Each Doing Here
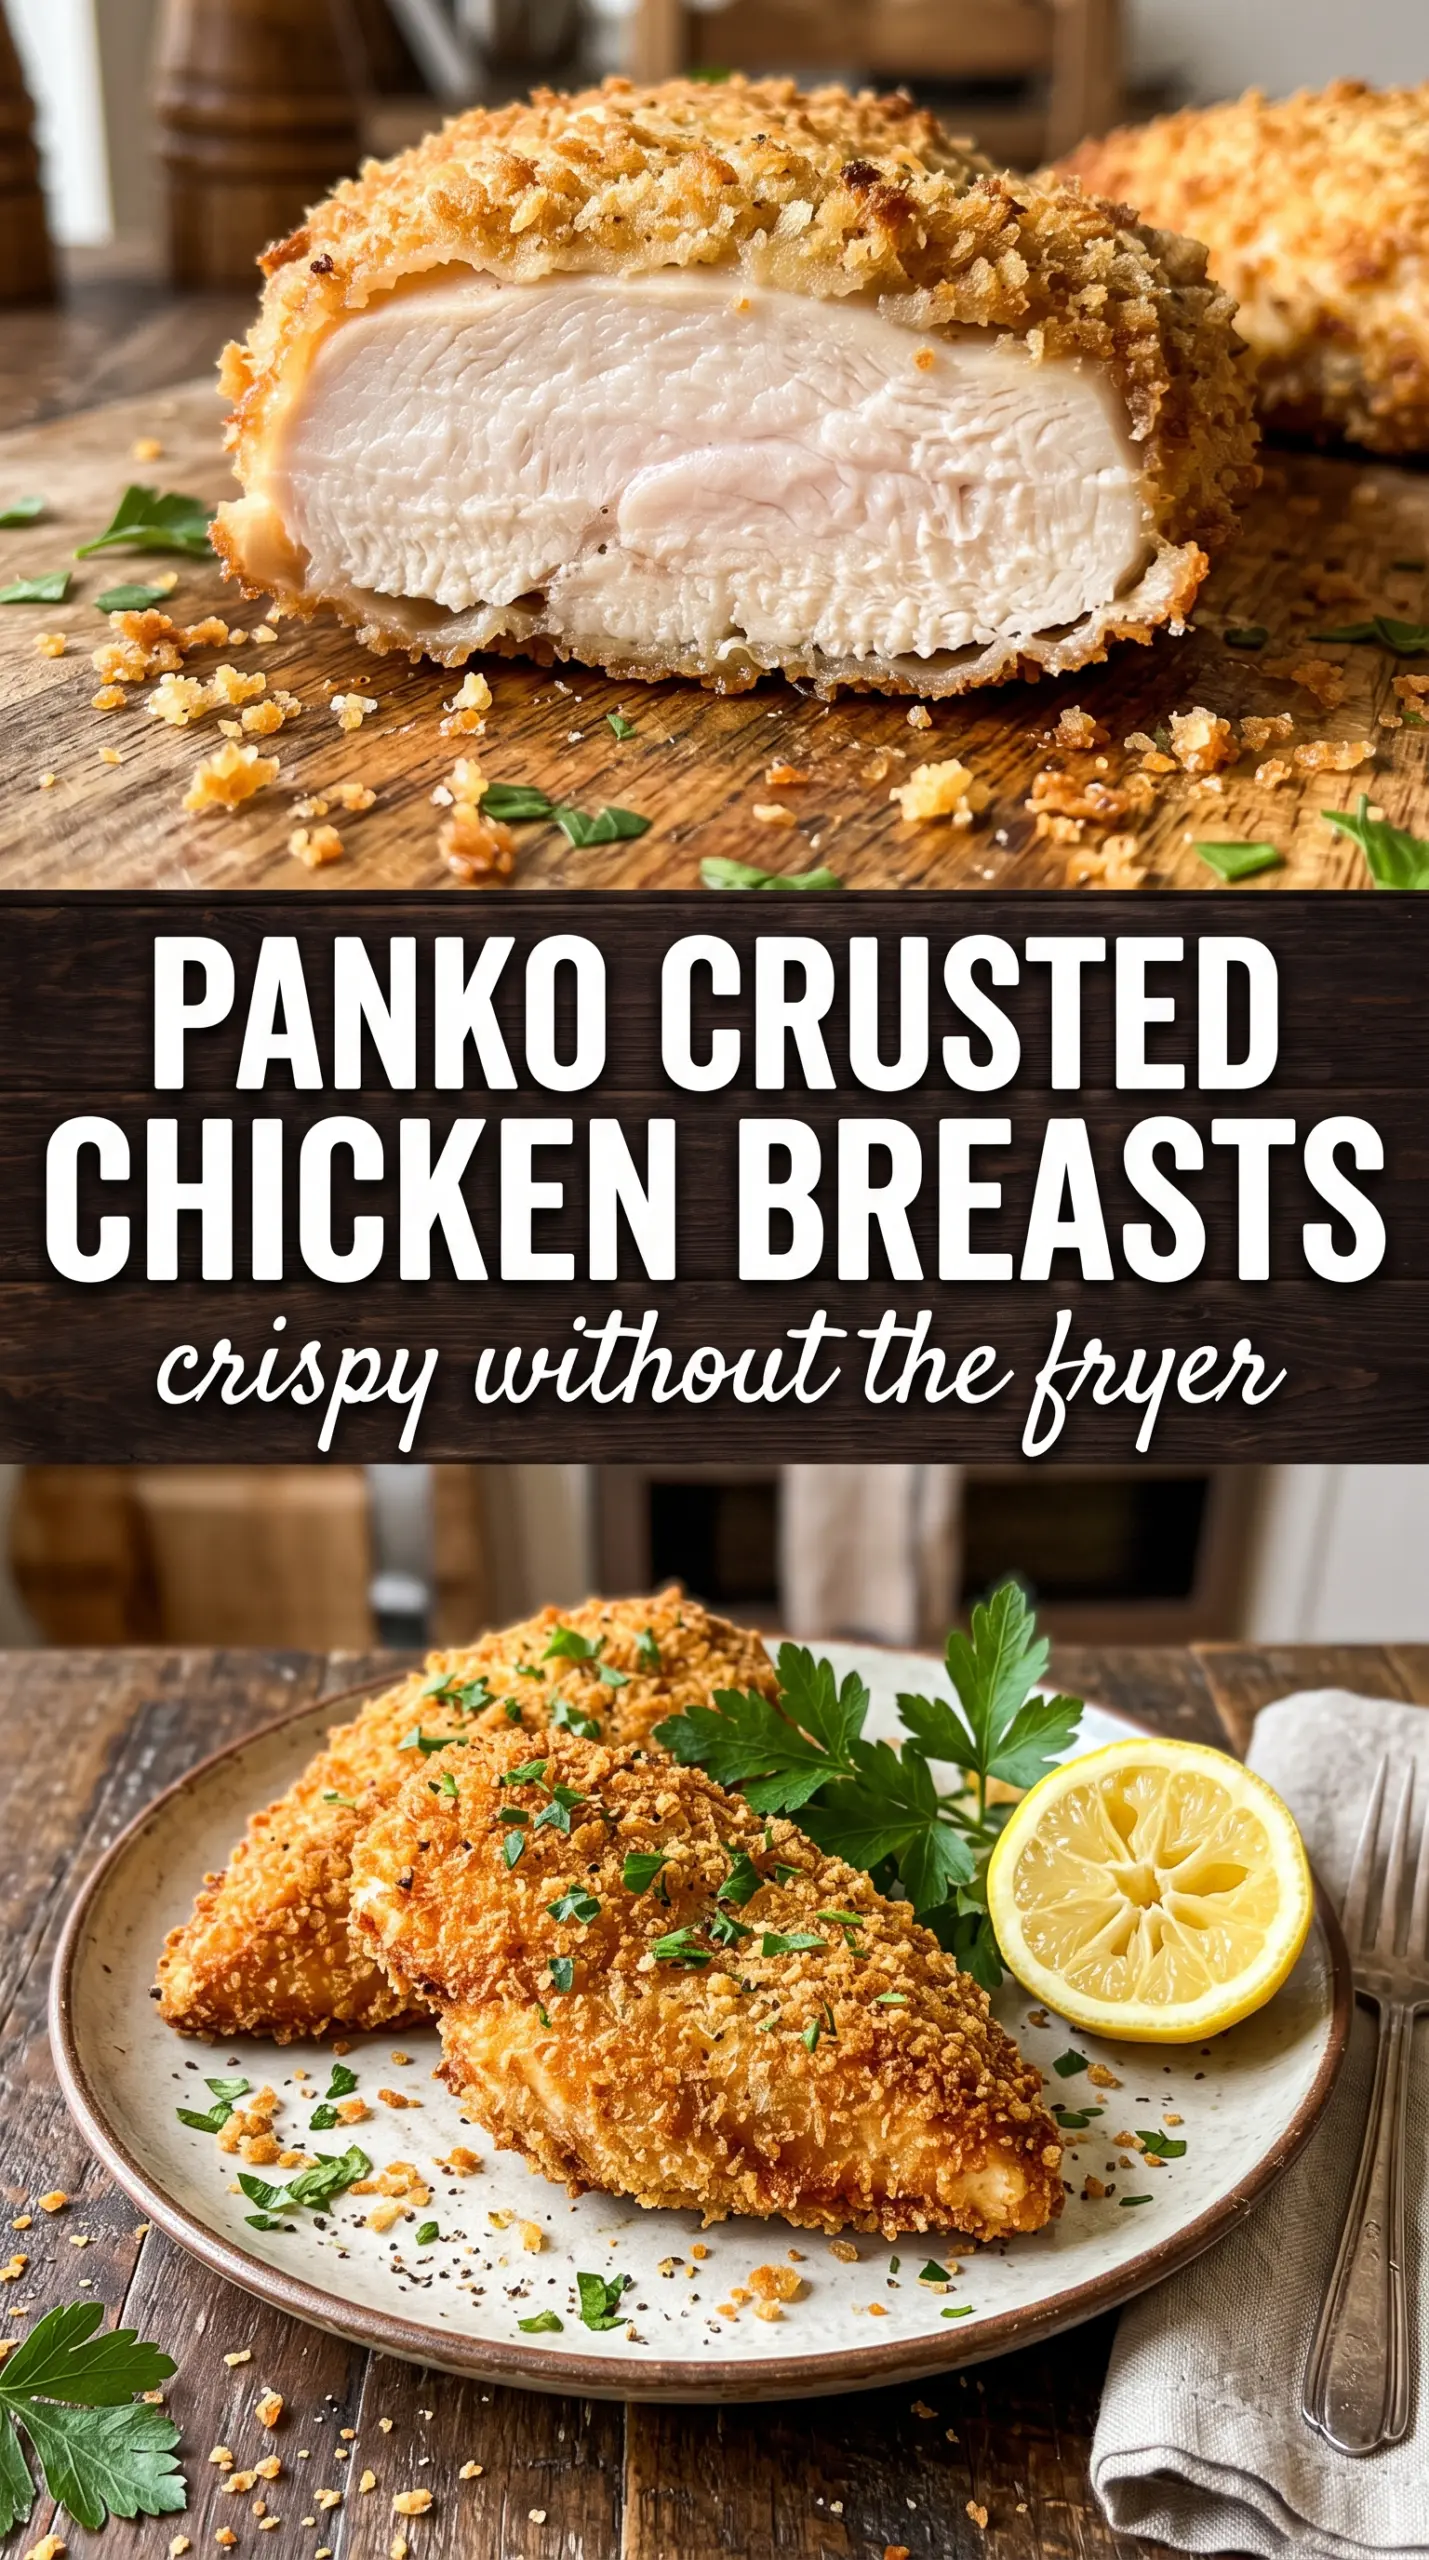
- Panko breadcrumbs — These are the backbone of the crunch. Regular breadcrumbs can work in a pinch, but they pack down tighter and bake up denser. Panko stays airy and jagged, which is why the crust gets that crisp, shattering bite.
- Parmesan cheese — Parmesan gives the coating a salty, savory edge and helps it brown. Finely grated Parmesan blends best with the panko; a coarse shred can create uneven patches that don’t stick as cleanly.
- Olive oil or cooking spray — This is what turns dry crumbs into a deep bronze crust. Skip it and the coating will taste toasted but look pale. A light, even spray is enough, but if you’re drizzling oil, use just enough to gloss the surface without soaking it.
- Chicken breasts pounded even — Uneven chicken is the fastest way to end up with dry ends and undercooked centers. Pound the thicker side down so the whole piece finishes at the same time and the crust doesn’t overbrown while the middle catches up.
The 22 Minutes That Decide Whether the Crust Stays Crisp
Setting Up the Breading Line
Arrange the flour, beaten eggs, and panko mixture in separate shallow bowls before you touch the chicken. That keeps your hands from getting clumpy and helps the coating stay even instead of gummy. Season the chicken before dredging so the meat itself tastes seasoned, not just the crust. If the panko mixture looks dry and powdery, it won’t brown as evenly, so toss the Parmesan and spices through until the color looks uniform.
Pressing on the Coating
Pat each breast dry first, then dredge lightly in flour and shake off the extra. Dip it into the egg, let the excess drip for a second, then press into the panko and really pack it on with your palm. The common mistake here is rushing the press; loose crumbs fall off and leave bald spots after baking. Set the chicken on the rack as soon as it’s coated so the egg doesn’t turn damp and slippery.
Baking for Bronze, Not Burnt Edges
Bake at 425°F until the crust is deep golden brown and the thickest part hits 165°F. The rack lets hot air move around the chicken, which is what keeps the bottom crisp instead of soggy. If the top is browning too fast before the center is done, your oven is running hot; loosely tent with foil for the last few minutes rather than lowering the heat and sacrificing the crust.
Resting Before You Cut
Give the chicken three minutes to rest before slicing. That short pause keeps the juices from running onto the plate the second your knife goes in. Cut too early and the crust can crack away from the meat because the steam inside hasn’t settled yet.
How to Adapt This for Different Nights and Different Pantries
Gluten-Free Panko Chicken
Use gluten-free panko and a 1:1 gluten-free flour blend in place of the all-purpose flour. The texture still turns crisp, but some gluten-free crumbs brown a little faster, so watch the last few minutes closely.
Dairy-Free Version
Swap the Parmesan for fine dairy-free Parmesan-style shreds or leave it out and add an extra pinch of salt plus a little more paprika. You lose some savory depth without the cheese, but the crust still gets crisp if you keep the oil or spray step in place.
Extra-Crunch Herbed Coating
Add a tablespoon of finely chopped parsley or a teaspoon of dried oregano to the panko mix for a more herb-forward crust. Fresh herbs can brown quickly, so keep the pieces tiny or they’ll darken before the chicken is done.
Storage and Reheating
- Refrigerator: Store leftovers in an airtight container for up to 3 days. The crust softens a bit in the fridge, but the chicken stays juicy.
- Freezer: Freeze cooked chicken breasts on a sheet pan until solid, then wrap and store for up to 2 months. The crust won’t be quite as crisp after freezing, but it still works well for sandwiches or sliced over salad.
- Reheating: Reheat on a wire rack in a 375°F oven or air fryer until hot. Skip the microwave if you care about the crust; it traps steam and turns the coating limp.
Answers to the Questions Worth Asking
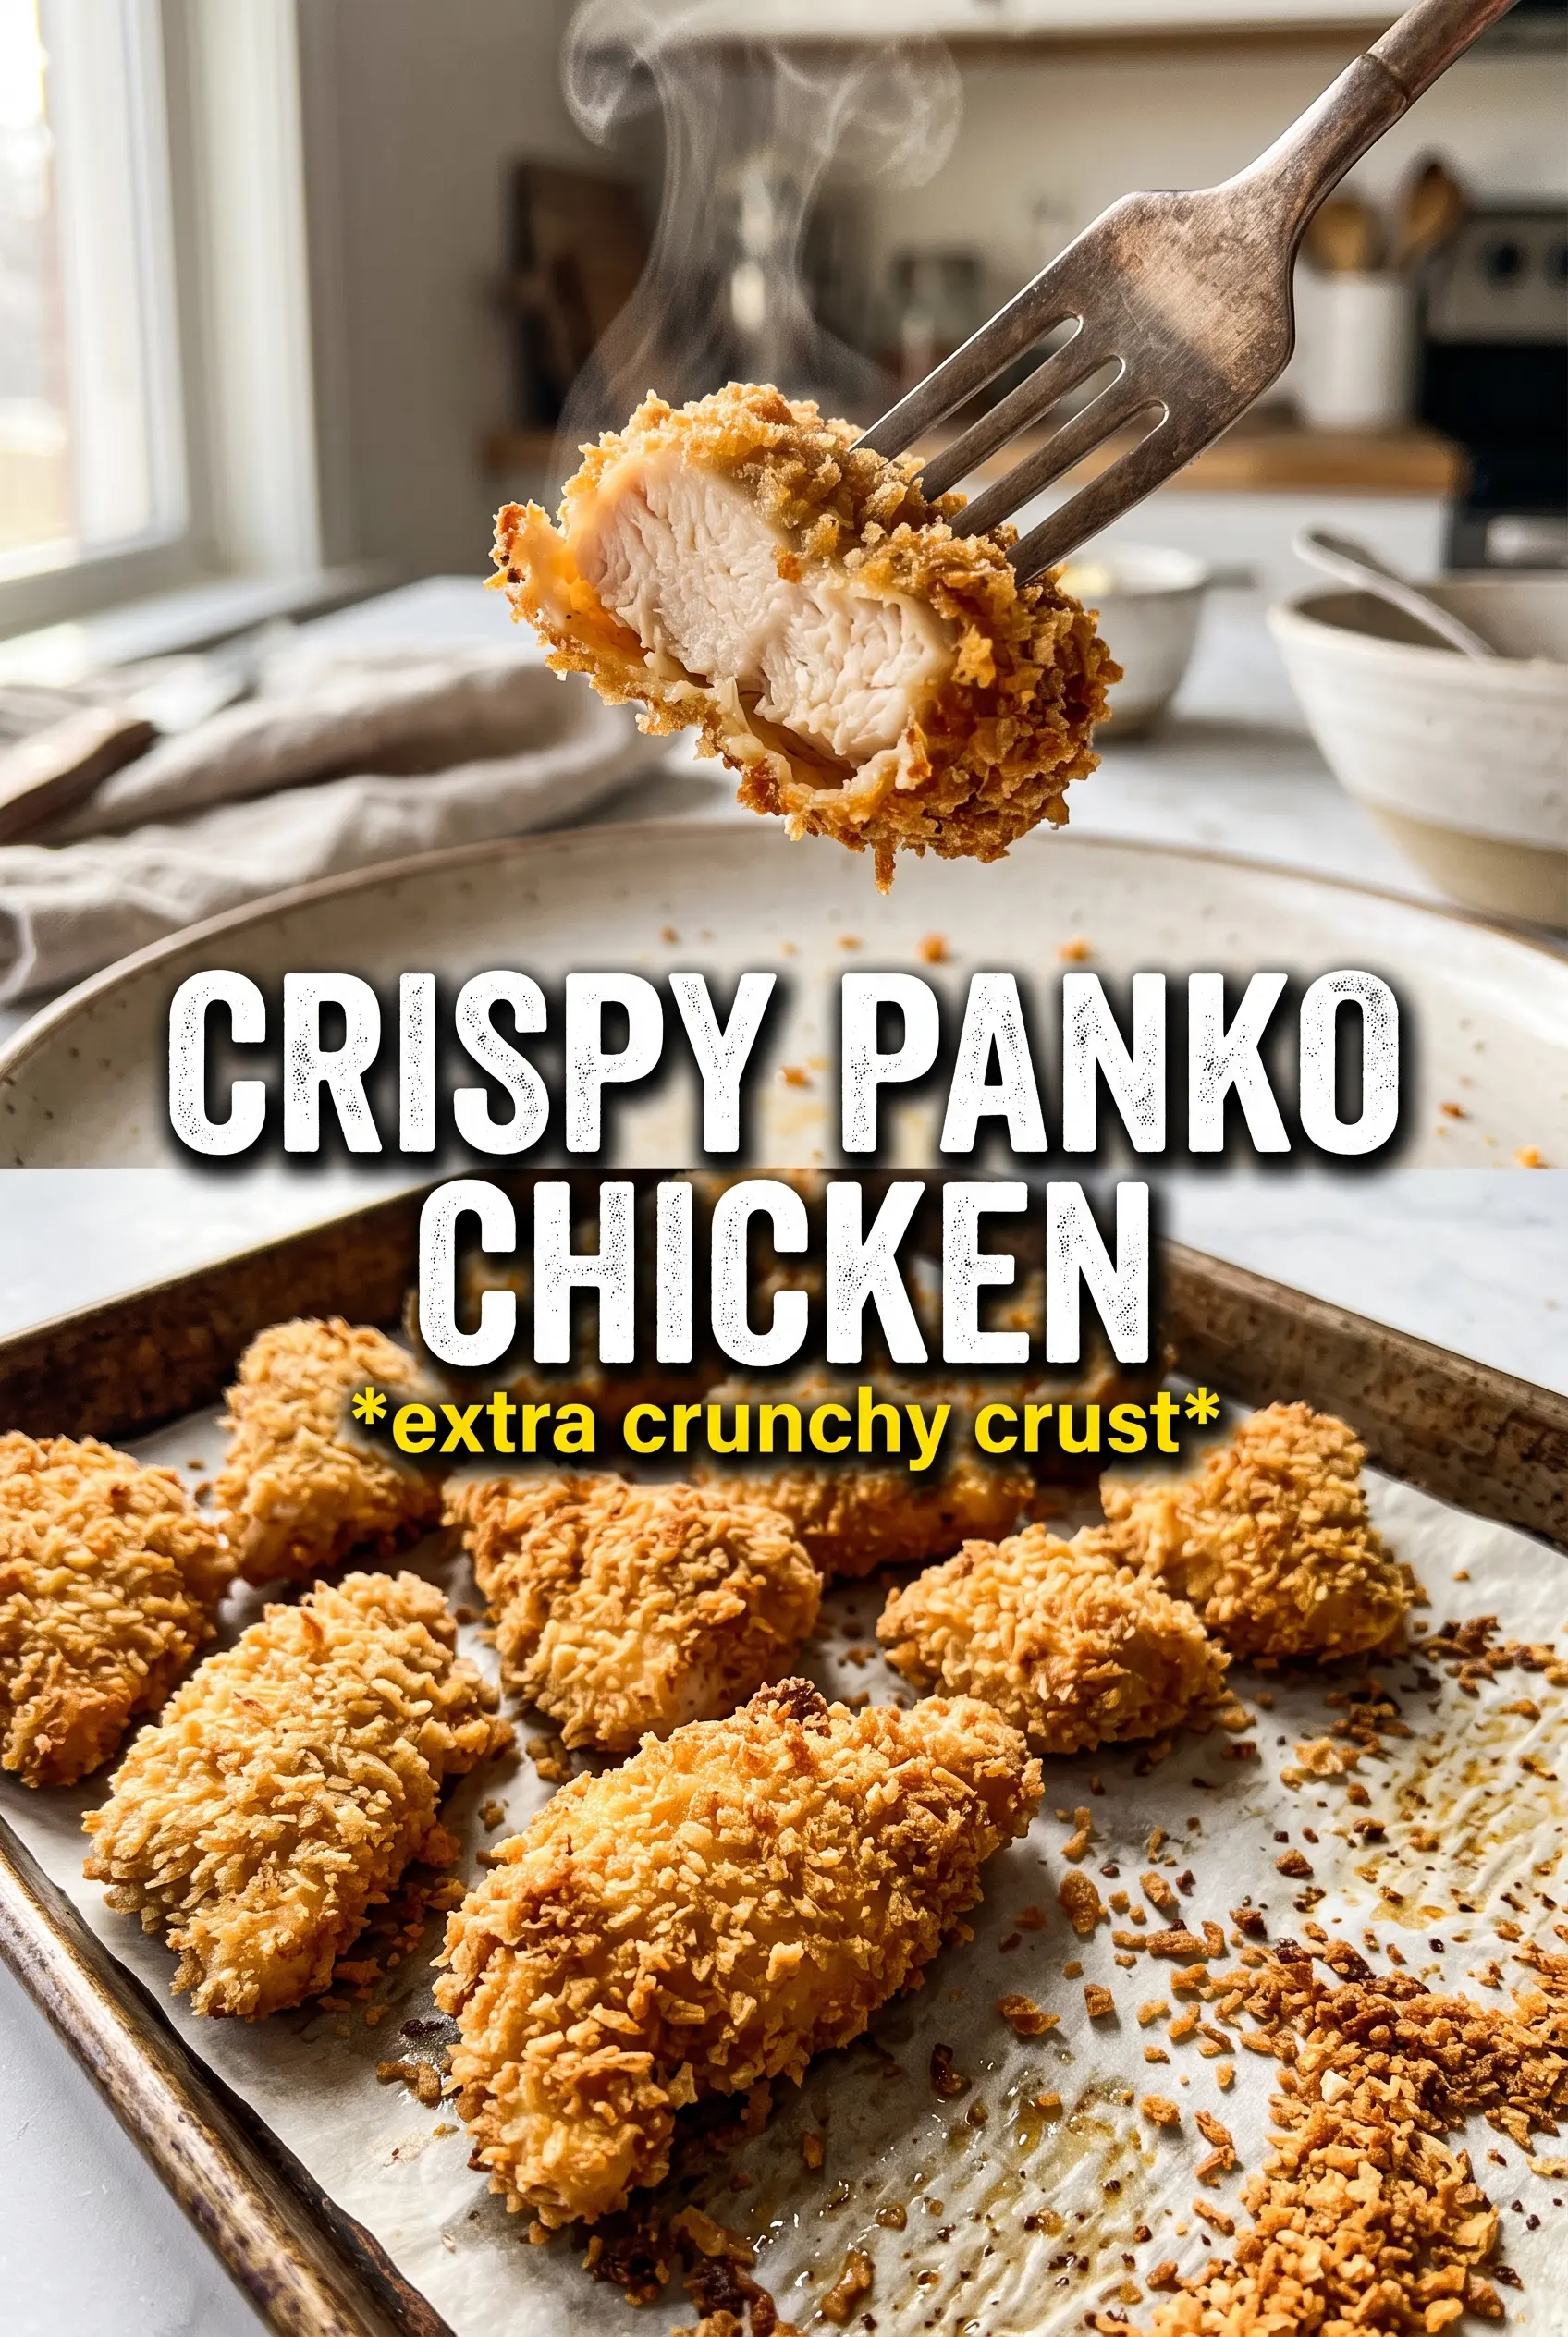
Crispy Panko Crusted Chicken Breasts
Ingredients
Equipment
Method
- Preheat the oven to 425°F and line a baking sheet with a wire rack, then spray the rack with cooking spray for easy release.
- Season the chicken with salt, pepper, and garlic powder to taste, and pound chicken breasts to an even thickness so they bake uniformly.
- Arrange 3 stations with all-purpose flour, beaten large eggs, and panko mixed with Parmesan cheese, Italian seasoning, garlic powder, and smoked paprika.
- Dredge each chicken breast in flour, coating all sides lightly so the egg adheres.
- Dip the floured chicken into the beaten eggs, turning to coat evenly.
- Press firmly into the panko mixture on all sides so the breadcrumb coating sticks and bakes up crisp.
- Drizzle or spray the breaded chicken with olive oil or cooking spray, then place on the prepared rack.
- Bake for 20-22 minutes at 425°F until the crust is deep golden brown and the internal temperature reaches 165°F.
- Rest the chicken for 3 minutes to set the crust and keep the interior juicy.
- Garnish with fresh parsley and serve with lemon wedges for bright finishing flavor.