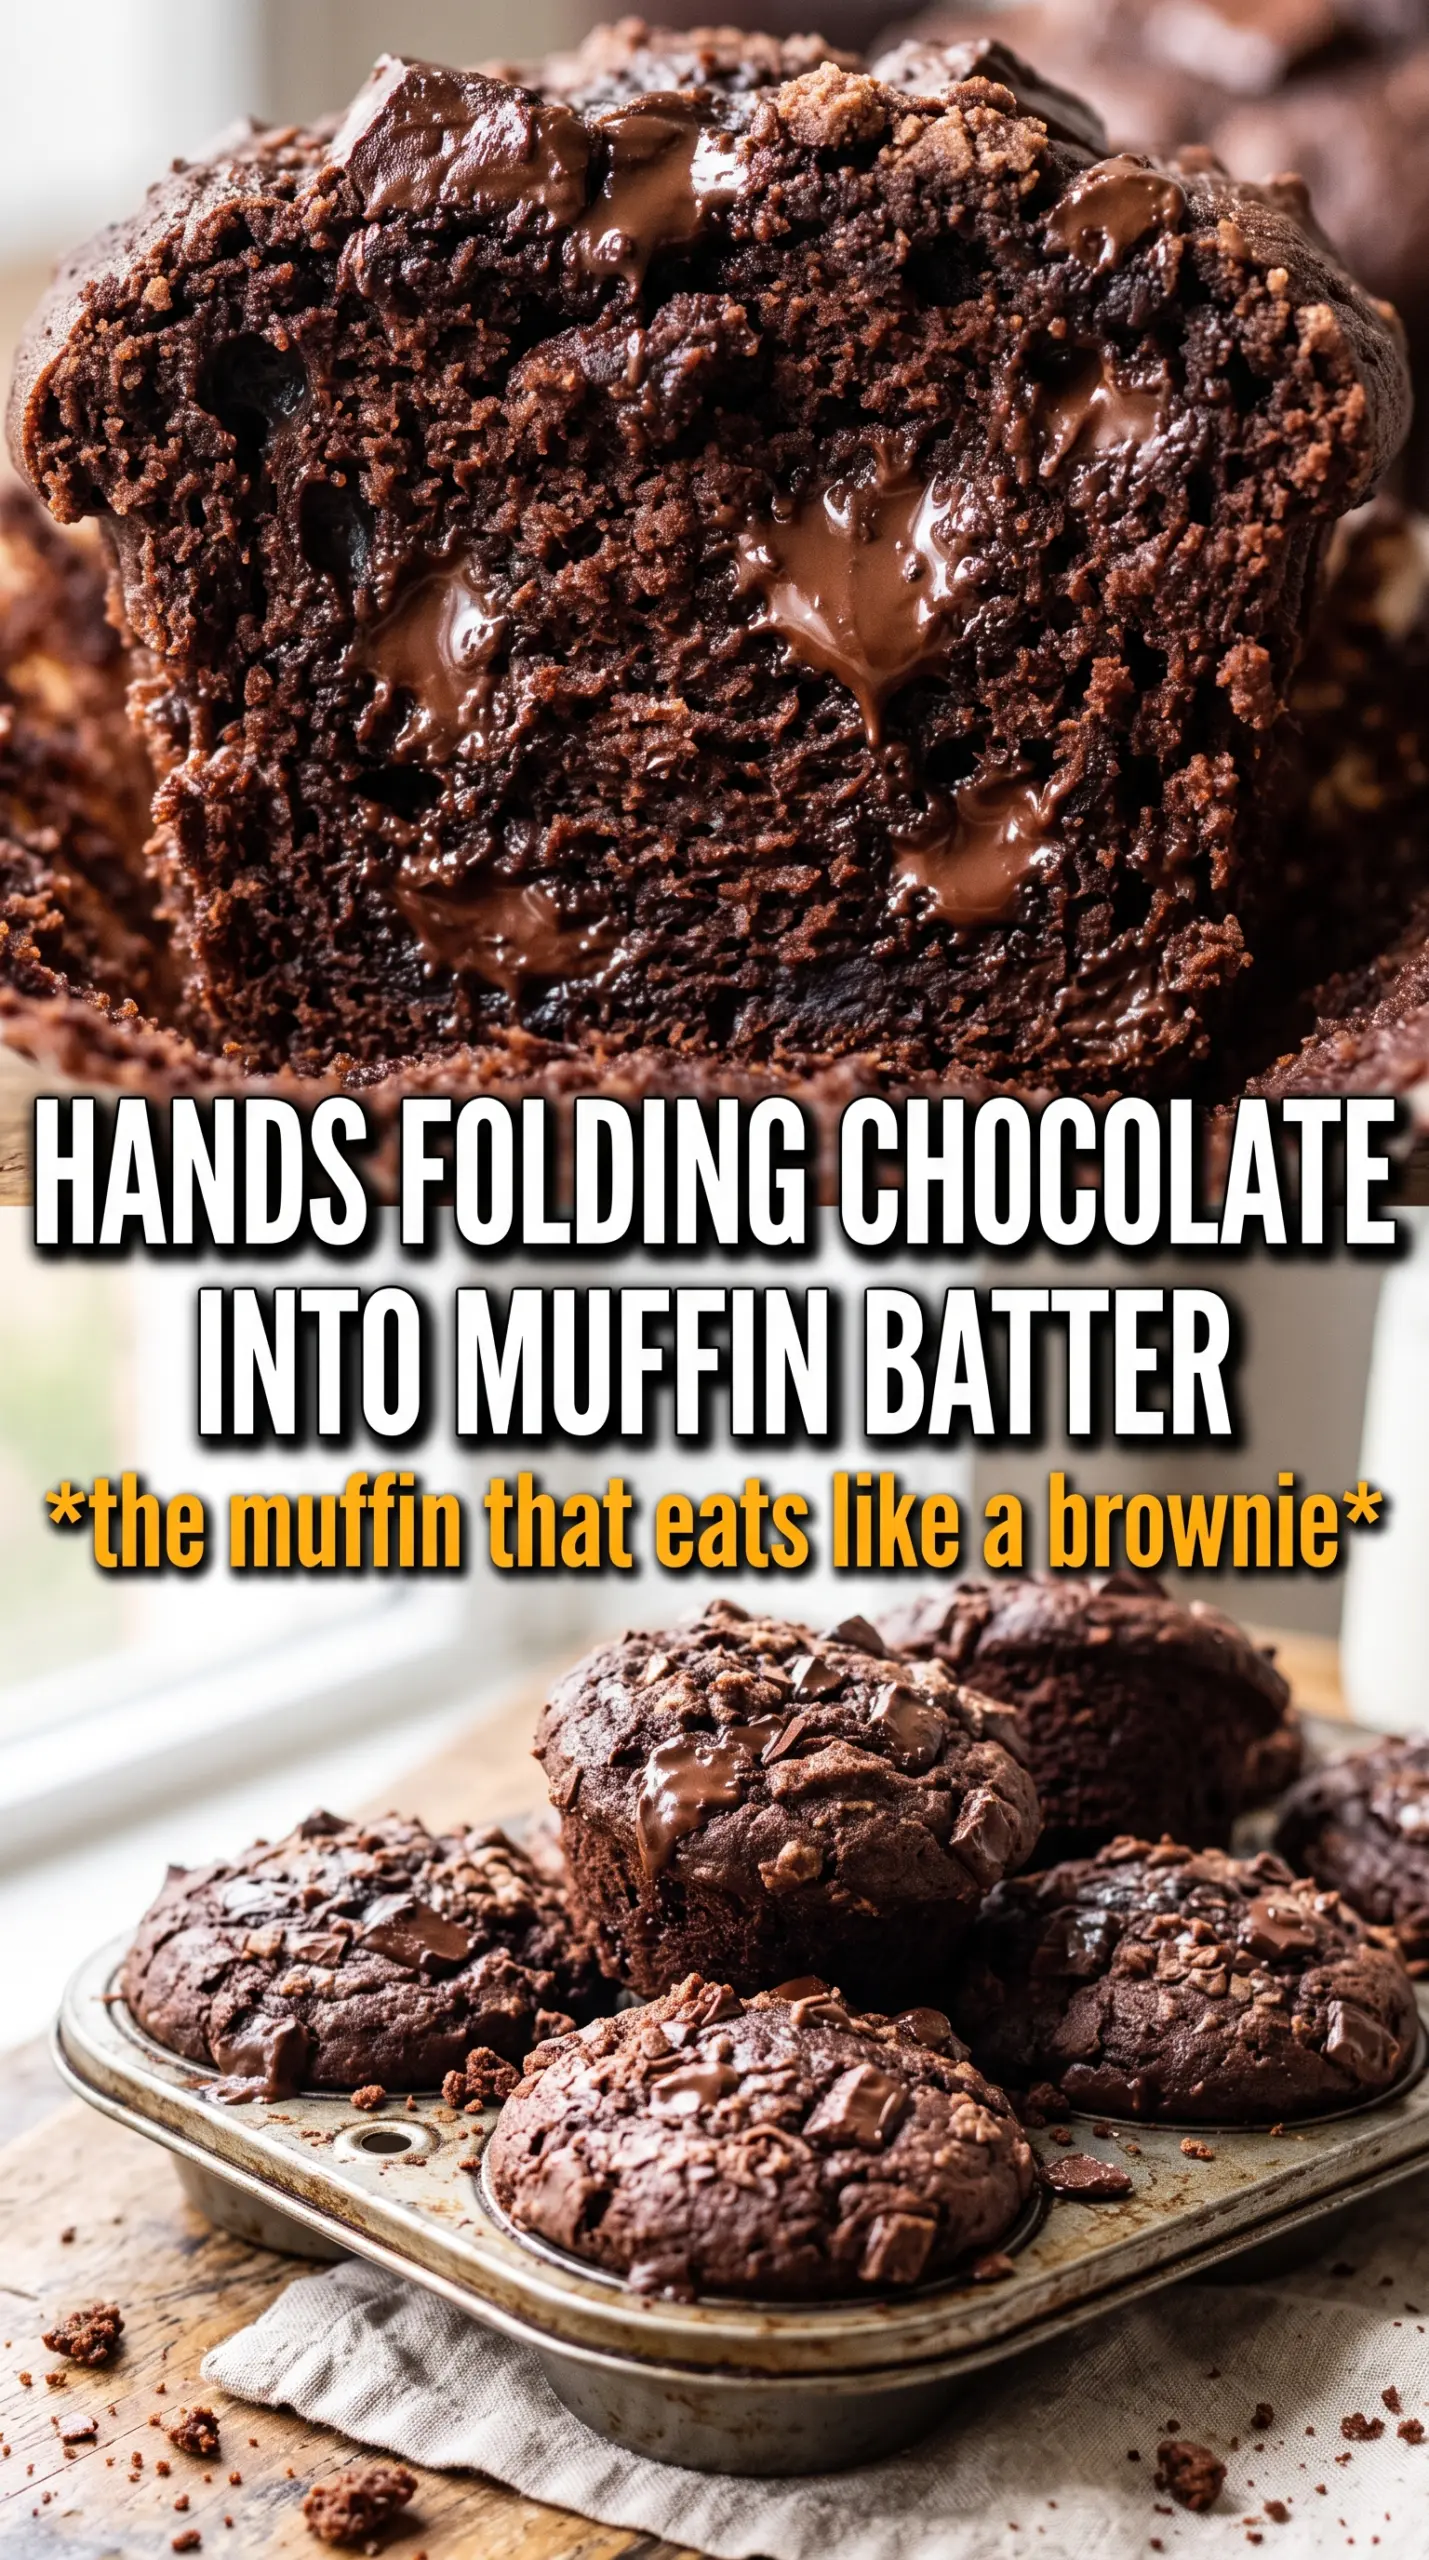
Double chocolate muffins earn their place in the breakfast rotation because they bake up with tall domes, a soft crumb, and melted chocolate in every bite. The tops go glossy and slightly crackly, while the centers stay tender instead of dry or cakey. They taste like a bakery muffin, but they’re built from everyday ingredients and come together fast enough for a weekday morning.
What makes this version work is the balance of cocoa, sour cream, and hot coffee or hot water. The cocoa brings the deep chocolate base, the sour cream keeps the crumb moist, and the hot liquid wakes up the cocoa so the flavor tastes fuller and less flat. The high first blast of heat helps the muffins rise fast, which is what gives you those proud domes.
Below, I’ve included the timing trick that keeps the tops from spreading flat, plus a few swaps that still keep the muffins rich and soft. If you’ve ever had chocolate muffins that tasted good but looked sad, this version fixes that.
The muffins came out with those big bakery-style tops, and the chocolate chips stayed melted and gooey in the middle instead of sinking to the bottom. I baked them exactly the way you said and the crumb was soft for two days.
Save these double chocolate muffins for the mornings when you want tall domes, melted chips, and a deep cocoa flavor that tastes bakery-made.
The Heat Jump That Gives These Muffins Their Bakery Tops
The first five minutes at 425°F are doing more work than they seem. That burst of heat sets the outer structure fast, so the batter climbs upward before the center has time to spread out. If you skip that higher temperature and bake the whole time at 350°F, the muffins will still taste fine, but they usually come out flatter and less dramatic.
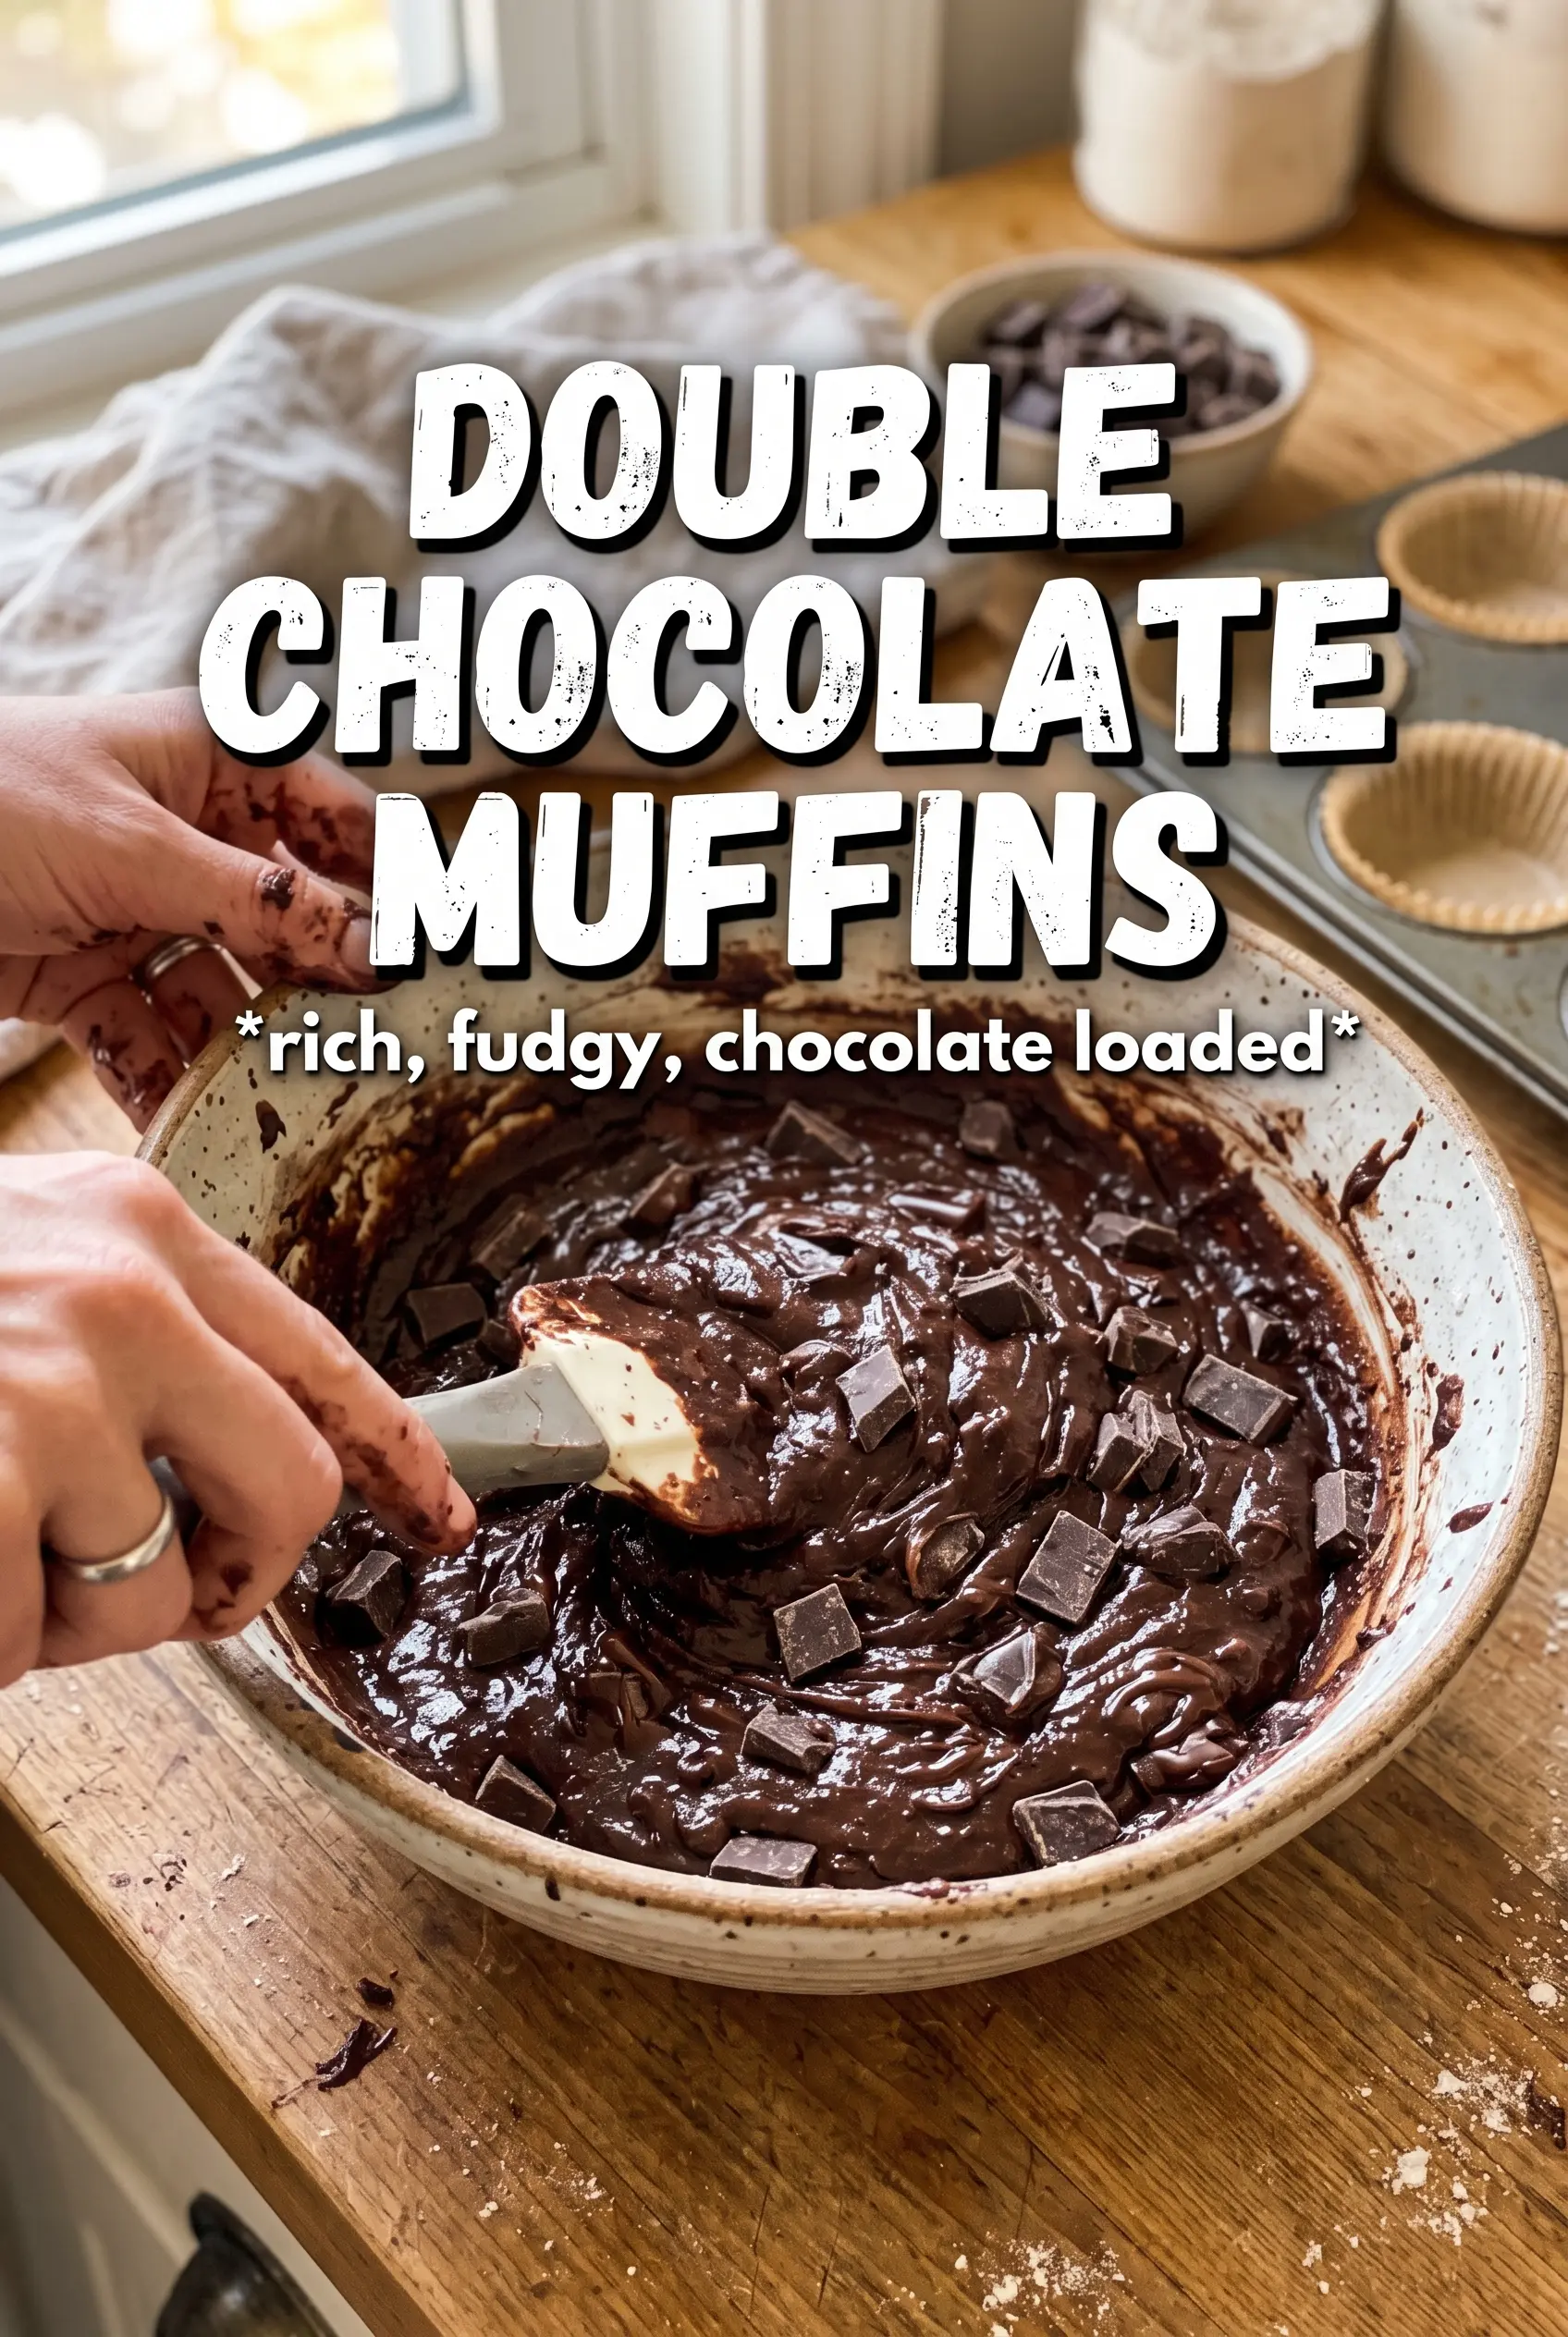
The other thing that matters here is not overmixing after the dry ingredients go in. Chocolate muffin batter should look a little rough, with a few streaks disappearing as you fold. If you beat it smooth, the muffins turn tighter and tougher, and they lose that soft, cakey crumb people want in a breakfast muffin.
- Hot coffee or hot water — This bloomed cocoa tastes deeper than cold liquid ever will. Coffee gives the strongest chocolate boost, but hot water still works if you want a pure chocolate flavor.
- Sour cream — This keeps the crumb tender and adds a subtle tang that balances the sweetness. Plain Greek yogurt can stand in, but use full-fat if possible so the texture stays rich.
- Brown sugar — The moisture in brown sugar helps the muffins stay soft longer. All granulated sugar works in a pinch, but the muffins will lose a little chew and depth.
- Chocolate chips on top and inside — The split use gives you melt-through-the-middle pockets and a glossy finish on top. Don’t skip the top scatter if you want that bakery look.
Why Each Ingredient Pulls Its Weight in the Batter
- All-purpose flour — This gives the muffins enough structure to rise tall without turning dry. Cake flour makes them softer but can leave them a little fragile.
- Cocoa powder — Use a good unsweetened cocoa because it sets the chocolate flavor of the whole muffin. A darker cocoa gives a more intense result, but standard natural cocoa still makes a great batch.
- Baking powder and baking soda — These work together for lift. The baking soda also reacts with the sour cream and cocoa for better rise and color.
- Eggs — They bind the batter and help the muffins hold their domed shape. Room-temperature eggs blend more smoothly, which keeps the batter from seizing around the melted oil.
- Vegetable oil — Oil keeps the crumb moist for longer than butter does in muffins. Melted butter can work, but the texture will be a little firmer once the muffins cool.
Building the Batter Without Losing the Rise
Whisk the dry ingredients first
Start by whisking the flour, cocoa, baking powder, baking soda, and salt until the color looks even and there are no cocoa lumps hiding in the bowl. Cocoa tends to clump, and those clumps never disappear later if you rush this part. A quick whisk now saves you from streaks of dry cocoa in the finished muffins.
Mix the wet ingredients until they look smooth
Whisk the sugars, eggs, milk, oil, sour cream, vanilla, and hot coffee or water until the mixture looks glossy and unified. The batter may look loose, and that’s right; muffin batter should pour, not scoop like cookie dough. If the sour cream leaves a few tiny bits, keep going for another few strokes before adding the dry ingredients.
Fold just until the flour disappears
Add the dry mixture to the wet bowl and fold gently with a spatula until you no longer see dry flour. Stop there, even if the batter looks a little uneven. Overmixing at this stage develops too much gluten, and that’s how you end up with tunnels and a rubbery bite instead of a tender crumb.
Fill the tin all the way up
Spoon the batter into the muffin cups until each one is filled to the top, then scatter the remaining chips over the surface. Full cups are what help create those domed tops, and the extra chips give the muffins that finished look. If you underfill the tin, the muffins bake up shorter and look more like cupcakes than proper bakery muffins.
Use the heat shift to finish them
Bake at 425°F for 5 minutes, then lower the oven to 350°F and bake 13 to 15 minutes more. The tops should spring back when lightly pressed, and a tester inserted in the center should come out with a few moist crumbs, not wet batter. If the chips are making it hard to judge doneness, check the edge of the muffin for a set, matte crumb around the sides.
How to Adjust These Muffins Without Losing the Soft Crumb
Dairy-Free Version
Swap the milk for unsweetened non-dairy milk and the sour cream for a thick dairy-free yogurt. The batter should still be thick but pourable; if your yogurt is thin, the muffins can bake up a little lighter and less rich, so choose the creamiest option you can find.
Extra Chocolate, Less Sweet
Use bittersweet chips instead of dark chocolate chips if you want a deeper, less sweet muffin. The result tastes more grown-up and a little darker, but the texture stays the same as long as you keep the chip quantity unchanged.
Gluten-Free Swap
A 1:1 gluten-free baking blend can work here if it already contains xanthan gum. The muffins may rise a touch less and need the full bake time, but the hot start still helps them dome instead of spreading flat.
Storage and Reheating
- Refrigerator: Store in an airtight container for up to 5 days. The tops soften a little after the first day, but the crumb stays moist.
- Freezer: These freeze well. Wrap individually and freeze for up to 3 months, then thaw at room temperature or warm straight from frozen.
- Reheating: Warm in the microwave for 10 to 15 seconds or in a 300°F oven for a few minutes. Don’t overheat them or the chocolate chips will turn greasy and the crumb will dry out fast.
Questions I Get Asked About This Recipe
Double Chocolate Muffins
Ingredients
Equipment
Method
- Preheat the oven to 425°F and line a 12-cup muffin tin.
- Whisk all-purpose flour, cocoa powder, baking powder, baking soda, and salt until evenly combined.
- Whisk granulated sugar, brown sugar, eggs, whole milk, vegetable oil, sour cream, vanilla, and hot water or hot coffee until smooth.
- Fold the dry ingredients into the wet ingredients just until combined, then fold in 1 cup of dark chocolate chips.
- Fill the muffin cups all the way to the top, then scatter the remaining chips over the batter.
- Bake at 425°F for 5 minutes, then reduce the oven to 350°F and bake 13-15 more minutes.