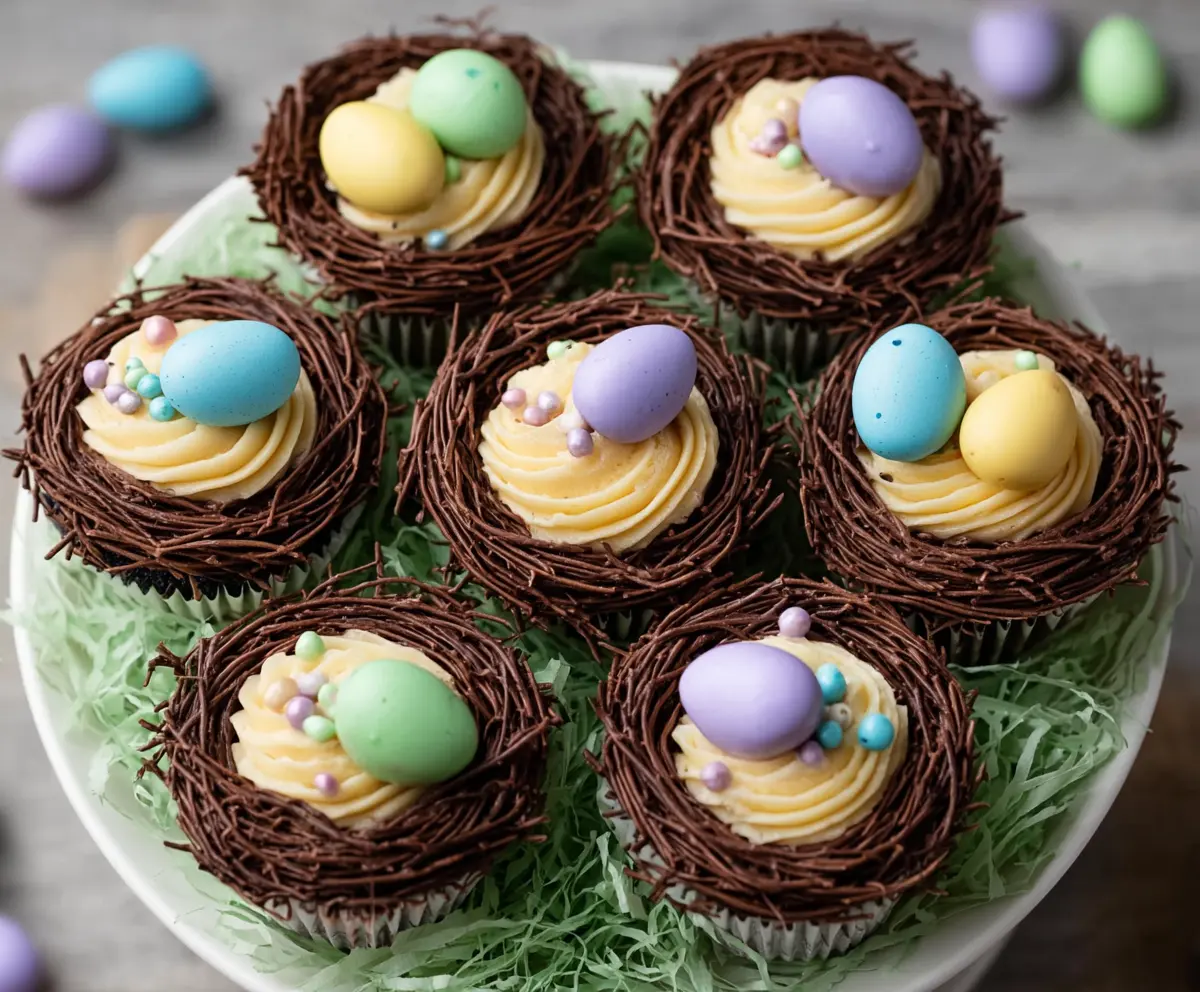
These fun Easter Egg Nest Cupcakes are perfect for celebrating! Soft and fluffy cupcakes are topped with chocolate frosting and nestled with colorful candy eggs on a crunchy coconut nest.
They’re almost too cute to eat—almost! I love making these with my kids. We get to be creative and enjoy sweet treats at the same time. Who can resist that? 🐣
Key Ingredients & Substitutions
All-purpose flour: This is your main structural ingredient for the cupcakes. If you’re gluten-free, you can use a 1-to-1 gluten-free flour mix, which works well in most cupcake recipes.
Unsalted butter: It gives a rich flavor to cupcakes. If you prefer a dairy-free option, try using a plant-based butter or coconut oil. I sometimes use coconut oil for a slightly different flavor!
Granulated sugar: It helps with sweetness and texture. You could swap half with brown sugar for a deeper flavor or use a sugar substitute like Stevia if you’re watching sugar intake.
Candy eggs: Mini candy eggs add a fun decoration. If you’re looking for a healthier option, consider chocolate-covered almonds or yogurt-covered raisins for a similar look.
How Do I Make Sure My Frosting Is Perfectly Smooth?
Getting frosting just right takes a bit of patience. Start by beating the softened butter alone until creamy. Then add powdered sugar gradually. This helps avoid lumps.
- Adjust consistency with cream or milk; add just a little at a time. You can always add more!
- For a vibrant color, mix in yellow food coloring slowly. Add just a drop, then adjust as needed.
- Beat on medium speed until light and fluffy—this aerates the frosting!
What’s the Best Way to Create Chocolate Nests?
Making those adorable chocolate nests might seem tricky, but it’s fun and easy. Melt the chocolate gently in a microwave to avoid burning it.
- Pipe the chocolate in a circular motion, overlapping lines for thickness. It doesn’t need to be perfect! A bit messy is charming in these nests.
- Let them harden on parchment paper. Refrigerating them for a few minutes helps speed up this process.
- Once set, gently lift them off the parchment—take your time to avoid breaking!
How to Make Easter Egg Nest Cupcakes
Ingredients You’ll Need:
For The Cupcakes:
- 1 ½ cups all-purpose flour
- 1 ½ tsp baking powder
- ¼ tsp salt
- ½ cup unsalted butter, softened
- 1 cup granulated sugar
- 2 large eggs
- 2 tsp vanilla extract
- ½ cup whole milk
For The Frosting:
- 1 cup unsalted butter, softened
- 3-4 cups powdered sugar, sifted
- 2 tsp vanilla extract
- 2-3 tbsp heavy cream or milk
- Yellow food coloring (optional)
For The Nest Decoration:
- 1 cup chocolate melting wafers or chocolate chips
- Piping bag with small round tip or a plastic bag with the corner cut off
For Garnish:
- Mini candy eggs (colorful pastel-colored candy-coated chocolate eggs)
- Small round edible pearls or sprinkles in pastel colors (optional)
For Presenting the Cupcakes:
- Green paper Easter grass or shredded green paper (optional)
How Much Time Will You Need?
This delightful cupcake project will take about 30 minutes of preparation time, plus an additional 18-22 minutes for baking. Allow for some cooking and cooling time, and you’ll be enjoying these festive treats in just over an hour!
Step-by-Step Instructions:
1. Preheat and Prepare Pans:
Start by preheating your oven to 350°F (175°C). While it’s heating, line a muffin tin with cupcake liners so you’re ready to go for pouring in that delicious batter!
2. Make the Cupcakes:
In a medium bowl, whisk together the flour, baking powder, and salt. In a large bowl, blend the softened butter and granulated sugar until it’s light and fluffy. Add in the eggs one at a time, mixing well after each addition. Stir in the vanilla extract. Now, alternately mix in the dry ingredients and the milk, starting and ending with the dry ingredients. Once everything is just combined, fill your cupcake liners about 2/3 full with the batter. Bake for 18-22 minutes or until a toothpick comes out clean. Let them cool completely on a wire rack.
3. Prepare the Frosting:
In a new mixing bowl, beat the softened butter until it’s creamy. Gradually add in the powdered sugar, about 1 cup at a time, beating well after each addition. Then mix in the vanilla extract and 2 tablespoons of cream or milk until everything is smooth. If you want that lovely yellow color, add a few drops of yellow food coloring, adjusting as needed to get your perfect “nest bedding” shade. If the frosting is too thick, add a little more cream or milk to reach your desired piping consistency.
4. Decorate the Cupcakes:
Using a large star or round piping tip, pipe a beautiful swirl of your yellow buttercream on each cupcake—this is the cozy base for your nests!
5. Make the Chocolate Nests:
Melt your chocolate wafers or chips in a microwave-safe bowl by heating in 20-second intervals and stirring in between until smooth. Place your melted chocolate into the piping bag (or a plastic bag with the corner cut off). On some parchment paper, pipe thin lines of chocolate in a circular nest shape. Just layer a bit to create a 3D effect! Let these set until firm; a quick place in the fridge can help speed up the process.
6. Assemble the Nests on Cupcakes:
Once your chocolate nests are set and ready, carefully place one on top of each frosting swirl. They should look like little nests perched on top of the cupcake!
7. Add Easter Eggs and Decorations:
Gently place 1 or 2 mini candy eggs inside each chocolate nest. For extra festive flair, sprinkle a few pastel-colored edible pearls or sprinkles around the eggs.
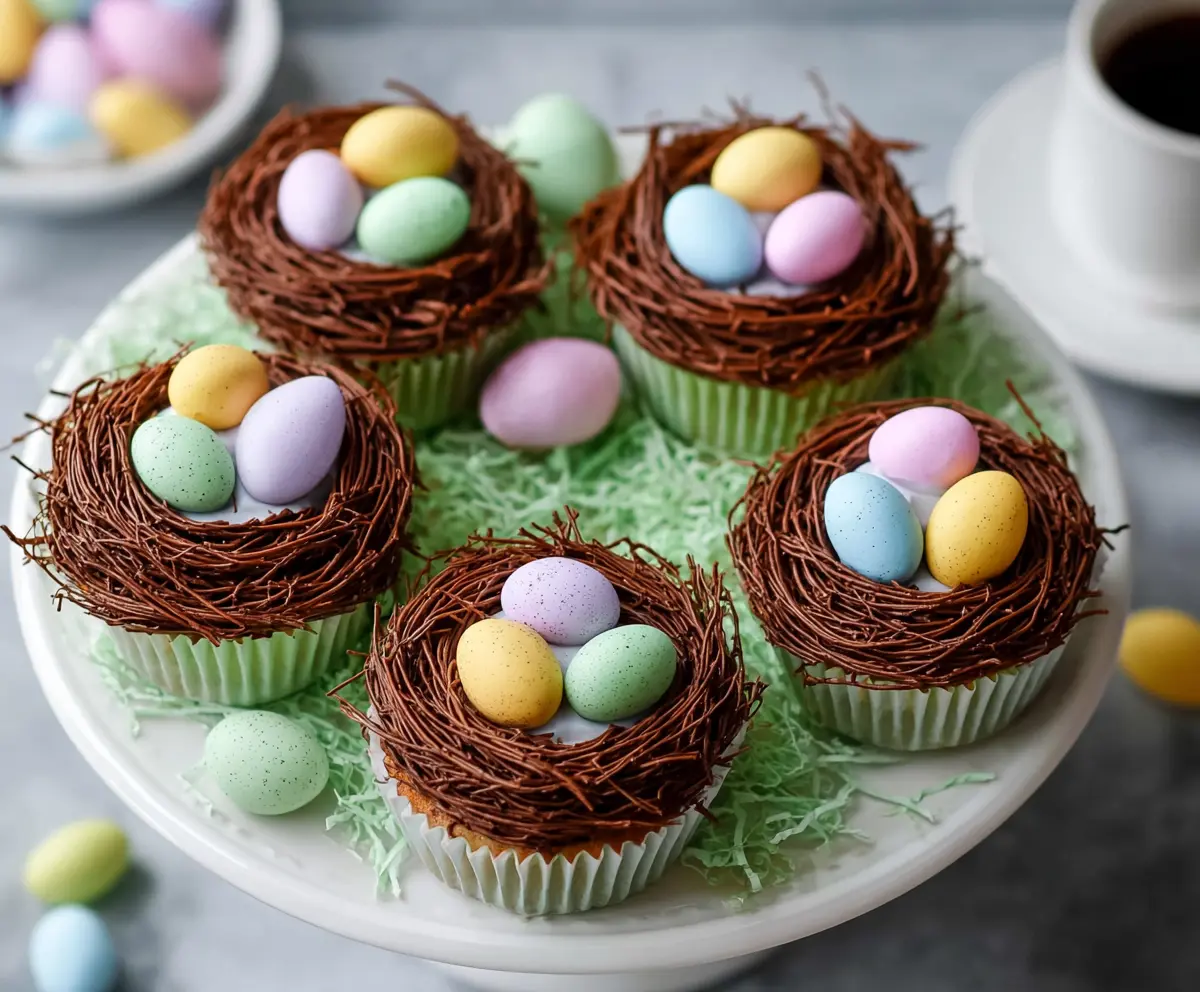
8. Serve and Enjoy:
Display the adorable cupcakes on a serving plate lined with green paper Easter grass for that joyful spring touch. Store any leftovers in an airtight container at room temperature or in the fridge. Enjoy your beautiful Easter Egg Nest Cupcakes!
These cupcakes are not only delightful to eat but also to look at—perfect for making your celebrations a bit sweeter!
Can I Use Other Types of Flour For These Cupcakes?
Absolutely! If you’re looking for a gluten-free option, a 1-to-1 gluten-free flour blend works well. You can also experiment with almond flour for a different texture, though you may need to adjust the liquid ingredients slightly.
Can I Make The Cupcakes Without Eggs?
Yes, you can use egg substitutes like applesauce (1/4 cup per egg), silken tofu (1/4 cup per egg), or a “flax egg” (1 tablespoon ground flaxseed mixed with 2.5 tablespoons water, let it sit for 10 minutes) for an egg-free version!
How Should I Store Leftover Cupcakes?
Store any leftover cupcakes in an airtight container. They can be kept at room temperature for up to 2 days or in the refrigerator for up to a week. Just be aware the frosting might lose some texture in the fridge!
Can I Freeze These Cupcakes?
Yes, you can freeze the cupcakes! Just make sure they are completely cooled and frosted (or unfrosted) before wrapping them tightly in plastic wrap and placing them in a freezer-safe container. They can last up to 3 months in the freezer.