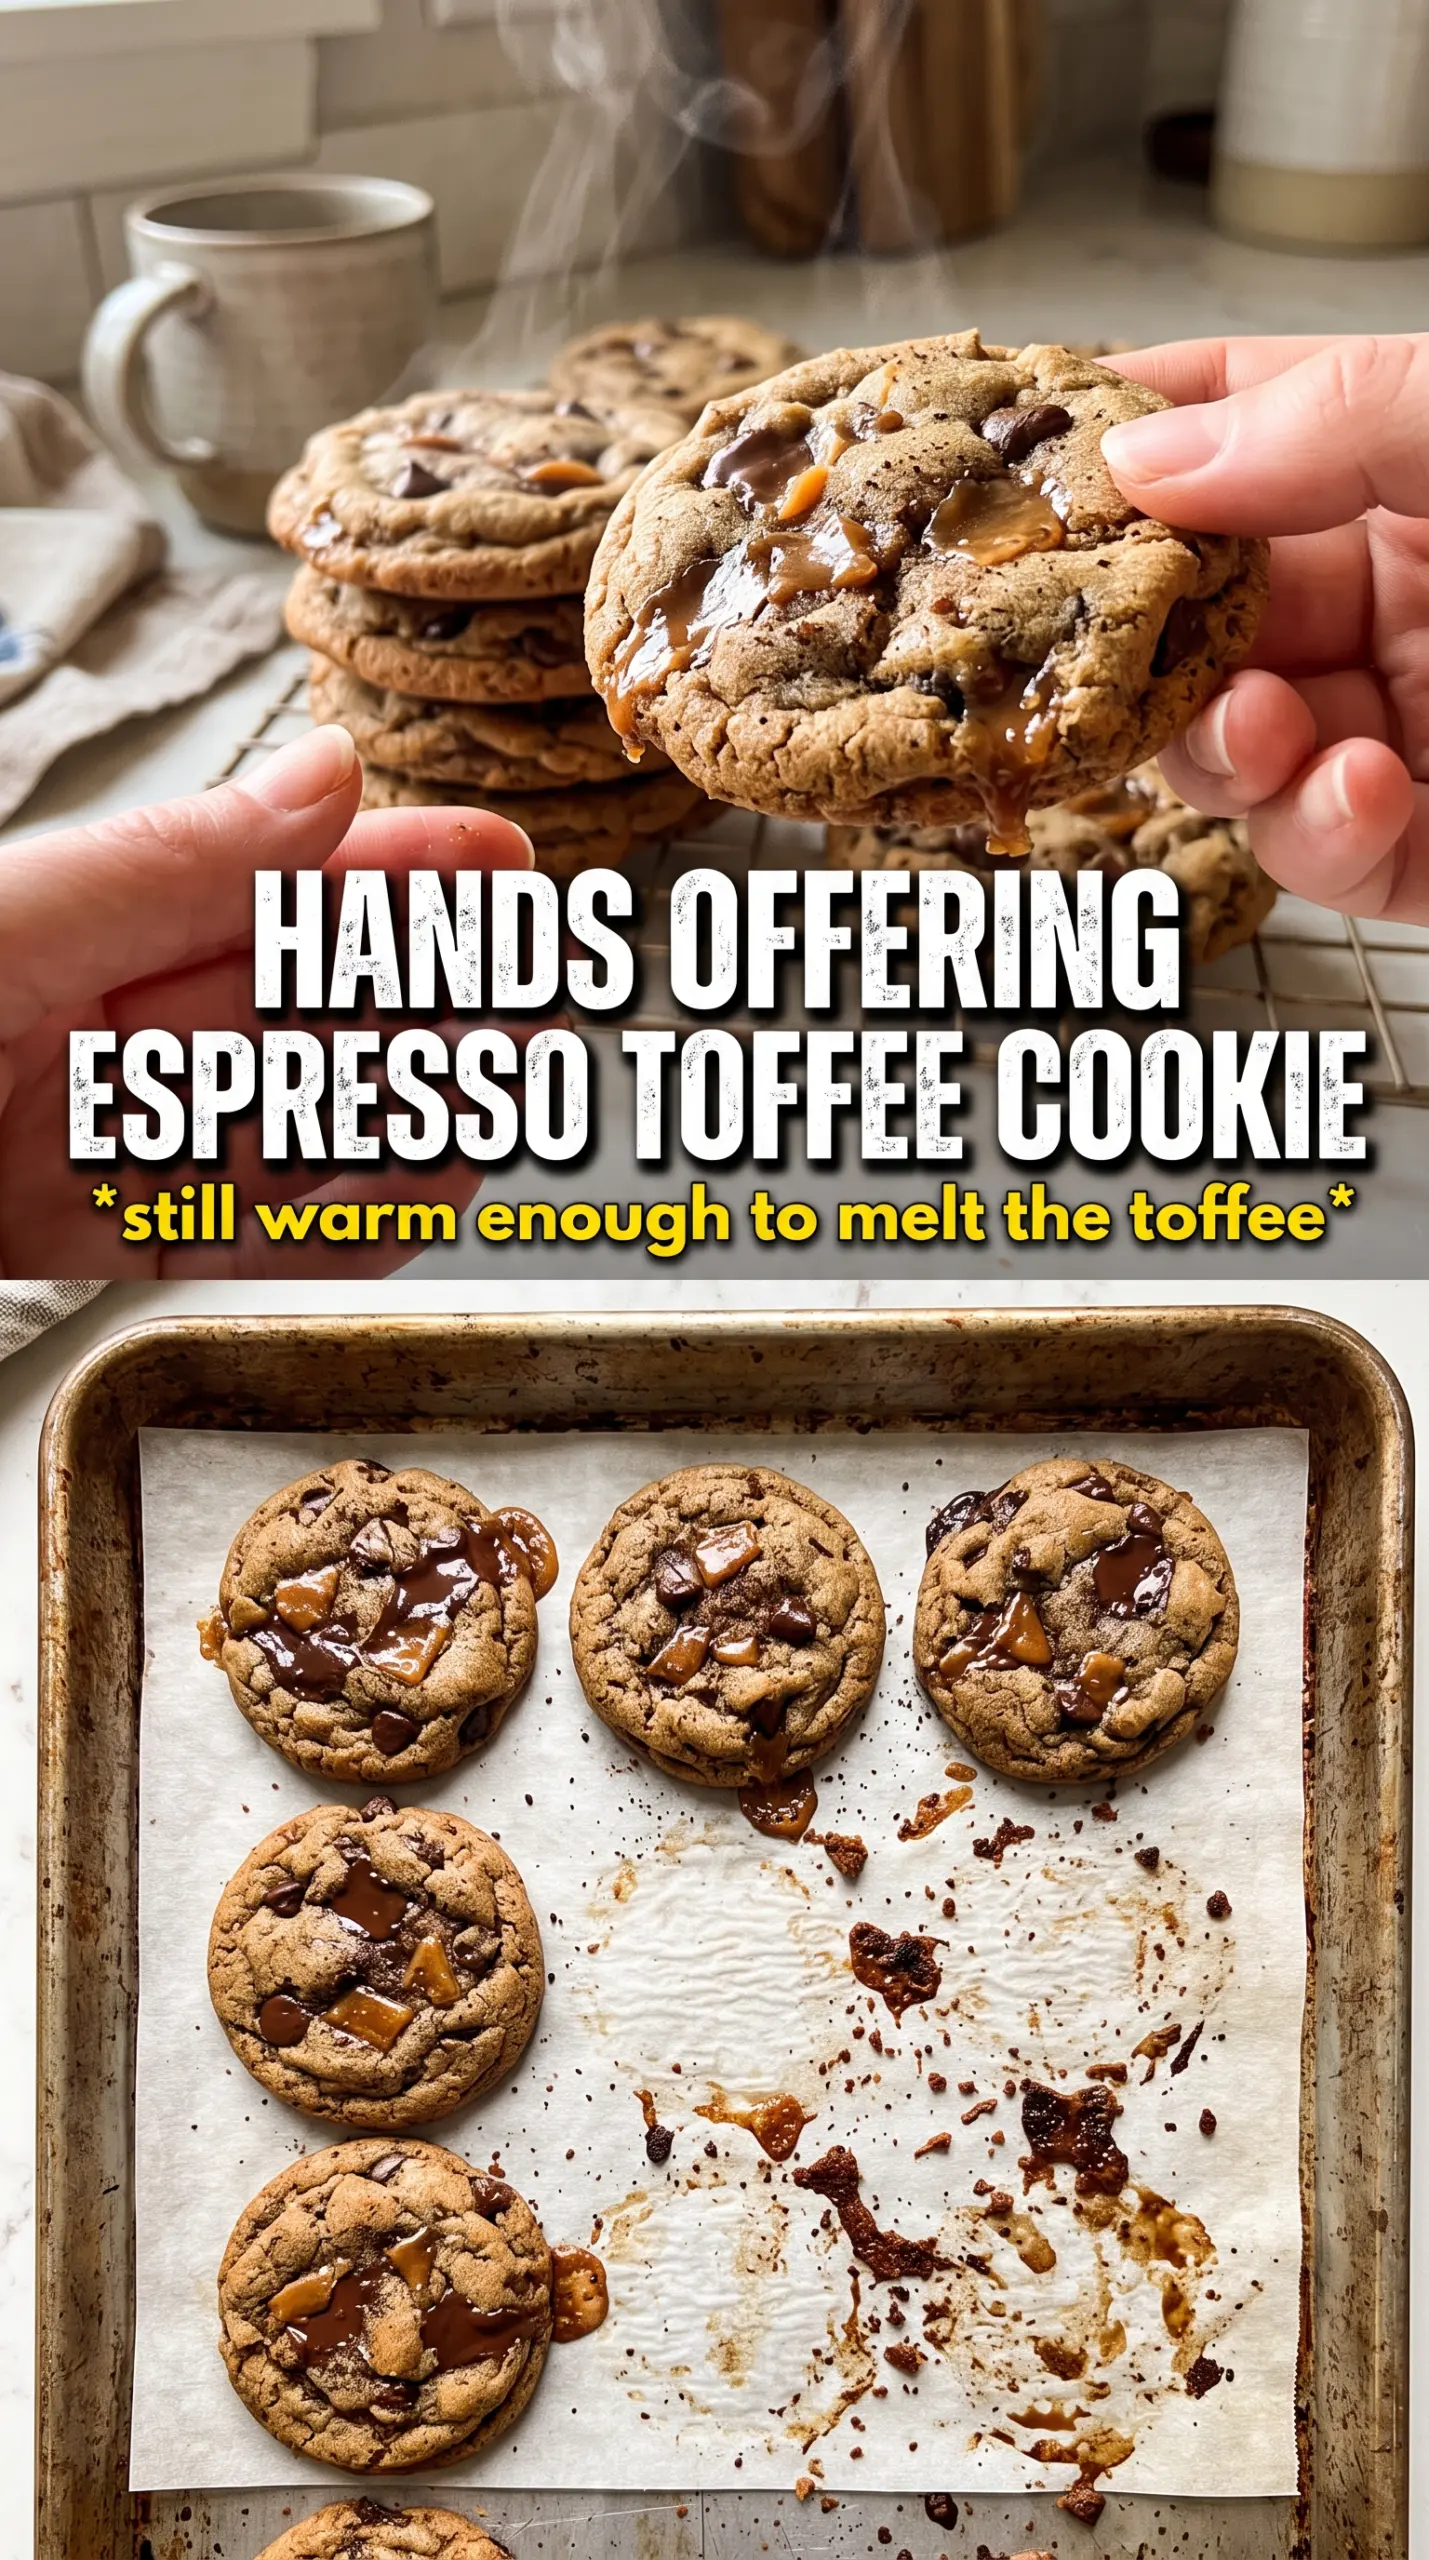
Espresso brown butter toffee cookies bake up with crisp edges, soft centers, and those little pockets of melted toffee that make each bite crackle just enough. The brown butter brings a deep, nutty backbone, while the espresso powder sharpens the chocolate and keeps the sweetness from flattening out. A pinch of flaky salt on top finishes the whole cookie with that bakery-style contrast people notice right away.
The detail that matters most here is the butter. Browning it adds flavor, but cooling it back down until it’s solid and scoopable keeps the dough from spreading into thin puddles. You’re also using espresso powder in the dough, not brewed coffee, so the flavor stays concentrated and the texture stays right. That small choice gives the cookies a darker, richer taste without making them taste like a cup of coffee.
Below, I’ll walk through the one part that trips people up most often, plus the swaps that still give you a strong cookie with crisp edges and a chewy center. If you’ve ever had brown butter dough turn greasy or flat, this version solves that.
The brown butter flavor came through perfectly, and the centers stayed chewy while the edges set up just right. I loved the little hit of espresso with the toffee and flaky salt on top.
Save these espresso brown butter toffee cookies for the days when you want a chewy, bakery-style cookie with a nutty finish and a little espresso kick.
The Brown Butter Needs to Be Cool Enough to Hold Its Shape
The mistake most cookie bakers make here is using brown butter while it’s still warm and loose. That turns the dough greasy, which means the cookies spread too fast before the edges can set. Cooling it until it’s solid but still scoopable gives you the flavor of browned butter without sacrificing structure.
The other thing working in your favor is the sugar balance. Brown sugar brings chew and moisture, while granulated sugar helps the edges crisp and gives the dough enough lift to stay thick. If your cookies ever come out flat, it usually means the fat was too warm or the dough never had enough body before baking.
- Brown butter — Brown it until it smells nutty and the milk solids turn deep golden, then cool it completely. If you use it warm, the dough won’t hold shape.
- Espresso powder — This gives a concentrated coffee note without adding liquid. Brewed coffee won’t do the same job.
- Toffee bits — They melt into little caramel pockets as the cookies bake. Chop bar-style toffee pieces if you want bigger bites.
- Dark chocolate chips — These keep the cookie from tasting one-note. Semi-sweet works too, but dark chocolate gives a better edge against the espresso.
What Each Ingredient Is Actually Doing in These Cookies
- All-purpose flour — Gives the cookie enough structure to hold the brown butter and mix-ins without turning cakey. Spoon and level it if you can, because packing in too much flour makes the cookies dry.
- Baking soda — Helps the cookies spread just enough and browns the edges. Don’t swap in baking powder; it changes the lift and the texture.
- Espresso powder — A little goes a long way. It deepens the chocolate and brown sugar flavor without making the cookies taste strongly of coffee.
- Unsalted butter — Browning it is where the flavor comes from. Salted butter can work in a pinch, but you’ll want to reduce the added salt slightly.
- Toffee bits — These add crunch and caramel flavor, and they’re one of the reasons the cookies taste layered instead of plain sweet.
- Flaky sea salt — Use it at the end, not in the dough. It keeps the finish clean and gives you little bursts of salt on top.
Building the Dough So the Cookies Stay Thick and Chewy
Brown the Butter Until It Smells Like Toasted Nuts
Cook the butter over medium heat and keep stirring as the foam settles and the milk solids drop to the bottom. You’re looking for a deep golden color and a nutty smell, not darkness or smoke. Once it’s browned, pour it into a bowl immediately so the residual heat doesn’t take it too far. If the butter scorches, the cookies will taste bitter, and there’s no fixing that later.
Cool It Until It’s Scoopable
Refrigerate the butter until it firms back up and has the texture of soft clay. That cooling time matters because the dough needs the butter to behave like butter again, not a liquid. Beat it with the sugars until creamy before adding the eggs; that’s what gives the cookies a better final texture. If the butter is too hard from the fridge, let it sit at room temperature for a few minutes before mixing.
Stop Mixing as Soon as the Flour Disappears
Once the dry ingredients go in, mix only until you no longer see streaks of flour. Overmixing at this stage builds toughness, and cookies that should be chewy turn dense. Fold in the toffee bits and chocolate chips by hand so they stay intact. Scoop the dough onto parchment-lined pans in even rounds so the cookies bake at the same rate.
Bake Until the Centers Still Look a Little Soft
Pull the cookies when the edges are golden and the centers still look slightly underdone. They finish setting on the hot pan, and that carryover heat is what keeps them chewy instead of dry. Sprinkle the flaky salt right away so it sticks to the top. If you wait too long, the salt just falls off.
How to Adapt These Cookies Without Losing the Texture
Gluten-Free Swap
Use a 1:1 gluten-free flour blend that includes xanthan gum. The cookies will still spread a bit and stay chewy, though they may bake up slightly more delicate at the edges. Skip almond flour or coconut flour here; neither behaves like regular flour in a cookie dough built for structure.
Dairy-Free Version
Use a dairy-free butter that browns well, or use a plant-based butter with a similar fat content if browning isn’t important to you. You’ll lose some of the nutty depth, but the espresso and toffee still carry a lot of the flavor. Choose dairy-free chocolate chips and check the toffee bits, since many brands contain butter.
More Chocolate, Less Toffee
If you want a deeper chocolate cookie, cut the toffee bits back slightly and bump the chocolate chips up by a half cup. The cookie will taste less caramel-forward and a little more like an espresso chocolate chip cookie, but the structure stays the same.
Storage and Reheating
- Refrigerator: Store in an airtight container for up to 5 days. The cookies stay chewy, though the toffee bits soften a little after the first day.
- Freezer: Freeze baked cookies for up to 2 months, or freeze portioned dough balls and bake from frozen with 1 to 2 extra minutes.
- Reheating: Warm a cookie in the microwave for 8 to 10 seconds or in a low oven for a few minutes. Don’t overheat it, or the chocolate chips and toffee turn greasy instead of soft.
Questions I Get Asked About This Recipe

Espresso Brown Butter Toffee Cookies
Ingredients
Equipment
Method
- Brown the butter in a saucepan over medium heat until golden and nutty-smelling. Pour into a bowl and refrigerate until solid but scoopable, about 30 minutes.
- Preheat the oven to 375F and line baking sheets with parchment. Keep the pans ready for the cookie rounds.
- Whisk the all-purpose flour, baking soda, espresso powder, and salt together. Whisk until the color is evenly distributed.
- Beat the solidified brown butter with both sugars until creamy. Add the eggs one at a time, then beat in the vanilla extract.
- Fold the flour mixture into the butter mixture until just combined. Stop mixing as soon as no dry streaks remain.
- Fold in the toffee bits and dark chocolate chips. Distribute them evenly throughout the dough.
- Scoop the dough into 2-tablespoon rounds and place them on the prepared baking sheets. Leave space between rounds for spreading.
- Bake for 10-12 minutes, until the edges are golden but the centers look slightly underdone. Look for a set edge while the middle still appears soft.
- Sprinkle the cookies immediately with flaky sea salt. Cool on the pan for 5 minutes before moving.