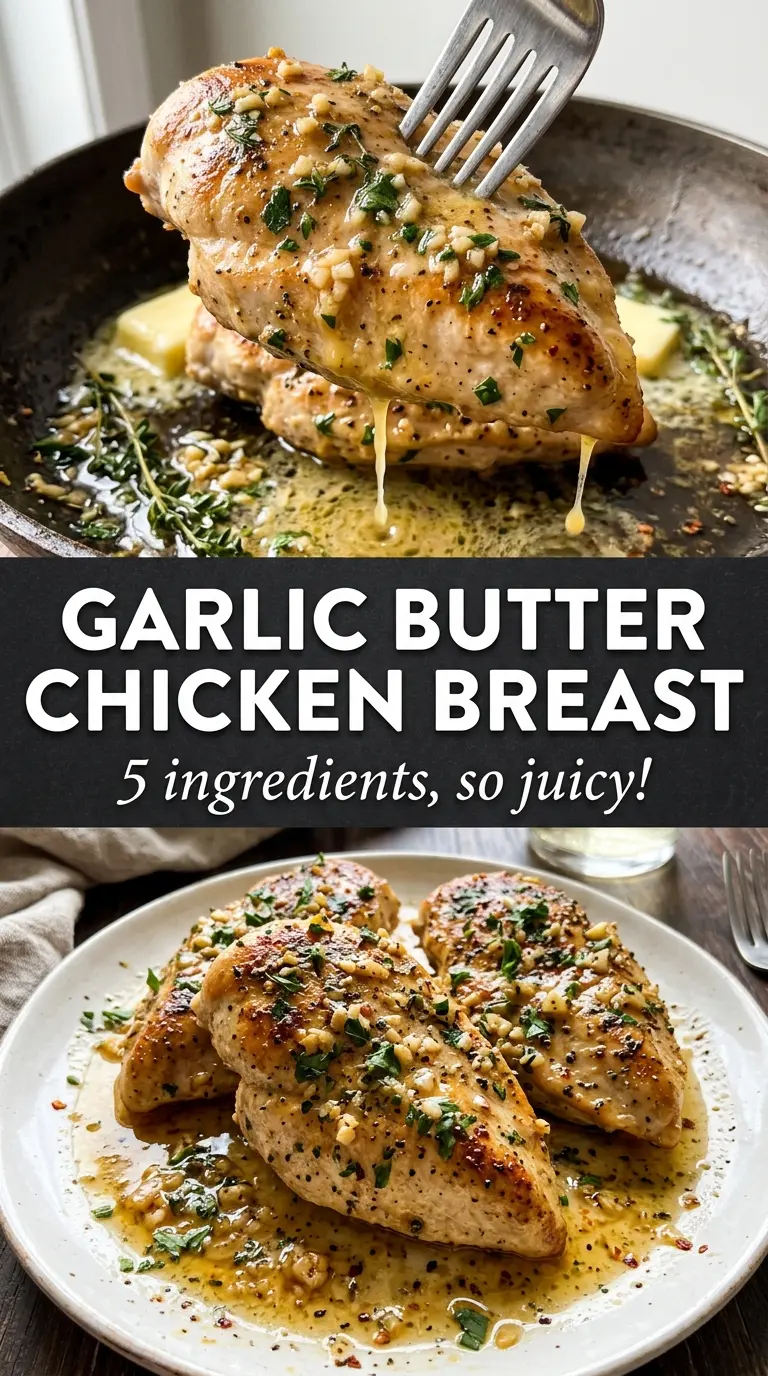
Garlic butter baked chicken breast comes out juicy when the oven does the work and the butter does the protecting. The top turns glossy and lightly golden, the pan fills with garlic and herbs, and the chicken stays tender enough to slice cleanly without losing all its juices to the cutting board.
The trick is in the butter baste. It keeps the lean breast meat from drying out, but it also needs to be balanced with enough seasoning on the chicken itself so the flavor doesn’t sit only on the surface. A hot oven helps the butter caramelize around the edges instead of just melting into a puddle, and a quick baste halfway through gives you better coverage without overhandling the chicken.
Below, you’ll find the simple timing that keeps the breasts juicy, the herb choices that actually matter, and a few smart swaps if you’re working with what you already have.
The butter browned on top and the chicken stayed juicy all the way through. I basted it halfway like the directions said, and the pan juices were perfect spooned over rice.
Save this garlic butter baked chicken breast for nights when you want juicy oven chicken with pan juices worth spooning over everything.
The Difference Between Juicy Chicken and Dry Chicken Starts Before the Oven
Chicken breasts dry out when they go into the oven unevenly shaped, underseasoned, or already overcooked by the time the center is done. The breast meat closest to the pan edges cooks faster, so the goal is to coat every piece evenly with butter and keep the oven hot enough to finish quickly without slowly squeezing out the juices.
Smaller or thinner breasts cook faster than thick ones, which is why a thermometer matters here. Pulling the chicken at 165°F is the endpoint, but if the pieces are especially thick, take them out a minute early and let the resting time finish the job. That short rest keeps the juices inside instead of letting them run out the second you cut in.
- Butter — This carries the garlic and herbs and helps the top brown. Melted butter works better than softened here because it coats the chicken in a thin layer that bakes into a glaze instead of clumping.
- Fresh garlic — Minced garlic gives the pan juices their backbone. Jarred garlic can work in a pinch, but it tastes flatter and can scorch faster in the oven.
- Fresh herbs — Parsley, thyme, and rosemary bring brightness and depth. Dried herbs can stand in, but use less; they concentrate more as they bake.
- Lemon juice — Just a little wakes up the butter so it doesn’t taste heavy. Skip it only if you have to, but the chicken tastes cleaner and fresher with it in the mix.
What Each Ingredient Is Actually Doing in This Recipe
- Primary ingredient (the star) — Quality matters most. Choose the best you can find.
- Cooking medium (oil, butter, or broth) — This carries flavors and prevents dryness.
- Seasonings (salt, pepper, spices, herbs) — Layer flavors so nothing overpowers. Build depth gradually.
- Aromatics (garlic, onion, herbs) — Cook with fat to bloom flavors. Become the foundation.
- Supporting ingredients — Complement the main ingredient without overpowering it.
- Sauce or liquid (if applicable) — Brings flavors together. Balance richness with acid.
- Acid (lemon, vinegar, wine, or other) — Brightens and prevents flat-tasting results.
- Final finish (garnish, glaze, or sauce) — Prevents one-dimensional taste and adds visual appeal.
Getting the Garlic Herb Butter to Coat, Not Pool
Preheat the oven fully before the chicken goes in. If the oven is still climbing, the butter melts too slowly and the chicken starts steaming in its own juices before it has a chance to roast. Season both sides of the breasts before adding the butter; that first layer of salt and spices is what keeps the flavor from tasting one-note.
Seasoning the Chicken Well
Pat the chicken dry, then season it evenly on both sides with salt, pepper, garlic powder, and smoked paprika. The dry surface helps the seasonings cling and gives the butter something to sit on instead of sliding away. If the breasts are wildly uneven, pound the thicker end just a little so everything cooks at the same pace.
Mixing the Herb Butter
Stir the garlic, parsley, thyme, rosemary, and lemon juice into the melted butter while it’s still warm. You want it fluid enough to pour, not hot enough to cook the garlic before it reaches the oven. If the butter starts separating, give it another stir right before spooning it over the chicken.
Baking and Basting
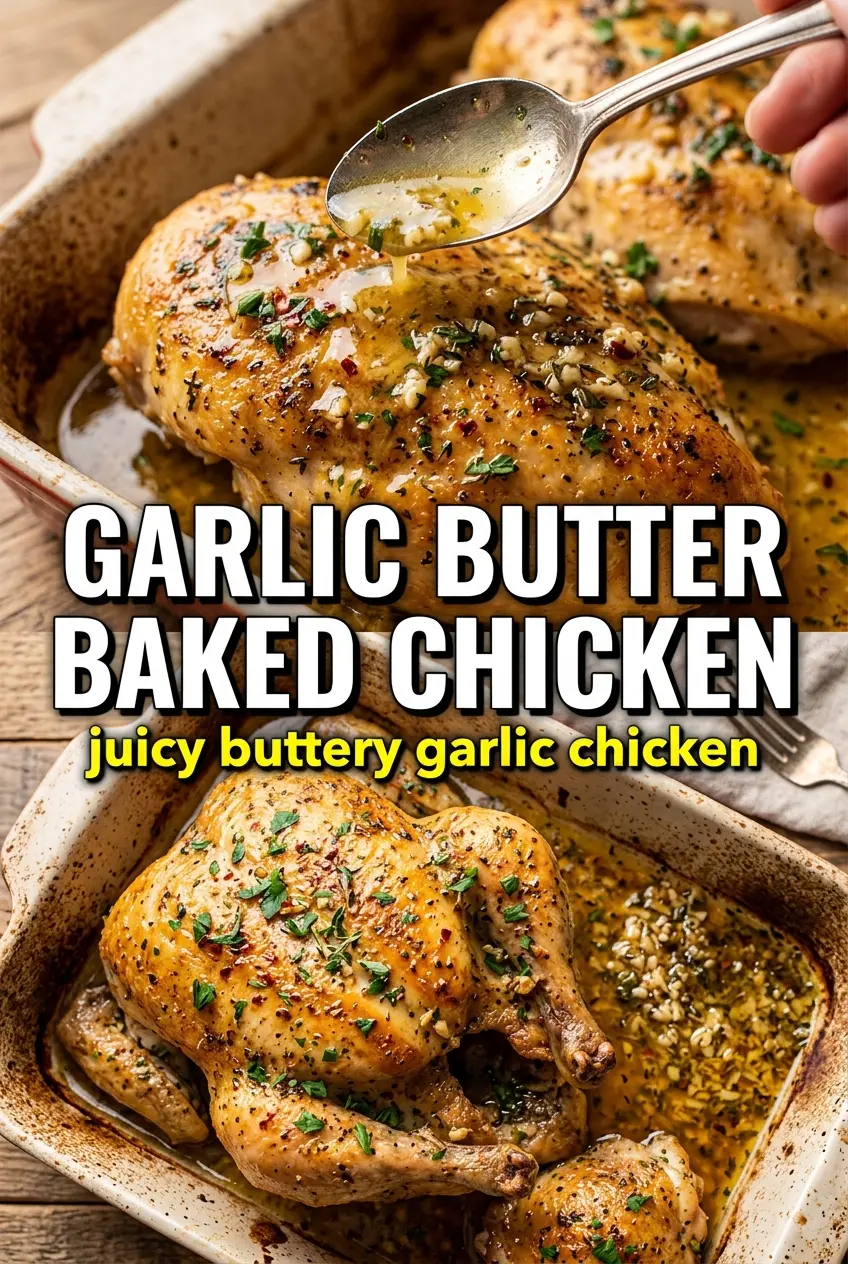
Place the chicken in a lightly greased baking dish and pour the butter mixture over each piece, using a spoon to coat the tops thoroughly. Bake for 20 to 25 minutes, then baste once with the pan juices halfway through. The chicken is done when the thickest part reaches 165°F and the juices run clear; if the top looks pale, a short rest under the oven’s residual heat will deepen the color without drying it out.
Resting Before Slicing
Let the chicken sit for 5 minutes before cutting. That pause gives the juices time to settle back into the meat, which is the difference between a neat slice and a cutting board full of runoff. Spoon the pan juices over the top right before serving so every bite gets the garlic butter that collected in the dish.
How to Change This Dish Without Losing the Garlic Butter Backbone
Use chicken thighs instead of breasts
Boneless skinless thighs stay juicier and forgive a little extra oven time. They need a few more minutes than breasts, but the garlic butter clings beautifully and the flavor turns richer because thigh meat has more natural fat.
Make it dairy-free
Use a good plant-based butter that melts cleanly and tastes neutral. You won’t get the same rich dairy finish, but the garlic, herbs, and lemon still build a solid pan sauce.
Swap the herbs based on what you have
Use whatever fresh soft herbs you have on hand, but keep rosemary light because it can dominate fast. Thyme and parsley are the easiest pair to swap around, and oregano works if you want a slightly more savory edge.
Turn it into a gluten-free weeknight dinner
This recipe is naturally gluten-free as written. Serve it with rice, potatoes, or vegetables and use the pan juices as the sauce so you don’t need any flour to make the meal feel complete.
Storage and Reheating
- Refrigerator: Store in an airtight container for up to 4 days. The butter will firm up, but the chicken stays usable for salads, grain bowls, or a second dinner.
- Freezer: Freeze cooked chicken for up to 2 months. Wrap tightly and include some of the pan juices if you can, since that helps protect the meat from drying out.
- Reheating: Warm covered in a 300°F oven with a splash of water or pan juices until hot. The biggest mistake is blasting it in the microwave, which pushes the chicken from juicy to stringy fast.
Answers to the Questions Worth Asking
Garlic Butter Baked Chicken Breast
Ingredients
Equipment
Method
- Preheat oven to 425°F and lightly grease a baking dish. Place the dish in the oven while it heats if you want extra initial browning.
- Season chicken breasts on both sides with salt, pepper, garlic powder, and smoked paprika. Pat so the spices cling evenly to the surface.
- Melt butter and stir in garlic, parsley, thyme, rosemary, and lemon juice until combined. Keep stirring until fragrant and smooth.
- Place chicken in the prepared dish and pour garlic herb butter over each breast, coating thoroughly. Make sure some butter pools around the base of every piece.
- Bake for 20-25 minutes, basting with the pan juices once at the halfway point. Look for a golden, glistening surface as the butter caramelizes, and bake until the internal temperature reaches 165°F.
- Rest the chicken for 5 minutes before serving. Spoon the pan juices over the breasts for a glossy finish.
- Serve with lemon wedges alongside. Squeeze to brighten the garlic-herb butter.