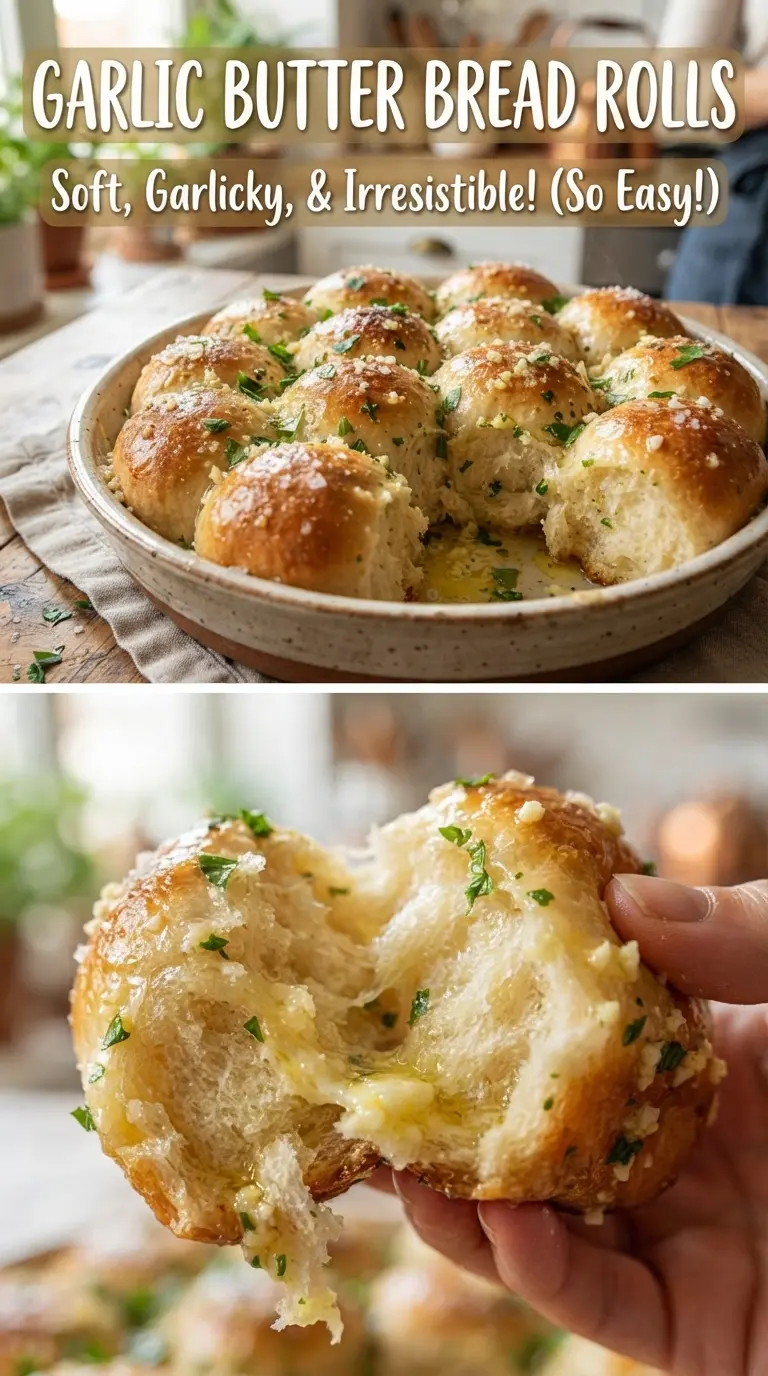
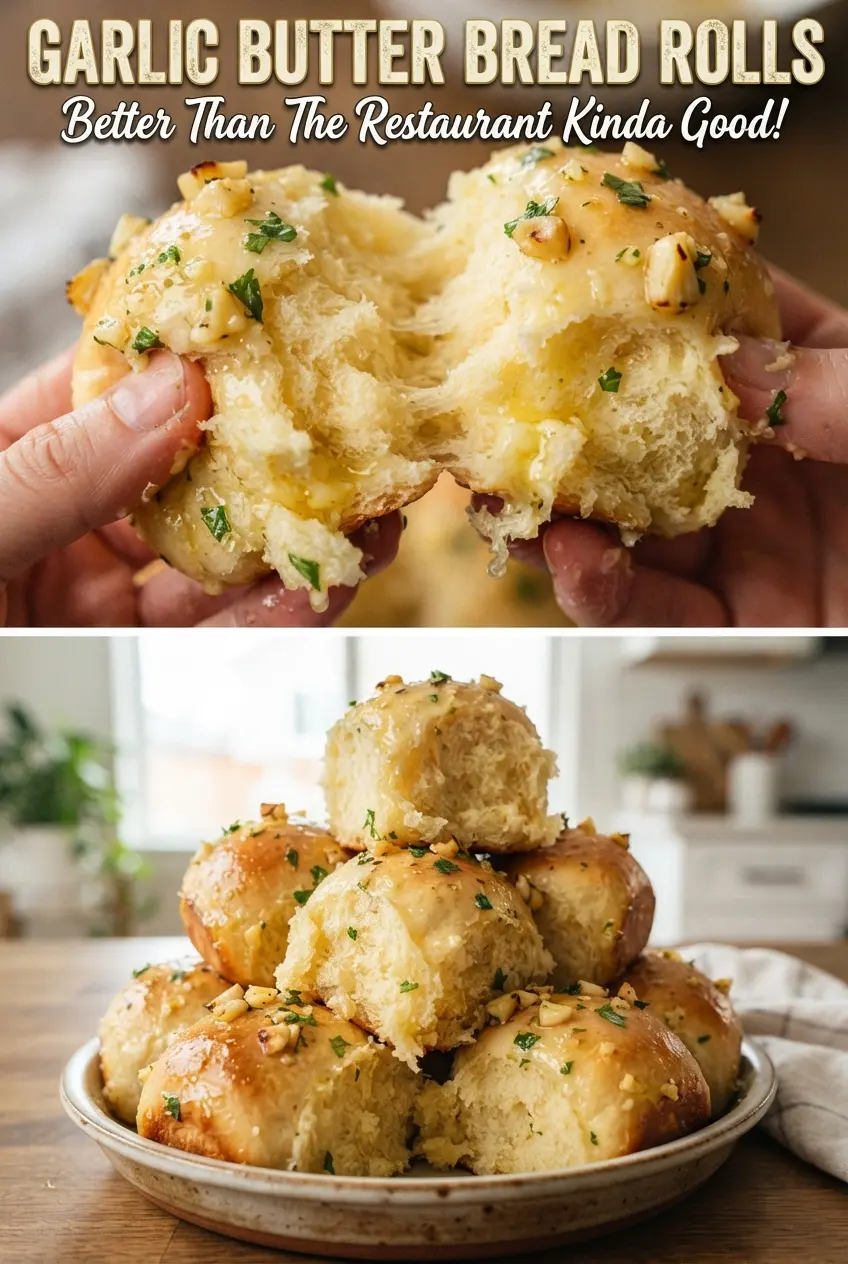
Golden garlic butter bread rolls disappear fast because they hit every mark a good roll should: soft centers, tender edges, and a glossy, savory finish that makes them hard to leave alone. The pull-apart texture is the best part. You get a little crust on the outside, then a fluffy, steaming middle that soaks up the garlic butter without turning greasy.
What makes these work is the balance between a rich dough and a simple, aggressive finish. Warm milk helps the yeast move quickly, while the egg and butter keep the crumb soft. The rolls bake close together in a pan, so they rise upward instead of spreading out, and that gives you those sides that tear apart in satisfying layers.
Below, I’ve included the small details that matter most: how to tell when the dough has been kneaded enough, what puffy looks like before baking, and why the garlic butter goes on while the rolls are still hot. That last step is what gives you the glossy tops and full garlic flavor instead of a pale, dry finish.
The rolls came out incredibly fluffy, and brushing the garlic butter on right after baking made the tops shine and the parsley stick perfectly. We tore through half the pan before dinner was even on the table.
Save these garlic butter bread rolls for the next time you need soft, pull-apart dinner rolls with a glossy garlic finish.
The Difference Between Puffy Rolls and Dense Ones
The biggest mistake with bread rolls is rushing the rise and baking dough that still feels tight. If the dough hasn’t doubled, the crumb stays cramped and the rolls bake up heavier than they should. The pan rise matters just as much as the first rise, because those rolls need time to relax and fill the pan before they go into the oven.
You’re looking for dough that feels smooth and springy after kneading, then noticeably lighter after the first rise. When you shape the balls, keep them even so they bake at the same pace. If a few are much larger than the rest, the smaller ones dry out before the big ones finish.
- Warm milk — This gives the yeast a friendly starting point and adds softness to the dough. If the milk is too hot, it can kill the yeast, so aim for warm, not steaming.
- Instant yeast — This moves quickly and blends right into the dough without proofing in a separate bowl. If you use active dry yeast instead, dissolve it in the warm milk for a few extra minutes before adding the rest of the ingredients.
- Butter — Melted butter enriches the dough and gives the rolls a tender bite. The topping butter should be melted separately so it brushes on smoothly and soaks into the hot rolls fast.
- All-purpose flour — This gives you a soft, reliable roll without making the texture too chewy. Add just enough to bring the dough together; too much flour is what turns a soft roll into a dry one.
What Each Ingredient Is Actually Doing in This Recipe
- Primary ingredient (the star) — Quality matters most. Choose the best you can find.
- Cooking medium (oil, butter, or broth) — This carries flavors and prevents dryness.
- Seasonings (salt, pepper, spices, herbs) — Layer flavors so nothing overpowers. Build depth gradually.
- Aromatics (garlic, onion, herbs) — Cook with fat to bloom flavors. Become the foundation.
- Supporting ingredients — Complement the main ingredient without overpowering it.
- Sauce or liquid (if applicable) — Brings flavors together. Balance richness with acid.
- Acid (lemon, vinegar, wine, or other) — Brightens and prevents flat-tasting results.
- Final finish (garnish, glaze, or sauce) — Prevents one-dimensional taste and adds visual appeal.
Building the Dough and Finishing It Hot
Waking Up the Yeast
Whisk the warm milk, yeast, and sugar together and let it sit until the top turns foamy. That foam tells you the yeast is alive and active. If nothing happens after 5 minutes, the milk may have been too hot, too cold, or the yeast may be old, and the dough won’t rise the way it should.
Kneading Until Smooth
Add the egg, melted butter, salt, and flour, then knead until the dough turns smooth and elastic, about 6 to 8 minutes. It should feel soft and slightly tacky, not wet and sticky. If it clings heavily to your hands or the bowl, add flour in small amounts; if you add too much at once, the rolls come out dry and bready.
Letting the Dough and Rolls Puff Up
Cover the bowl and let the dough rise until doubled, then shape into 12 even balls and place them in a greased 9×13-inch pan. After the second rise, the rolls should look puffy and nearly touching. That second rise is what gives you those soft sides, so don’t bake them while they still look tight and underexpanded.
Baking for a Golden Top
Bake at 375°F until the rolls are golden brown and smell buttery from across the kitchen. If the tops color too fast, the rolls may be done before the centers finish setting. You want a deep golden top with a soft crumb underneath, not pale dough or a dry crust.
Garlic Butter While They’re Hot
Stir the melted butter with the garlic and parsley, then brush it generously over the rolls the moment they come out of the oven. Hot bread drinks in the butter better than warm bread does. Finish with flaky sea salt so the tops taste savory instead of flat, and serve them right away while the centers are still steamy.
How to Change These Rolls Without Losing the Soft Center
Dairy-Free Version
Use a plain unsweetened non-dairy milk and swap in a plant-based butter that melts cleanly. The rolls will still rise and stay soft, but you’ll lose a little of the rich dairy flavor, so the garlic topping matters even more here.
Make Them Herbier
Add a teaspoon of dried Italian seasoning or a little finely chopped rosemary to the dough, or stir extra herbs into the butter topping. Fresh herbs work best in the finish because they stay bright, while dried herbs in the dough give a more even background flavor.
Gluten-Free Needs a Different Dough
A one-to-one gluten-free flour blend can work in a pinch, but the texture will be more delicate and less stretchy. Expect a softer, slightly more fragile roll, and handle the dough gently since it won’t develop the same elasticity as wheat flour.
Storage and Reheating
- Refrigerator: Store in an airtight container for up to 3 days. The rolls will soften a bit and lose some of their fresh-baked lift.
- Freezer: Freeze baked rolls for up to 2 months. Wrap them well and thaw at room temperature before reheating so they don’t dry out.
- Reheating: Warm in a 300°F oven for 8 to 10 minutes, covered loosely with foil. The mistake is blasting them in the microwave until the crumb turns rubbery and the butter separates.
Answers to the Questions Worth Asking
Garlic Butter Bread Rolls
Ingredients
Equipment
Method
- Whisk warm milk (110F), instant yeast, and sugar together, then let sit 5 minutes until foamy.
- Check for a foamy surface before continuing; if it isn’t foamy, discard and start with fresh yeast.
- Add the large egg, melted butter, salt, and all-purpose flour, then mix and knead 6-8 minutes until smooth and elastic.
- Keep kneading until the dough springs back when lightly pressed and looks cohesive.
- Cover the dough and let it rise 1 hour until doubled in size.
- Divide the dough into 12 balls and place them in a greased 9x13-inch pan, then cover.
- Let the rolls rise 30 minutes until puffy.
- Preheat the oven to 375F, then bake the rolls for 18-20 minutes until golden brown.
- Bake until the tops are clearly browned and the centers feel set when lightly tapped.
- Stir melted butter, minced garlic, and chopped parsley, then brush generously over the hot rolls.
- Sprinkle with flaky sea salt while warm, then serve immediately.