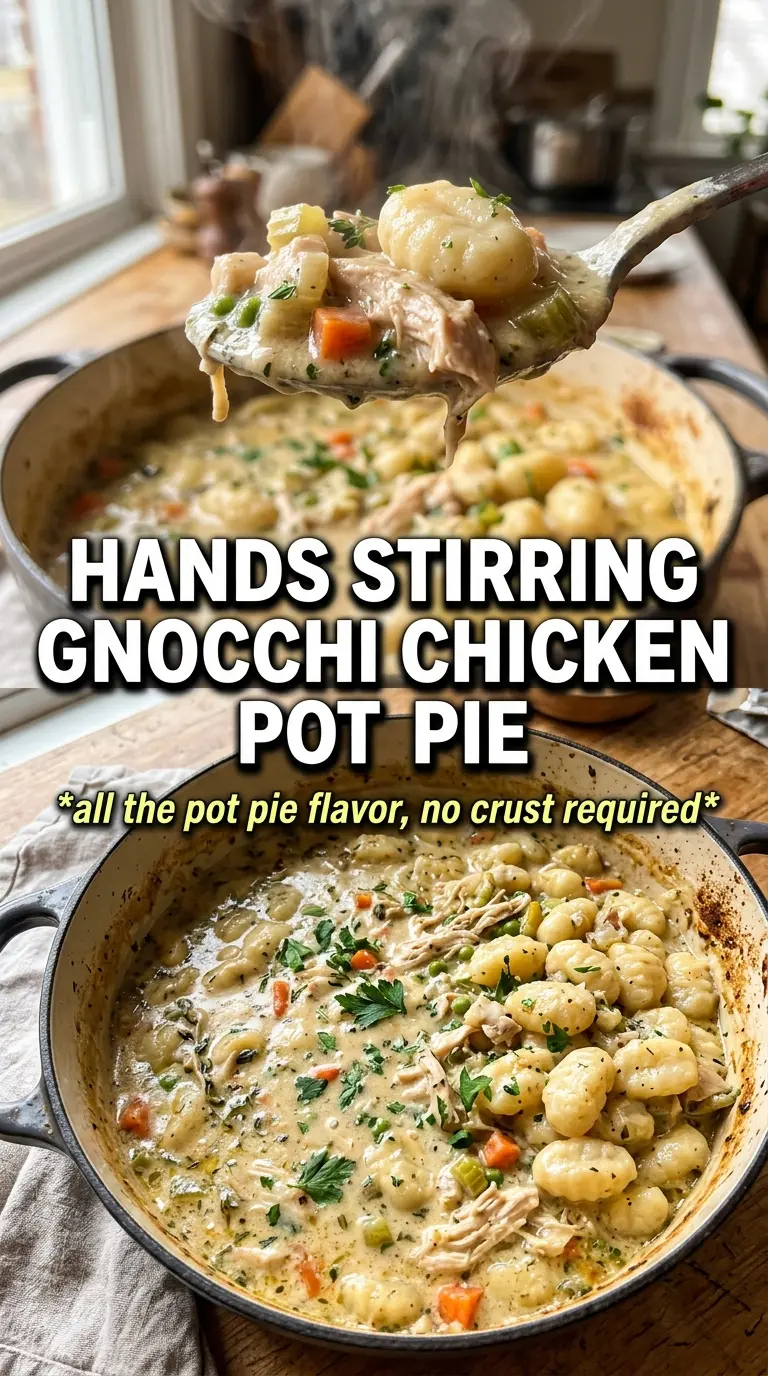
Gnocchi chicken pot pie hits that sweet spot between comfort food and practical weeknight cooking: a creamy chicken-and-vegetable filling, pillowy gnocchi tucked into every bite, and a golden top that cracks open to steam and butter. It eats like pot pie, but the gnocchi gives it a little more body and a better spoonful than a plain crust-only version. Every scoop has something soft, something savory, and something crisp from the topping.
The trick is cooking the vegetables long enough to soften their edges before the sauce goes in, then thickening the filling before the gnocchi hits the pan. Gnocchi cooks fast, and it keeps cooking in the oven, so it goes in uncooked and finishes right in the sauce without turning gummy. Puff pastry gives the most shattery top, while biscuits make the whole dish feel a little more rustic and hearty.
Below, I’ve included the part that matters most: how to keep the sauce creamy instead of loose, what changes when you swap the topping, and how to store leftovers without losing that cozy pot-pie texture.
The sauce thickened up beautifully and the gnocchi stayed tender instead of falling apart. My husband went back for a second bowl before I’d even set the spoon down.
Gnocchi chicken pot pie keeps the creamy filling and the puff pastry top that shatters in every spoonful — save it for the nights when you want comfort food without a fussy crust.
The Part That Keeps the Gnocchi From Turning Mushy
Most pot pie fillings fail one of two ways: the sauce is thin when it goes in the oven, or the starch in the dumplings has too much time to soak up liquid and collapse the whole thing. This version avoids both problems by thickening the sauce on the stove first and only then folding in the gnocchi. That gives the gnocchi a short, controlled cook in the oven instead of a long simmer on the stovetop.
The other thing that matters is the order. Cook the vegetables until the onion loses its raw bite and the carrots start to soften, then add the flour and let it cook for a full minute before you pour in the broth. If the flour tastes raw, the filling will taste dusty. If you rush the thickening stage, the sauce can look fine in the pan and still come out loose after baking.
- Puff pastry or biscuits — Puff pastry gives you the lightest, flakiest top, and biscuits give you a sturdier, more rustic finish. Use puff pastry if you want a cleaner crack when you spoon through the top; use biscuits if you want something more substantial.
- Cooked chicken — Rotisserie chicken works well here because it stays juicy and shreds easily. Leftover roasted chicken is fine too, but very lean chicken breast can dry out a little in the oven, so I like to keep the filling on the creamy side.
- Potato gnocchi — Shelf-stable or refrigerated gnocchi both work. Don’t boil it first; it goes in uncooked and finishes in the sauce, which keeps the texture soft instead of waterlogged.
- Heavy cream — This is what makes the filling taste rich and stay velvety after baking. Half-and-half will work in a pinch, but the sauce will be a little lighter and not quite as plush.
What Each Ingredient Is Actually Doing in This Recipe
- Primary ingredient (the star) — Quality matters most. Choose the best you can find.
- Cooking medium (oil, butter, or broth) — This carries flavors and prevents dryness.
- Seasonings (salt, pepper, spices, herbs) — Layer flavors so nothing overpowers. Build depth gradually.
- Aromatics (garlic, onion, herbs) — Cook with fat to bloom flavors. Become the foundation.
- Supporting ingredients — Complement the main ingredient without overpowering it.
- Sauce or liquid (if applicable) — Brings flavors together. Balance richness with acid.
- Acid (lemon, vinegar, wine, or other) — Brightens and prevents flat-tasting results.
- Final finish (garnish, glaze, or sauce) — Prevents one-dimensional taste and adds visual appeal.
Building the Filling in the Right Order
Softening the Vegetables First
Start with the onion, carrots, and celery in butter and give them the full five minutes. You want the onion translucent and the carrots just starting to give when pressed, not browned. If the vegetables stay too firm at this stage, they’ll still be crunchy after baking because the oven time is geared toward finishing the top and setting the sauce, not fully cooking raw vegetables.
Making the Sauce Thick Enough to Hold
Once the garlic and thyme go in, stir in the flour and let it cook for about a minute. Then add the broth slowly, whisking as you go, followed by the cream. The filling should coat a spoon and look glossy before it goes into the dish; if it pours like soup, it needs a little more time on the stove.
Adding the Gnocchi Without Overcooking It
Fold in the shredded chicken, peas, and uncooked gnocchi at the end and season well. The gnocchi should be coated in sauce, not drowning in it. If the mixture looks too tight, add a splash of broth; if it looks loose, let it simmer for another minute or two before transferring it to the baking dish.
Finishing Under a Golden Top
Spread the filling into the baking dish and cover it with puff pastry or biscuits, then brush the top with egg wash. Bake until the top is deeply golden and the filling is bubbling around the edges. That bubbling matters — it tells you the sauce has fully heated through and thickened enough to hold when you scoop it.
Three Ways to Make It Fit Your Kitchen
Gluten-Free Version
Use gluten-free gnocchi and thicken the filling with a gluten-free flour blend or cornstarch slurry instead of all-purpose flour. The texture stays creamy, but the sauce may look a little less silky than the original, so give it an extra minute on the stove before baking.
Dairy-Free Swap
Replace the butter with olive oil or a plant-based butter and use full-fat unsweetened oat cream or coconut cream in place of the heavy cream. The filling will still be rich, but coconut cream adds a faint sweetness, so oat cream is the better match if you want the flavor to stay close to classic pot pie.
Make It More Vegetable-Forward
Add mushrooms, diced potato, or small broccoli florets with the carrots and celery. Mushrooms deepen the savory flavor, while potatoes make the dish heartier and stretch it further without changing the creamy base.
Storage and Reheating
- Refrigerator: Store leftovers covered for up to 4 days. The gnocchi will soften a little more as it sits, but the filling stays satisfying.
- Freezer: Freeze the filling without the topping for the best texture, then add fresh pastry or biscuits before baking. Fully assembled leftovers can be frozen, but the topping won’t stay as crisp.
- Reheating: Reheat in a 350F oven, covered loosely with foil, until the center is hot. The biggest mistake is using the microwave for too long, which makes the gnocchi rubbery and the topping soggy.
Answers to the Questions Worth Asking
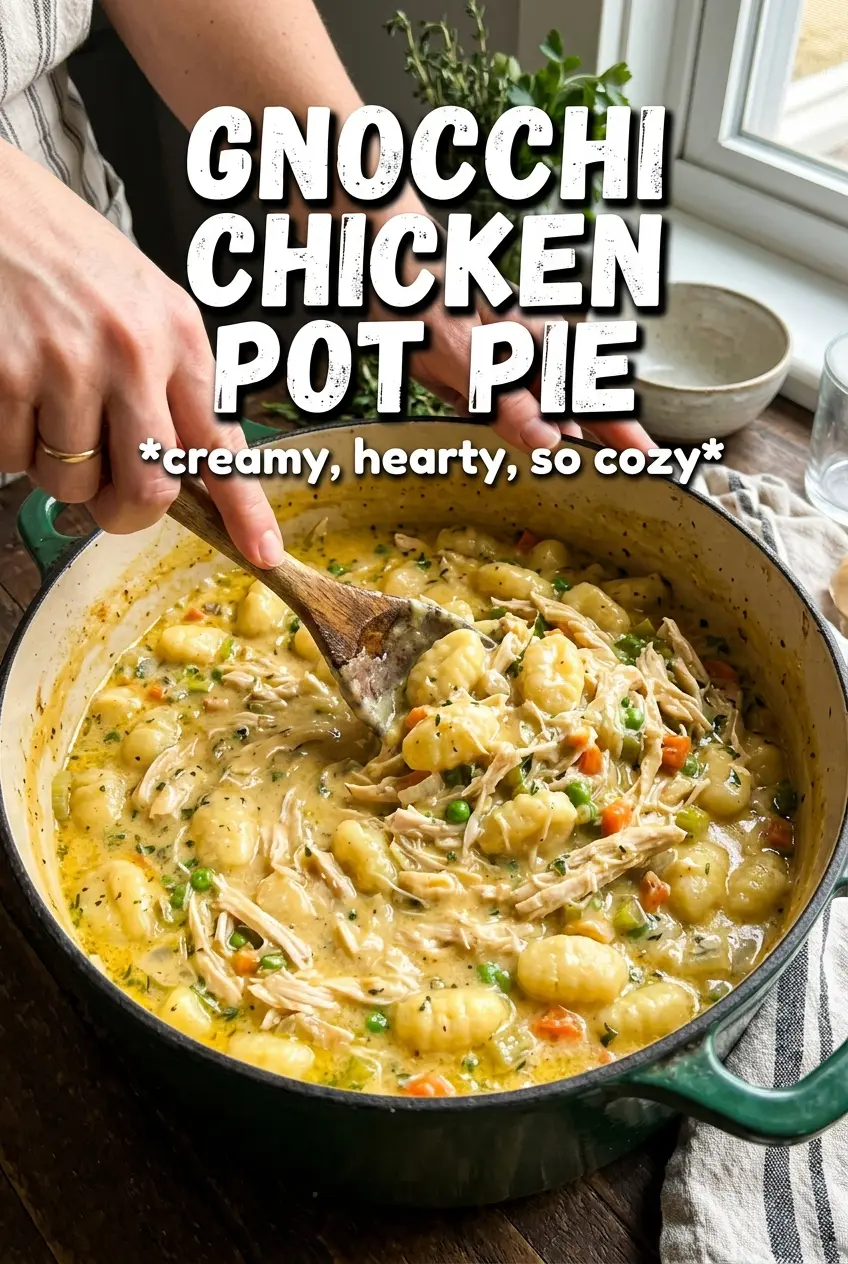
Gnocchi Chicken Pot Pie
Ingredients
Equipment
Method
- Preheat the oven to 400F. Set out the vegetables so they’re ready to go once the pot heats.
- In a skillet, sauté the onion, carrots, and celery in the butter for 5 minutes, until they soften and turn glossy. Keep the heat at medium so the vegetables cook without browning too much.
- Add the garlic and fresh thyme for 30 seconds, stirring until fragrant. You should be able to smell the garlic right away.
- Whisk in the all-purpose flour and cook for 1 minute. The mixture should look slightly thickened and smell nutty.
- Gradually whisk in the chicken broth and heavy cream. Bring it to a simmer and cook 5-7 minutes, stirring, until thickened enough to coat the back of a spoon.
- Fold in the shredded cooked chicken, frozen peas, and uncooked potato gnocchi, then season with salt and pepper to taste. The peas should be evenly distributed, and the gnocchi should be fully submerged.
- Pour the filling into a baking dish. Smooth the top so the crust will sit evenly.
- Top with puff pastry or refrigerated biscuits. Aim for full coverage so the filling stays sealed as it bakes.
- Brush the crust with the egg wash made from the egg. Look for an even glossy coating, especially at the edges.
- Bake 25-30 minutes at 400F until golden and bubbly. You should see active bubbling at the center and around any vent or seam.