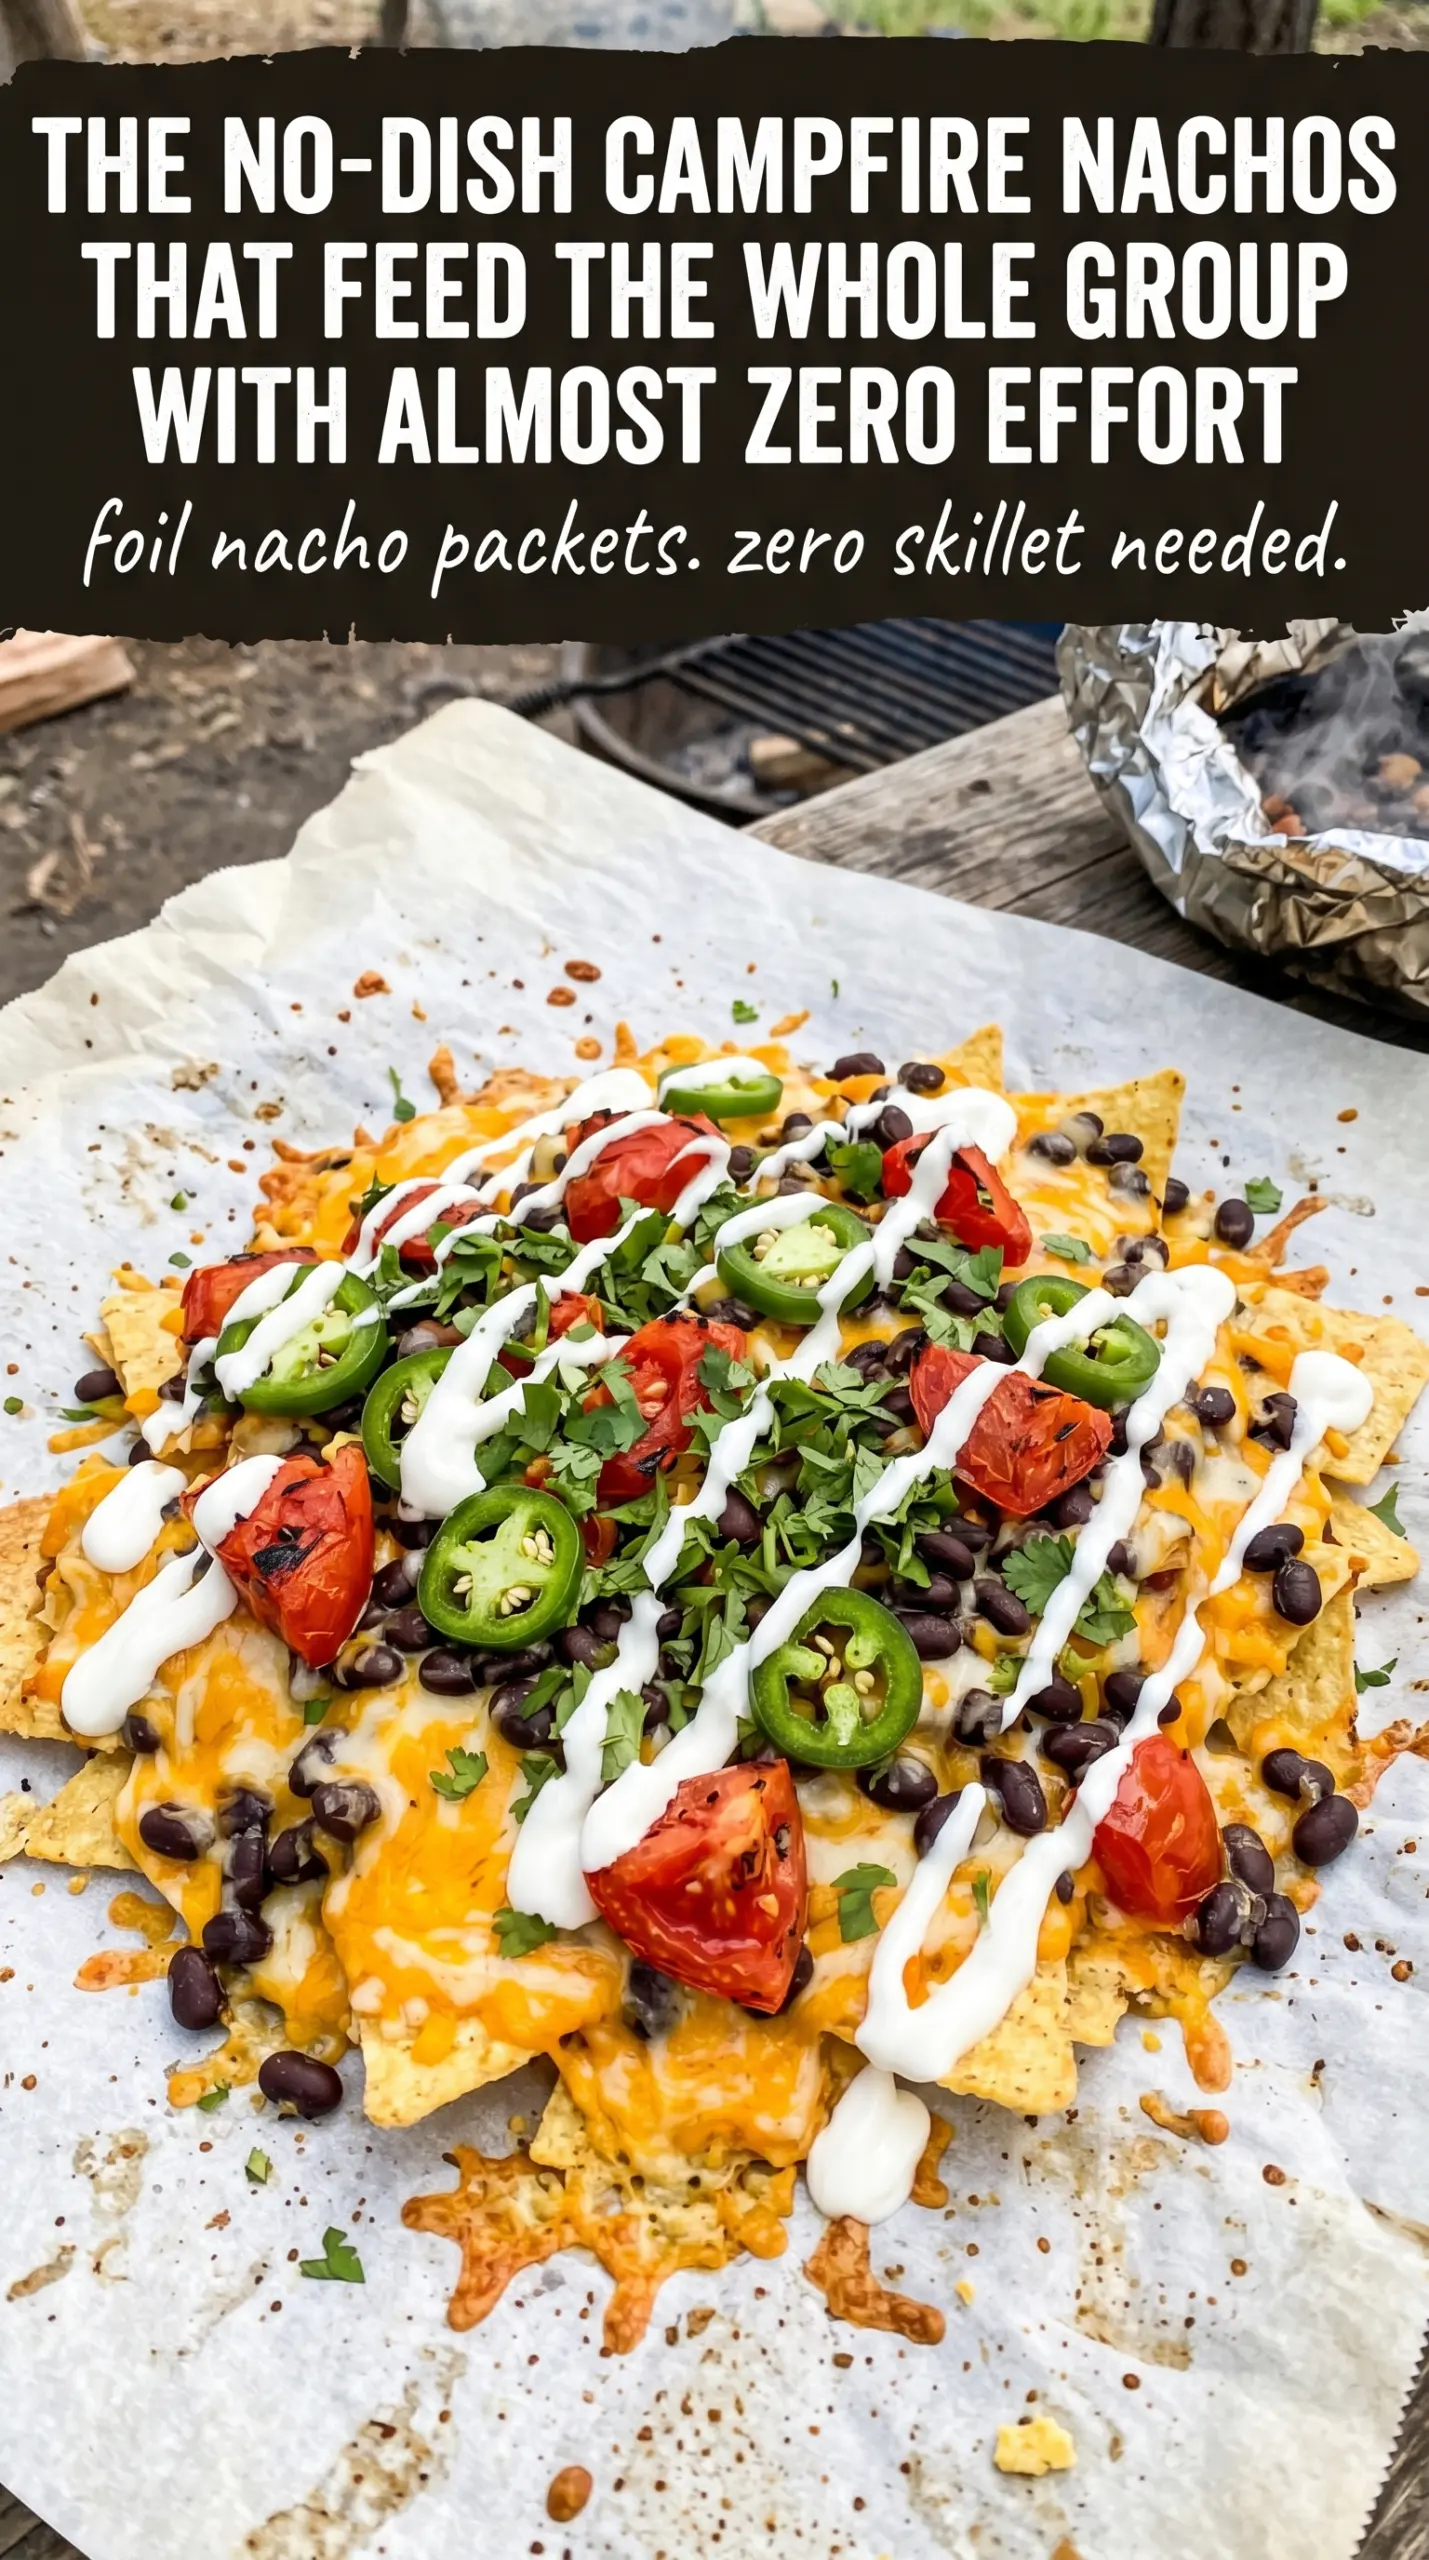
Grilled campfire nacho packets come off the fire with the chips still holding some crunch under a layer of melted cheese, and that mix of crisp edges, smoky heat, and gooey center is exactly what makes them worth packing for the grill. Each packet turns into its own little tray of nachos, which means nobody is fighting over the best toppings and the cheese stays right where it belongs.
The trick is keeping the packets loosely sealed instead of smashed flat. You want enough room for the heat to move around so the cheese melts evenly without turning the chips into steam-softened scraps. Heavy-duty foil matters here, too, because thin foil tears when you open the packets and leaks all the good stuff into the coals.
Below, I’ll show you how to build the packets so they cook evenly, how to keep the chips from getting soggy, and what to swap if you want to make them meatless or scale them up for a crowd.
The cheese melted through the chips without making everything soggy, and the foil packets were easy to open right at the table. My kids loved building their own with salsa and guacamole on top.
These grilled campfire nacho packets are the kind of smoky, melty snack you’ll want to make whenever the fire is going and the chips need a serious upgrade.
Why the Chips Stay Crisp Instead of Turning to Mash
Most foil-packet nachos fail for one reason: too much moisture trapped in a tight bundle. The cheese melts, the beans warm through, and the chips go soft before you ever open the packet. This version avoids that by keeping the filling layered, not mixed into a heavy pile, and by sealing the foil with a little air space inside. That small pocket gives the heat room to circulate instead of trapping steam directly against the chips.
The other thing that matters is placement on the grate. Medium heat is the target, not roaring flames. If the packets sit over a fire that’s too hot, the bottom chips burn before the cheese on top has time to melt. You want the packets hot enough that the cheese loosens and bubbles at the edges, but not so hot that the foil darkens immediately.
- Heavy-duty foil — This is what keeps the packets intact when you flip, move, or open them. Regular foil tears too easily once the cheese starts softening the chips.
- Shredded Mexican cheese blend — A blend melts more smoothly than a single hard cheese. Pre-shredded works fine here because the packet stays hot long enough to melt it through.
- Black beans — They add hearty texture and help stretch the filling without making the packets greasy. Drain them well so they don’t dump extra liquid into the chips.
- Cooked ground beef or chicken — This gives the packets more of a meal feel. Leftover taco meat works especially well, and it should already be seasoned because the packets don’t give you much chance to fix bland filling after they’re sealed.
What Each Ingredient Is Actually Doing to Keep Chips Crisp
- Chips (added last, right before serving) — Chips wilt and go soft the moment they hit wet dressing. Add them in the last minute before eating.
- Dressing (light, not heavy) — Creamy dressing soaks into chips and makes them soggy. Oil-based dressing is lighter and chips stay crispy longer.
- Vegetables (patted dry before mixing) — Any moisture on vegetables turns chips soft. Pat everything dry before combining.
- Salad components (assembled just before serving) — Don’t build the entire salad, then add chips. Build the salad, add chips, eat immediately.
- Serving vessels (serve in layers if possible) — Put chips at the bottom if using a bowl. This keeps them out of the dressing longer.
- Extra chips on the side — Keep chips separate and let people add them as they eat. This ensures every bite has crispy chips.
- Timing (don’t let it sit before serving) — Assemble and serve immediately. Even 5 minutes lets chips absorb moisture.
- Optional: toast chips lightly if making ahead — If you must make ahead, lightly toast chips before serving to restore crispness.
Building the Packet So the Cheese Melts Before the Chips Soften
Layer the Chips with Some Breathable Space
Divide the chips among the foil sheets, but don’t crush them into crumbs or press them into one dense layer. A little unevenness is good here because it creates pockets where the cheese can melt down between the chips. If the chips are packed too tightly, the packet traps steam and the whole thing turns limp before the center is hot.
Top with Ingredients That Heat at the Same Speed
Scatter the cheese, beans, meat, and jalapeño slices evenly over the chips. The cheese should sit in contact with both the chips and the toppings so it can act like the glue that holds everything together. If the beans are wet or the meat is straight from the fridge in a thick clump, break them up first so one cold spot doesn’t slow the whole packet down.
Seal for Heat, Not for Compression
Fold the foil into packets and crimp the edges tightly, but leave a little headroom inside. You’re trying to trap heat, not press the food flat. If the packets are wrapped too snugly, the cheese has nowhere to melt and spread, and the chips underneath get smashed while the top stays underdone.
Cook Until the Cheese Is Fully Glossy
Set the packets on a campfire grate over medium heat for 12 to 15 minutes. You’ll know they’re ready when the packets feel hot all the way through and the cheese looks melted and slightly glossy under the opening seam. If the foil starts scorching fast, the heat is too high and the bottoms will overcook before the center gets there.
Open Carefully and Finish Cold
Let the packets rest for a minute off the heat, then open them slowly because the steam inside is hot enough to burn. Top with salsa, sour cream, and guacamole after opening, not before, or you’ll add extra moisture that softens the chips. The cold toppings belong on at the end, where they brighten the smoky cheese instead of fighting it.
How to Adapt These Nacho Packets for Different Camps and Crowds
Vegetarian campfire nacho packets
Skip the meat and add extra black beans, or fold in corn and diced bell pepper if you want more texture. The packets still feel hearty because the cheese and beans carry the weight, and you won’t lose much as long as the beans are well drained.
Spicier packets with more heat
Use sliced serrano or a few pickled jalapeños instead of fresh jalapeño if you want sharper heat. Pickled peppers add tang along with spice, which cuts through the richness of the cheese and keeps the packets from tasting heavy.
Make-ahead foil packets for a group
Assemble the packets up to a few hours ahead and keep them chilled in a cooler until the fire is ready. Don’t add the salsa, sour cream, or guacamole until serving, or the chips will soften inside the foil while they sit.
Lower-carb version with fewer chips
Use a smaller bed of chips and bulk the packets out with extra meat, beans, and cheese. You’ll lose some of the classic nacho crunch, but the result still works as a cheesy, scoopable campfire snack with less of the chip-heavy base.
Storage and Reheating
- Refrigerator: Store leftovers in an airtight container for up to 2 days. The chips will soften, but the flavor still holds up.
- Freezer: I don’t recommend freezing these. The chips and toppings lose their texture once thawed.
- Reheating: Warm leftovers in a skillet over low heat or in a 300°F oven until just hot. High heat makes the cheese greasy and the chips break down faster.
Questions I Get Asked About This Recipe

Grilled Campfire Nacho Packets
Ingredients
Equipment
Method
- Divide tortilla chips among 4 sheets of heavy-duty aluminum foil, spreading them into an even layer on each sheet.
- Top each foil sheet with shredded Mexican cheese blend so the chips are well covered.
- Add black beans, then add cooked ground beef or chicken over each packet, distributing evenly.
- Place sliced jalapeño over the top of each packet for heat in every bite.
- Fold the foil into sealed packets, leaving a little room for heat circulation so the cheese can melt.
- Place packets on the campfire grate over medium heat and cook for 12-15 minutes, until the cheese is fully melted and bubbling.
- Remove packets from the heat and carefully open them so steam escapes away from you.
- Top each packet with salsa, sour cream, and guacamole before serving.