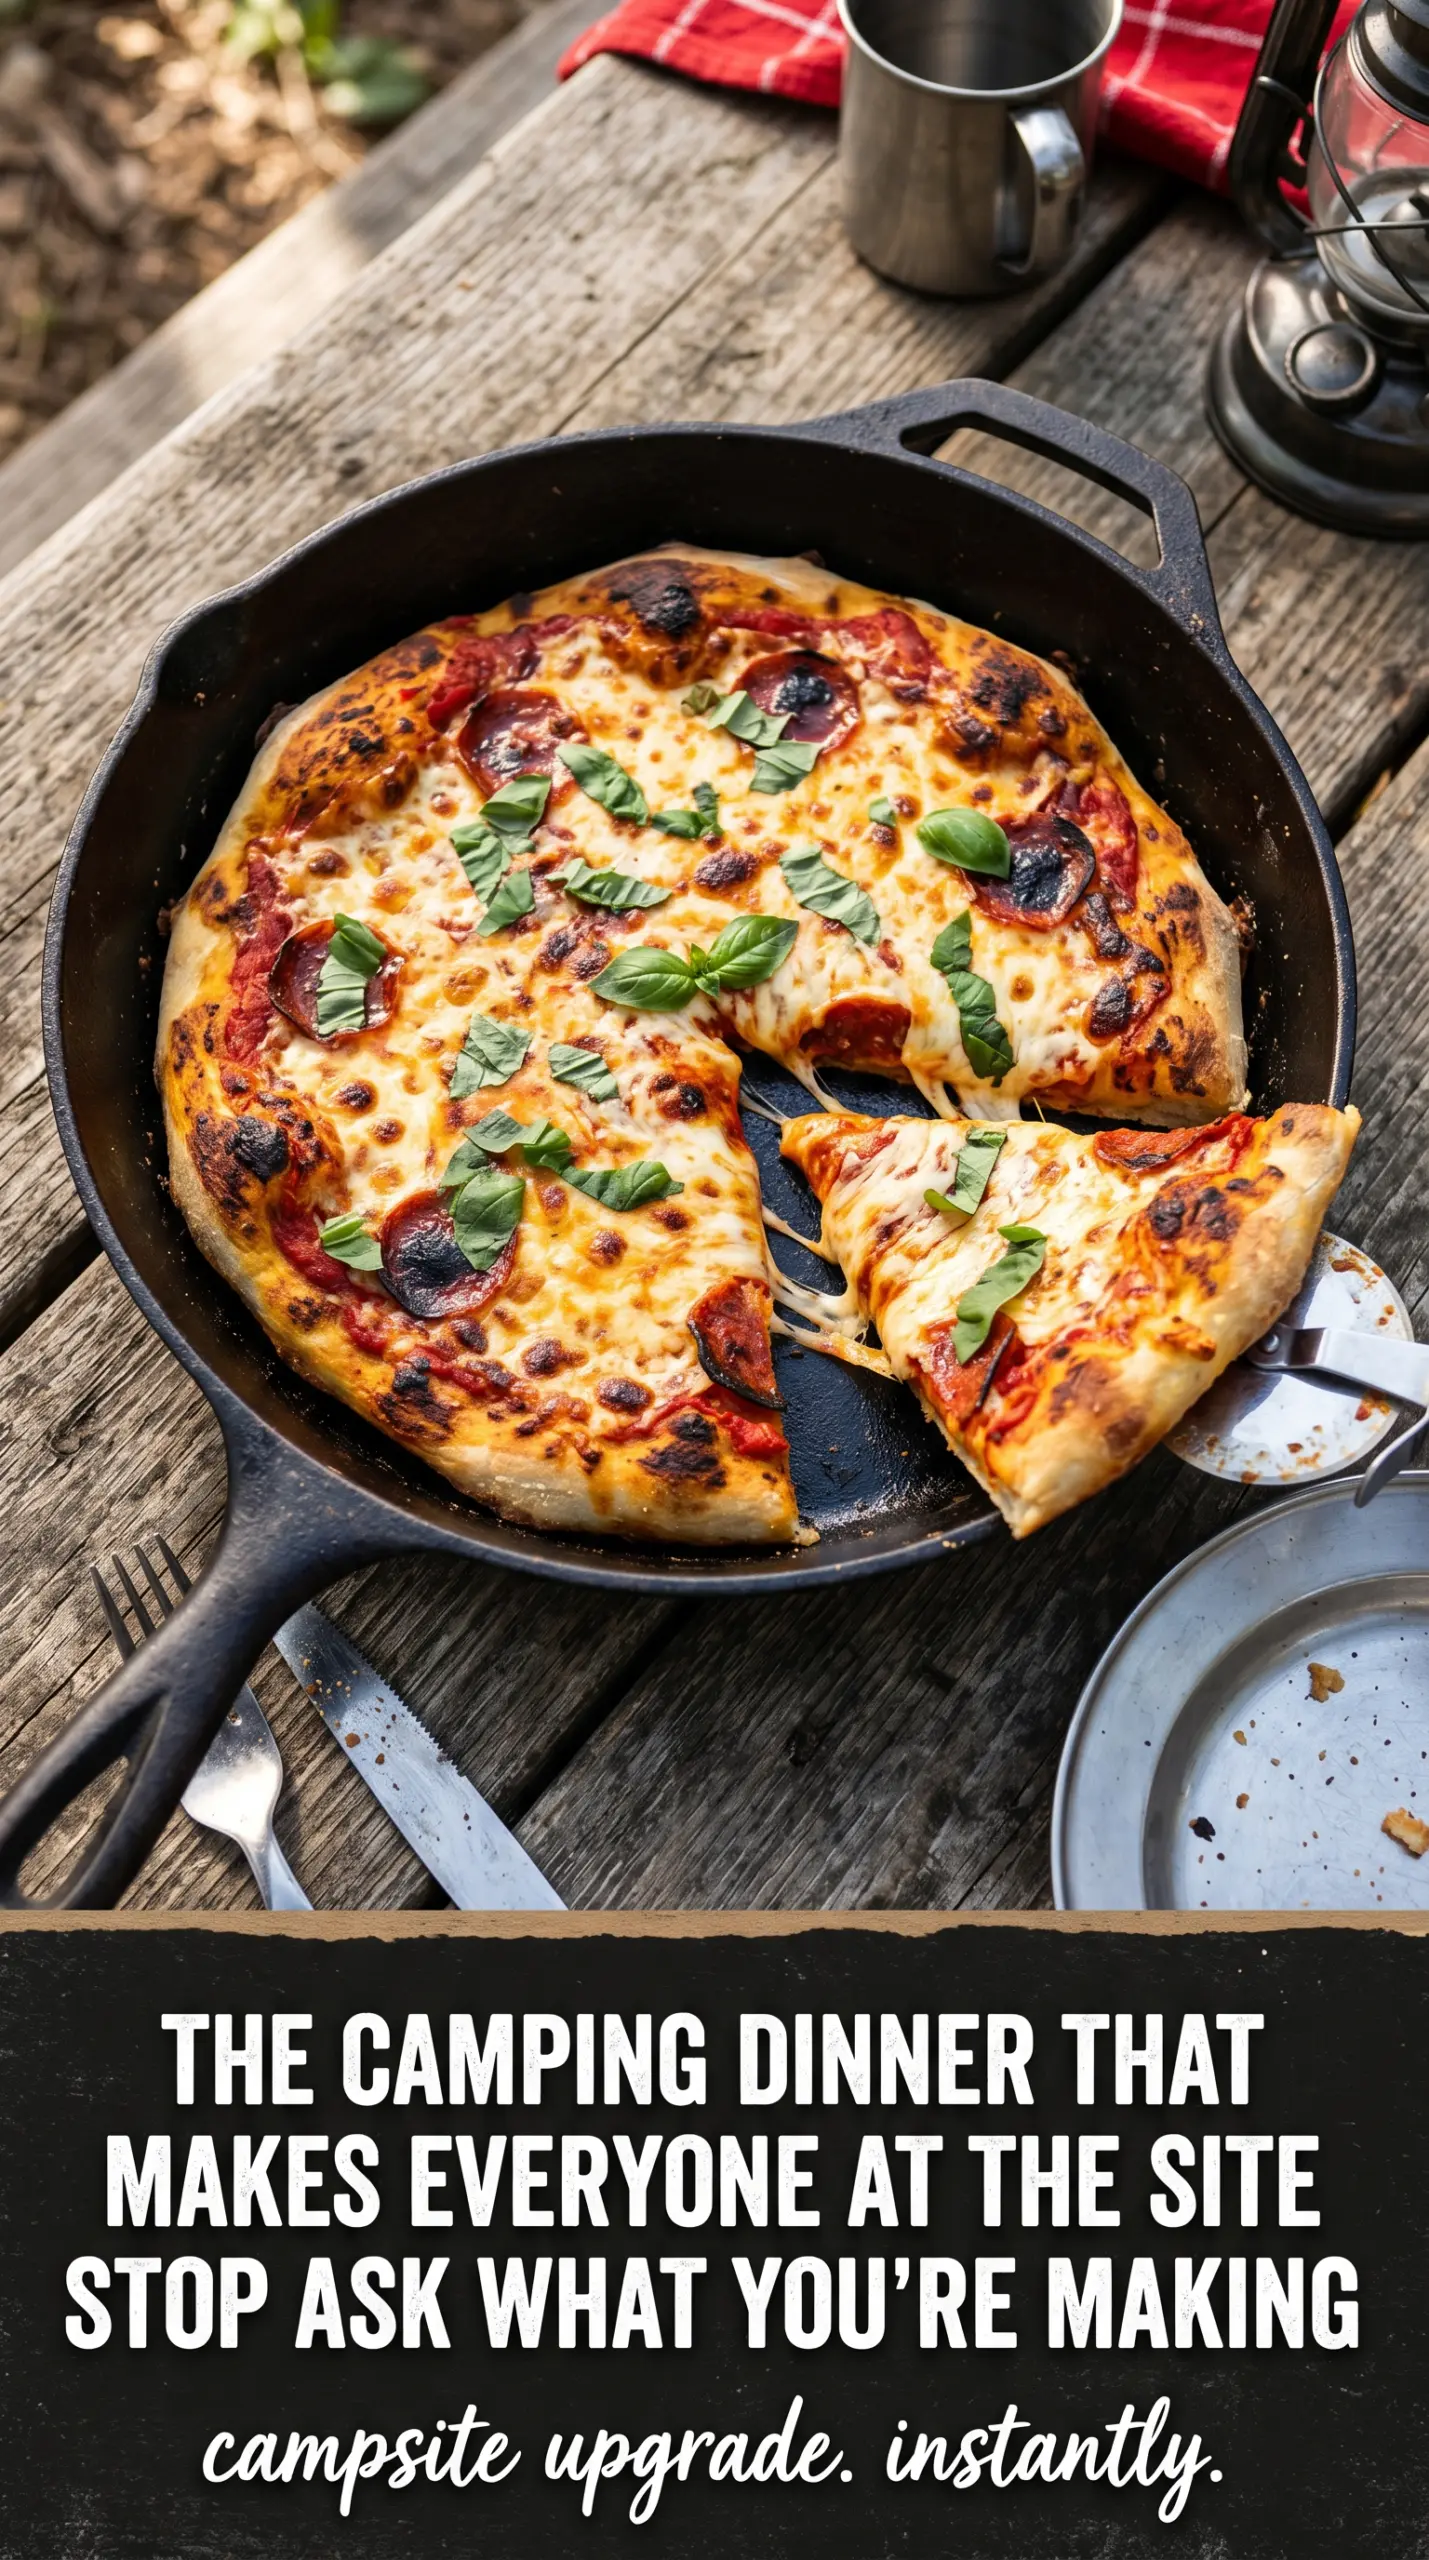
Charred edges, a crisp bottom, and melted cheese bubbling over smoky sauce make grilled campfire pizza feel like the best part of cooking outdoors. The dough picks up that fire-kissed flavor fast, and each small pizza comes off the grate with a chewy center and a crisp, blistered crust that holds its toppings without going limp.
The trick is treating the dough like flatbread first and pizza second. A thin stretch, a light brush of oil, and a quick first cook on the grate give you structure before the toppings go on. That short head start is what keeps the dough from sticking and lets the crust develop the dark spots that make grilled pizza taste different from oven pizza.
Below you’ll find the timing cues that matter most, plus a few smart ways to switch up the toppings without losing the crisp base. Once you’ve made it this way, the fire becomes part of the recipe, not just the heat source.
The crust got those perfect grill marks and stayed crisp under the sauce, and the cheese melted before the toppings had time to dry out. My kids ate theirs standing up by the fire.
Save this grilled campfire pizza for the nights when you want smoky char, gooey cheese, and a crust that comes off the grate cleanly.
The Grate First, Toppings Second Rule That Keeps the Dough from Sticking
Grilled pizza fails when people try to build it like an oven pizza. Raw dough on a hot grate with sauce already on top is a fast track to tearing, sticking, and a messy scramble with a spatula. The first side needs to cook dry and develop enough structure to lift cleanly before you add anything wet.
That first 2 to 3 minute cook on oiled dough is what gives you a base that can handle sauce and cheese. You want the underside spotted with char and firm enough that it releases without dragging. If the dough still feels floppy when you try to flip it, give it another 30 seconds; if it tears, the heat was probably too low or the dough was stretched too thick in the center.
What the Dough, Oil, and Cheese Are Each Doing Here
- Pizza dough — Store-bought dough works well here because it stretches predictably and tolerates quick high heat. Homemade dough is great if you already have it, but keep it thin; thick dough stays doughy in the center before the bottom has a chance to crisp.
- Olive oil — This keeps the first side from welding itself to the grate and helps the crust brown faster. A light brushing is enough; too much oil can flare on the fire and leave the crust greasy instead of crisp.
- Pizza sauce — Use a thick sauce, not a watery one. Thin sauce steams the top of the pizza and softens the crust you just worked to build. If your sauce is loose, simmer it for a few minutes before assembling.
- Mozzarella — Low-moisture shredded mozzarella melts quickly and gives you that classic stretchy finish without flooding the pizza. Fresh mozzarella can work, but it needs to be patted very dry first or the pizza turns soggy in the middle.
- Parmesan and basil — These go on at the end for sharpness and freshness. Parmesan adds salt and a little nuttiness, while basil gives the pizza a clean finish that cuts through the smoke and cheese.
How to Move Fast Once the Dough Hits the Fire
Stretching the Rounds Evenly
Divide the dough into four portions and stretch each one into a thin round with the center slightly thinner than the edges. That helps the crust cook through before the toppings overcook. If the dough keeps snapping back, let it rest for a few minutes and try again; fighting it usually means the gluten needs a minute to relax.
The First Side on the Grate
Brush one side with olive oil and place it oil-side down over medium heat. Watch for the bottom to go from pale and soft to blistered and marked with dark spots. If the fire is too hot, the dough will char before it sets; if it’s too cool, the dough absorbs heat too slowly and sticks.
Flipping and Topping Without Losing Time
Flip the crust as soon as the first side is crisp enough to release cleanly, then work quickly with the sauce, cheese, and toppings on the grilled side. This is the moment to keep the topping layer light. Heavy toppings take longer to heat through and can weigh down the center before the cheese melts.
Finishing Under the Lid
Cover the grill with a lid or a loose sheet of foil to trap heat and melt the cheese. You’re looking for bubbling cheese, hot toppings, and a bottom that stays crisp when you lift it with a spatula. Pull the pizzas as soon as the cheese has melted; waiting for too much browning on top usually means the crust underneath has gone too far.
How to Change the Toppings Without Losing the Crisp Crust
Vegetarian Grilled Campfire Pizza
Load the pizza with mushrooms, peppers, onions, or olives, but keep the toppings sliced thin so they heat through in the short grill time. Vegetables release moisture as they cook, so less is more here. If you pile them on, the crust softens before the cheese melts.
Gluten-Free Pizza Dough Swap
Use a gluten-free pizza dough that is designed to be rolled and grilled, not a batter-style crust. Gluten-free dough is often more fragile, so keep the rounds a little smaller and handle them with a well-oiled spatula. The payoff is a crisp, lighter crust with the same smoky finish.
Dairy-Free Grilled Pizza
Use your favorite dairy-free mozzarella-style shreds and a good olive-oil based crust. Not all dairy-free cheeses melt the same way, so choose one that softens rather than one that only browns. The texture won’t be identical, but you still get the charred crust and smoky toppings that make this method shine.
Make-It-Heavier Campfire Pizza
Pepperoni, cooked sausage, and a few well-drained vegetables work better than a mound of raw toppings. Cook the sausage first if it needs it, then add it in a thin layer. That keeps the toppings hot by the time the cheese melts without slowing down the crust underneath.
Storage and Reheating
- Refrigerator: Store leftovers covered for up to 3 days. The crust softens a bit in the fridge, but it still holds up well.
- Freezer: Freeze slices wrapped tightly for up to 1 month. For best results, freeze on a tray first so the cheese doesn’t smear, then wrap once solid.
- Reheating: Reheat in a skillet over medium-low heat or on a sheet pan in a hot oven until the cheese melts again and the crust crisps back up. The mistake people make is microwaving it, which turns the crust chewy and the toppings limp.
Answers to the Questions Worth Asking

Grilled Campfire Pizza
Ingredients
Equipment
Method
- Divide the pizza dough into 4 portions and stretch each into a thin round for even grilling.
- Brush one side of each dough round with olive oil to promote browning.
- Place the dough oil-side down on a campfire grate over medium heat for 2-3 minutes, until the bottom is charred and crispy (look for dark char spots and set edges).
- Flip the dough and quickly add the pizza sauce, mozzarella cheese, and toppings to the grilled side (work fast so the dough stays flexible).
- Cover with a lid or foil and cook for 3-5 minutes, until the cheese melts and the bottom is crispy (watch for bubbling cheese).
- Remove from the grill, top with grated Parmesan cheese and fresh basil, then slice and serve.