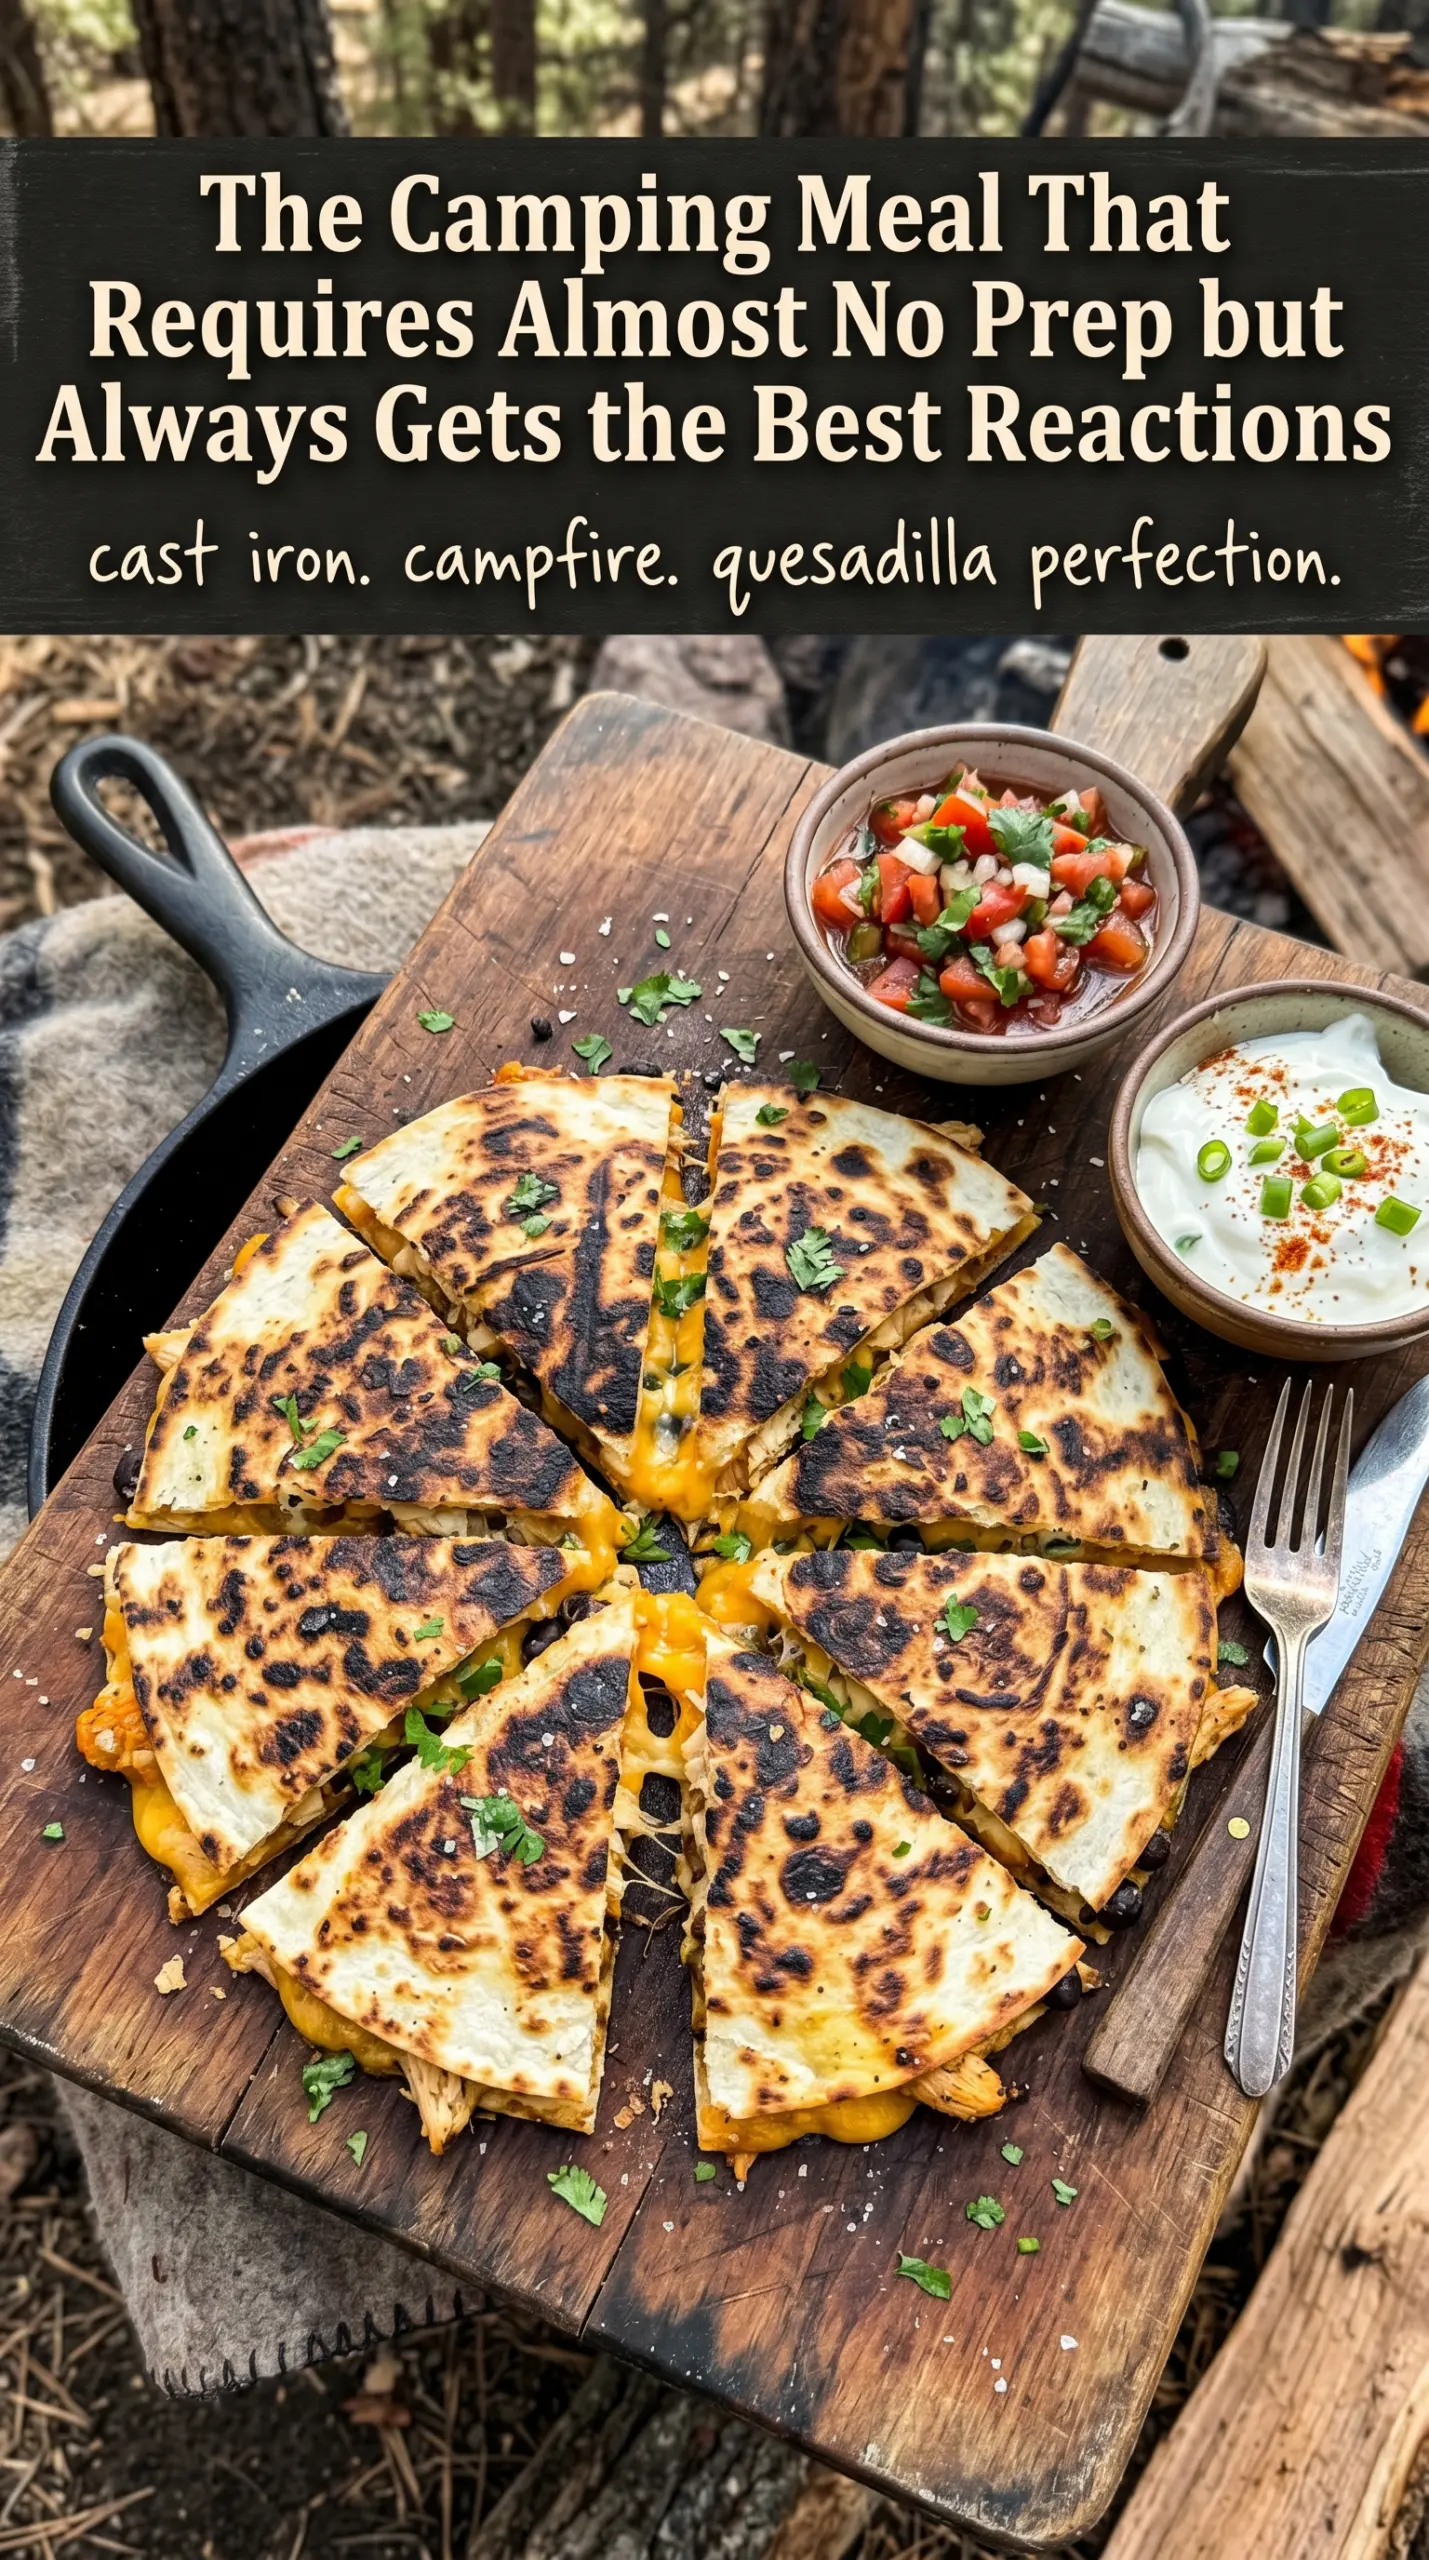
Grilled campfire quesadillas come off the heat with crisp, buttered tortillas, a molten cheese center, and those smoky grill marks that make them feel a little more special than the stovetop version. The whole point is contrast: shattering edges, stretchy cheese, and just enough char to taste the fire without crossing into burnt.
What makes this version work is speed and heat control. The tortillas need enough fat on the outside to brown fast before the filling has time to leak, and the cheese has to be fully shredded so it melts before the tortillas dry out. Pre-cooked chicken keeps the timing tight, and the diced peppers, onion, and jalapeño add crunch and bite without dumping extra moisture into the quesadilla.
Below you’ll find the exact order that keeps the filling from spilling, the best way to grill quesadillas over a campfire, and a few smart swaps if you need to make them meatless or feed a bigger group.
The tortillas got crisp without burning, and the cheese melted all the way through even over the campfire. I loved that the chicken and peppers stayed tucked inside instead of falling into the fire.
Save these grilled campfire quesadillas for the next cookout when you want smoky grill marks, gooey cheese, and dinner that comes together fast.
The Part That Stops Campfire Quesadillas From Falling Apart
The biggest mistake with campfire quesadillas is overstuffing them and then chasing the filling around the grate while the tortillas scorch. A quesadilla needs a thin, even layer of filling so the cheese can melt into the gaps and act like glue. If the pile is too high, the outside browns before the center softens, and the whole thing slips when you try to flip it.
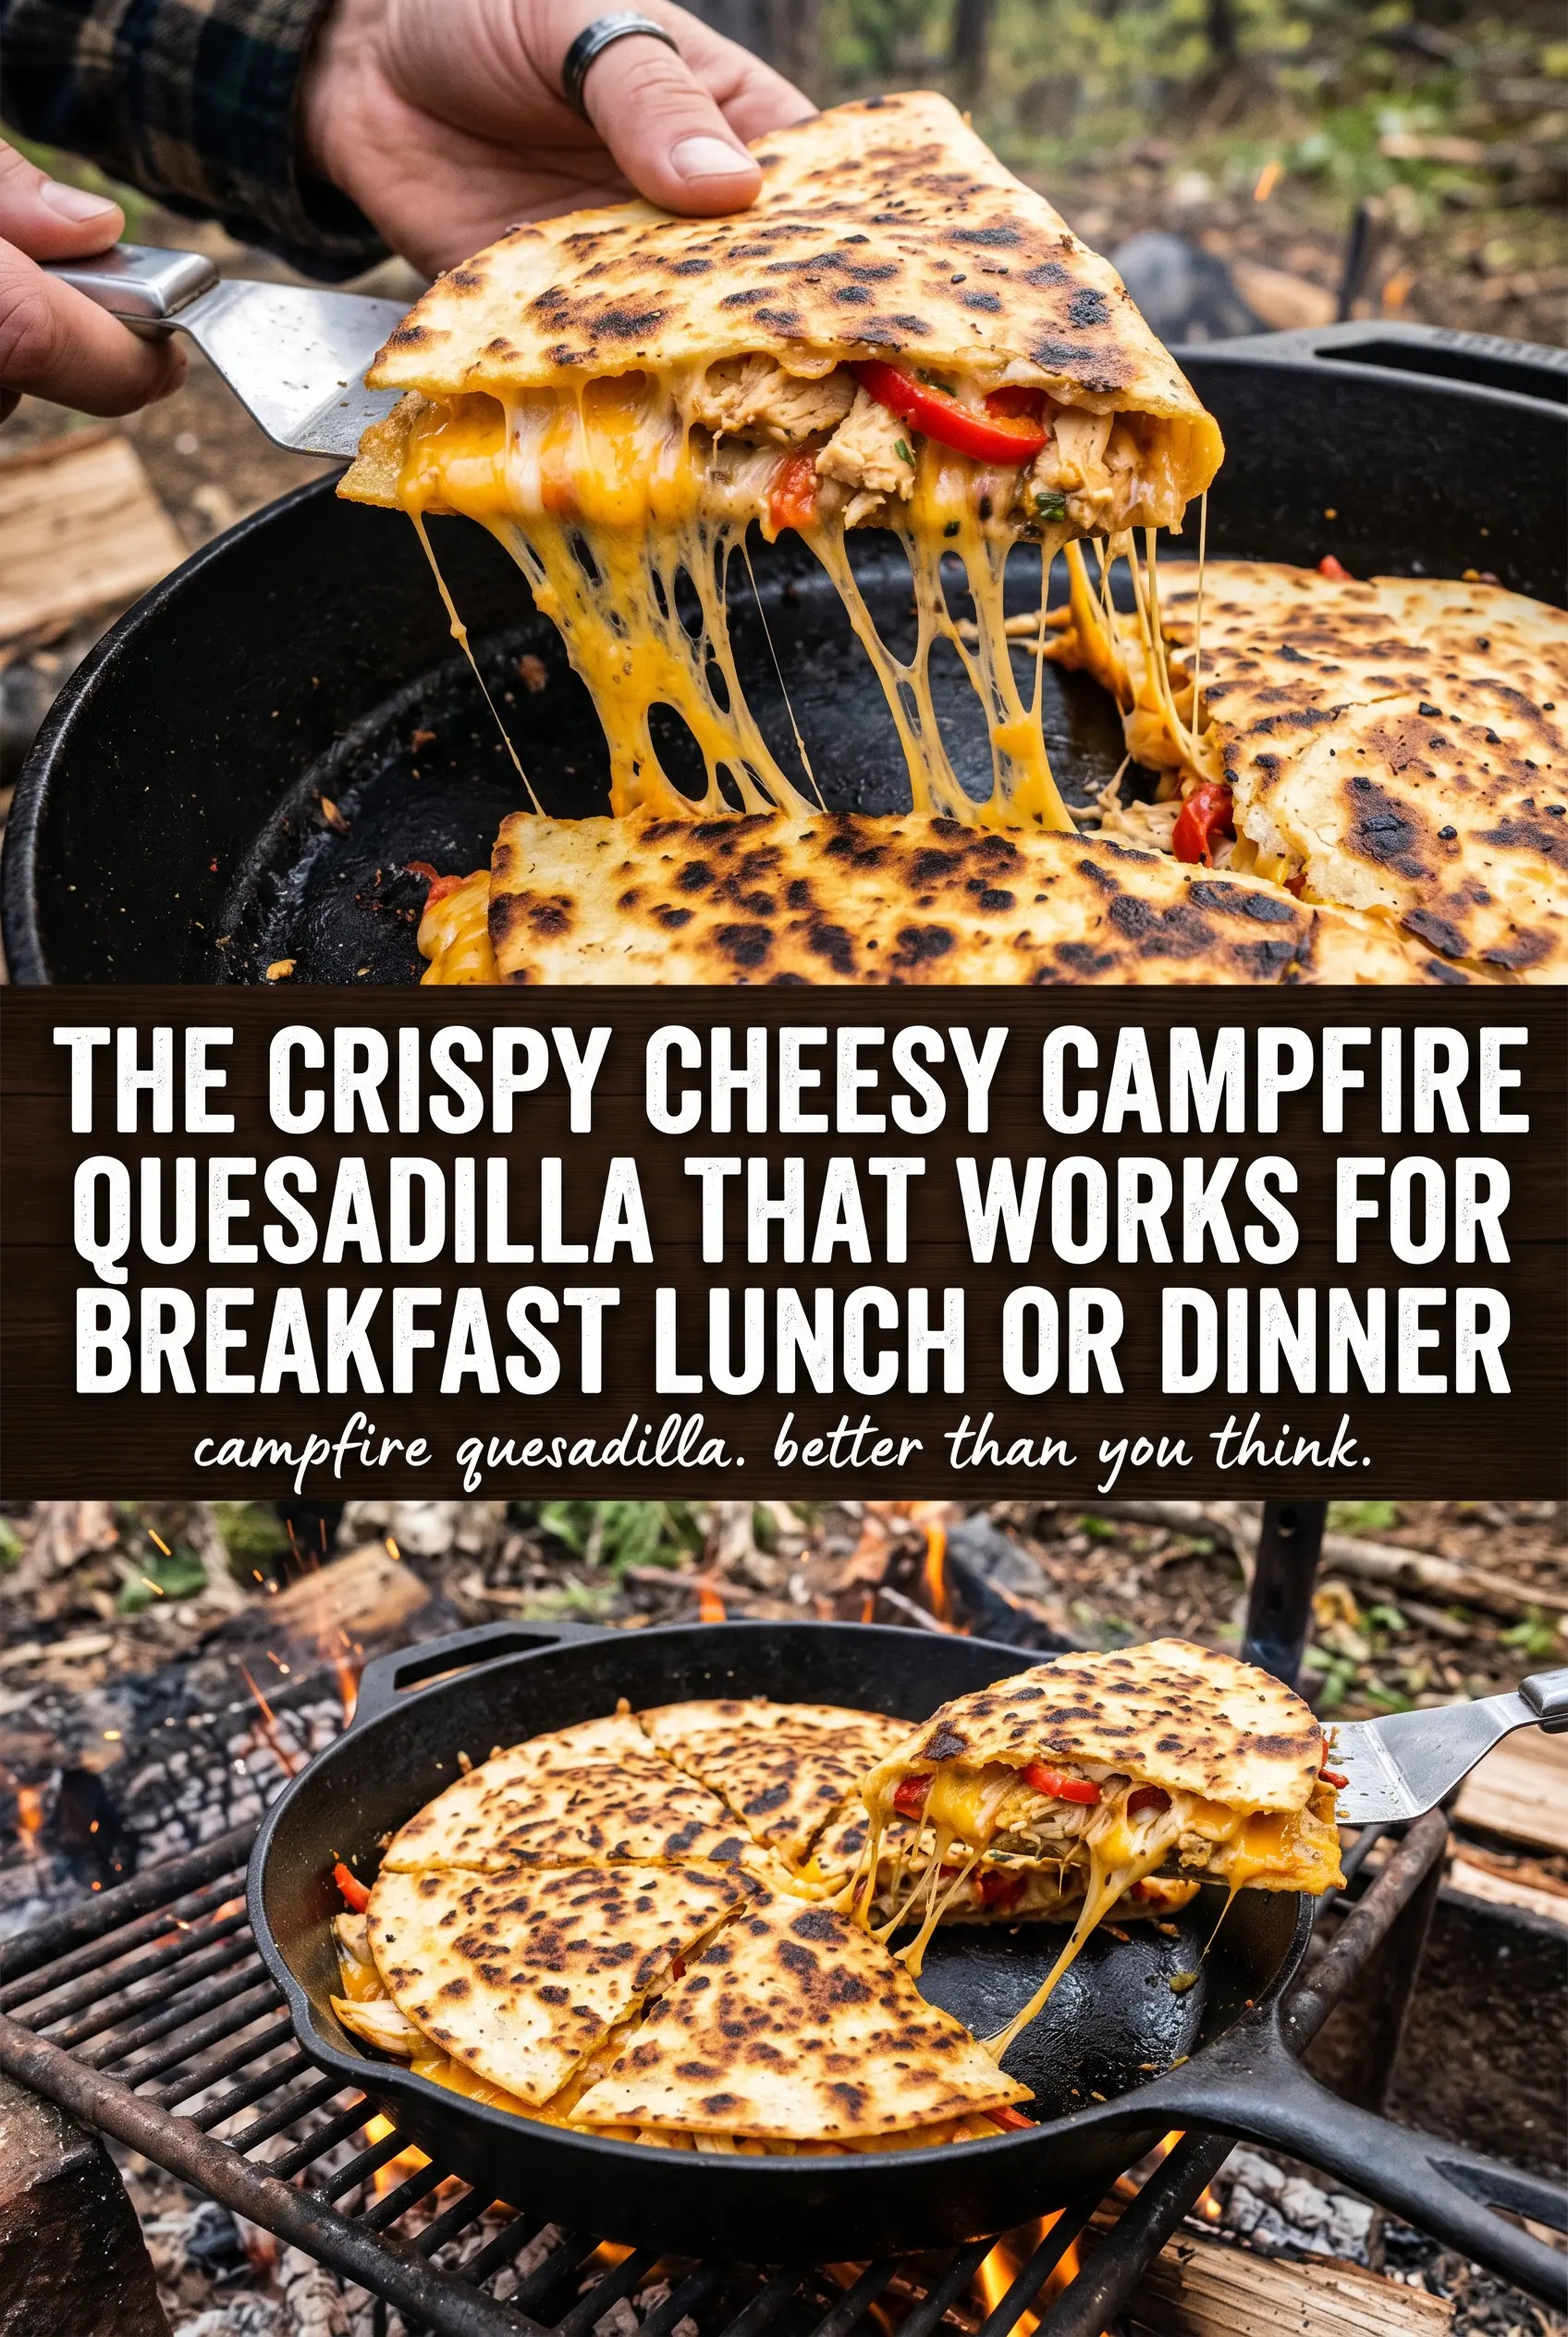
The other thing that matters is a steady cooking surface. A cast iron skillet over the fire gives you more control than open grate cooking, but either way the goal is the same: hot enough to brown, not so hot that the tortilla burns before the cheese melts. Pressing gently after the top tortilla goes on helps the layers settle together and keeps the filling from shifting.
- Shredded Mexican cheese blend — A blend melts more evenly than a single hard cheese and gives you that stretchy, cohesive center. Pre-shredded works fine here, though freshly shredded will melt a touch smoother because it doesn’t have the anti-caking coating.
- Cooked chicken — This needs to be cooked before it hits the pan or grate. Leftover rotisserie chicken works well because it stays juicy and heats fast, which keeps the tortillas from overbrowning while the filling warms through.
- Bell pepper, onion, and jalapeño — These add crunch and brightness, but dice them small so they soften in the short cook time. If you leave the pieces too large, you’ll end up with raw bites and a quesadilla that wants to burst open.
- Flour tortillas — Large flour tortillas hold together better than corn tortillas for this style. Use the freshest ones you can get, because dry tortillas crack when you flip them over heat.
- Butter or oil — This is what gives you the browned exterior and helps the tortilla release from the skillet or grate. Butter tastes great but can brown fast over a fire, so oil is the safer pick if your heat runs hot and uneven.
What Each Ingredient Is Actually Doing in Campfire Quesadilla
- Tortillas (flour, not corn for flexibility) — Flour tortillas are flexible enough to fold and seal. Corn tortillas crack and fall apart.
- Cheese (melted, the binding agent) — Melted cheese is what holds the quesadilla together. It needs to melt fully to seal the edges.
- Fillings (not too thick or wet) — Thick fillings prevent the cheese from sealing properly. Wet fillings create steam that breaks the seal.
- Filing distribution (even, not one side heavy) — Unevenly distributed fillings make the quesadilla fold unevenly. Spread fillings evenly for balanced cooking.
- Butter or oil on the outside (for browning) — Light oil on the tortilla exterior helps it brown and crisp. Too much causes burning.
- Fire temperature (medium, not hot) — High heat browns the outside before the cheese melts. Medium heat allows cheese to melt while tortilla browns gently.
- Careful flipping (use a spatula, not fingers) — The quesadilla must flip intact. A flexible spatula helps the fillings stay inside while flipping.
- Cook until cheese is fully melted (check before serving) — The quesadilla is done when the cheese is liquid inside. Cut to check, then reseal over the fire if needed.
How to Get the Cheese Melted Before the Tortillas Burn
Heating the Cooking Surface
Set a cast iron skillet over the campfire or place a grill grate where the heat is steady, not roaring. You want a surface hot enough that a tortilla sizzles on contact, but if it smokes hard the moment it hits the pan, the outside will be done before the filling has time to melt. A thin wipe of butter or oil tells you a lot: it should shimmer, not instantly blacken.
Building the Quesadilla
Lay one tortilla down and work quickly so the heat doesn’t escape. Add cheese first, then chicken, peppers, onion, and jalapeño, and keep everything centered with a small border around the edge. That border is what lets the tortilla seal; if filling reaches the rim, it will spill out when the cheese starts to loosen.
Pressing and Flipping
Top with the second tortilla and press gently with a spatula or the back of a pan so the layers settle. Cook until the bottom is golden with visible grill marks, then flip in one confident motion. If the quesadilla tears, the surface was either too dry or the filling was piled too high; next time, use a little more fat and less filling.
Finishing to a Clean Cut
Keep cooking until both sides are crisp and the cheese is fully melted, then pull it off right away. Let it sit for a minute before cutting, because the cheese thickens just enough to keep the wedges neat. Slice with a sharp knife or pizza cutter and serve while the center is still stretchy.
Three Ways to Work This Into Different Camps and Cravings
Make It Vegetarian
Skip the chicken and add black beans, sautéed mushrooms, or extra peppers. Beans add heft, mushrooms bring a meaty bite, and both hold up well under the cheese without making the quesadilla watery.
Dairy-Free Campfire Quesadillas
Use a good melting dairy-free cheese and expect a softer melt with less stretch than the dairy version. Brush the tortillas lightly with oil instead of butter so they still brown cleanly over the fire.
Turn Them Into a Crowd Meal
Lay out the fillings in a line and build several quesadillas before you start cooking. That keeps the first one from sitting too long while you assemble the rest, which matters because the tortillas get fragile once they warm up.
Storage and Reheating
- Refrigerator: Store leftovers in an airtight container for up to 3 days. The tortillas soften as they sit, but the filling still reheats well.
- Freezer: These freeze, but the tortillas lose some of their crispness after thawing. Wrap tightly, freeze for up to 1 month, and reheat straight from frozen for the best chance at a good texture.
- Reheating: Warm in a dry skillet over medium heat until the outside crisps again and the center is hot. The microwave will melt the cheese, but it turns the tortilla limp, which is the fastest way to lose the texture that makes these good.
Answers to the Questions Worth Asking
Grilled Campfire Quesadillas
Ingredients
Equipment
Method
- Heat a cast iron skillet over the campfire until it’s hot and ready to sizzle when you add the tortilla. Aim for a steady cooking surface so the tortillas brown quickly and evenly.
- Lightly grease the skillet with butter or oil so the tortillas don’t stick. You should see a thin sheen on the surface before starting to grill.
- Lay 1 large flour tortilla on the hot skillet. Watch for immediate browning at the edges within the first couple minutes.
- Quickly add 3 cups shredded Mexican cheese blend in an even layer over the tortilla. As it warms, the cheese should start to soften and look glossy.
- Evenly add 2 cups cooked chicken, shredded over the cheese. Distribute it so every bite gets some filling once melted.
- Add the bell pepper, diced, onion, diced, and jalapeño, sliced on top of the chicken in an even spread. Keep the toppings within the tortilla’s edges.
- Place a second large flour tortilla on top and press down gently. Press just enough to help the layers contact so the cheese can bind everything.
- Cook for 3-4 minutes per side until the tortilla is golden and the cheese melts. Look for grill-style browning and melted cheese starting to ooze out near the edges.
- Remove the quesadilla from the heat once it’s golden with visible melted cheese. Let the bubbling settle for a moment so it cuts cleanly.
- Cut the quesadilla into wedges. Serve with salsa, sour cream, and guacamole so the cheesy center stays gooey when opened.