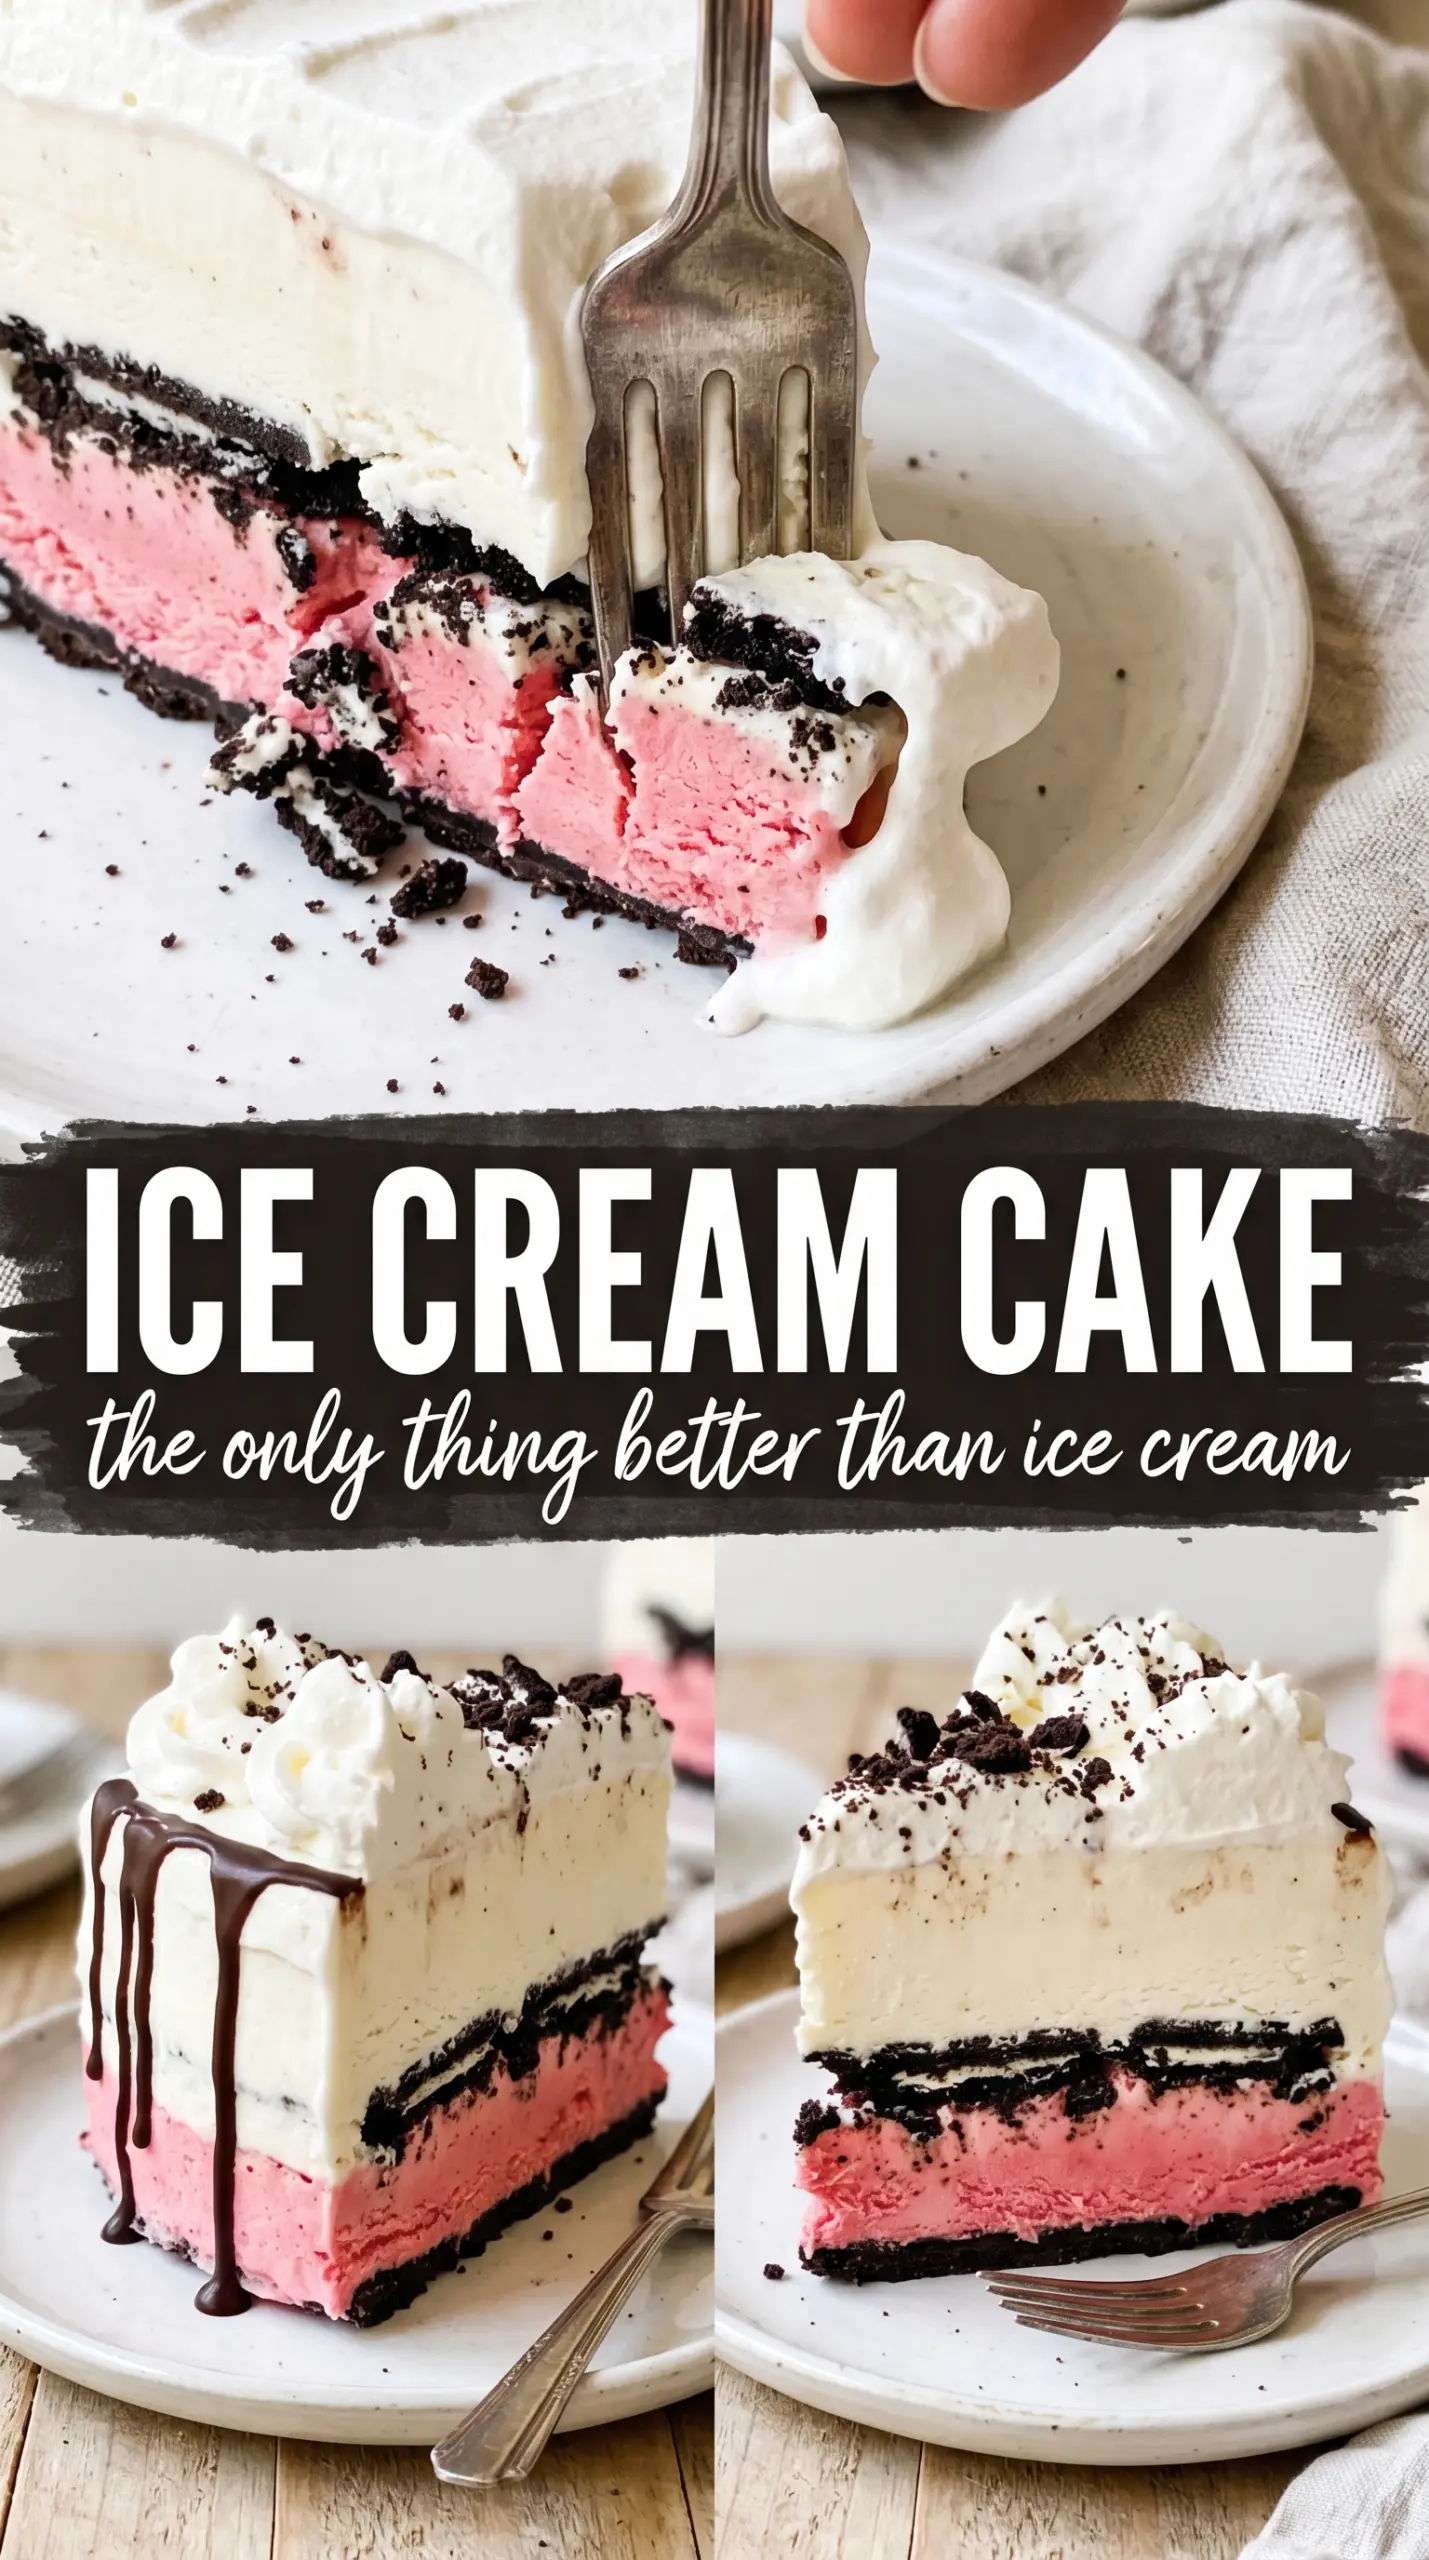
Ice cream cake wins because it gives you the cold, creamy middle of a classic birthday dessert without turning into a sloppy mess on the plate. The Oreo crust stays firm enough to slice cleanly, the fudge ribbon cuts through the center with a little chew, and the two ice cream layers keep their own flavor instead of blending into one muddy scoop. It’s the kind of dessert that looks like you ordered it from a bakery, but it comes together with simple ingredients and a little freezer patience.
The trick is building it in stages and freezing between each layer. That downtime matters. It keeps the vanilla layer from sinking into the crust, stops the fudge from sliding around, and gives you those distinct stripes when you cut into it. Slightly softened ice cream spreads without tearing up the layer underneath, but it should still feel cold and scoopable, not soupy.
Below, I’m walking through the part that makes the biggest difference: how to get neat layers, how to keep the slices sharp, and what to change if you want to swap the flavors without losing the structure.
The layers held their shape perfectly and the fudge stayed right in the middle instead of leaking into the crust. I used a warm knife and every slice came out clean.
Love the Oreo crust and fudgy center in this ice cream cake? Save it to Pinterest for birthdays, summer parties, and make-ahead dessert nights.
The Freeze Time That Keeps the Layers Clean
Most ice cream cakes fail because the layers are assembled too fast. If the crust isn’t firm before the vanilla goes in, it softens and mixes into the filling. If the fudge is warm, it melts a trench through the vanilla layer instead of sitting as a ribbon. The freezer breaks between layers are what give you those tidy stripes when you slice the cake.
Pressing the crust firmly into the pan matters more than people think. A loose crust crumbles at the first clean slice. Use the bottom of a measuring cup to pack it down, then freeze it until it feels solid. After each ice cream layer, the top should look smooth and set enough to support the next addition without dragging.
What Each Layer Is Doing in This Cake
- Oreo cookies — These make the crust without any baking. The cream filling helps bind the crumbs, so you don’t need much butter. Finely crushed cookies pack tighter and slice cleaner than big chunks.
- Butter — This is just enough to hold the crust together. If you add too much, the base turns greasy and hard to cut neatly. Melt it fully so every crumb gets coated.
- Vanilla ice cream — This gives the cake a neutral, creamy middle that balances the darker crust and fudge. Let it soften just until spreadable. If it gets too loose, it will leak into the crust and freeze unevenly.
- Strawberry ice cream — The berry layer adds color and a brighter flavor that keeps the cake from tasting one-note. Any fruit-forward ice cream works here, but strawberry gives the cleanest contrast. Scoopable, slightly softened ice cream is easier to smooth than fully melted ice cream.
- Hot fudge sauce — Slightly cooled fudge is the key. Warm enough to drizzle, not hot enough to melt the vanilla layer underneath. If you want a thicker ribbon, chill it a few minutes after heating so it sits in place.
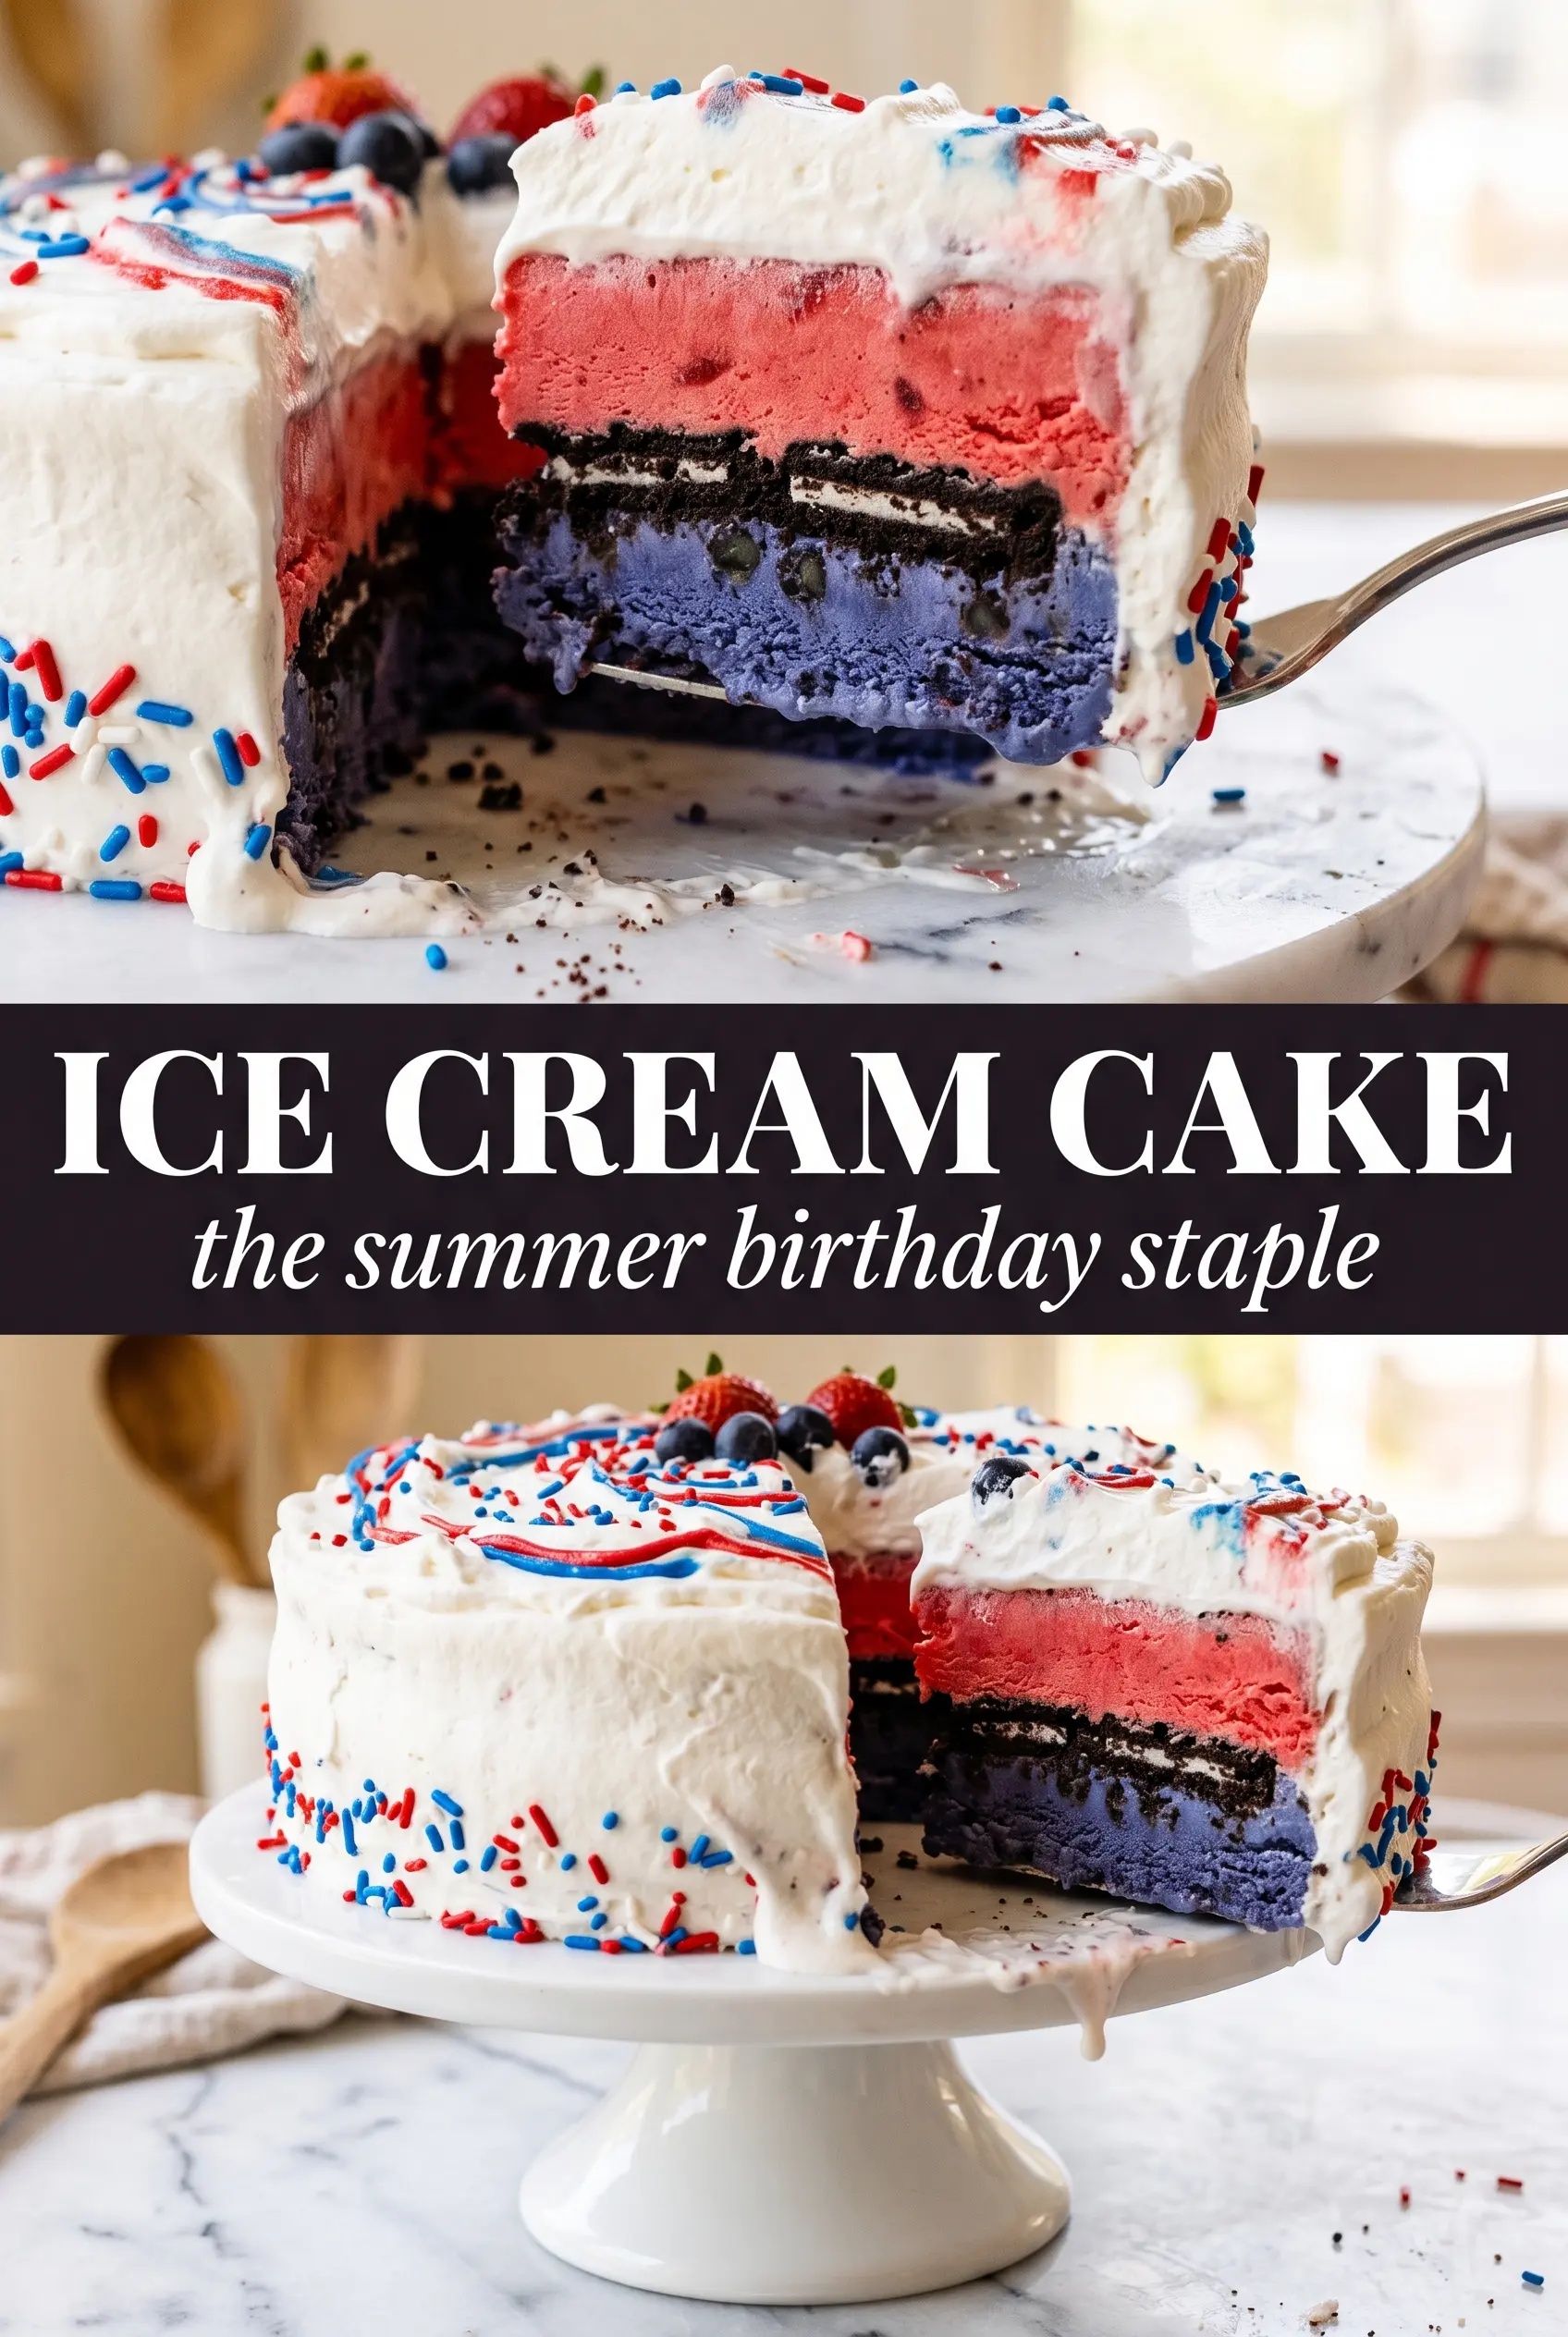
- Whipped topping or stabilized whipped cream — This finishes the cake and helps hide any small imperfections around the top edge. Stabilized whipped cream holds its shape longer if the cake will sit out for a birthday candle moment. Plain whipped topping is convenient and freezes well.
- Sprinkles — Add these at the end so the color stays bright. They’re mostly decoration, but they also signal that the cake is fully finished and ready to serve.
Building the Cake Before the Ice Cream Gets Away From You
Pressing the Oreo Crust
Combine the crushed Oreos with melted butter until the crumbs look evenly damp, like wet sand. Press them into the bottom of a 9-inch springform pan in a tight, even layer, pushing a little harder around the edges so the crust doesn’t crumble when you release the ring. Freeze it for 15 minutes until the surface feels set under your fingertip. If the base is soft, the vanilla layer will drag crumbs into it and blur the bottom edge.
Spreading the Vanilla Layer
Spoon the softened vanilla ice cream over the chilled crust and spread it to the edges with an offset spatula. Work quickly but don’t rush the smoothing, because big air pockets turn into gaps once the cake freezes. The layer should look level and dense, not whipped and fluffy. Freeze it for an hour so it firms enough to hold the fudge ribbon without sinking.
Adding the Fudge Ribbon
Drizzle the slightly cooled fudge sauce over the vanilla layer in thin lines, then nudge it into a more even layer if you want a thicker center stripe. The sauce should sit on top instead of disappearing into the ice cream. If it’s still hot, it will melt a tunnel through the vanilla and the layer will look blotchy when sliced. Fifteen minutes in the freezer is enough to reset the fudge before the next layer goes in.
Finishing With Strawberry and the Final Freeze
Spread the strawberry ice cream over the fudge and smooth the top as neatly as you can. Cover the pan with plastic wrap once the surface is level, then freeze it for at least 4 hours, though overnight gives you the cleanest slices. The cake needs to feel hard all the way through before you unmold it. If the center is still soft, the ring will pull and the layers will slump.
Decorating and Serving Clean Slices
Run a warm knife around the edge before releasing the springform pan, then move the cake to a serving plate while it’s still frozen solid. Pipe the whipped cream swirls on top, scatter the sprinkles over the center, and slice with a knife dipped in hot water and wiped dry between cuts. That warm blade is what gives you those bakery-style slices with distinct layers. Serve right away, because ice cream cake waits for no one once it hits the table.
How to Change the Flavors Without Losing the Structure
Chocolate-and-vanilla version
Swap the strawberry ice cream for chocolate and keep the Oreo crust and fudge. The cake turns richer and more classic, with a stronger cookie-and-cream feel. This is the easiest change if you want a birthday cake that tastes familiar but still slices into clean layers.
Dairy-free ice cream cake
Use dairy-free vanilla and strawberry ice cream, plus a plant-based butter and whipped topping. The texture stays close to the original as long as the ice cream is still spreadable, not melted. Check that your fudge is dairy-free too, because that’s the one place people usually miss a hidden dairy ingredient.
Gluten-free crust
Use certified gluten-free chocolate sandwich cookies in place of Oreos if you need a gluten-free dessert. The crust behaves the same way once it’s crushed and mixed with butter. It’s the cleanest swap because it keeps the same texture and the same dark cookie contrast under the ice cream.
Storage and serving timeline
- Refrigerator: Don’t store ice cream cake in the fridge. It will soften and collapse long before the center stays sliceable.
- Freezer: Wrap the cake well and freeze for up to 1 week for the best texture. After that, the whipped topping and ice cream can pick up freezer flavor.
- Serving: Let the cake sit at room temperature for 5 to 10 minutes before slicing. If it’s too hard, the knife shatters the crust instead of cutting cleanly.
Questions I Get Asked About This Recipe
Ice Cream Cake
Ingredients
Equipment
Method
- Mix crushed Oreo cookies with melted butter until the crumbs look evenly coated, then press firmly into the bottom of a 9-inch springform pan. Freeze for 15 minutes to set the crust.
- Spread softened vanilla ice cream in an even layer over the Oreo crust, smoothing the top as you go. Freeze for 1 hour until firm.
- Drizzle hot fudge sauce over the vanilla layer in an even ribbon, letting it sink slightly into the ice cream. Freeze for 15 minutes to lock the fudge in place.
- Spread softened strawberry ice cream over the fudge layer, smoothing the top and keeping the surface level. Cover with plastic wrap and freeze for at least 4 hours or overnight.
- Run a warm knife around the edge, release the springform, and transfer the cake to a serving plate. Keep the knife warm for cleaner edges.
- Pipe whipped cream swirls around the top edge and scatter sprinkles across the center. Slice with a hot knife and serve immediately.