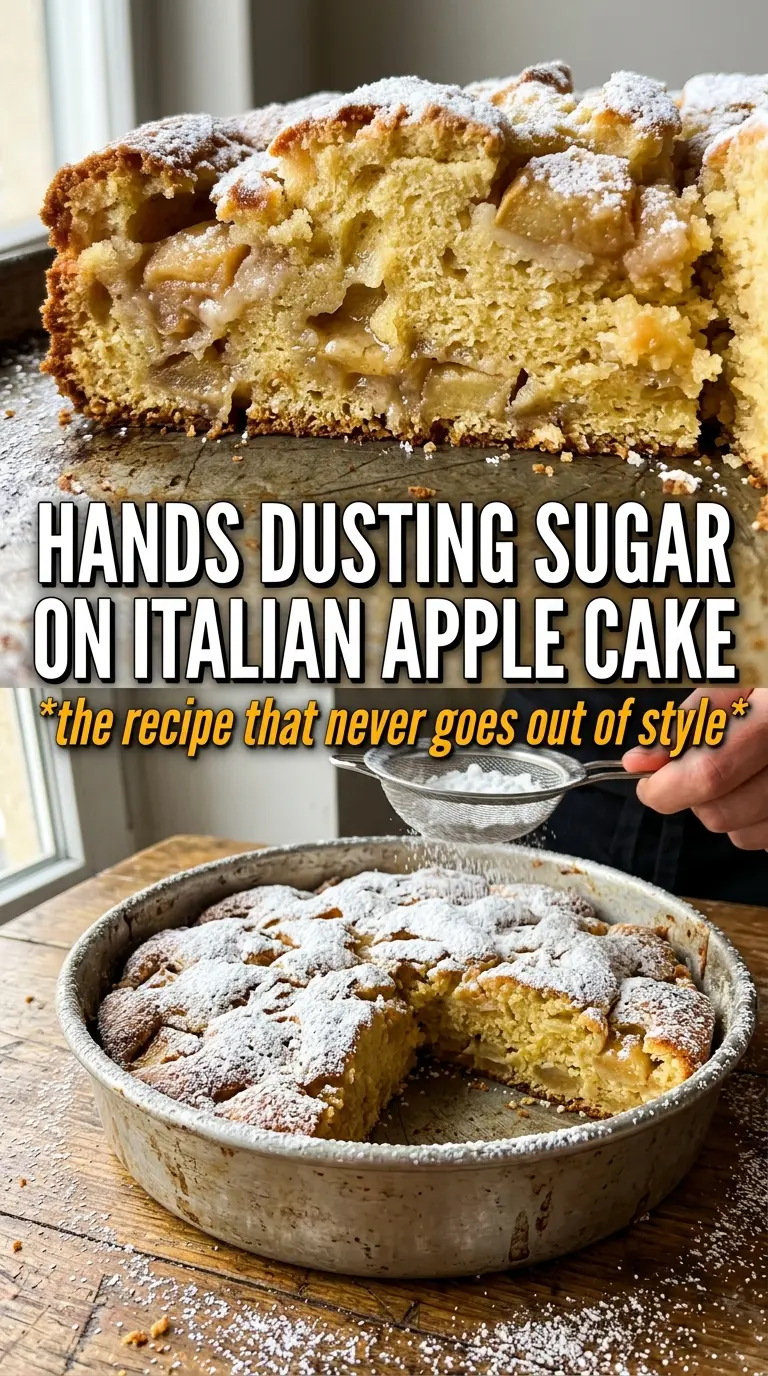
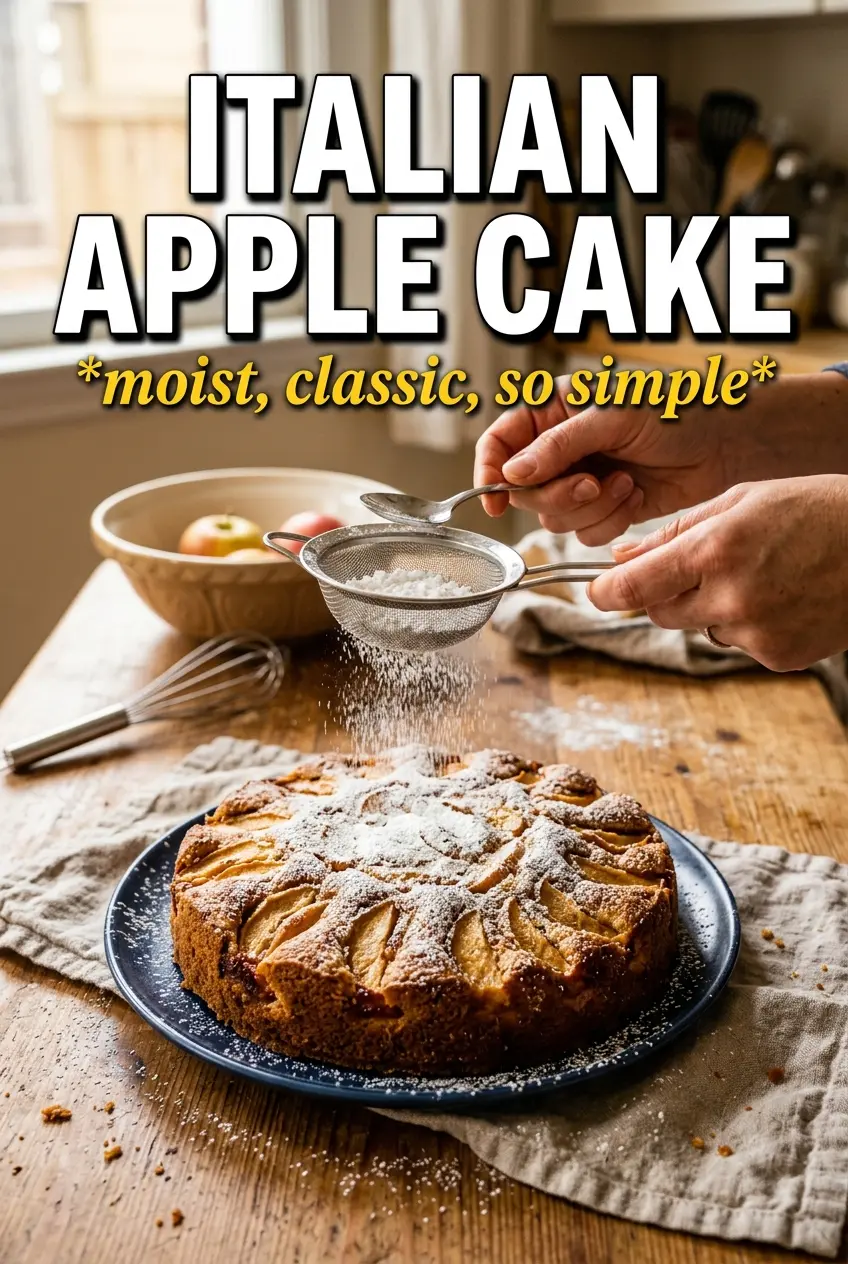
Italian apple cake bakes up with a tender, moist crumb and pockets of soft apple that stay distinct instead of disappearing into the batter. The top takes on a gentle golden color, then a heavy snowfall of powdered sugar turns each slice into something simple and elegant at the same time. It’s the kind of cake that works for an afternoon coffee break, a not-too-sweet dessert, or breakfast the next day if there happens to be a slice left.
What makes this version dependable is the way the batter is built. The eggs and sugar get whisked until pale and thick, which gives the cake lift before the baking powder even starts working. Oil keeps the crumb soft for days, while lemon zest brightens the apples without pushing the cake into pie territory. The fruit is folded in at the end so it stays in pieces and doesn’t weigh down the batter.
Below, I’m walking through the two places people usually go wrong with apple cake: overmixing after the flour goes in and cutting into it before it’s fully cool. Both matter more than they seem to.
The crumb stayed incredibly moist and the apples baked up soft but not mushy. I used a little extra lemon zest, and the powdered sugar on top made it feel bakery-fancy without any fuss.
Save this Italian apple cake for the kind of dessert that turns simple apples, lemon zest, and a snowy powdered sugar finish into something memorable.
The Part That Keeps the Cake Tender, Not Dense
Italian apple cake should feel light for a fruit cake, but not airy in a cupcake way. The mistake is usually overworking the batter after the flour goes in or packing in too much apple. Once the dry ingredients are added, the batter needs only a few folds. Stop as soon as the flour disappears, then fold in the apples gently so they stay evenly scattered.
The eggs and sugar need the full whisking time. That step builds the structure that lets the cake hold the fruit without turning heavy. If you rush it, the cake still bakes, but the crumb lands tighter and less delicate. A pale, thick ribbon from the mixer is the sign you’re where you need to be.
- Eggs and sugar — This is where the cake gets its lift. Beat until the mixture turns pale and leaves a ribbon on top of itself for a second before sinking back in.
- Oil — Oil keeps the crumb soft even after the cake cools. Butter will work in a pinch, but the texture turns a little firmer and less plush.
- Lemon zest — The zest wakes up the apples and keeps the cake from tasting flat. Fresh zest matters here; bottled lemon juice won’t do the same job.
- Apples — Use firm apples that hold their shape as they bake. Very soft apples can collapse and make the center wet.
What Each Ingredient Is Actually Doing in This Cake
- All-purpose flour — This gives the cake enough structure to support the apples without becoming bread-like. Don’t swap in cake flour if you want the same sturdy slice; it can make the cake too fragile.
- Baking powder — The lift from the beaten eggs gets backed up here so the cake rises evenly. Check that yours is fresh, because old baking powder leaves you with a flatter top.
- Cinnamon — Just enough to warm the apples without turning the cake into spice cake. Keep it light if you want the lemon and fruit to stay in front.
- Whole milk — The milk loosens the batter just enough to make folding easier. Lower-fat milk works, but whole milk gives a slightly richer crumb.
- Granulated sugar — This sweetens the cake and helps the eggs whip to volume. Don’t cut it much, or the texture will lose some of its tenderness.
Building the Batter Without Knocking Out the Air
Getting the eggs pale and thick
Start by beating the eggs and sugar until the mixture looks thick, pale yellow, and slightly glossy. This usually takes about three minutes, sometimes a touch longer with a hand mixer. You’re looking for volume and ribboning, not just blended eggs. If the mixture stays thin, the cake will bake up less airy and more compact.
Adding the oil in a slow stream
Pour the oil in slowly while the mixer runs so it emulsifies instead of separating. If you dump it all in at once, the batter can look greasy before the flour even goes in. Once the milk, vanilla, and lemon zest are added, the batter should still look smooth and fluid, not curdled.
Folding in flour and apples gently
Switch to a spatula when the flour mixture goes in. Fold only until the last streaks disappear, then add the apples and fold just enough to distribute them. Overmixing at this point is what makes the cake tough. The batter should look thick and speckled with fruit, not stirred to a polished finish.
Baking until the center sets
Scrape the batter into the prepared pan and smooth the top lightly. Bake until the top is golden and a toothpick comes out clean from the center, which usually lands in the 40-45 minute range. If the top browns too fast, your oven may run hot; tent it loosely with foil for the last stretch. Let the cake cool completely before dusting it, or the sugar will melt into the surface.
How to Adapt This Cake When You Need a Different Finish
Make it dairy-free
Use an unsweetened non-dairy milk with a neutral taste, like almond or oat. The cake still bakes up tender because the oil carries most of the moisture, but the crumb may be a touch less rich than with whole milk.
Choose the right apple for a cleaner slice
Use firm apples such as Honeycrisp, Pink Lady, or Granny Smith if you want the fruit to stay distinct. Softer apples release more moisture and can make the center a little more jammy.
Add a deeper spice note
A pinch of nutmeg or cardamom works if you want the cake to lean warmer and more aromatic. Keep the addition small so the apples and lemon still taste like the main event.
Store and reheat for later
This cake keeps well, which is one reason I make it often.
Storage and Reheating
- Refrigerator: Store covered for up to 4 days. The crumb stays moist, though the powdered sugar will dissolve into the top.
- Freezer: Freeze slices tightly wrapped for up to 2 months. Thaw at room temperature still wrapped so condensation doesn’t make the cake soggy.
- Reheating: Warm slices briefly in the microwave or a low oven. Too much heat dries out the edges before the center gets warm.
Answers to the Questions Worth Asking
Italian Apple Cake
Ingredients
Equipment
Method
- Preheat the oven to 350F. Grease a 9-inch round cake pan and line with parchment.
- Whisk the all-purpose flour, baking powder, cinnamon, and salt together until evenly combined. The mixture should look uniform in color with no visible lumps.
- Beat the eggs and granulated sugar with an electric mixer until pale and thick, about 3 minutes. The batter should fall in ribbons briefly before smoothing back out.
- Stream in the vegetable or sunflower oil slowly while mixing. Then add the whole milk, vanilla extract, and lemon zest and mix until smooth.
- Fold in the flour mixture until just combined, stopping as soon as no dry streaks remain. The batter will look thick and slightly shaggy.
- Fold in the diced apples until evenly distributed. Pour the batter into the prepared pan and bake for 40-45 minutes until a toothpick comes out clean and the top is golden.
- Cool the cake completely before serving. Dust generously with powdered sugar right before slicing.