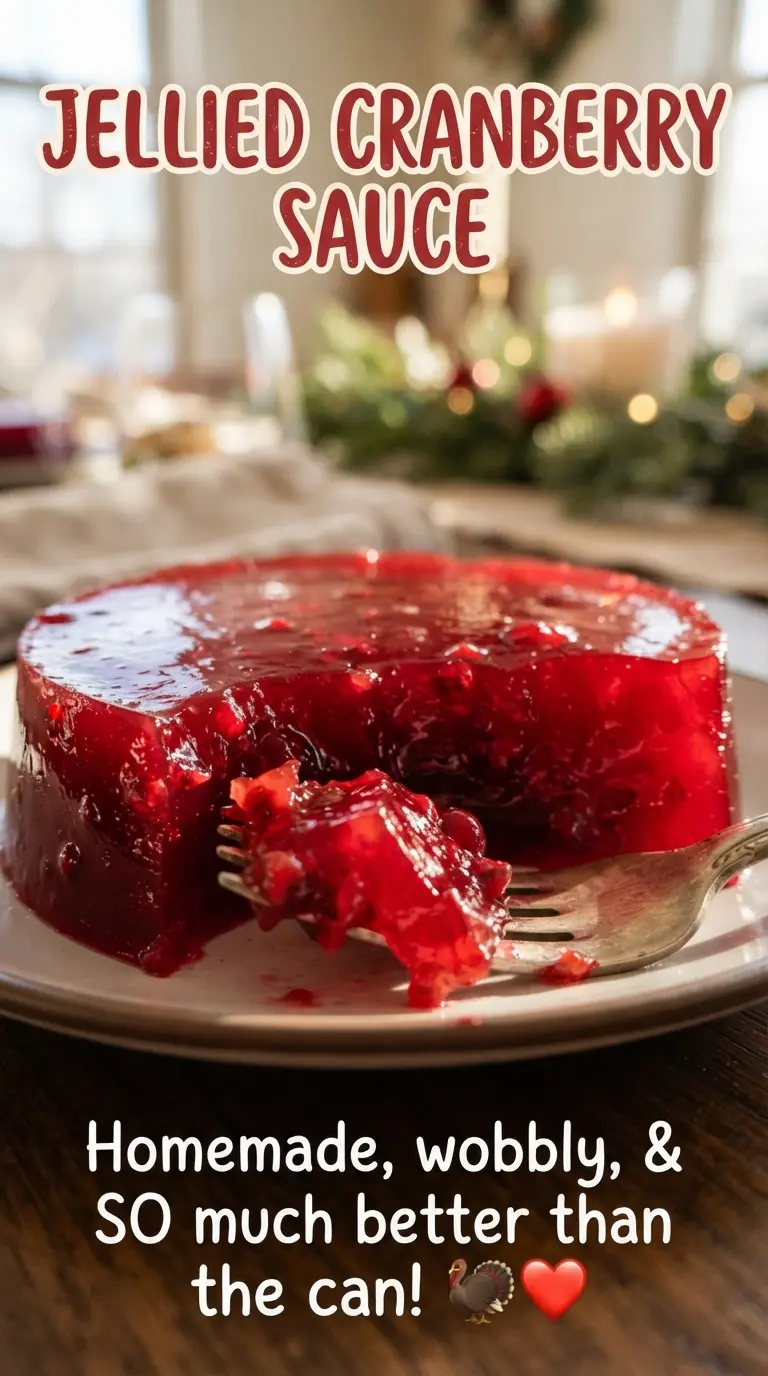
Jellied cranberry sauce should slice cleanly, hold its shape on the plate, and still taste bright instead of candy-sweet. When it’s done right, you get that glossy ruby loaf with a clean edge and a tender set that melts after the first bite. It belongs next to turkey, but it’s good enough to steal attention from everything around it.
The trick is pushing the cooked cranberries through a fine-mesh strainer while they’re still hot enough to move easily. That’s what gives you the smooth, old-school texture instead of a loose, chunky sauce. The second important move is boiling the strained puree long enough to activate the cranberry pectin and cook off extra water, which is what helps the mold hold together after chilling.
Below, I’ve included the one step people rush most often, plus a few ways to shape it if you don’t have a proper mold. If you’ve ever ended up with cranberry sauce that slumps on the plate, this version fixes that.
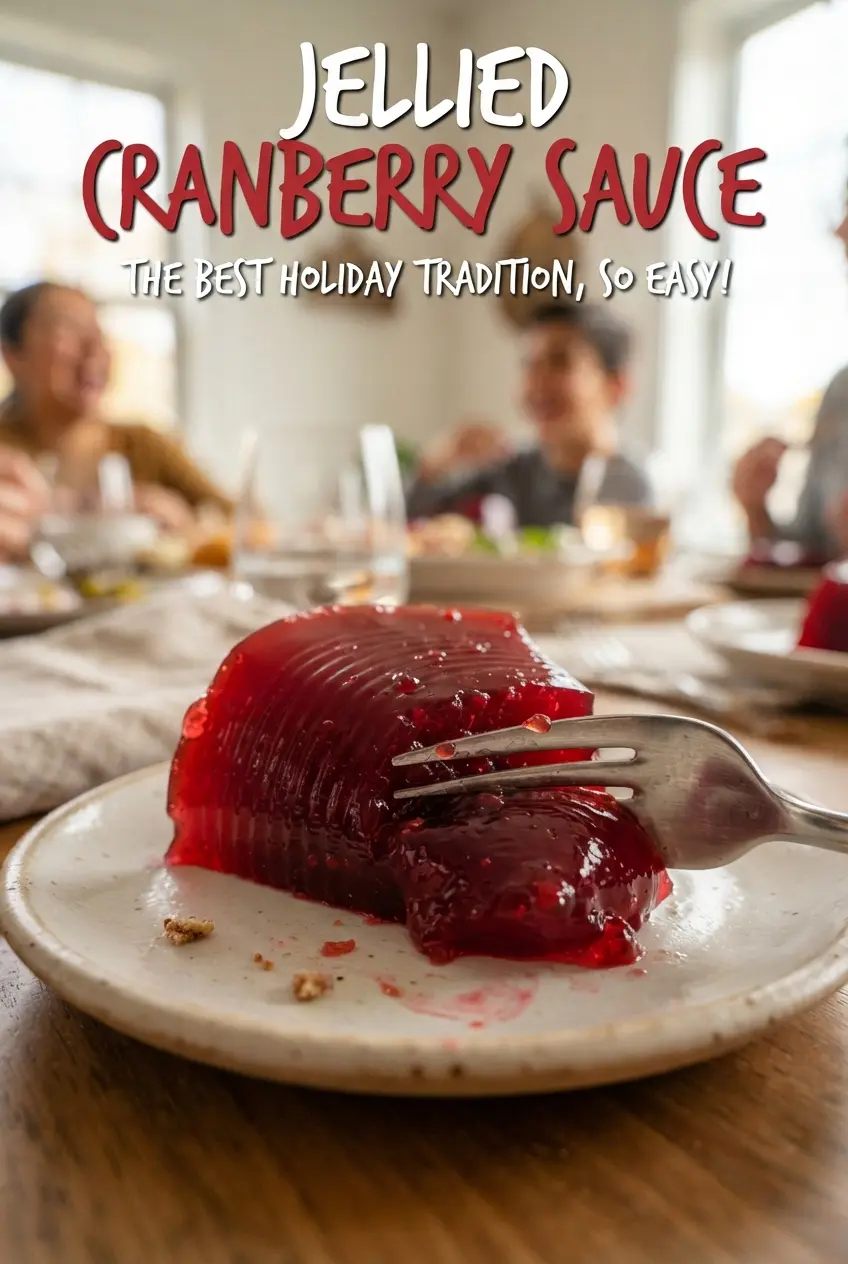
The cranberry log unmolded in one clean piece and sliced into perfect rounds. I followed the chilling time overnight, and it held its shape on the plate without weeping at all.
This jellied cranberry sauce sets into that classic sliceable loaf you want for a holiday plate, so pin it for the day you need a glossy make-ahead side.
The Part That Makes It Slice Instead of Slump
Cranberries bring their own pectin, which is why this old-fashioned version can set into a firm mold without gelatin. The catch is that pectin needs two things to work: enough heat to cook it out of the fruit, and enough reduction to concentrate it. If you stop at a loose sauce, it will taste fine but it won’t unmold cleanly.
Pressing the berries through a fine-mesh strainer matters more than it looks. The skins hold onto a lot of bitterness and astringency, and leaving too much pulp in the mix can make the texture grainy instead of smooth. The puree should look thick and shiny before it goes into the mold.
What Each Ingredient Is Doing in the Pot
- Cranberries — Fresh cranberries give this sauce its color, tartness, and natural pectin. Frozen cranberries work too, and you don’t need to thaw them first.
- Sugar — This balances the sharp cranberry bite and helps the sauce set with a clean, glossy finish. Reducing it much further makes the mold less reliable.
- Water — The berries need enough liquid to burst and soften before you strain them. Using less can leave you with scorched spots before the fruit breaks down.
- Lemon juice — A little extra acid brightens the flavor and helps the cranberry pectin do its job. Don’t skip it if you want that classic snap.
- Salt — Just a pinch keeps the sauce from tasting flat. It won’t make the sauce salty; it just sharpens the fruit.
Getting the Cranberry Purée to Set Cleanly
Boiling Until Every Berry Bursts
Bring the cranberries, sugar, and water to a full boil first, then keep it bubbling until the berries split and collapse. You should hear the pop soften into a thick simmer, and the liquid will deepen from watery red to a darker, shinier color. If some berries are still firm, the puree won’t strain evenly and the finished mold can end up uneven.
Pressing the Hot Mixture Through the Strainer
Strain the mixture while it’s still hot enough to move without a fight. Use the back of a spoon or a flexible spatula to press the pulp through, and don’t leave a lot of good puree behind in the sieve. The skins should stay behind; if you force too much skin through, the texture turns rough.
Cooking Down the Strained Purée
Once the puree goes back into the pot with the lemon juice and salt, boil it for 3 to 4 minutes while stirring. This is where the sauce tightens and loses the extra water that would keep it from setting. The mixture should look glossy and slightly thicker than you think it needs to be before it goes into the mold.
Chilling Without Rushing the Set
Pour the sauce into a lightly oiled mold, loaf pan, or clean can, then leave it alone in the refrigerator for at least 6 hours. Overnight is even better, because the center firms at the same pace as the edges. If you try to unmold it too early, the outside may look set while the middle still slouches.
Make it with frozen cranberries
Frozen cranberries work just as well as fresh here. Add them straight to the pot from frozen; thawing first only adds extra liquid and can drag out the cooking time. The finished texture and set stay the same.
Lower-sugar version
You can cut the sugar a little, but don’t slash it too far if you want a clean slice. Less sugar gives you a sharper, tarter sauce and a softer set, so it’s better for spooning than for unmolding.
Vegan and gluten-free as written
This recipe already fits both diets without changes. The only thing to watch is the mold or pan you choose, since a lightly oiled loaf pan gives you the easiest release if you don’t have a jelly mold.
Storage and Reheating
- Refrigerator: Keeps for up to 1 week covered. The texture stays firm, though the surface can pick up a little moisture if it sits uncovered.
- Freezer: Freezing isn’t ideal. The set can turn slightly watery after thawing, so this is better made fresh or kept refrigerated.
- Reheating: This isn’t a reheated dish. Serve it chilled or at cool room temperature, and run the knife around the edge before inverting so the loaf releases cleanly.
Answers to the Questions Worth Asking
Jellied Cranberry Sauce
Ingredients
Method
- Bring fresh cranberries, sugar, and water to a boil over medium-high heat, stirring to dissolve the sugar. Once boiling, simmer for 10 minutes until all the berries burst, with steady bubbling.
- Press the hot mixture through a fine-mesh strainer, scraping to push all the pulp through. Discard the skins to keep the cranberry sauce smooth and shiny.
- Return the strained puree to the pot and stir in lemon juice and salt. Bring to a boil and cook for 3-4 minutes, stirring, until it thickens slightly.
- Pour the hot cranberry mixture into a lightly oiled mold, loaf pan, or clean can. Tap lightly to level the surface, then chill at least 6 hours or overnight until firm.
- Run a knife around the edge, then invert onto a plate to release the gel. Slice into rounds and serve.