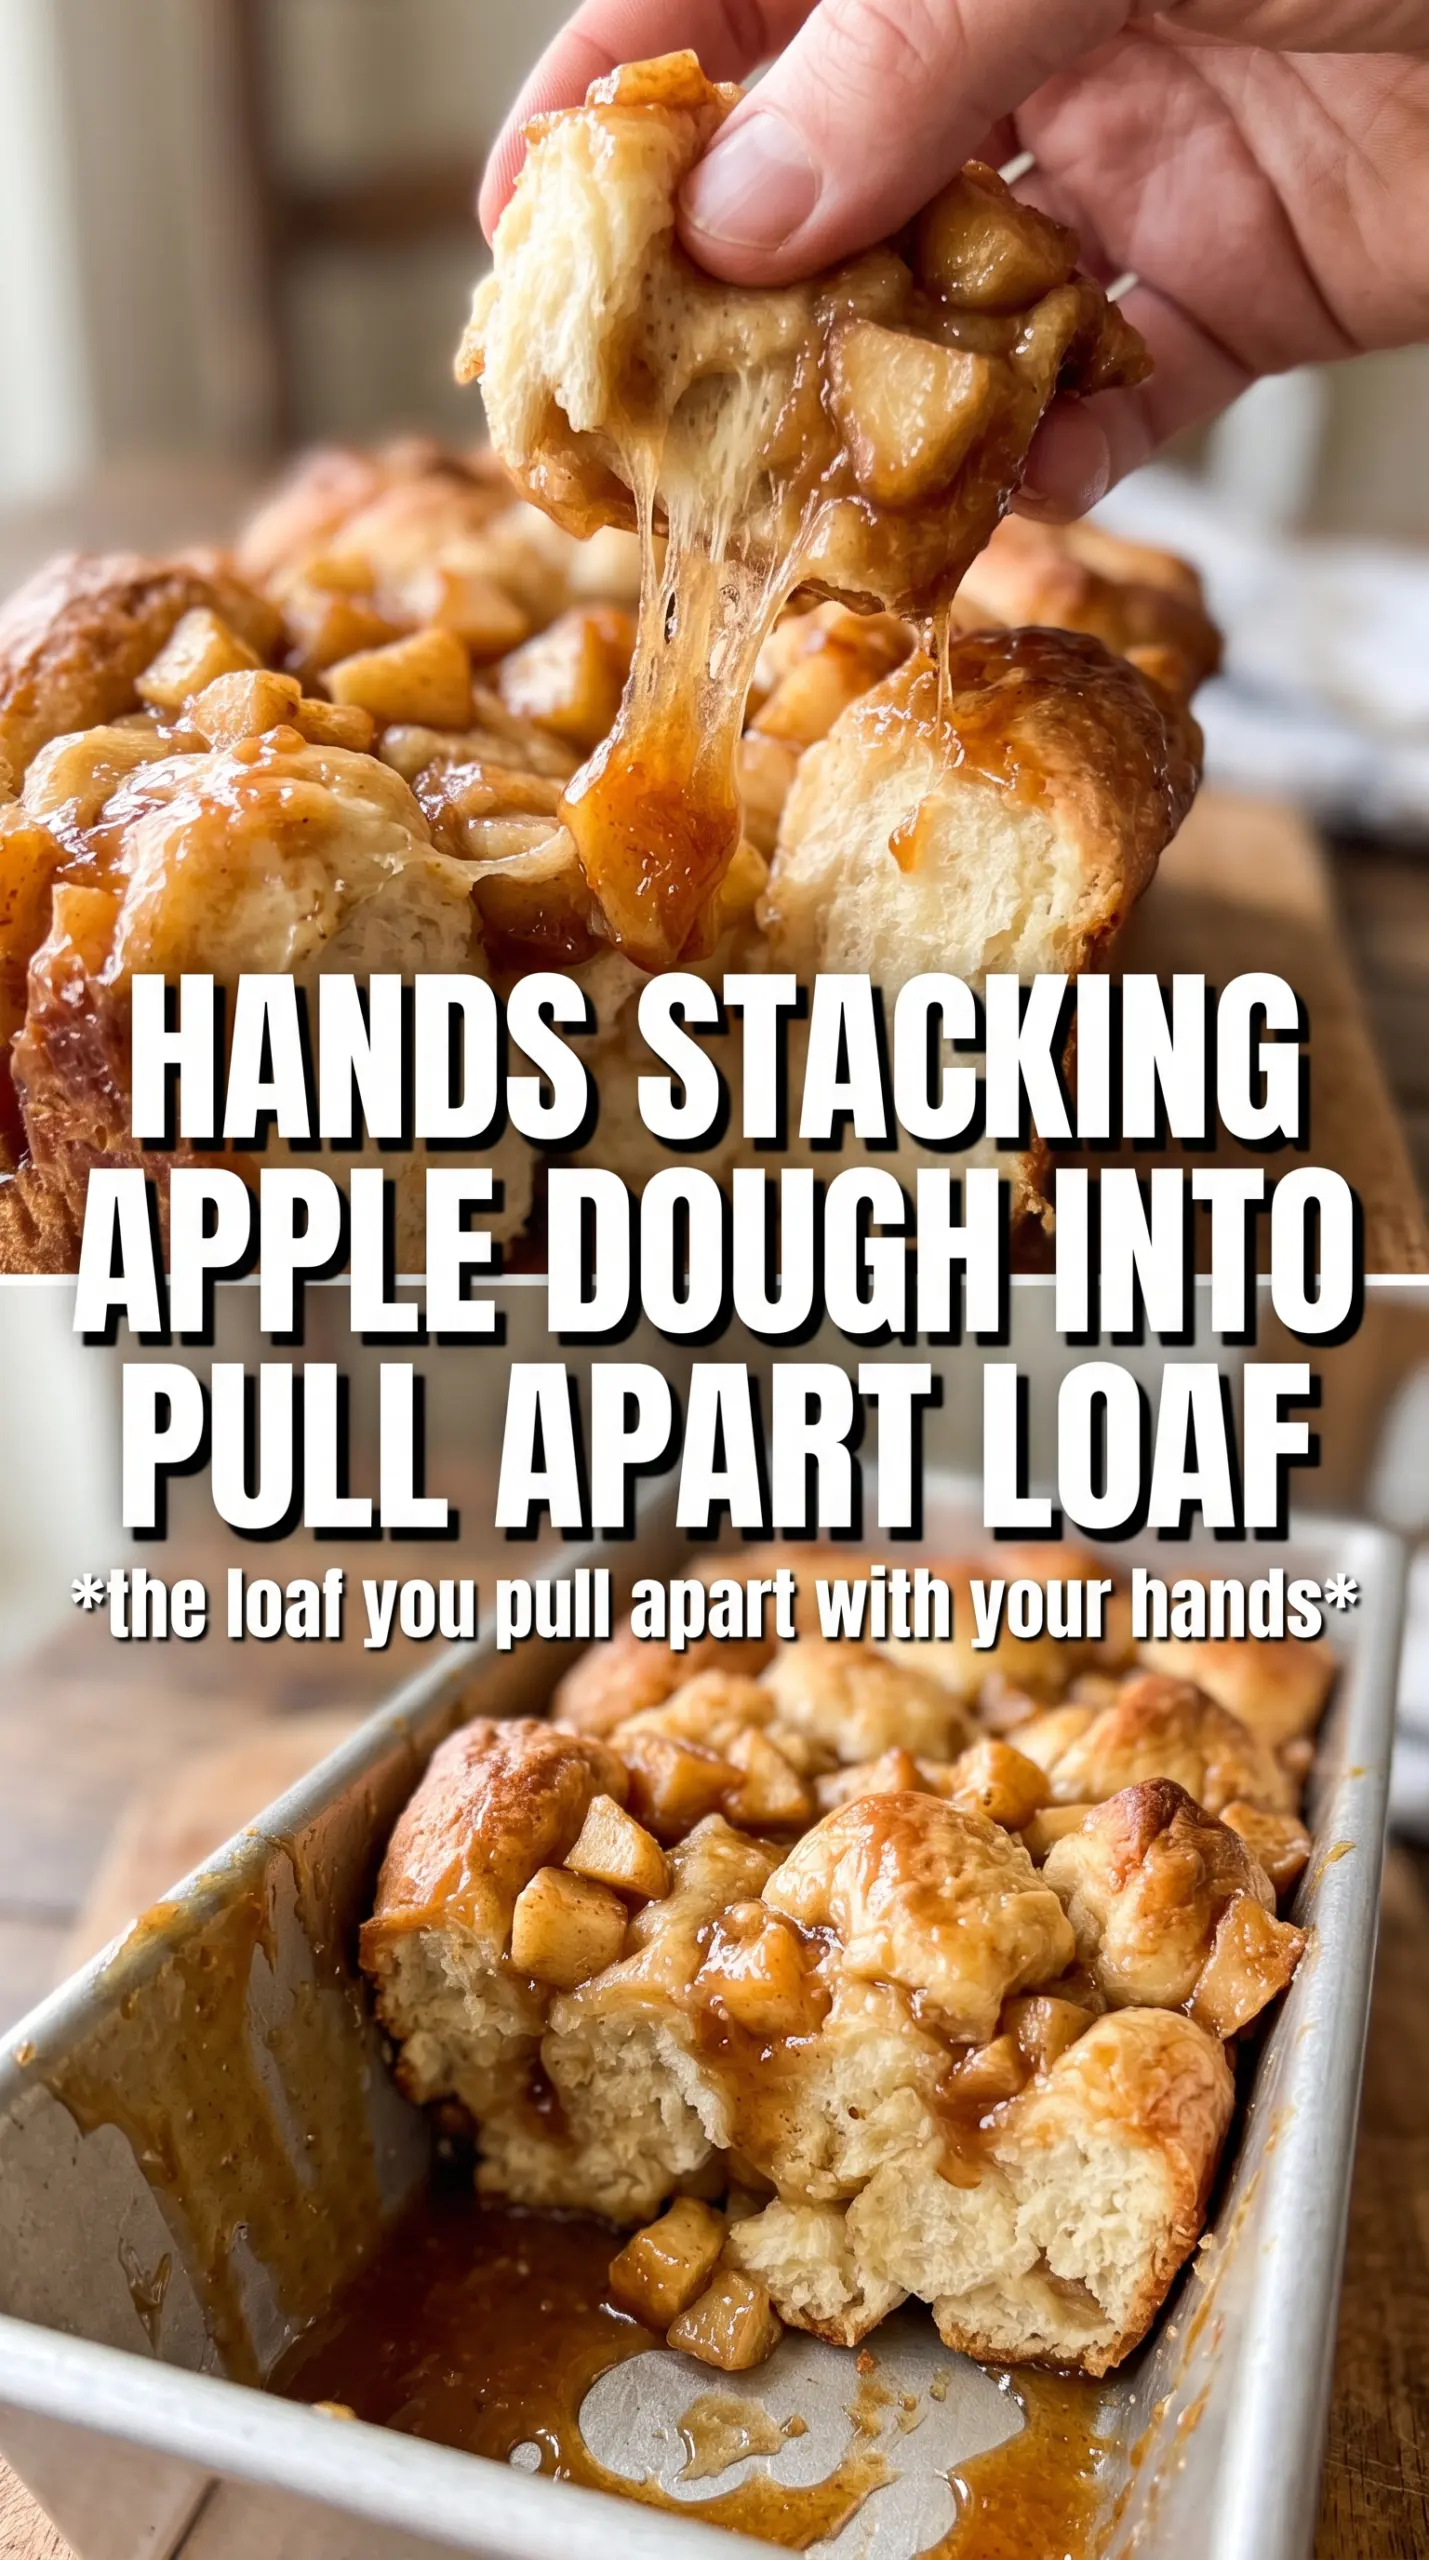
Warm layers of tender bread, soft cinnamon apples, and a maple glaze that sinks into every crack make this pull-apart loaf hard to walk past. The outside bakes up golden and lightly crisp, while the inside stays pillowy and sweet enough to serve for breakfast or brunch without feeling like dessert pretending to be breakfast.
What makes this version work is the balance between the enriched dough and the filling. The dough needs enough structure to hold the layers, so it gets kneaded until smooth and elastic before the first rise. The apple mixture stays simple on purpose: diced apples, brown sugar, cinnamon, and softened butter. That keeps the filling from turning soupy and lets the apples soften inside the loaf instead of leaking out into the pan.
Below, I’ll walk through the part that matters most: how to layer the strips so the loaf pulls apart cleanly instead of collapsing after baking. I’ve also included a few swaps and storage notes, because this is the kind of bread you’ll want to make more than once.
The layers baked up tall and the apples stayed tucked inside instead of making the loaf soggy. I loved that the glaze soaked into the warm bread without turning the top sticky.
Save this maple glazed apple pull-apart bread for a brunch loaf with soft apple layers and a glossy maple finish.
The Part That Keeps the Loaf Tall Instead of Heavy
This bread depends on a dough that can rise well before it ever meets the filling. If the dough is under-kneaded, it tears when you stack the strips and the loaf bakes up dense instead of pull-apart tender. Knead until it feels smooth, a little tacky, and elastic enough to stretch without ripping at the edges.
The second place people lose this recipe is the filling. Apples release juice as they bake, and too much loose liquid will turn the bottom layers gummy. Diced apples tossed with brown sugar, cinnamon, and softened butter create enough moisture to soften the fruit while still staying inside the loaf, which is what gives you those distinct sticky layers.
- Warm milk — It should feel warm, not hot. Too much heat will slow or kill the yeast before the dough has a chance to rise.
- Apples — Use a firm baking apple so the pieces hold shape in the oven. Softer apples can collapse into a wet layer.
- Brown sugar — This gives the filling its caramel note and helps the apples soften quickly. Granulated sugar won’t cling the same way.
- Pure maple syrup — Use the real thing in the glaze. Pancake syrup won’t set with the same depth or finish.
What Each Ingredient Is Actually Doing in This Recipe
- Primary ingredient (the star) — Quality matters most. Choose the best you can find.
- Cooking medium (oil, butter, or broth) — This carries flavors and prevents dryness.
- Seasonings (salt, pepper, spices, herbs) — Layer flavors so nothing overpowers. Build depth gradually.
- Aromatics (garlic, onion, herbs) — Cook with fat to bloom flavors. Become the foundation.
- Supporting ingredients — Complement the main ingredient without overpowering it.
- Sauce or liquid (if applicable) — Brings flavors together. Balance richness with acid.
- Acid (lemon, vinegar, wine, or other) — Brightens and prevents flat-tasting results.
- Final finish (garnish, glaze, or sauce) — Prevents one-dimensional taste and adds visual appeal.
Stacking the Dough So Every Slice Pulls Apart Cleanly
Activating the Yeast
Stir the warm milk, yeast, and sugar together and wait until the top looks foamy and slightly expanded. That foam tells you the yeast is alive and ready. If nothing happens after a few minutes, the milk was probably too hot or the yeast was old, and the dough won’t rise well enough to support the layers.
Building the Dough
Add the butter, eggs, vanilla, flour, and salt, then knead until the dough turns smooth and springs back when pressed. Six to eight minutes by hand or with a mixer is about right. The dough should clear the sides of the bowl but still feel soft; if you add too much flour, the loaf bakes up dry and tight.
Filling and Folding the Layers
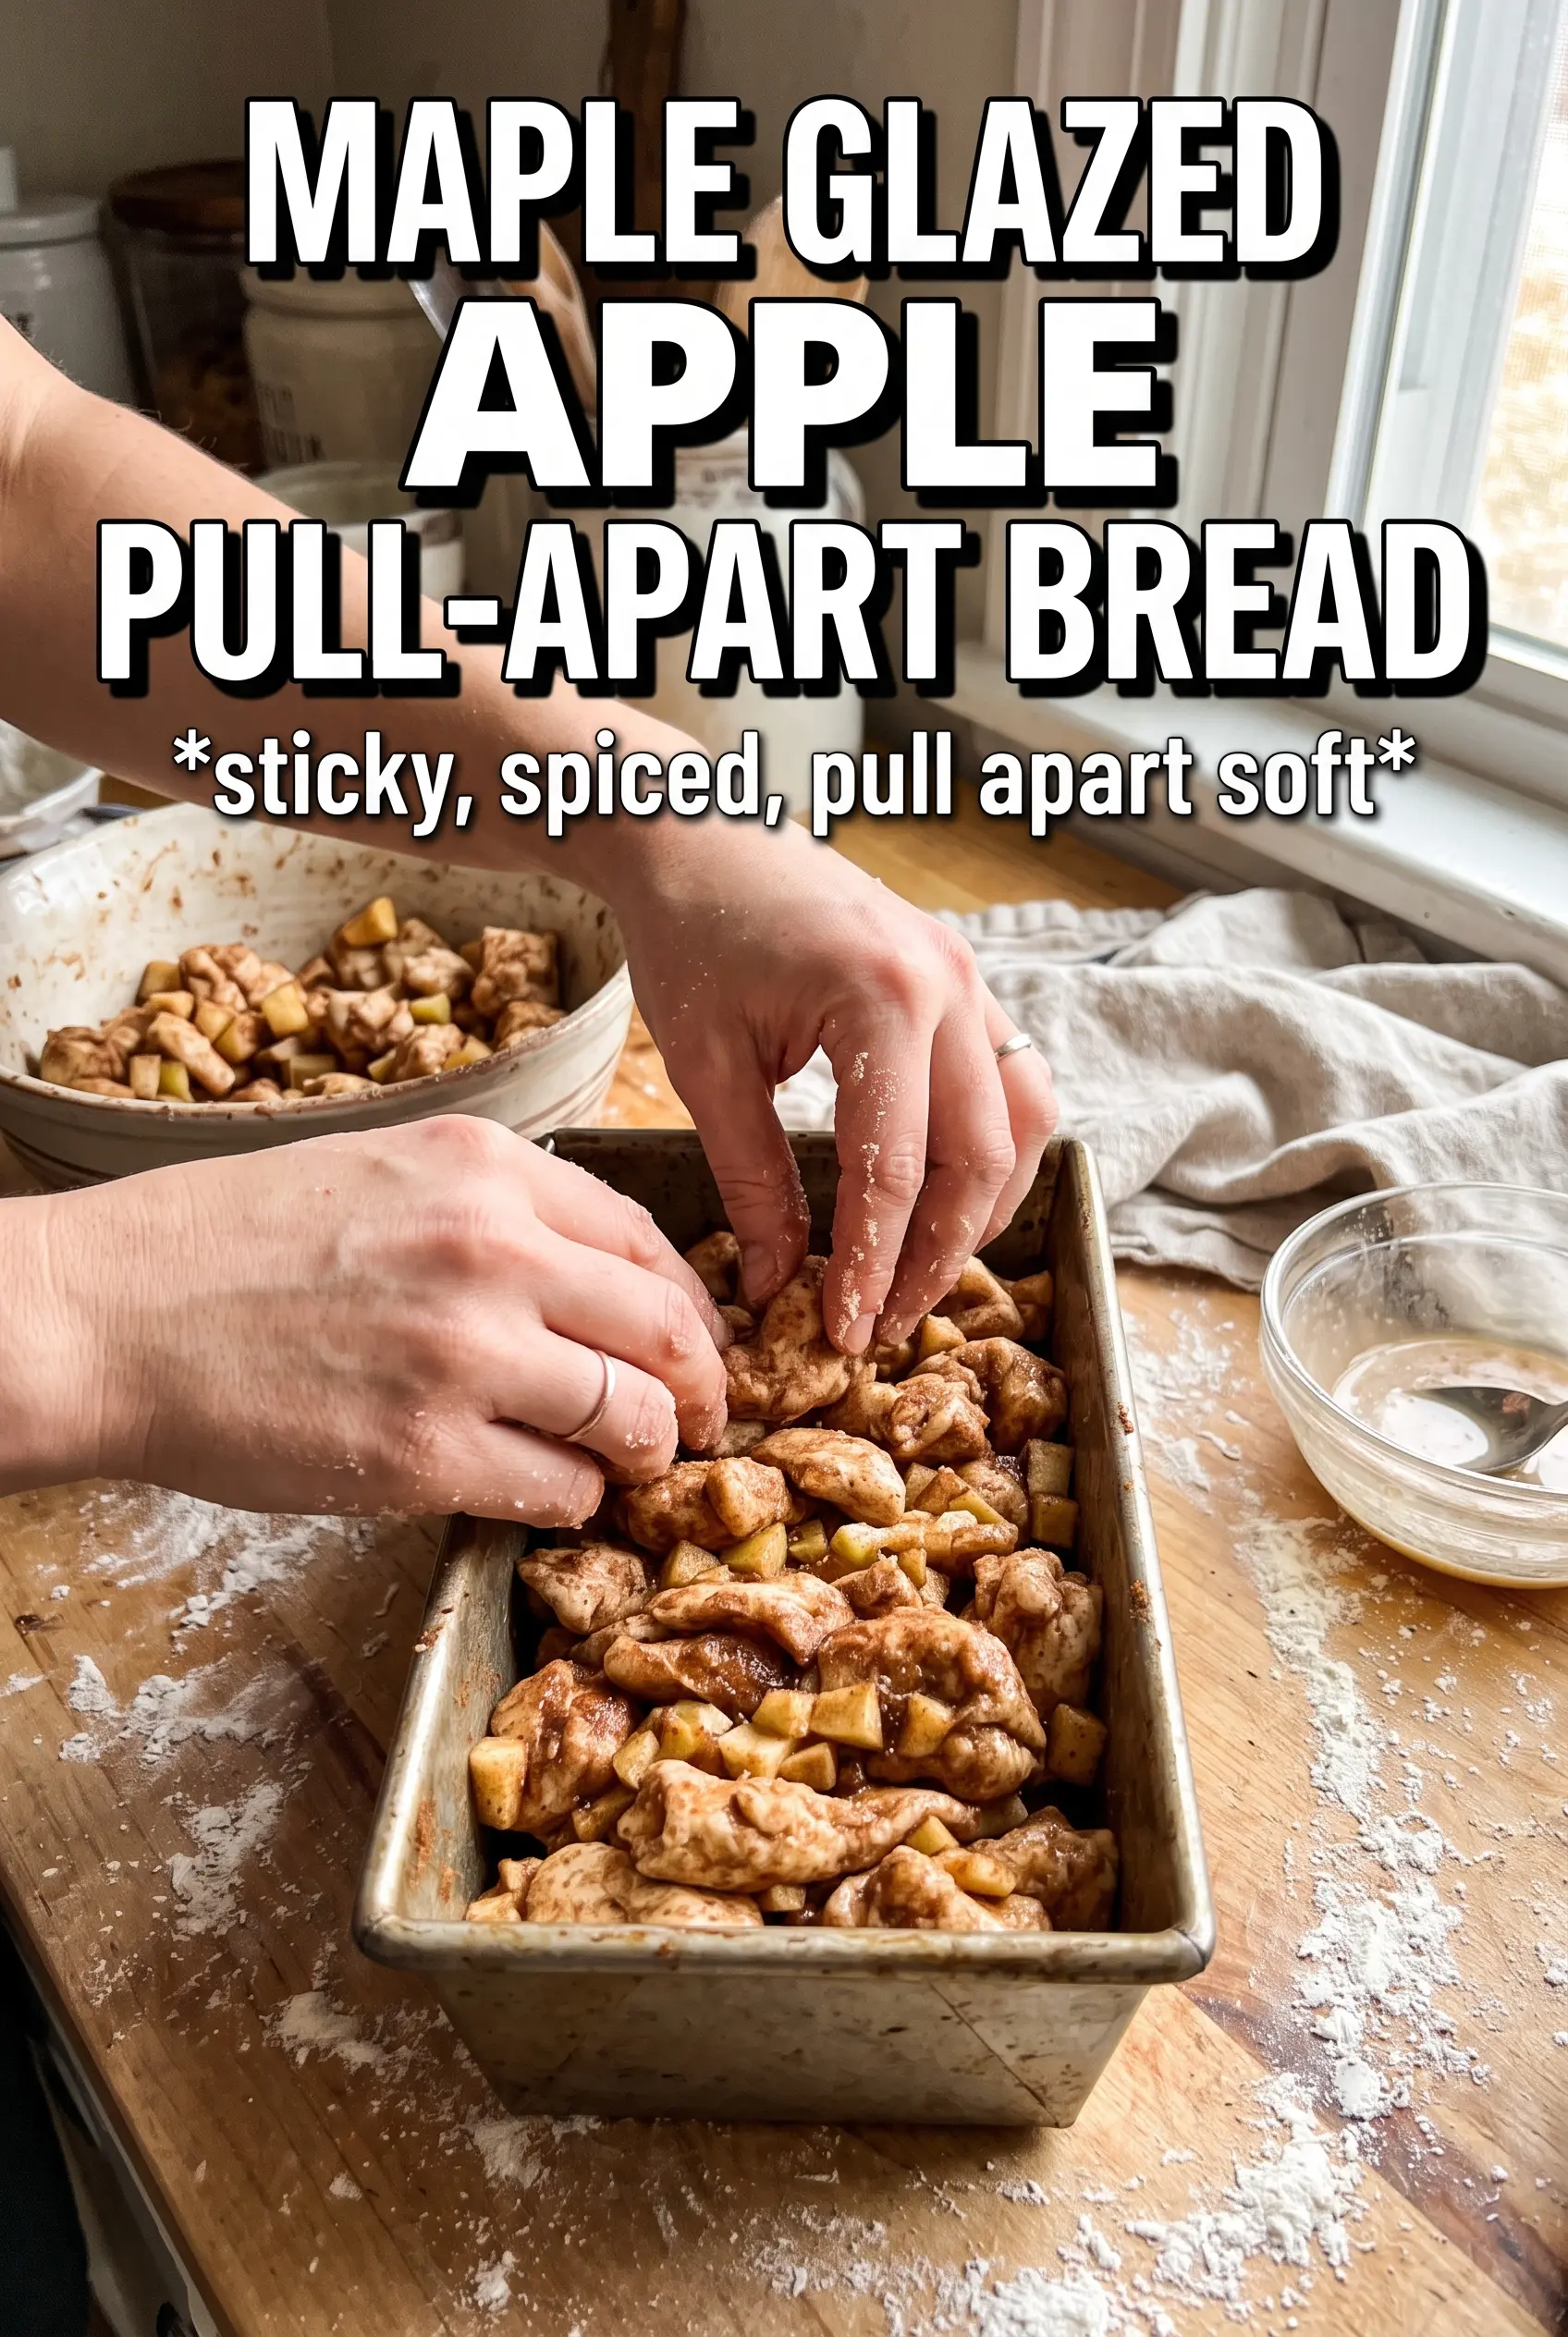
Roll the dough into a 12×18-inch rectangle and spread the softened butter over the surface before scattering the apple mixture. Cut the sheet into five long strips, stack them, then cut the stack into six squares. Lay those stacks on their sides in the loaf pan so the layers stand upright; that is what creates the pull-apart structure instead of a regular swirled loaf.
Second Rise and Bake
Let the assembled loaf rise again until it looks puffy and the layers have filled in the pan, then bake at 350°F. Tent the top with foil halfway through if it browns too fast, because the sugar in the filling and glaze can darken before the center finishes baking. The bread is done when the top is deeply golden and a skewer slips through the center without wet dough clinging to it.
Finishing With the Glaze
Whisk the powdered sugar, maple syrup, milk, and cinnamon until smooth, then drizzle it over the bread while it is still warm. Warm bread absorbs the glaze better and gives you that glossy finish without a crusty sugar shell on top. If the glaze looks too thick, add milk a teaspoon at a time; if it runs off too quickly, it needs a little more powdered sugar.
How to Adapt This for Different Mornings and Different Pantries
Dairy-Free Version
Use unsweetened almond milk or oat milk in the dough, swap the butter for a plant-based butter, and keep the glaze made with the same dairy-free milk. The bread still rises well, but the flavor will be a little less rich, so the maple and cinnamon stand out more.
Apple-Pear Filling
Replace half the apples with firm pears for a softer, more floral filling. Pears bake down faster than apples, so keep the dice a little larger to avoid a jammy texture.
Make-Ahead Overnight Rise
Shape the loaf, cover it well, and refrigerate it overnight after the pan is assembled. In the morning, let it sit at room temperature until noticeably puffy before baking. This slows the rise, which deepens the flavor and makes brunch day much easier.
Gluten-Free Note
This recipe depends on wheat gluten for its structure, so a straight 1:1 flour swap won’t give the same pull-apart layers. A gluten-free version needs a tested yeast dough blend with binders already included, and even then the texture will be more bread-like and less stretchy.
Storage and Reheating
- Refrigerator: Keep covered for up to 3 days. The bread will firm up as it chills, especially around the edges.
- Freezer: Freeze the baked loaf, wrapped tightly, for up to 2 months. Thaw overnight in the refrigerator before reheating.
- Reheating: Warm slices in a 300°F oven or short bursts in the microwave until soft again. Don’t overheat it, or the glaze will melt away and the bread will turn dry.
Answers to the Questions Worth Asking
Maple Glazed Apple Pull-Apart Bread
Ingredients
Equipment
Method
- Warm the milk, then combine warm milk with yeast and sugar; let stand until foamy. Visual cue: the surface should look bubbly and active before you proceed.
- Add melted butter, eggs, vanilla, flour, and salt, then mix until a shaggy dough forms. Visual cue: flour should be fully incorporated with no dry pockets.
- Knead until smooth and elastic, 6-8 minutes. Visual cue: the dough should feel stretchy and look slightly satiny.
- Shape into a ball, place in a lightly greased container, and cover; let rise for 1 hour. Visual cue: the dough should roughly double in size.
- Prepare the apple cinnamon filling by mixing diced apple, brown sugar, cinnamon, and softened butter until evenly coated. Visual cue: apples should look glossy from the butter-sugar coating.
- Roll the risen dough into a 12x18 rectangle and spread softened butter over the surface. Visual cue: butter should be thinly and evenly spread.
- Scatter the apple filling mixture over the buttered rectangle. Visual cue: apples should cover most of the surface in an even layer.
- Cut the rectangle into 5 long strips. Visual cue: strips should be even in width.
- Stack the strips, then cut into 6 square stacks. Visual cue: you should get 6 compact stacks that hold their layers.
- Grease a 9x5 loaf pan and layer the stacks on their sides inside. Visual cue: cross-sections should be visible, showing distinct apple-studded layers.
- Cover and rise for 30 minutes. Visual cue: the dough should puff up noticeably in the pan.
- Bake at 350°F for 40-45 minutes until deep golden. Visual cue: the top should brown and the bread should sound hollow when tapped.
- Tent with foil halfway through baking if the top browns too quickly. Visual cue: foil should shield the surface while the interior continues to bake.
- Whisk powdered sugar, maple syrup, milk, and cinnamon into a smooth glaze. Visual cue: glaze should flow and ribbon slightly when lifted.
- Drizzle the maple glaze generously over the bread while warm. Visual cue: glaze should soak into the pull-apart ridges and look glossy.