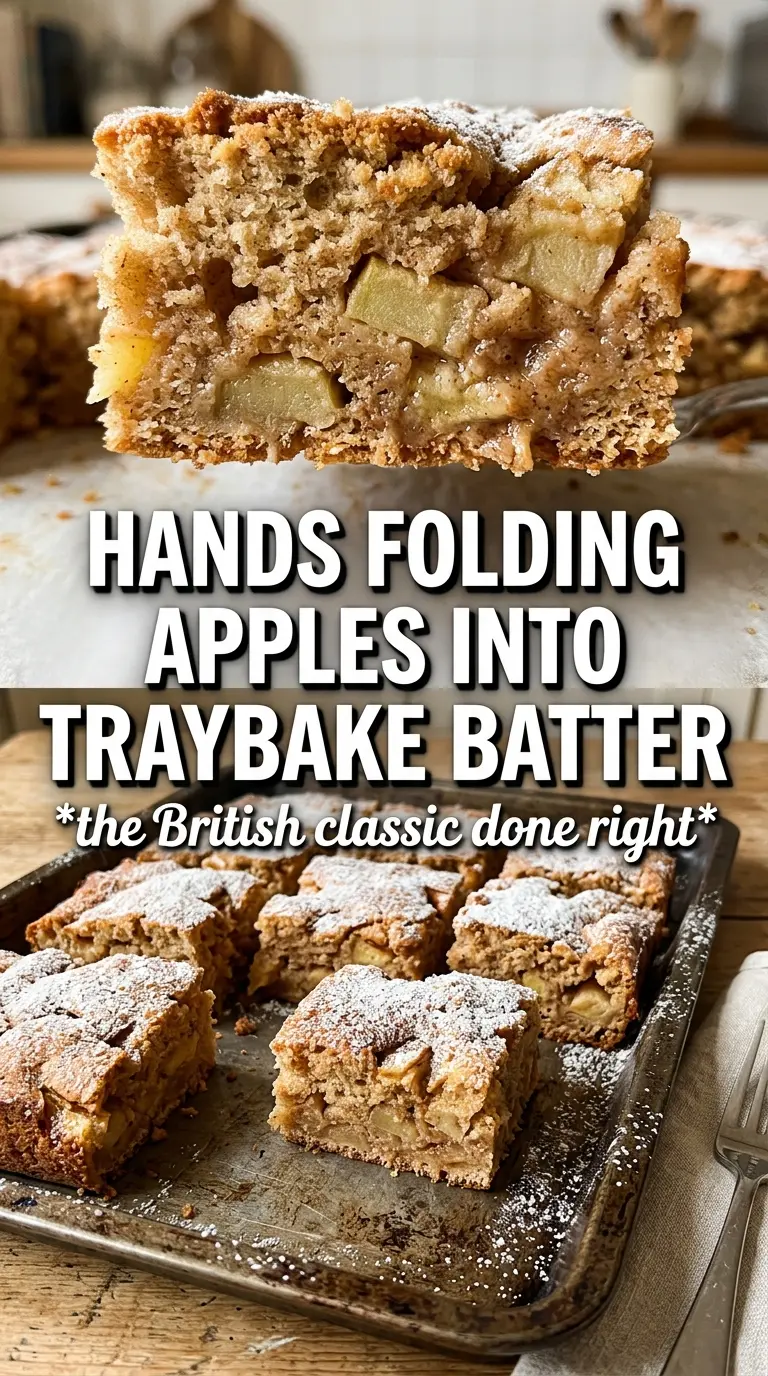
Mary Berry Dorset Apple Traybake bakes up soft, golden, and packed with tender apple pieces that keep every square moist for days. The top takes on a delicate crackle from the cinnamon sugar, while the crumb stays rich and light instead of heavy or stodgy. Cut into neat traybake squares, it’s the kind of dessert that disappears fast because it tastes just as good with a cup of tea as it does warm from the tin.
What makes this version work is the balance of a simple butter cake batter with enough apple to keep the texture fresh and yielding. The apples are folded in at the very end, which stops them from breaking down too much and keeps little juicy pockets throughout the bake. A dusting of demerara sugar on top gives the traybake a faint crunch and that bakery-style finish you want from a proper fruit cake.
Below, I’ve included the little details that keep the crumb soft, the apples evenly distributed, and the top nicely bronzed without drying out the edges. If you’ve ever ended up with a dense apple cake or one that sinks in the middle, the process notes will help.
The apples stayed in little tender chunks and the top went slightly crisp from the demerara sugar. I cut it while still warm and it held together beautifully without turning dry.
Like this Mary Berry Dorset Apple Traybake? Save it to Pinterest for a soft, cinnamon-topped apple bake that slices cleanly every time.
The Reason This Traybake Stays Soft Instead of Drying Out
The mistake with apple traybakes is usually overmixing once the flour goes in. That knocks the air out of the batter and turns a tender cake into something heavy and tight. Here, the batter is meant to look thick, and the apples help loosen the texture as they bake, so resist the urge to keep stirring until it looks perfectly smooth.
The other thing that matters is the apple choice. Cooking apples hold their shape better and give you those soft, slightly tangy pieces that cut through the sweetness of the sponge. If the apples are too juicy or too soft, they can collapse into the batter and leave you with a wet middle and a cleaner top than bottom.
- Keep the batter thick. That’s what supports the apple pieces and stops them from sinking.
- Fold, don’t beat, after the flour goes in. You want the gluten to stay relaxed so the crumb stays light.
- Use cooking apples for the best texture. Dessert apples can work, but they soften faster and lose that sharp edge.
- Watch the center, not just the edges. The traybake is done when it springs back lightly and a skewer comes out clean from the middle.
What the Butter, Apples, and Cinnamon Are Each Doing Here
- Cooking apples — These are the backbone of the traybake’s texture. They soften without disappearing, which gives you juicy pockets instead of an apple purée effect. If you only have eating apples, use a firmer variety and dice them a little larger so they hold up better.
- Self-raising flour — This gives the cake its lift without needing extra fuss. If you’re using plain flour, the added baking powder matters because it replaces the built-in rise and keeps the crumb from baking up heavy.
- Butter and sugar — Creaming them properly traps air and sets up the light, even crumb. Don’t rush this stage; if the mixture still looks grainy and pale yellow, keep beating until it looks fluffy and noticeably lighter.
- Demerara sugar topping — This is what gives the top that fine crunch and a caramelized edge. Regular granulated sugar will still work, but it won’t give the same crackly finish.
- Cinnamon — It belongs in both the batter and the topping because it rounds out the apples without taking over. Fresh cinnamon makes a difference here; if yours has been sitting in the cupboard for years, the flavor will taste flat.
Getting the Batter, Apples, and Bake Time in the Right Order
Creaming the Base
Beat the butter and sugar until the mixture looks pale and fluffy, not just combined. That step builds the structure for the traybake, and it’s where the light texture starts. If the butter is too cold, the mixture will clump instead of whipping up, so soften it first and scrape the bowl down well before moving on.
Adding the Eggs Without Curdling
Add the eggs one at a time and beat well after each addition. If the mixture looks slightly split after an egg goes in, that’s usually because the eggs were cold or went in too fast; keep mixing and it often comes back together once the flour is added. Stir in the vanilla and milk once the batter looks smooth and glossy.
Folding in the Flour and Apples
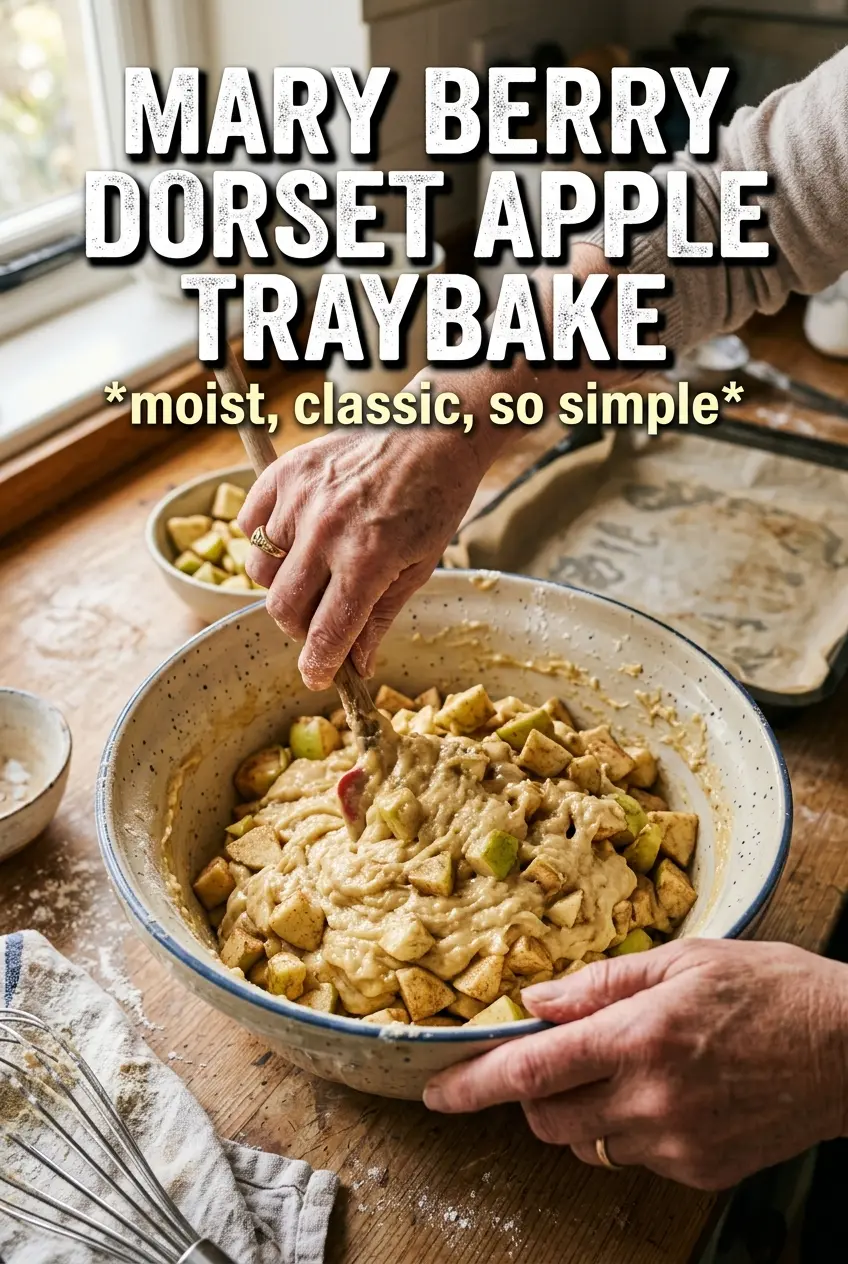
Add the flour, baking powder if you need it, and cinnamon, then fold just until no dry streaks remain. The batter should be thick enough to hold a spoon upright for a moment. Fold in the diced apples last so they stay intact, then spread the mixture evenly into the tin and level the top without pressing it down hard.
Watching for the Right Finish
Sprinkle the cinnamon sugar over the top before baking, then cook until the cake is golden and springy in the center. A skewer should come out clean or with just a few moist crumbs, not wet batter. Let it cool in the tin before cutting, because a warm traybake is fragile and the apple pockets need time to set.
How to Adjust It for Different Apples, Dietary Needs, and Leftovers
Using plain flour instead of self-raising
Use plain flour plus the extra baking powder listed in the ingredients. That gives you the same lift, but don’t skip the baking powder or the traybake will bake up denser and flatter.
Making it dairy-free
Swap the butter for a good dairy-free block alternative and use an unsweetened plant milk. Spreadable tub margarines are softer and can make the crumb greasy, so a firm baking block works better here.
Using sweeter apples
If you only have eating apples, cut them into slightly larger dice and reduce the sugar topping a little if the apples are very sweet. You’ll lose some of the sharp contrast, but the cake will still stay soft and fruity.
Storage and Reheating
- Refrigerator: Store in an airtight container for 4 days. The crumb stays moist, though the sugar topping softens a little.
- Freezer: Freeze the cut squares well wrapped for up to 2 months. Thaw at room temperature while still wrapped so the cake doesn’t dry out.
- Reheating: Warm individual squares in the microwave for 10 to 15 seconds or in a low oven for a few minutes. Heat gently, because too much time in the oven dries the apples and makes the crumb firm.
Answers to the Questions Worth Asking
Mary Berry Dorset Apple Traybake
Ingredients
Equipment
Method
- Preheat the oven to 180C (350F), then grease and line a 30x23cm (12x9 inch) roasting tin or baking pan so the traybake releases cleanly.
- Beat the softened unsalted butter and granulated sugar together until light and fluffy, scraping the bowl as needed.
- Add the eggs one at a time, beating well after each addition, then stir in the vanilla extract and milk until smooth.
- Fold in the self-raising flour, baking powder if using, and cinnamon until just combined, stopping as soon as you no longer see dry flour.
- Fold in the cooking apples; keep mixing until the batter is thick and the apples are evenly distributed.
- Spread the thick batter into the prepared tin and smooth the top.
- Mix the demerara (or raw) sugar with cinnamon, then sprinkle it over the surface for a crunchy finish.
- Bake for 40-45 minutes at 180C (350F) until golden and springy to the touch, with a skewer coming out clean.
- Cool the traybake before cutting into squares so the crumb sets and the apple pieces stay intact.
- Dust lightly with icing sugar right before serving for a neat, bakery-style finish.