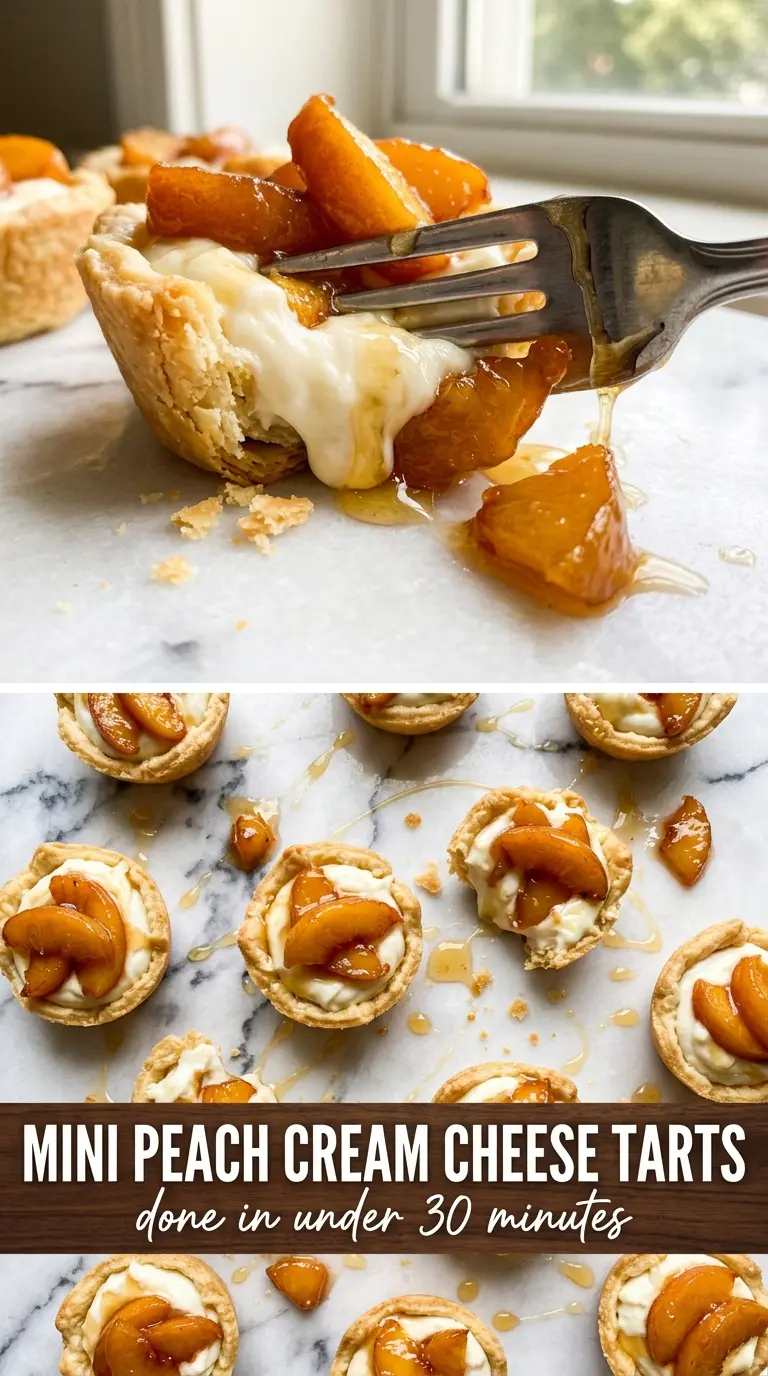
Tiny tart shells, cool cream cheese filling, and juicy peach slices make these mini peach cream cheese tarts disappear fast. The contrast is what gets people: crisp pastry, a soft sweet center, and fruit that still tastes bright instead of weighed down by too much sugar. A little honey or peach glaze on top gives each tart that glossy finish you notice before the first bite.
The trick is keeping the shells crisp and the filling smooth. I bake the phyllo shells just long enough to wake them up, then cool them completely before filling so the cream cheese stays firm. Softened cream cheese matters here, too; if it’s even a little cold, the filling turns lumpy and won’t pipe cleanly. The lemon zest keeps the sweetness in check and makes the peaches taste more like peaches.
Below you’ll find the small details that make these work for a party tray: how to handle ripe peaches without turning them mushy, why the glaze needs a quick whisk with warm water, and which substitutions still keep the tarts neat and crisp.
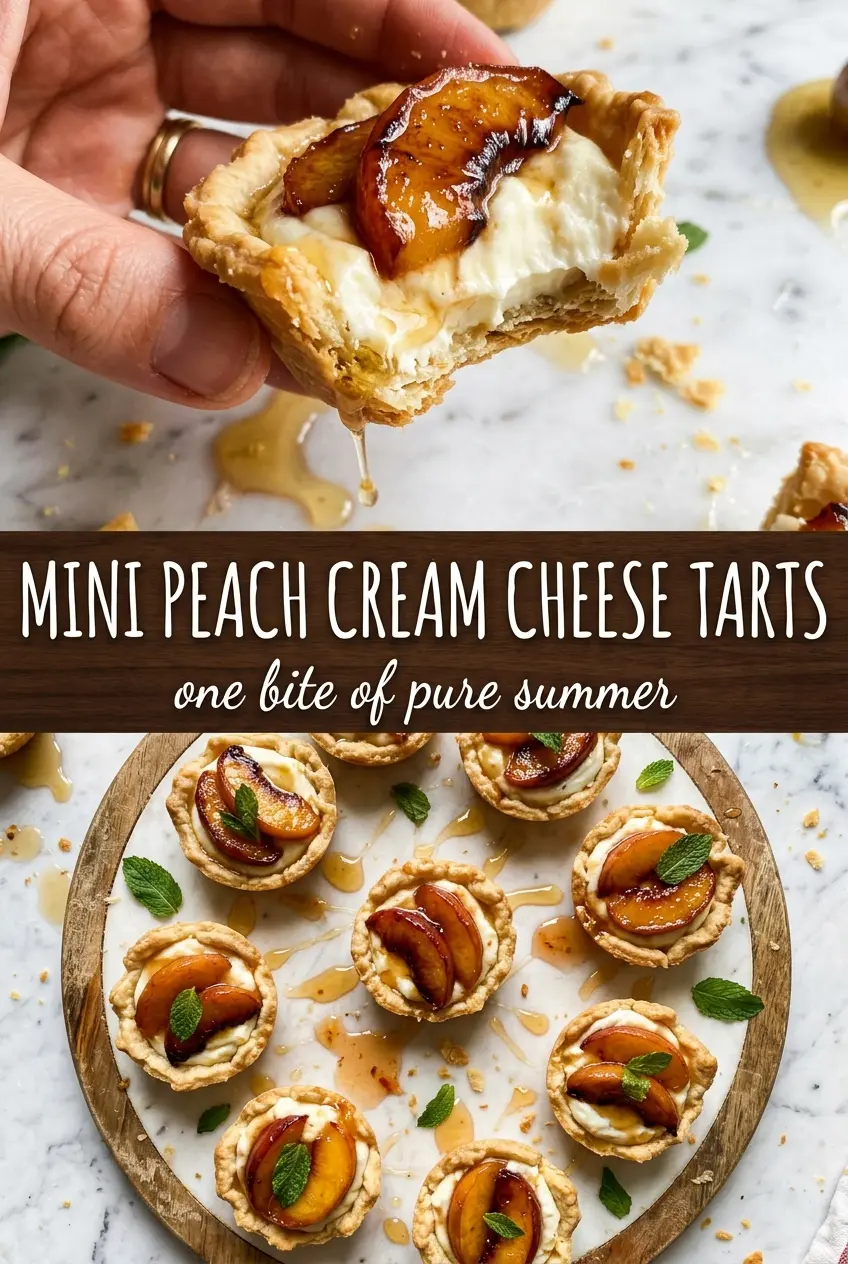
The shells stayed crisp even after chilling, and the cream cheese filling piped in perfectly smooth. I used ripe peaches and the little honey glaze made them look bakery-level.
Save these mini peach cream cheese tarts for the dessert tray that needs something crisp, creamy, and glossy with almost no fuss.
The Small Mistake That Makes Phyllo Tart Shells Go Soft
Mini phyllo shells fail for one simple reason: they sit around after baking and absorb moisture from the filling too soon. That’s why the shells get baked first, cooled fully, and only then filled. If you pipe cream cheese into warm shells, the crust loses its snap before the tarts even hit the table.
The second thing to watch is the fruit. Peaches that are too soft will slump and leak juice into the cream cheese, which turns the top layer slippery instead of neat. Thin slices give you better control, and pressing them gently into the filling helps anchor them without crushing the fruit.
- Crisp shells first: The extra 5 minutes in the oven keeps the phyllo tasting fresh instead of stale.
- Cool completely: Warm shells invite condensation, which is what softens them fast.
- Thin peach slices: They stay elegant on top and don’t overwhelm the tart.
What Each Ingredient Is Doing in These Mini Peach Cream Cheese Tarts
- Mini phyllo tart shells: These give you the crisp base without any rolling, chilling, or blind baking. They’re the reason this dessert feels polished but still quick.
- Cream cheese: Full-fat cream cheese gives the filling its body and tang. Light cream cheese works in a pinch, but the texture is looser and less plush.
- Powdered sugar: It sweetens without graininess, which matters in a no-bake filling. Granulated sugar leaves the mixture a little sandy.
- Vanilla and lemon zest: Vanilla rounds out the filling, and lemon zest keeps it from tasting flat. The zest matters more than lemon juice here because you want brightness without thinning the filling.
- Peaches: Use ripe peaches that still hold their shape when sliced. Overripe fruit will collapse and bleed too much juice.
- Peach jam or honey: This makes the topping glossy and gives the fruit a finished look. Jam gives more peach flavor; honey is a little cleaner and lighter.
Building the Filling and Topping Them Without Losing the Crunch
Waking Up the Tart Shells
Bake the mini phyllo shells just until they smell toasted and the edges look lightly golden. You’re not trying to brown them deeply, just crisp them enough that they can stand up to the filling. Cool them on the pan or a rack until they’re no longer warm to the touch. If they’re even slightly warm when you fill them, the steam trapped inside will soften the bottoms.
Whipping the Cream Cheese Base
Beat the softened cream cheese with the powdered sugar, vanilla, and lemon zest until it looks smooth and fluffy, with no visible lumps. A hand mixer makes this fast, but a sturdy spatula works if the cream cheese is soft enough. If the mixture looks grainy, the cream cheese was still cold, and you need to keep mixing until it loosens. Stop once it’s silky; overmixing isn’t a big risk here, but you don’t want it so loose that it won’t hold a swirl.
Filling and Topping the Tarts
Pipe or spoon the filling into each shell, then top with one or two thin peach slices. Press the fruit down just enough to settle it into the cream cheese. Whisk the peach jam with warm water until it turns brushable, then drizzle or brush it over the peaches. That little bit of warmth is what makes the glaze shine instead of clumping on the fruit.
Chilling for a Clean Finish
Chill the assembled tarts for about 30 minutes so the filling firms up and the glaze sets. This is the point where they go from “cute” to party-ready. Don’t skip the chill if you want the peaches to stay in place when you serve them. Add the thyme right before serving so the garnish stays fresh and bright.
Make Them With Nectarines Instead
Nectarines swap in cleanly for peaches and give you a slightly firmer bite and a smoother look because there’s no fuzzy skin to peel. Slice them just as thinly as the peaches so they sit neatly on the cream cheese.
Dairy-Free Version That Still Holds Its Shape
Use a plant-based cream cheese that’s meant for spreading and piping, not a soft whipped tub style. The texture will be a little lighter and the tang slightly different, but the tarts still hold together well if you chill them before serving.
Gluten-Free Assembly Shortcut
Use certified gluten-free tart shells or small gluten-free cookie cups if you can’t find the phyllo version. The filling and topping stay the same, but the texture shifts from shattery and crisp to more crumbly and cookie-like.
Storage and Reheating
- Refrigerator: Store assembled tarts in a single layer for up to 2 days. The shells soften after the first day, but they’ll still taste good.
- Freezer: Don’t freeze the finished tarts; the peaches turn watery and the cream cheese texture gets grainy.
- Reheating: These aren’t meant to be reheated. If you want to work ahead, bake the shells and mix the filling in advance, then assemble just before chilling and serving.
Questions I Get Asked About This Recipe
Mini Peach Cream Cheese Tarts
Ingredients
Equipment
Method
- Preheat the oven to 350°F, then bake the mini phyllo tart shells for 5 minutes until lightly crisped. Transfer to a rack and cool completely.
- Beat the cream cheese with powdered sugar, vanilla extract, and lemon zest until very smooth and fluffy, pausing to scrape the bowl as needed. Stop when the filling holds a thick, spreadable consistency.
- Fit a piping bag (or zip-lock bag with a corner snipped) for easy filling. Keep the tip ready for portioning.
- Pipe a generous swirl of cream cheese filling into each cooled tart shell. Fill level with the shell edges for a neat dome.
- Top each tart with one or two thin peach slices, pressing gently into the cream cheese. Arrange slices so they look like a single glossy cap.
- Whisk peach jam with warm water until pourable, then brush or drizzle over each tart for a glossy sheen. Use just enough to lightly coat the fruit.
- Refrigerate the tarts for 30 minutes to set the topping. Chill until the glaze looks set and the filling feels firm.
- Garnish with fresh thyme sprigs just before serving. Add a light finishing touch so the herbs stay bright.