Mini pumpkin pies bake up with all the comfort of a classic pumpkin dessert, just in a format that’s easier to serve, easier to chill, and a lot more fun to eat. The filling sets into a smooth, custardy center, while the little pastry shells stay crisp around the edges instead of going soggy under a heavy slice of pie. Topped with whipped cream and a dusting of cinnamon, they look polished enough for a holiday platter but are simple enough to make on a regular afternoon.
The trick is keeping the filling light and balanced so it bakes gently without cracking or turning grainy. Pumpkin puree carries the flavor, but the eggs and evaporated milk give it the structure and creamy texture you want, while brown sugar adds a deeper sweetness than plain white sugar would. Cutting the crust into circles and pressing them into a mini muffin tin gives you those neat, sturdy shells that hold their shape and bake through in the same amount of time as the filling.
Below, I’ll walk through the part that matters most: how to keep the crust from shrinking and how to know the filling is set at the right moment. I’ve also included a few simple swaps for dairy-free baking and make-ahead storage so you can plan these without stress.
The filling set up perfectly after chilling, and the little crust cups stayed crisp even the next day. I added a tiny extra pinch of cinnamon on top and my family ate half the tray before dinner was over.
Save these mini pumpkin pies for a dessert that bakes into crisp little crust cups and a smooth, spiced pumpkin filling.
The Part That Keeps Mini Pumpkin Pies from Turning Watery
Mini pumpkin pies look simple, but the small size changes the bake in a useful way: the filling sets faster than a full pie, which means you don’t need a long oven time that can dry out the crust. The most common mistake is pulling them when the centers still slosh. They should wobble slightly in the middle, like set custard, not move like liquid.
Chilling matters just as much as baking. These pies firm up in the fridge, and that rest is what gives you clean little bites instead of filling that collapses when you lift them from the pan. If you try to serve them warm, they’ll taste fine, but the texture won’t have the same tidy, creamy finish.
- Pumpkin puree — Use plain pumpkin puree, not pumpkin pie filling. The filling already contains sugar and spice, which throws off the balance here and makes the custard too sweet and soft.
- Evaporated milk or heavy cream — Evaporated milk gives the filling a classic pie texture with a little more structure, while heavy cream makes it richer. Both work; the cream version bakes up slightly denser.
- Brown sugar — Brown sugar brings warmth and depth that white sugar doesn’t. Light brown sugar is enough, but dark brown sugar will give a deeper molasses note.
- Mini muffin tin — A greased mini muffin tin is what gives you the shape and the crust support. A standard muffin tin won’t work the same way here because the crust circles won’t reach up the sides as neatly.
What Each Ingredient Is Actually Doing in These Little Pies
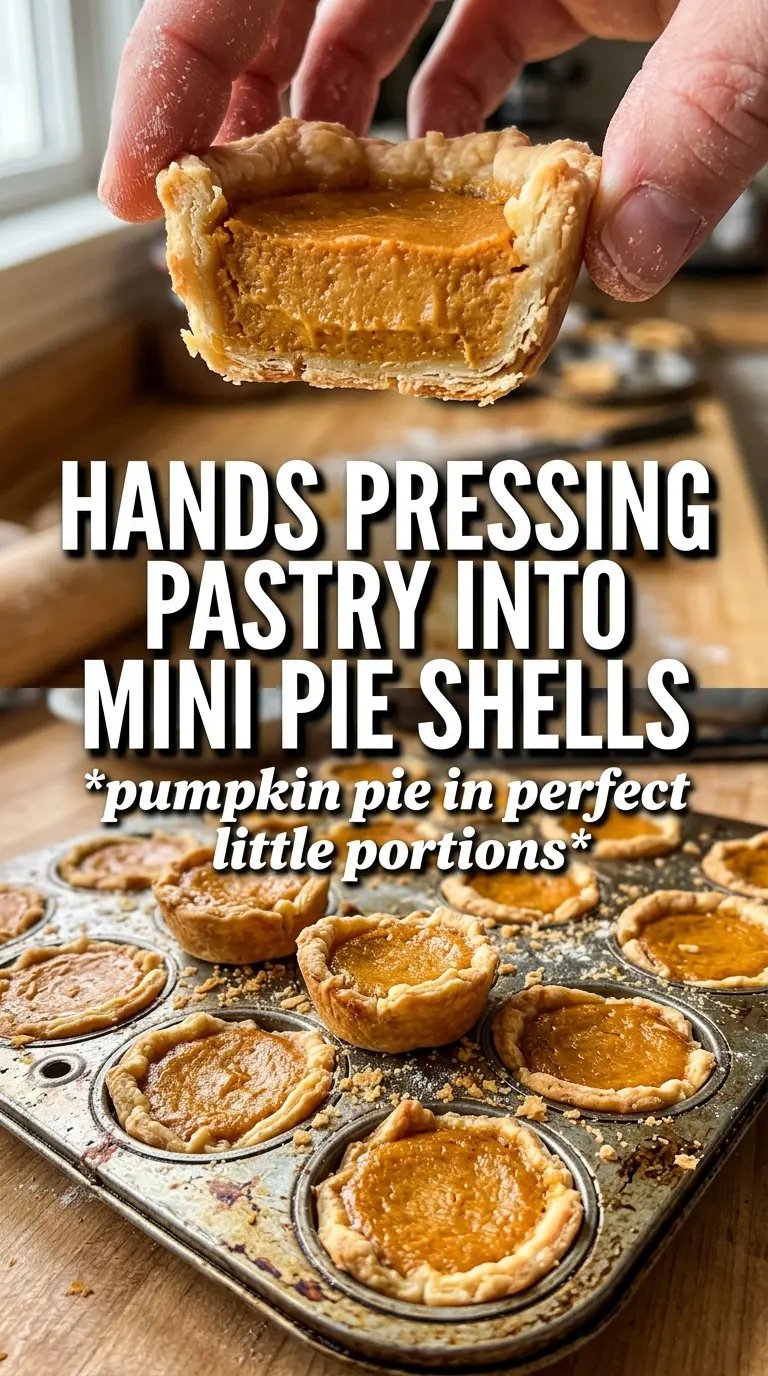
- Refrigerated pie crusts — This is the fastest route to crisp, flaky shells that hold their shape. If you want to use homemade dough, roll it a touch thinner than you would for a full pie so the little cups don’t get heavy.
- Pumpkin puree — This is the base of the custard and the ingredient that gives the pies their dense, earthy pumpkin flavor. The texture should be smooth before it goes into the bowl; if it’s watery, blot it lightly with paper towels.
- Eggs — Eggs set the filling. Without them, you’d have a loose pumpkin cream instead of a pie custard that slices cleanly after chilling.
- Pumpkin pie spice and cinnamon — Pumpkin pie spice brings the warm background notes, while the extra cinnamon gives a sharper finish. If you only have pumpkin pie spice, use a little more of it and skip the extra cinnamon.
- Vanilla — Vanilla rounds out the pumpkin and brown sugar so the filling tastes full, not flat. It doesn’t make the pies taste like vanilla; it just smooths the edges.
Filling the Cups Before the Crusts Get Soft
Pressing and Prebaking the Shells
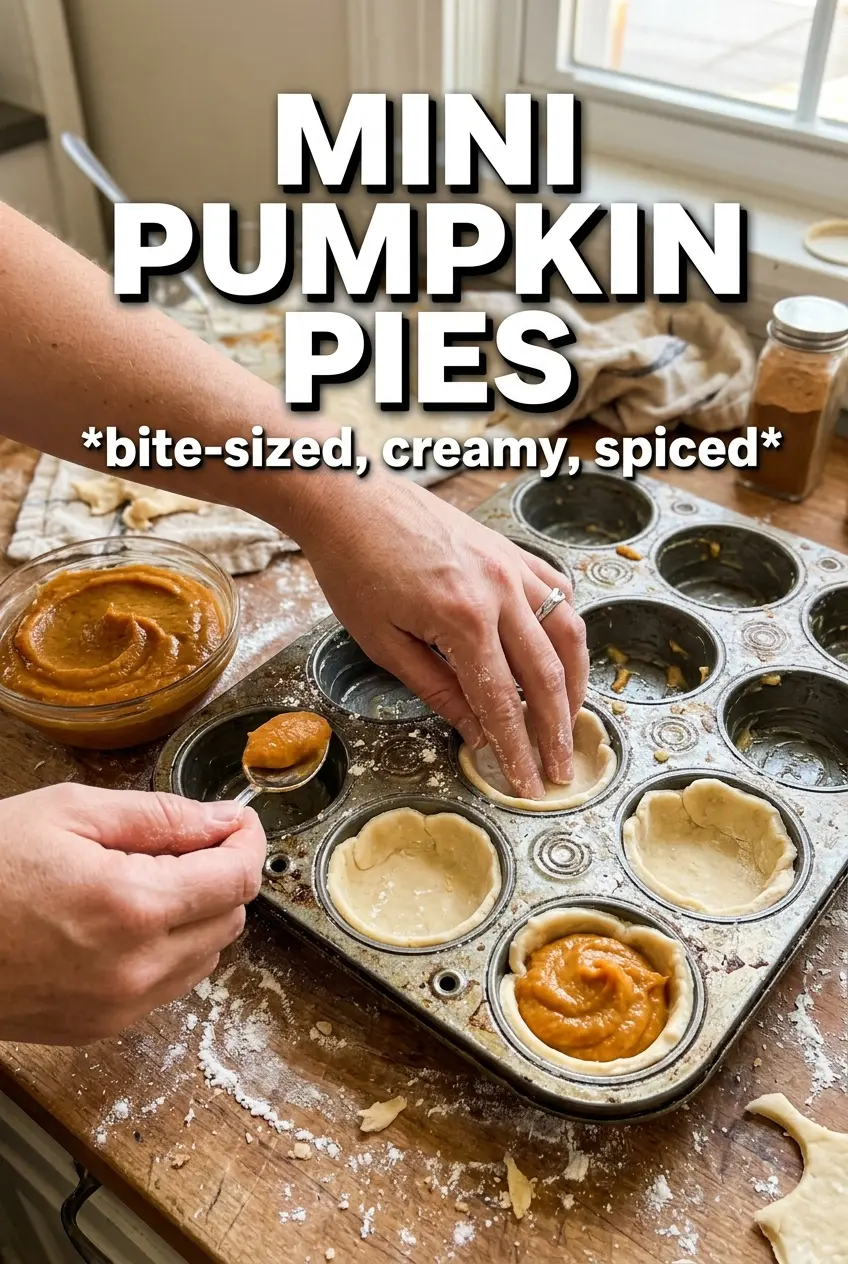
Cut the pie crust into neat circles and press each one into the greased mini muffin tin before you mix the filling. Work quickly so the dough stays cool; warm dough shrinks and loses definition in the oven. If the circles seem too small, gently stretch them with your fingers as you press them in. The crust should sit flush against the sides without tearing, and the edges can come just a little above the rim.
Whisking the Custard Smooth
Whisk the pumpkin, eggs, milk, sugar, spices, salt, and vanilla until the mixture looks completely even and glossy. Stop once the eggs disappear into the pumpkin; overmixing won’t help and just adds extra air. If you see streaks of egg white, keep whisking before you pour. A smooth filling bakes more evenly and gives you that clean, creamy center instead of pockets of firmer egg.
Baking to the Right Set
Fill each crust about three-quarters full. That leaves enough room for the custard to rise slightly without spilling over. Bake until the crust is golden and the centers are just set with a faint wobble in the middle. If the tops puff a little, that’s normal; they’ll settle as they cool. The mistake to avoid is waiting for them to look fully firm in the oven, because they’ll go from just-set to overbaked faster than a full-size pie.
Cooling and Chilling for Clean Bites
Let the pies cool completely in the pan before you move them. Then refrigerate them for at least an hour so the filling tightens up. This is the step that turns a soft custard into a neat handheld dessert. Add the whipped cream only after they’re cold, or it will melt and slide off the tops.
How to Adapt Mini Pumpkin Pies for Different Kitchens and Different Planners
Dairy-Free Version
Use full-fat canned coconut milk or a plain unsweetened dairy-free creamer in place of the evaporated milk. The filling will still set, but it will taste a little softer and less classic than the version made with evaporated milk. Keep the crust dairy-free too if that matters for your guests.
Gluten-Free Crust Swap
Use a sturdy gluten-free pie dough that rolls well and holds together when pressed into the muffin cups. The filling doesn’t need any changes. Expect the edges to brown a little faster, so check them near the end of baking.
Make Them Ahead for a Crowd
Bake the pies a day ahead, chill them overnight, and add whipped cream right before serving. The texture actually improves after a full chill, and the filling slices cleaner when it has time to set completely. This is the easiest way to keep dessert calm when the rest of the meal is busy.
Storage and Reheating
- Refrigerator: Store in an airtight container for up to 4 days. The crust will soften a little on day two, but the filling stays creamy.
- Freezer: Freeze the baked pies without whipped cream for up to 2 months. Wrap them well and thaw in the refrigerator overnight.
- Reheating: These are best served chilled or at cool room temperature. If you want them slightly warm, heat them very briefly, just enough to take the chill off. Too much heat will loosen the custard and soften the crust.
Questions I Get Asked About This Recipe
Mini Pumpkin Pies
Ingredients
Equipment
Method
- Preheat the oven to 375°F. Grease a mini muffin tin and press 3.5-inch pie crust circles into the cups (24 total).
- Whisk pumpkin puree, eggs, evaporated milk or heavy cream, brown sugar, pumpkin pie spice, cinnamon, salt, and vanilla until smooth. Stop whisking only when no streaks remain.
- Fill each crust 3/4 full with the pumpkin custard. Aim for even levels across all cups.
- Bake for 18-22 minutes at 375°F until the filling is just set and the crust is golden. Look for a slight jiggle in the center and no wet spots around the edges.
- Cool the mini pies completely at room temperature. Let them reach full cooling before chilling for cleaner texture.
- Refrigerate for 1 hour to chill and firm up the custard. Cover after fully cooled to prevent fridge odors.
- Top each mini pie with whipped cream and dust with cinnamon just before serving. Use a light hand so the topping doesn’t sink into the custard.