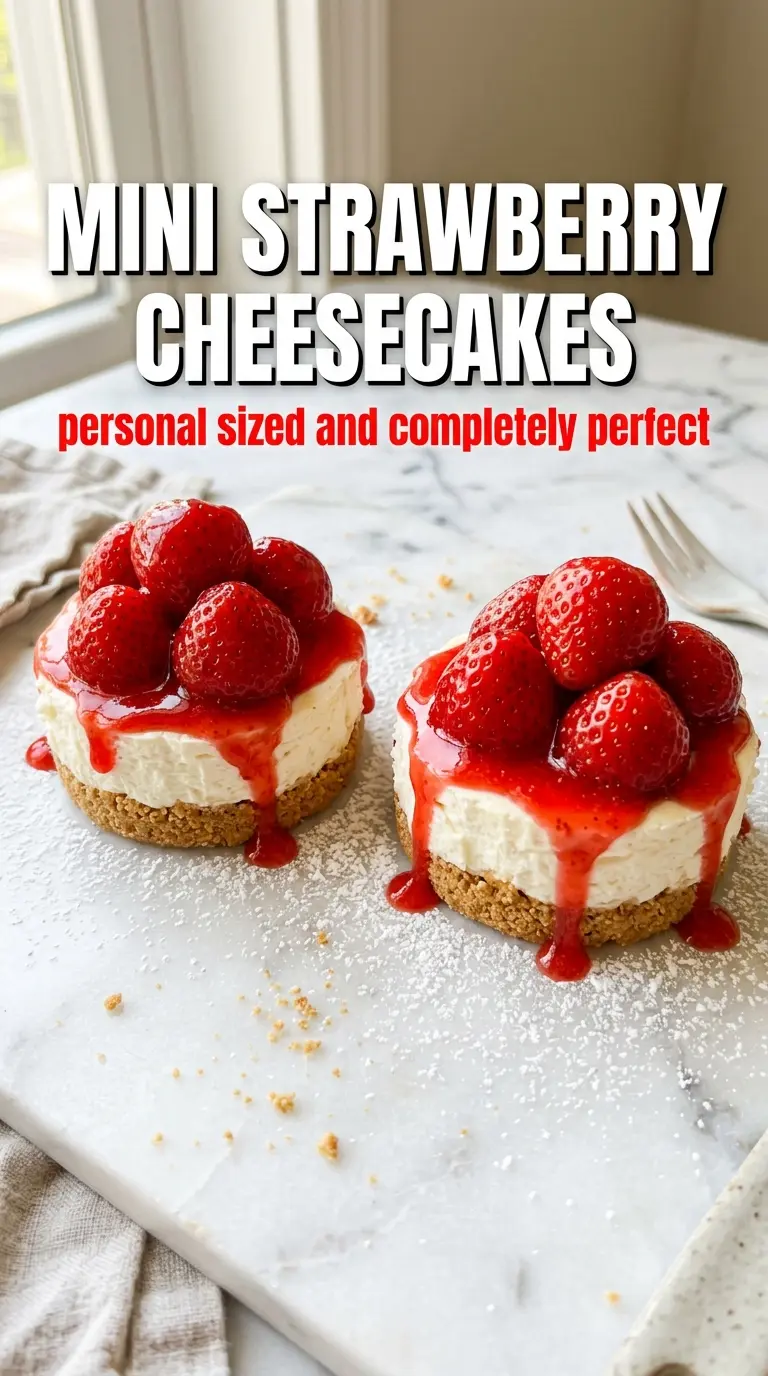
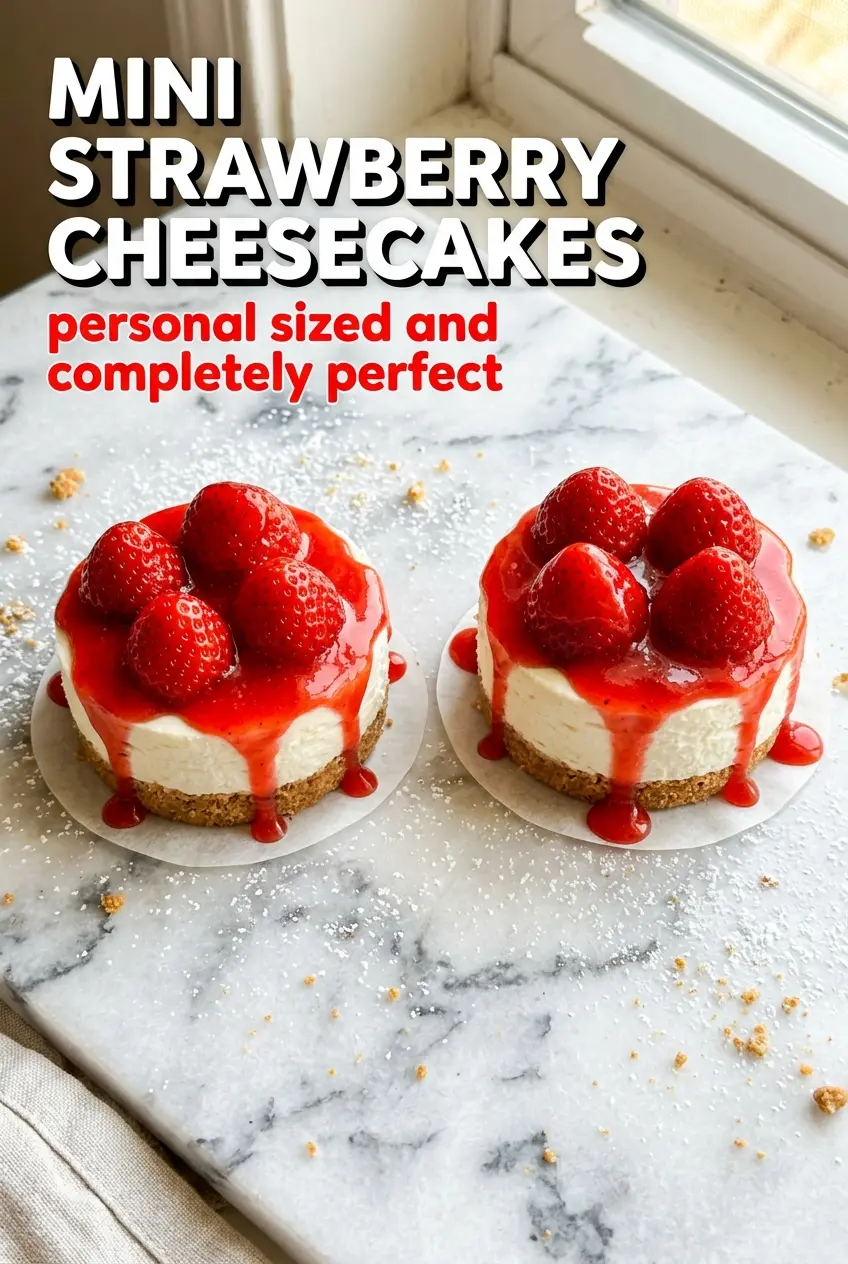
Mini strawberry cheesecakes land somewhere between a proper cheesecake and the kind of hand-held dessert people hover over at a party. The crust stays crisp enough to give each bite some structure, the filling bakes up creamy instead of dense, and the glossy strawberry topping makes them look finished without any fussy piping or garnish work.
The key is keeping the batter smooth and the bake gentle. Cream cheese that’s truly softened mixes without lumps, and a short bake at 325°F gives the centers just enough time to set without drying out or cracking. The sour cream adds a little tang and keeps the texture from feeling heavy, which matters when you want something that tastes rich but still disappears fast after dinner.
Below, I’ll show you the small details that keep the crust from turning sandy, how to tell when the centers are set, and the easy jam glaze trick that gives the strawberries that bakery-style shine.
The filling baked up smooth and creamy, and the strawberry jam on top gave them that shiny finish like a bakery case dessert. I made them the night before, and they held their shape perfectly after chilling.
Save these mini strawberry cheesecakes for the dessert tray that needs a crisp crust, creamy center, and glossy strawberry finish.
The Small Bake That Keeps Mini Cheesecakes Smooth Instead of Puffy
Mini cheesecakes can turn airy and cracked fast if the batter gets too much air or the oven runs too hot. Beat the cream cheese until smooth, then stop as soon as the egg disappears into the batter. Overmixing traps air, and air is what causes a puffy top that sinks as it cools.
The other trap is baking them until they look fully firm in the oven. These are done when the edges are set and the center still has a slight wobble. That last bit of movement is what gives you a creamy middle after chilling instead of a dry, chalky texture.
What the Crust, Cream Cheese, and Strawberry Topping Are Each Doing
- Graham cracker crumbs — These give the crust its classic cheesecake flavor and a tight, sandy texture that presses cleanly into muffin liners. Pulse them fine if you’re crushing them yourself; larger crumbs make the crust crumble when you lift the wrappers.
- Melted butter — Butter binds the crumbs into a crust that holds together after baking. If you cut the butter too far, the base turns loose and won’t stay compact once the cheesecakes chill.
- Cream cheese — This is the main body of the filling, and it needs to be softened all the way or you’ll end up with little lumps that never beat out. Full-fat cream cheese gives the best set and the cleanest cheesecake texture.
- Sour cream — This loosens the filling just enough to keep it silky and adds the gentle tang that makes cheesecake taste like cheesecake. Plain Greek yogurt works in a pinch, but the texture is a little firmer and the flavor is sharper.
- Strawberry jam — A quick warm jam glaze gives the strawberries that glossy finish and helps them cling to the tops. If your jam is thick, the water matters; it turns into a brushable glaze instead of a sticky blob.
Getting the Filling Set Without Losing the Creamy Center
Pressing and Prebaking the Crust
Line the muffin tin with cupcake liners, then press about a tablespoon of the crumb mixture into each one. Pack it down firmly with the bottom of a small glass or spoon so the crust bakes into a neat base instead of a loose layer of crumbs. The 5-minute bake is enough to set the butter and keep the crust from tasting raw.
Mixing the Filling Without Adding Too Much Air
Beat the cream cheese and sugar until the mixture looks smooth and glossy, with no visible lumps along the sides of the bowl. Add the egg and vanilla, then stop mixing once they’re combined. Fold in the sour cream gently so the batter stays dense and creamy instead of whipped and fragile.
Baking for a Slight Jiggle
Spoon the filling into the liners until they’re about three-quarters full, then bake just until the centers still quiver when you nudge the pan. If the tops puff noticeably or start to color much, the oven is too hot or they’ve gone too long. Pull them when they still look slightly underdone; chilling finishes the set.
Finishing With the Strawberry Glaze
Cool the cheesecakes completely before topping them. Warm the jam with water until it loosens, then brush a thin layer over each cheesecake and add the strawberry right away so it catches the shine while the glaze is still tacky. If you glaze them while they’re warm, the topping can slide and the fruit won’t sit cleanly.
How to Change These Without Losing What Makes Them Work
Gluten-Free Crust Swap
Use gluten-free graham crackers or gluten-free vanilla cookies in place of the standard crumbs. The method stays the same, but softer cookies may need a minute or two less in the oven so the crust doesn’t overbake and turn bitter.
Dairy-Free Version
Use dairy-free cream cheese and plant-based butter, and swap the sour cream for a thick unsweetened dairy-free yogurt. The texture will be a little softer and the tang slightly different, but chilling overnight helps the filling firm up better.
Mixed Berry Topping
Swap the strawberries for raspberries, blueberries, or a mix of berries if that’s what you have on hand. Softer berries can stain the glaze a little more, while blueberries hold their shape and give each cheesecake a cleaner top.
Make-Ahead Timing
Bake the cheesecakes a day ahead and add the jam glaze and strawberries right before serving. That keeps the fruit fresh and prevents the topping from weeping onto the surface while the cheesecakes sit in the fridge.
Storage and Reheating
- Refrigerator: Store covered for up to 4 days. The crust softens slightly as it sits, but the filling stays creamy.
- Freezer: Freeze the cheesecakes without the strawberry topping for up to 1 month. Wrap each one well, then thaw overnight in the refrigerator before glazing.
- Reheating: These are meant to be served chilled, not warmed. Let them sit at room temperature for 10 to 15 minutes if you want the filling a little softer, but don’t microwave them or the texture turns soupy.
Answers to the Questions Worth Asking
Mini Strawberry Cheesecakes
Ingredients
Equipment
Method
- Line a muffin tin with cupcake liners. Mix graham cracker crumbs with melted butter and 2 tablespoons sugar until evenly moistened, then press about 1 tablespoon into each liner.
- Bake the crusts at 325°F for 5 minutes, until lightly set. Keep the oven at 325°F for the next bake.
- Beat cream cheese with 1/4 cup sugar until smooth and no lumps remain. Add the egg and vanilla, beating until combined.
- Fold in sour cream gently just until smooth. Avoid overmixing so the filling stays tender.
- Spoon filling into each liner, filling to about 3/4 full. Bake at 325°F for 10 minutes, until just set but still slightly jiggly in the center.
- Cool the mini cheesecakes completely at room temperature. Move them to the refrigerator to chill for at least 2 hours.
- Heat strawberry jam with water until it turns glossy and thin enough to brush, then stir well. Brush a light layer on top of each cheesecake.
- Top each cheesecake with a fresh strawberry. Serve chilled for the best creamy texture.