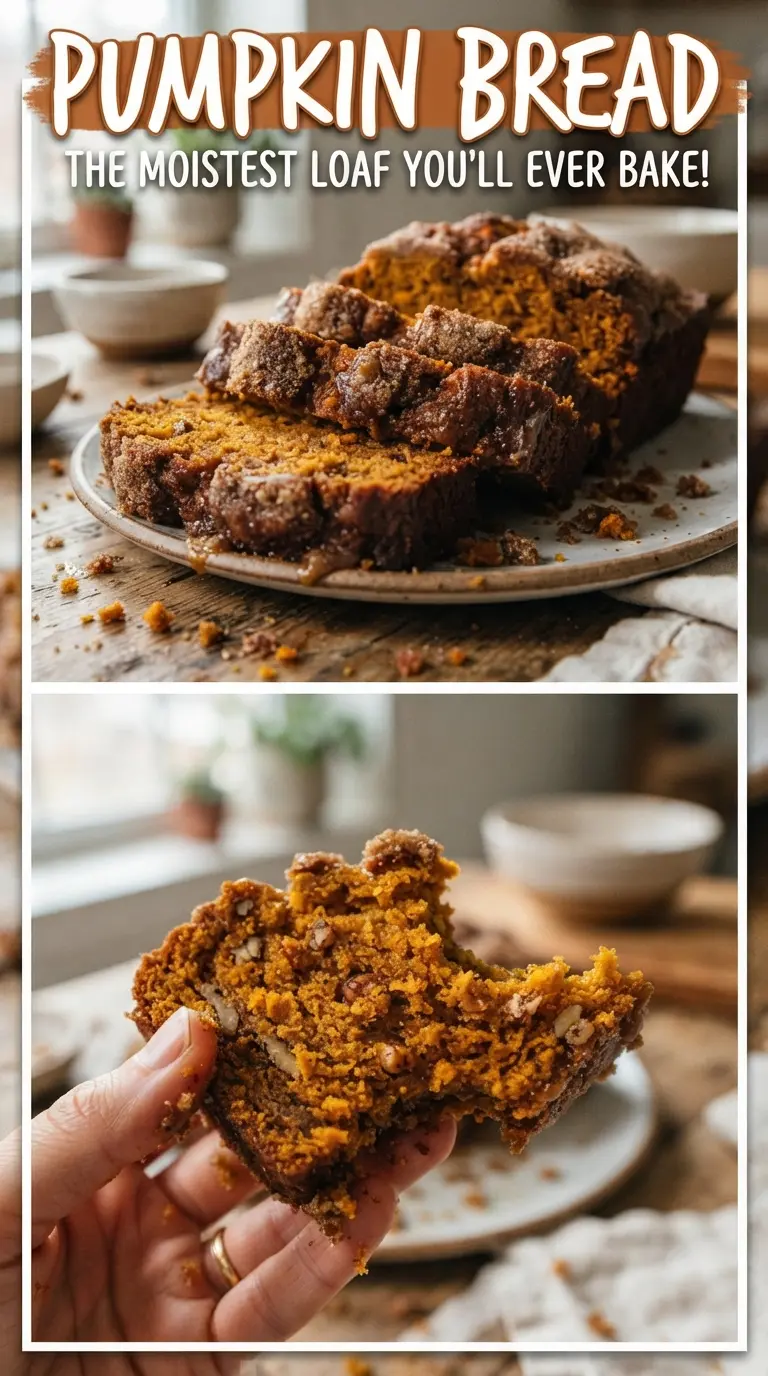
Pumpkin bread should come out plush and tender, with a crackly sugar top and a loaf that slices cleanly without crumbling into a mess. This version gets that balance right. It’s moist without feeling heavy, warmly spiced without bulldozing the pumpkin, and sturdy enough to hold up for breakfast, snacking, or a late-night slice with coffee.
The texture comes from a simple but careful batter: pumpkin puree, oil, eggs, and milk for richness, with just enough flour to set the loaf without drying it out. Brown sugar adds depth, while the spoonful of granulated sugar on top bakes into that thin, crisp lid that makes each slice a little more interesting. The trick is stopping the mixing the moment the flour disappears. Overmixing is what turns quick breads dense and rubbery.
Below, I’ve included the little details that matter here — how to keep the loaf from sinking in the middle, why the top sugar layer works, and how to swap ingredients without losing that soft, pumpkin-forward crumb.
The loaf baked up with a gorgeous crackly top and the center stayed moist all the way to the last slice. I loved that it didn’t need a mixer and the spice level was spot on.
Save this pumpkin bread for the loaf with the crackly sugar top and ultra-moist crumb.
The Batter Mistake That Makes Pumpkin Bread Heavy
Quick breads live or die on mixing. Once the flour goes in, the batter should look a little rough and slightly uneven, not silky and beaten smooth. That’s because overworking develops the gluten in the flour, and gluten is what gives bread structure — too much of it in a quick loaf makes the crumb tight instead of tender.
The other common problem is baking too fast. Pumpkin bread needs enough time for the center to set without drying the edges. If the top is browning before the middle is done, the oven is running hot for your pan, and a loose sheet of foil over the top during the last stretch will save it.
- Don’t chase a perfectly smooth batter. A few small lumps disappear in the oven. Streaks of dry flour do not, so fold just until those are gone.
- Use pumpkin puree, not pumpkin pie filling. Pie filling is already sweetened and spiced, which throws off both flavor and texture.
- The sugar on top matters. That tablespoon bakes into a crisp, lightly crunchy lid that makes the loaf feel bakery-style.
- Test the center, not just the edges. A toothpick should come out clean or with a few moist crumbs, never wet batter.
What Each Ingredient Is Actually Doing in This Loaf
- Pumpkin puree — This is the backbone of the loaf. It brings moisture, color, and that dense, soft pumpkin crumb. Canned puree is the right choice here because it’s consistent; homemade puree can be watery and make the loaf gummy.
- Vegetable oil — Oil keeps pumpkin bread soft for days, even after chilling. Butter can work, but it firms up when cold and gives a less plush slice. If you swap it, expect a slightly tighter texture.
- Brown sugar and granulated sugar — Brown sugar adds molasses depth and helps the loaf stay moist. Granulated sugar sweetens cleanly and helps with structure. The extra spoonful on top gives you that crackly finish.
- Pumpkin pie spice and cinnamon — These bring warmth without making the loaf taste like spice cake. Fresh spice matters here; if your cinnamon has been sitting around for years, the flavor will fall flat.
- Milk — A small amount loosens the batter just enough for a soft, even crumb. Whole milk gives the best richness, but any milk works in a pinch.
- All-purpose flour — Standard all-purpose flour is exactly what you want. It gives the loaf enough structure without making it tough, as long as you don’t overmix.
Building the Loaf So It Bakes Through Without Drying Out
Mix the wet ingredients until the sugar disappears
Start by whisking the pumpkin, oil, eggs, both sugars, milk, and vanilla until the mixture looks smooth and glossy. You’re not trying to whip in air here; you’re dissolving the sugar enough that it bakes evenly. If you still see grainy sugar at the bottom of the bowl, keep whisking for another minute. That small step helps the loaf bake with a uniform crumb instead of a slightly gritty center.
Fold the dry ingredients in gently
Add the flour, baking soda, salt, pumpkin pie spice, and cinnamon, then fold just until the last dry streaks disappear. The batter will be thick and a little sticky. That’s what you want. If you keep stirring after the flour is incorporated, the loaf turns tight and bouncy instead of soft and sliceable.
Watch the top, not just the timer
Scrape the batter into a greased and lined 9×5-inch loaf pan, then sprinkle the top with the extra tablespoon of sugar. Bake until the center is set and a toothpick comes out clean, which usually lands in the 55 to 65 minute range. If the top gets dark early, tent it loosely with foil for the last 15 minutes so the inside can finish without overbaking the crust.
Cool it long enough to set
Let the loaf sit in the pan for 15 minutes before moving it to a rack. That short rest helps it firm up so the slices don’t tear. Cut too early and the middle can seem underdone even when it’s baked; wait until it’s warm, not hot, for the cleanest slices.
How to Adapt This Pumpkin Bread Without Losing the Tender Crumb
Dairy-Free Version
Swap the milk for an unsweetened non-dairy milk like almond, oat, or soy. The loaf stays just as moist because the oil does most of the heavy lifting. Avoid thick creamy substitutes, which can make the batter heavier than it needs to be.
Lower-Sugar Loaf
You can reduce each sugar by about 2 tablespoons if you want a less sweet loaf, but don’t cut them aggressively. Sugar here isn’t just sweetness; it helps the crumb stay soft and the top bake with a gentle crust. Remove the sugar topping if you want, but expect a softer, less crackly finish.
Gluten-Free Swap
Use a good 1:1 gluten-free baking flour that includes xanthan gum. The loaf will still be tender, but it may need a few extra minutes in the oven because gluten-free batters often hold moisture longer. Don’t use almond flour alone; it won’t give this quick bread the structure it needs.
Pumpkin Chocolate Chip Version
Fold in up to 3/4 cup chocolate chips with the dry ingredients for a sweeter, dessert-style loaf. The chips add pockets of melt and make the bread feel richer, but they also weigh the batter down a bit, so keep the pan size the same and don’t overfill it. The flavor is great with semi-sweet chips or chopped dark chocolate.
Storage and Reheating
- Refrigerator: Store wrapped or in an airtight container for up to 5 days. The texture stays moist, though the loaf firms up a little when chilled.
- Freezer: Pumpkin bread freezes well. Wrap slices or the whole cooled loaf tightly, then freeze for up to 3 months. Thaw at room temperature while still wrapped so the crumb doesn’t dry out.
- Reheating: Warm individual slices in the microwave for 10 to 15 seconds or in a low oven for a few minutes. Don’t overheat it, or the bread turns dry fast and loses that soft middle.
Answers to the Questions Worth Asking
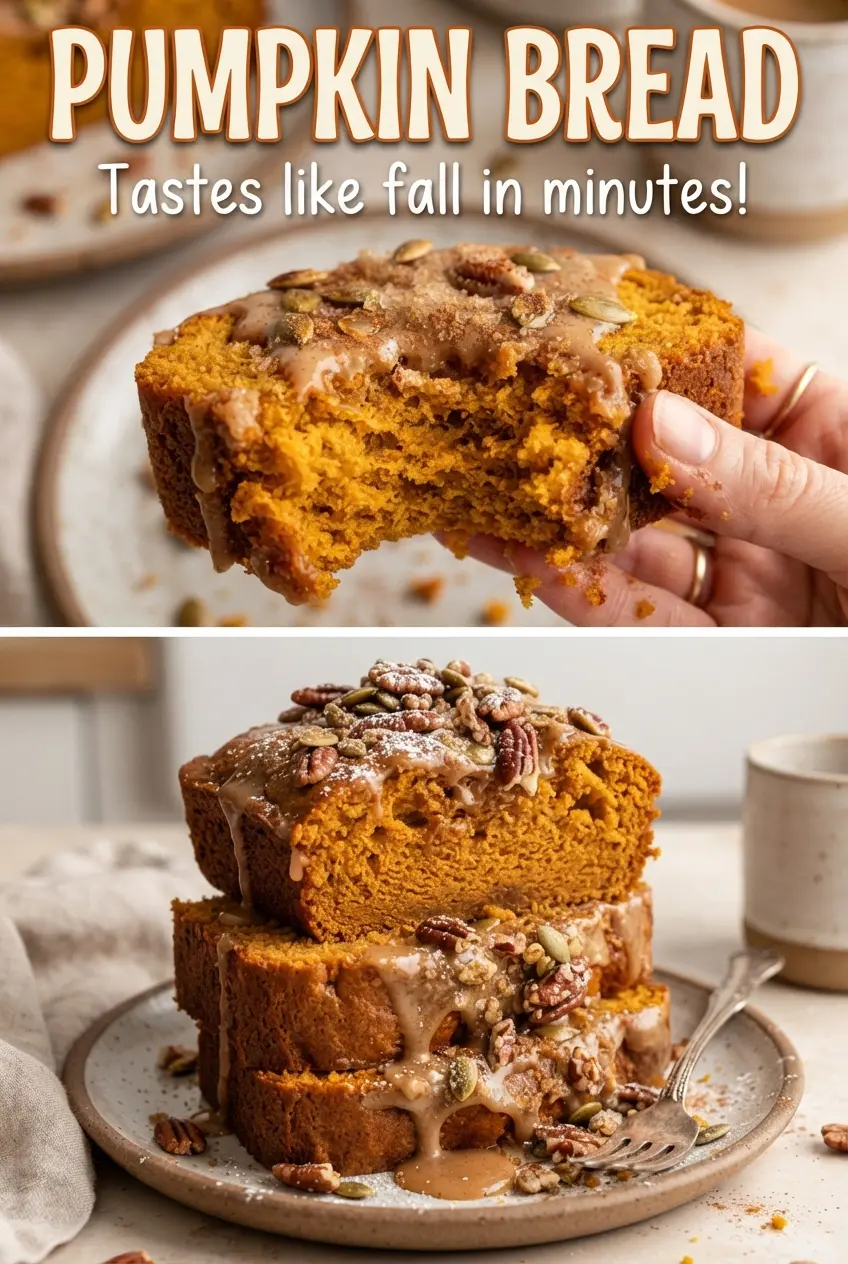
Pumpkin Bread
Ingredients
Equipment
Method
- Preheat the oven to 350F, then grease and line a 9x5-inch loaf pan.
- Set the pan aside so it’s ready for the batter.
- Whisk all-purpose flour, baking soda, salt, pumpkin pie spice, and ground cinnamon until evenly combined.
- Whisk pumpkin puree, vegetable oil, eggs, brown sugar, granulated sugar, milk, and vanilla extract until smooth.
- Fold the dry ingredients into the wet just until no flour streaks remain.
- Pour the batter into the prepared loaf pan and sprinkle the remaining 1 tablespoon granulated sugar over the top.
- Bake for 55-65 minutes, until a toothpick comes out clean.
- Cool the loaf in the pan for 15 minutes.
- Transfer to a rack and cool before slicing.