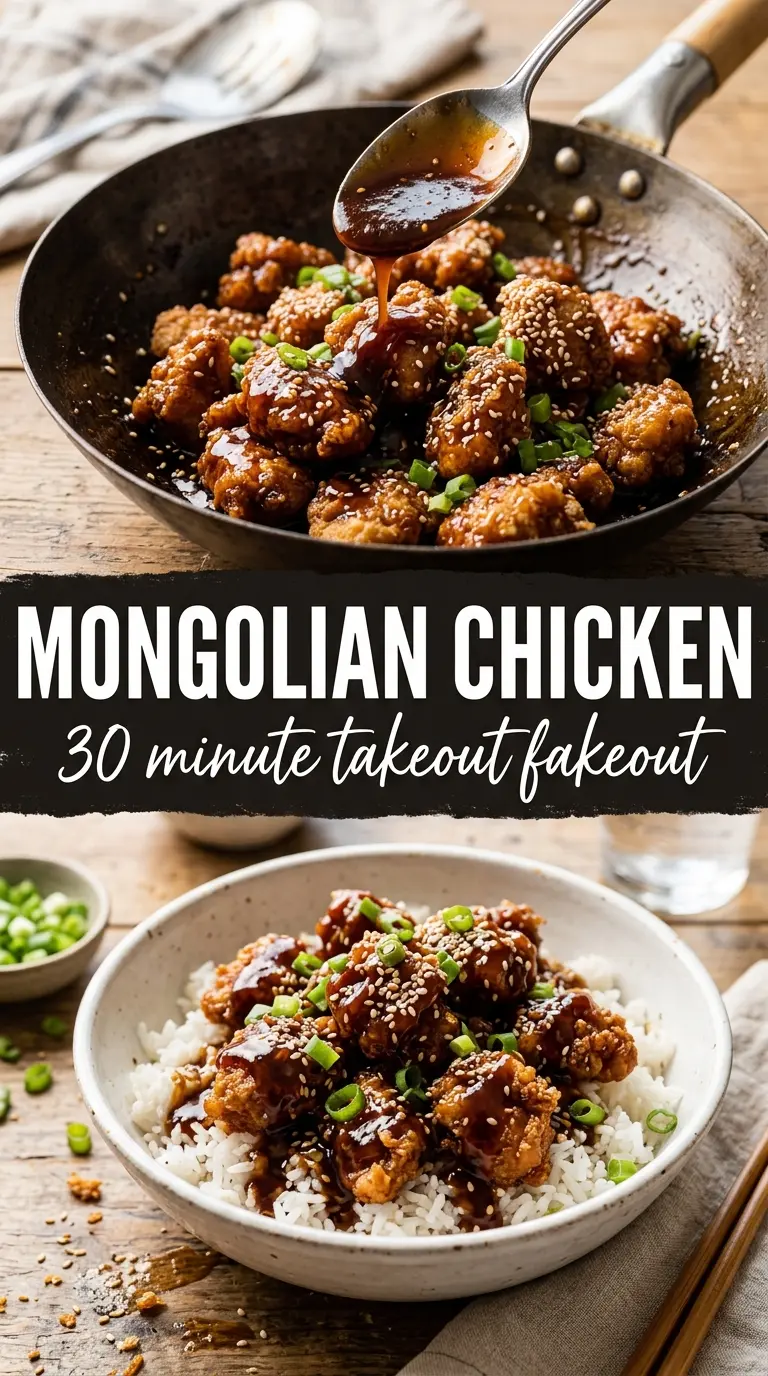
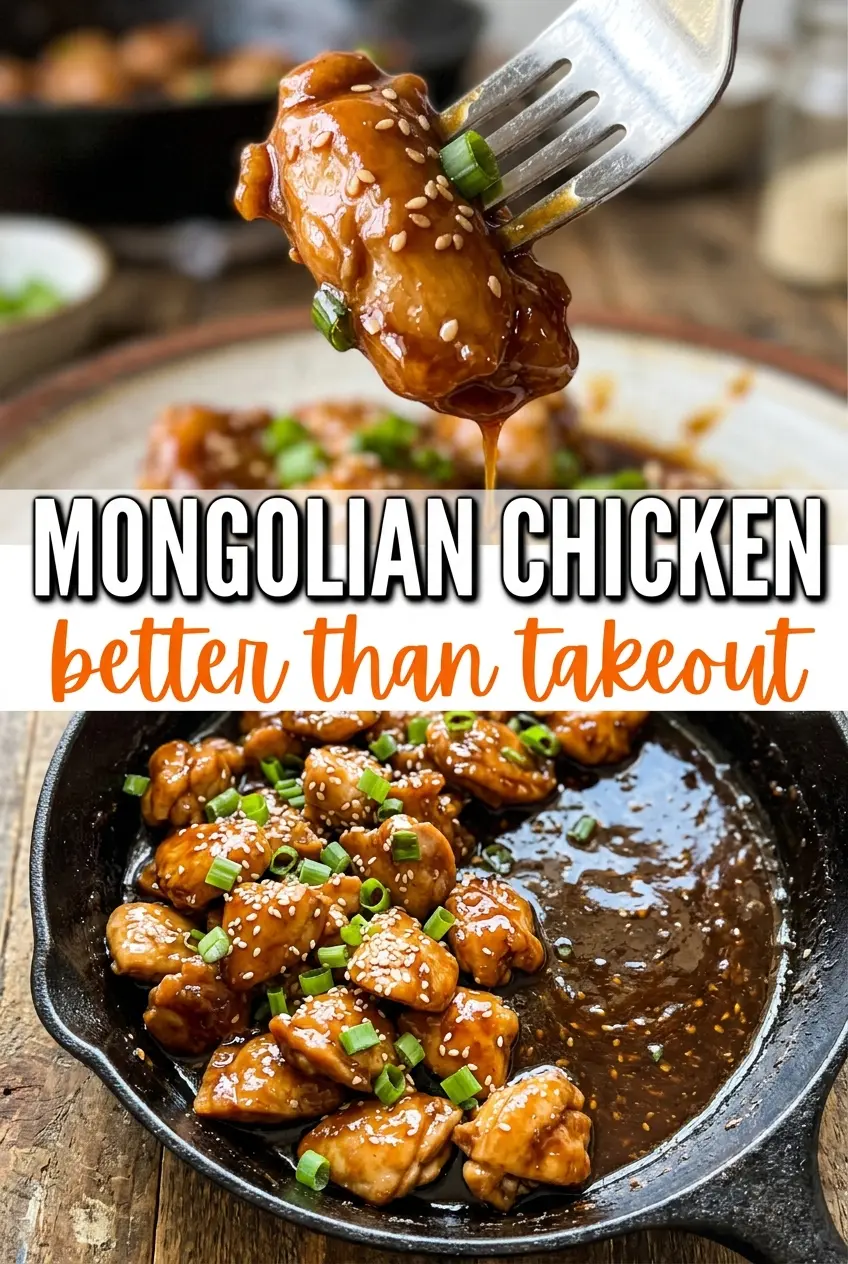
Crispy-edged chicken coated in cornstarch and glossed with a dark, sticky sauce is exactly why Mongolian chicken earns a repeat spot on busy nights. The best versions don’t taste muddy or overly sweet. They’ve got sharp garlic, a hit of ginger, and enough salt from the soy sauce to keep the glaze bold all the way through the last bite.
What makes this version work is the order of operations. The chicken gets a light cornstarch coating before it hits the pan, which helps it brown fast and gives the sauce something to cling to. Then the sauce is boiled just long enough to thicken before the chicken goes back in, so you get that takeout-style sheen instead of a thin, watery coating. The green onions stay in just long enough to soften at the edges and char slightly, which keeps the dish from tasting flat.
Below, you’ll find the small details that matter most: how hot the pan should be, when the sauce is ready, and the easiest way to keep the chicken crisp instead of soggy once everything comes together.
The chicken stayed crisp even after tossing it in the sauce, and the glaze thickened up to that perfect sticky takeout texture. My husband went back for seconds before I even sat down.
Love the sticky glaze and crispy edges? Save this Mongolian Chicken for the nights when takeout cravings hit hard.
The Cornstarch Coat Is What Keeps This Chicken Crisp Under Sauce
Most Mongolian chicken goes soft because the chicken is sauced before it has any real structure. The thin cornstarch coating changes that. It gives the chicken a dry surface that browns quickly in hot oil, and it also helps the sauce cling in a thin, even layer instead of sliding off into the pan.
The other place people lose texture is crowding the skillet. If the chicken steams, it never develops those crisp edges that make this dish worth making. Work in batches if your pan is small, and don’t pull the chicken too early. You want deep golden spots and cooked-through centers before it comes out.
- Cornstarch — This is doing more than coating the chicken. It protects the meat in the hot oil, helps it brown, and thickens the sauce when everything comes together. Flour won’t give the same clean, glossy finish.
- Soy sauce — Use a regular soy sauce here for the best balance of salt and depth. Low-sodium works if that’s what you keep on hand, but the sauce may need a touch more reduction.
- Hoisin sauce — This adds a little body and a darker, rounder sweetness that brown sugar alone can’t give. If you don’t have it, add a bit more brown sugar and accept that the sauce will taste simpler.
- Fresh ginger and garlic — Fresh matters. The sauce is short-cooked, so you taste every bit of their sharpness. Jarred garlic won’t give the same punch.
- Green onions — Cut them into long pieces so they char slightly but still hold some bite. They finish the dish with a fresh, savory edge that keeps the sauce from tasting one-note.
What Each Ingredient Is Actually Doing in This Recipe
- Primary ingredient (the star) — Quality matters most. Choose the best you can find.
- Cooking medium (oil, butter, or broth) — This carries flavors and prevents dryness.
- Seasonings (salt, pepper, spices, herbs) — Layer flavors so nothing overpowers. Build depth gradually.
- Aromatics (garlic, onion, herbs) — Cook with fat to bloom flavors. Become the foundation.
- Supporting ingredients — Complement the main ingredient without overpowering it.
- Sauce or liquid (if applicable) — Brings flavors together. Balance richness with acid.
- Acid (lemon, vinegar, wine, or other) — Brightens and prevents flat-tasting results.
- Final finish (garnish, glaze, or sauce) — Prevents one-dimensional taste and adds visual appeal.
Building the Glaze Without Turning It Thin or Grainy
Coating the Chicken Evenly
Toss the sliced chicken with cornstarch, salt, and pepper until every piece looks lightly dusty, not clumpy. That thin coating is enough. If it goes on too thick, it can gum up in the pan and turn pasty instead of crisp. Slice the chicken thin and evenly so it cooks at the same rate and browns before the cornstarch starts to burn.
Getting the Sear Before the Sauce
Heat the oil until it shimmers, then add the chicken in a single layer. You should hear a loud sizzle right away. If the pan is crowded or the heat is too low, the chicken will steam and stay pale. Let it sit long enough to pick up deep golden edges before turning it, then remove it once it’s cooked through.
Thickening the Sauce at the Right Moment
Cook the garlic and ginger for only about 30 seconds, just until fragrant. Once the sauce goes in, bring it to a real boil before adding the cornstarch slurry. If you add the slurry to a lukewarm sauce, it won’t thicken properly and can leave you with a thin, slightly slick coating. After the slurry goes in, the sauce should turn glossy and cling to the spoon in a light, sticky sheet.
Finishing So the Chicken Stays Glazed
Return the chicken and green onions to the pan only after the sauce has thickened. Toss quickly, just until everything is coated. The goal is a lacquered finish, not a long simmer. Serve it right away over rice so the sauce stays shiny and the chicken keeps its crisp edges.
Three Ways to Adjust Mongolian Chicken Without Losing the Point
Make it gluten-free
Use a gluten-free soy sauce or tamari and check that your hoisin sauce is certified gluten-free. The texture stays the same because cornstarch is already doing the thickening work. You won’t lose the sticky glaze, just the wheat.
Make it dairy-free
This recipe is naturally dairy-free, which is one reason it comes together so cleanly. Keep the sauce ingredients as written and don’t add butter at the end; the oil already gives the chicken enough richness for a glossy finish.
Swap the chicken breasts for thighs
Boneless skinless thighs work well if you want a juicier bite and a little more forgiveness in the pan. They’ll take a minute or two longer to cook, and they won’t get quite as lean and crisp as breast meat, but the sauce clings just as well.
Dial back the heat
Leave out the red pepper flakes if you want a milder, kid-friendly version. The dish still tastes full and savory because the garlic, ginger, and hoisin carry the flavor. You can always add heat at the table with chili crisp or sliced fresh chiles.
Storage and Reheating
- Refrigerator: Store leftovers in an airtight container for up to 4 days. The chicken softens a bit as it sits, but the sauce stays flavorful.
- Freezer: It freezes, but the chicken loses some of its crispness. Freeze for up to 2 months, then thaw overnight in the fridge before reheating.
- Reheating: Warm it in a skillet over medium heat with a splash of water to loosen the sauce. The microwave works in a pinch, but it makes the chicken softer and can tighten the glaze too much.
Questions I Get Asked About This Recipe
Mongolian Chicken
Ingredients
Equipment
Method
- Toss the sliced chicken with cornstarch, salt, and pepper until coated. The coating should look even with no dry spots.
- Whisk together soy sauce, brown sugar, water, hoisin sauce, sesame oil, and red pepper flakes until smooth. Set aside so the flavors meld while you cook the chicken.
- Heat the vegetable oil in a large skillet or wok over high heat. Add the coated chicken and cook 3-4 minutes per side until deeply golden and cooked through.
- Remove the chicken from the pan and add garlic and ginger to the same pan. Stir-fry for 30 seconds to toast and release aroma.
- Pour the sauce into the pan and bring it to a boil. Keep it at a steady boil for 1-2 minutes to start thickening.
- Stir in the cornstarch slurry and cook for 1-2 minutes until thickened and glossy. The glaze should cling to the back of a spoon.
- Return the chicken and green onions to the pan and toss to coat. Cook just until the green onions are lightly charred and glossy with sauce, then turn off the heat.
- Serve the Mongolian chicken over steamed white rice and top with sesame seeds. Spoon extra dark, sticky glaze over the rice so it soaks in.