Silky cheesecake filling, a buttery graham crust, and a glossy layer of spiced apple pie topping give this no-bake apple pie cheesecake the kind of slice that disappears fast. It’s rich without feeling heavy, sweet without turning cloying, and the whole thing holds together cleanly once it’s fully chilled. That balance is what makes it worth putting on repeat.
The crust gets pressed firmly into the pan and chilled before the filling goes in, which keeps it from crumbling under the weight of the cream layer. The filling itself works because the cream cheese is beaten until completely smooth before the whipped cream is folded in. If the base isn’t lump-free at that stage, those little bits never really disappear later.
Below you’ll find the small details that matter most: how to keep the filling light but stable, what to do if your apple topping is too loose, and a few smart ways to adapt the recipe without losing that cheesecake-and-apple-pie contrast.
The filling set up beautifully overnight and the apple layer stayed glossy instead of sliding off when I sliced it. I used homemade filling and the cinnamon in the cheesecake made the whole thing taste like apple pie in cheesecake form.
Love the creamy no-bake filling and spiced apple topping? Save this apple pie cheesecake for the next time you need an easy make-ahead dessert with a perfect chilled slice.
The Chilled Filling Only Works If the Base Is Smooth First
The biggest mistake in a no-bake cheesecake is rushing the cream cheese. If it isn’t beaten until completely smooth before the whipped cream goes in, the final filling will have tiny lumps that never fully disappear. Once the whipped cream is folded in, you want to work gently and stop as soon as the mixture looks uniform. Overmixing knocks out the air that gives the filling its light, mousse-like texture.
The crust matters more than people expect. Press it in firmly and chill it before adding the filling so the butter has time to set. That little rest keeps the crust from turning sandy when you slice into the cheesecake later.
- Cream cheese — Full-fat cream cheese gives the filling structure and that tangy cheesecake flavor. Use it softened to room temperature so it beats smooth without grainy spots.
- Heavy cream — This is what makes the cheesecake light enough to slice cleanly after chilling. It needs to be whipped to stiff peaks before folding in, or the filling will stay loose.
- Brown sugar — It adds a deeper caramel note that works with the apple topping better than white sugar alone. Light or dark brown sugar both work, though dark sugar gives a little more molasses flavor.
- Graham cracker crumbs — Fine crumbs pack best and make a sturdier base than chunky crumbs. If you only have whole crackers, crush them finely so the crust holds together when the springform ring comes off.
What Each Layer Is Doing in the Bowl and on the Pan
- Butter — The melted butter coats the graham crumbs and sets into the chilled crust. If you reduce it, the base gets sandy and won’t cut as neatly.
- Powdered sugar plus brown sugar — Powdered sugar sweetens without grittiness, while brown sugar adds depth. That combination keeps the filling from tasting flat.
- Vanilla and cinnamon — These are what tie the cheesecake filling to the apple topping. Don’t skip the cinnamon in the filling; it’s what makes each bite taste like more than plain cream cheese.
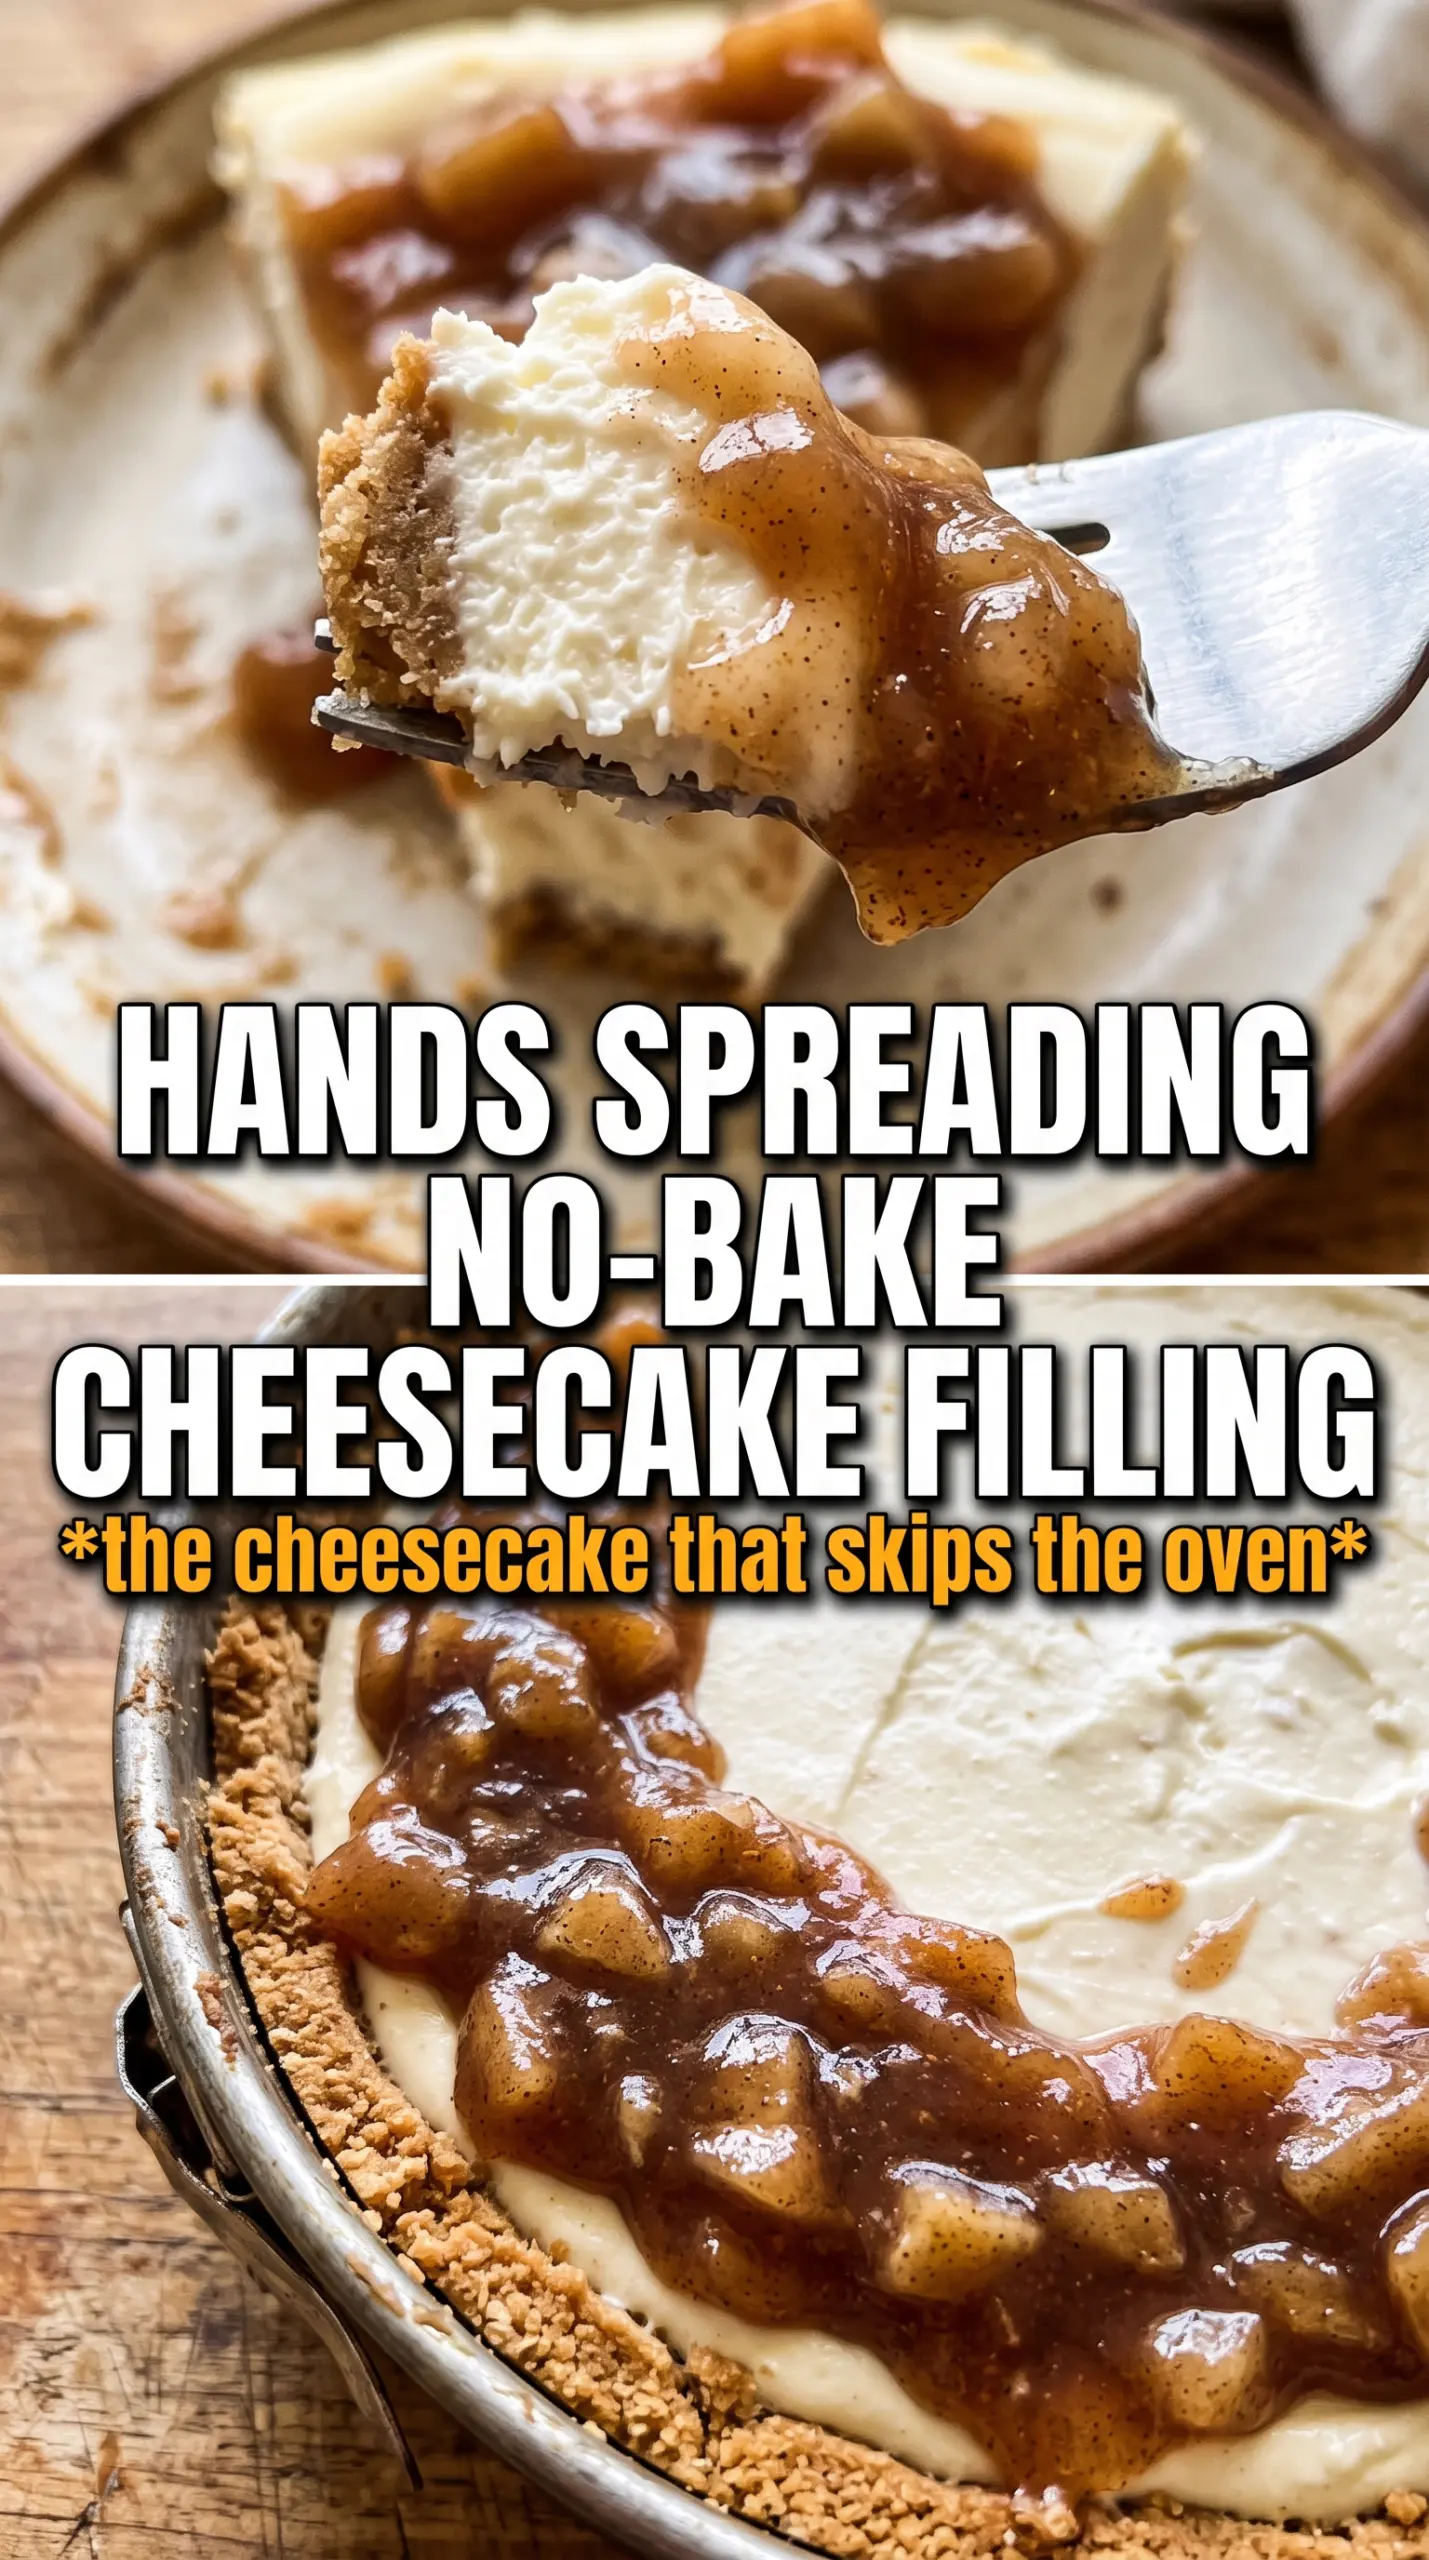
- Apple pie filling — Canned filling is fine here because the cheesecake already has enough work going on. If you use homemade, cook it down until it’s thick and glossy so it doesn’t puddle on top.
Building the Crust, Filling, and Apple Layer Without Losing the Shape
Pressing the Crust into a Firm Base
Mix the graham crumbs, melted butter, and sugar until every crumb looks evenly damp, then press the mixture firmly into the bottom of a 9-inch springform pan. Use the bottom of a measuring cup to pack it tight, especially around the edges. A loose crust falls apart the minute you release the ring, and this one needs to support a tall, creamy filling.
Whipping the Filling Until It Holds Its Own
Beat the softened cream cheese, powdered sugar, brown sugar, vanilla, and cinnamon until the mixture is completely smooth and fluffy. There shouldn’t be any visible grain from the sugars or little cream cheese lumps clinging to the bowl. Fold in the whipped cream with a spatula, not a mixer, and stop when the filling is one even color. If you beat it at this stage, it can deflate and turn dense.
Spreading and Layering the Topping
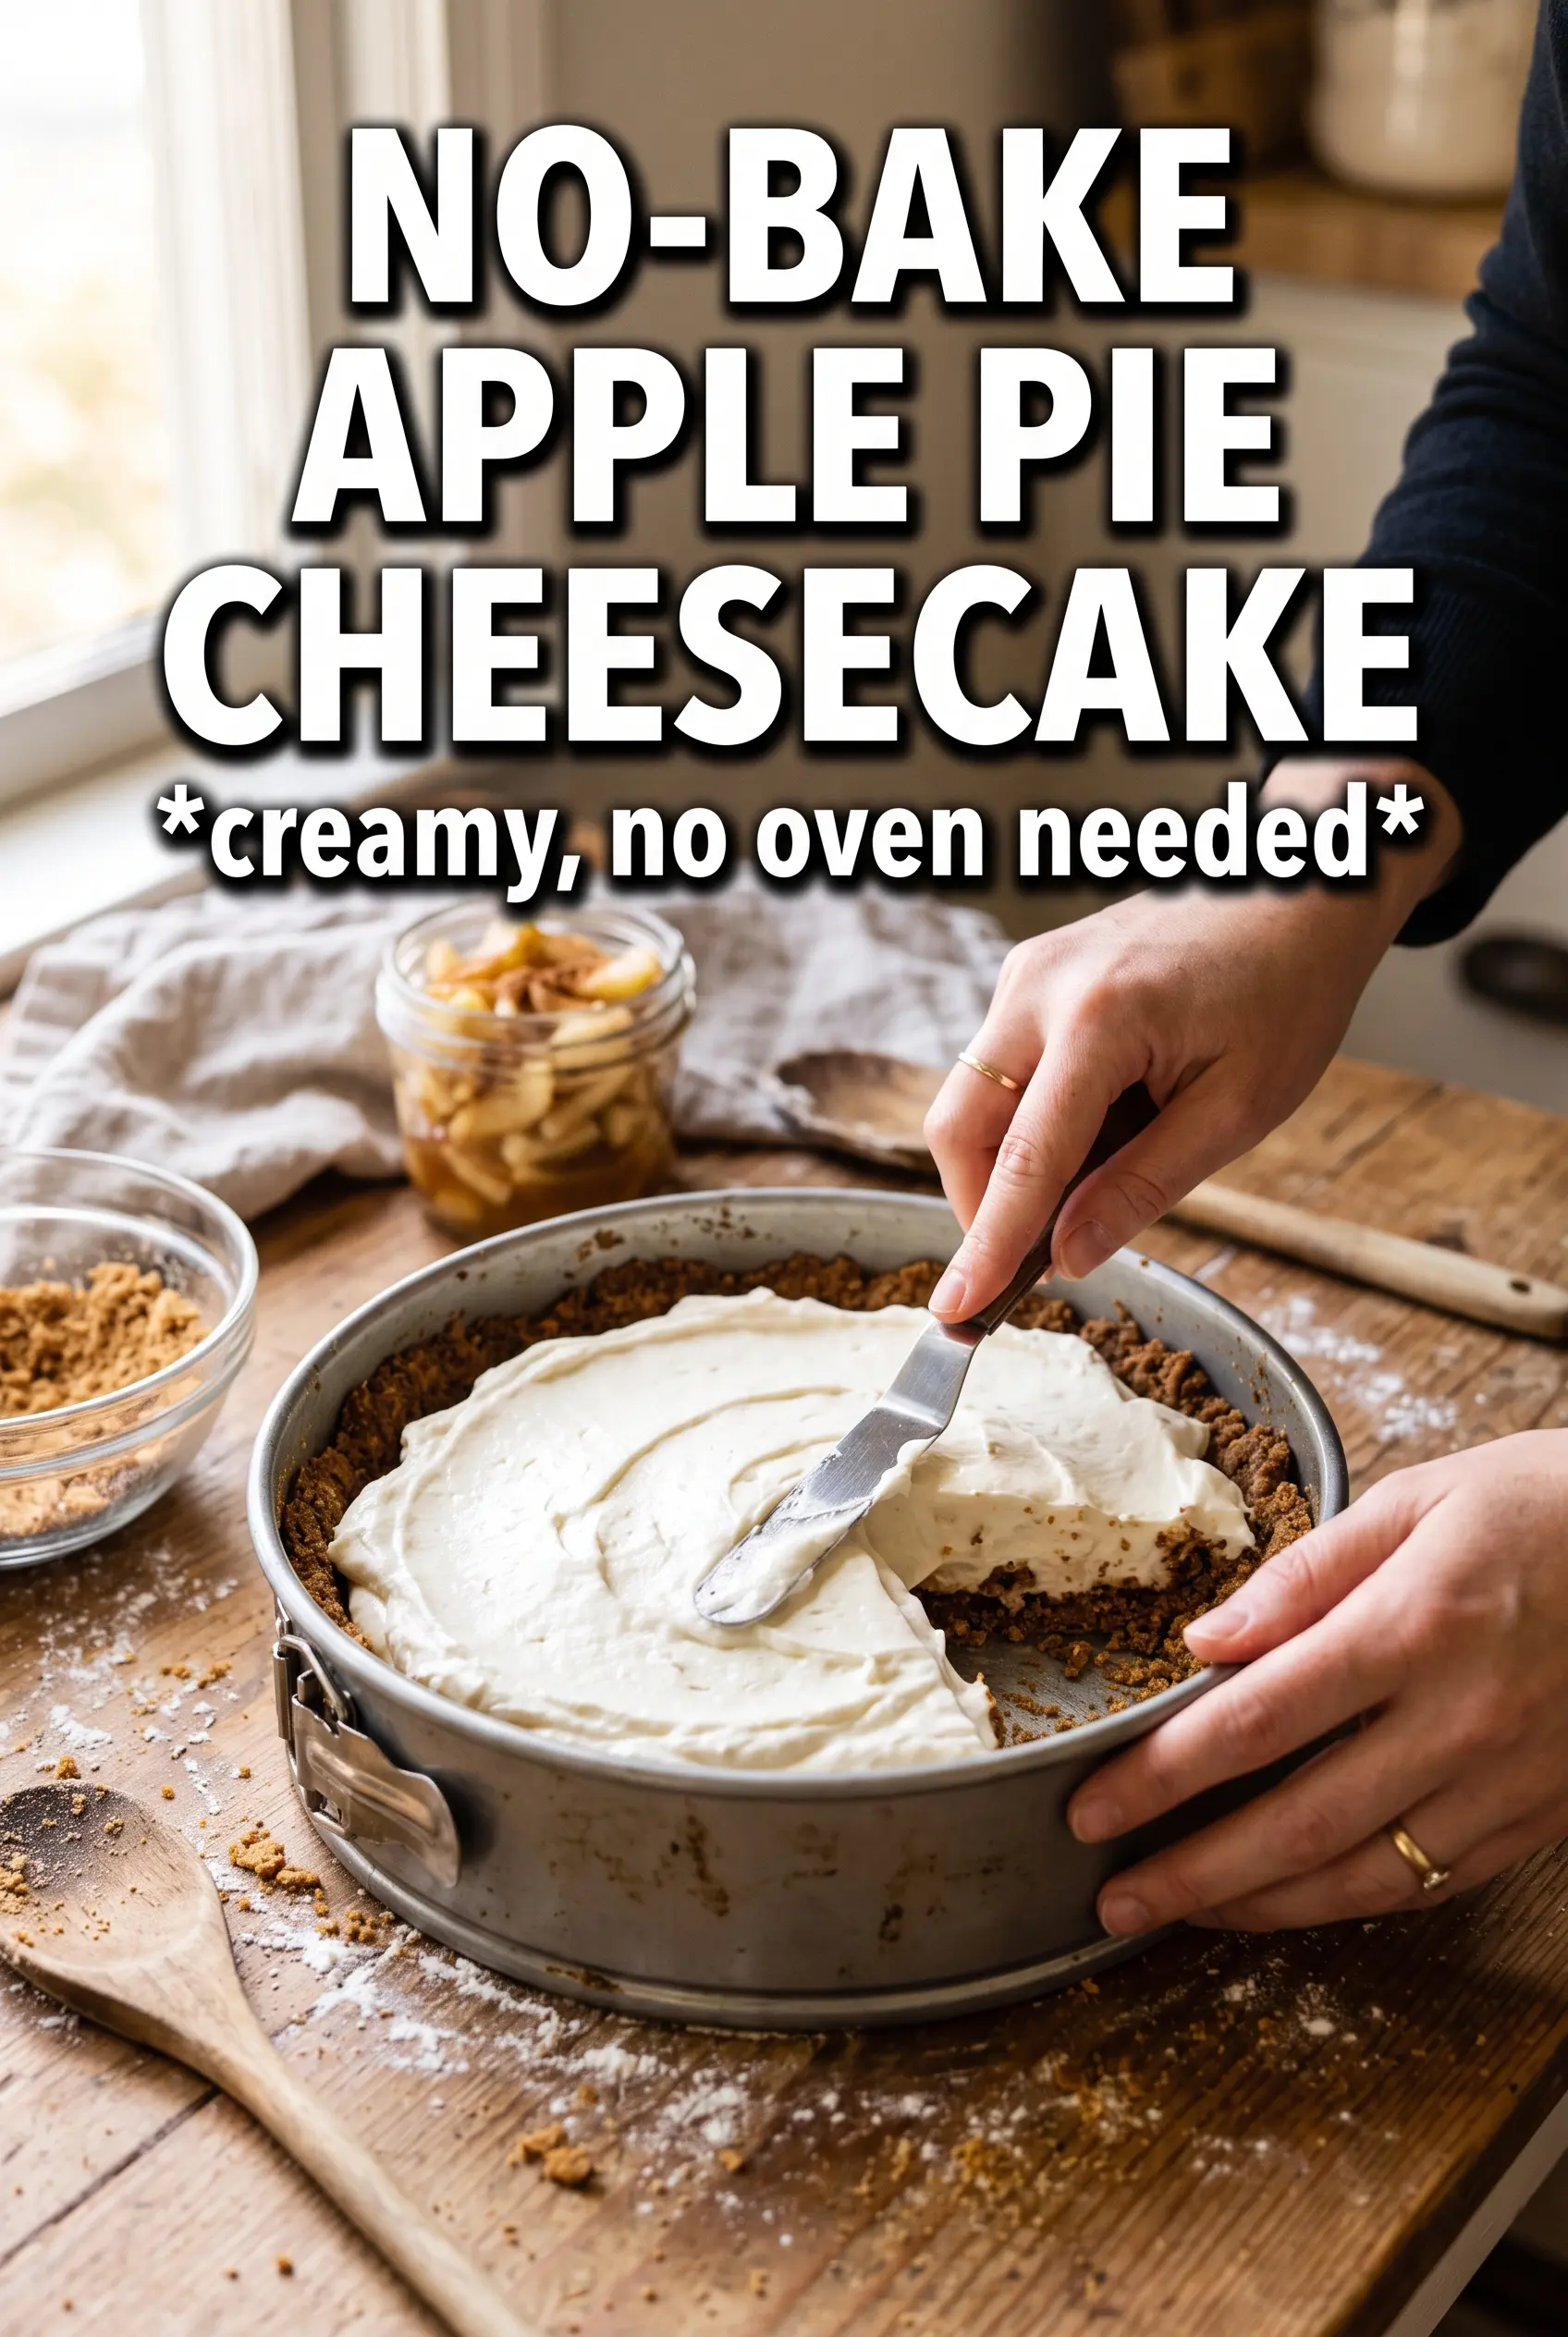
Spoon the filling over the chilled crust and smooth the top with an offset spatula or the back of a spoon. Mix the cinnamon and nutmeg into the apple pie filling before spreading it on top so the spices are distributed evenly instead of sitting in streaks. Chill the cheesecake at least 6 hours, and overnight is better if you want the cleanest slices. If you cut it too early, the center will still slump and the layers won’t hold.
Dairy-Free Version
Use dairy-free cream cheese and a thick, whipped coconut cream in place of the heavy cream. The texture will be a little softer than the original, but it still slices well after a full overnight chill.
Gluten-Free Crust
Swap the graham crackers for certified gluten-free graham-style crumbs or gluten-free vanilla cookies. Keep the butter amount the same and press the crust firmly, since gluten-free crumbs can be a little more delicate.
Homemade Apple Topping
If you’d rather cook the apples yourself, make the topping thick and spoonable, not saucy. The topping should cling to the back of a spoon; thin syrup will slide off the cheesecake and soak the crust.
Storage and Reheating
- Refrigerator: Store covered for up to 4 days. The crust softens slightly, but the slices still hold well.
- Freezer: Freeze individual slices tightly wrapped for up to 1 month. Thaw in the refrigerator overnight for the best texture; freezing the whole cheesecake can work, but the apple topping may lose some of its shine.
- Reheating: Don’t reheat this dessert. It’s meant to be served cold, and warmth will loosen the filling and make the topping slide.
Answers to the Questions Worth Asking
No-Bake Apple Pie Cheesecake
Ingredients
Equipment
Method
- Combine graham cracker crumbs, melted unsalted butter, and sugar, then press firmly into a 9-inch springform pan. Refrigerate for 20 minutes, until set and firm to the touch.
- Beat cream cheese, powdered sugar, brown sugar, vanilla extract, and cinnamon until completely smooth and fluffy. Scrape the bowl as needed so no lumps remain.
- Fold in whipped heavy cream until no streaks remain. Stop as soon as the mixture is uniform for a thick, airy texture.
- Spread the cheesecake filling over the chilled crust and smooth the top. Tap the pan lightly to settle the surface.
- Mix cinnamon and nutmeg into the apple pie filling, then spoon it evenly over the cheesecake layer. Smooth the top lightly so the topping forms an even layer.
- Refrigerate at least 6 hours or overnight before releasing from the springform. Chill until the center jiggles only slightly and slices cleanly.