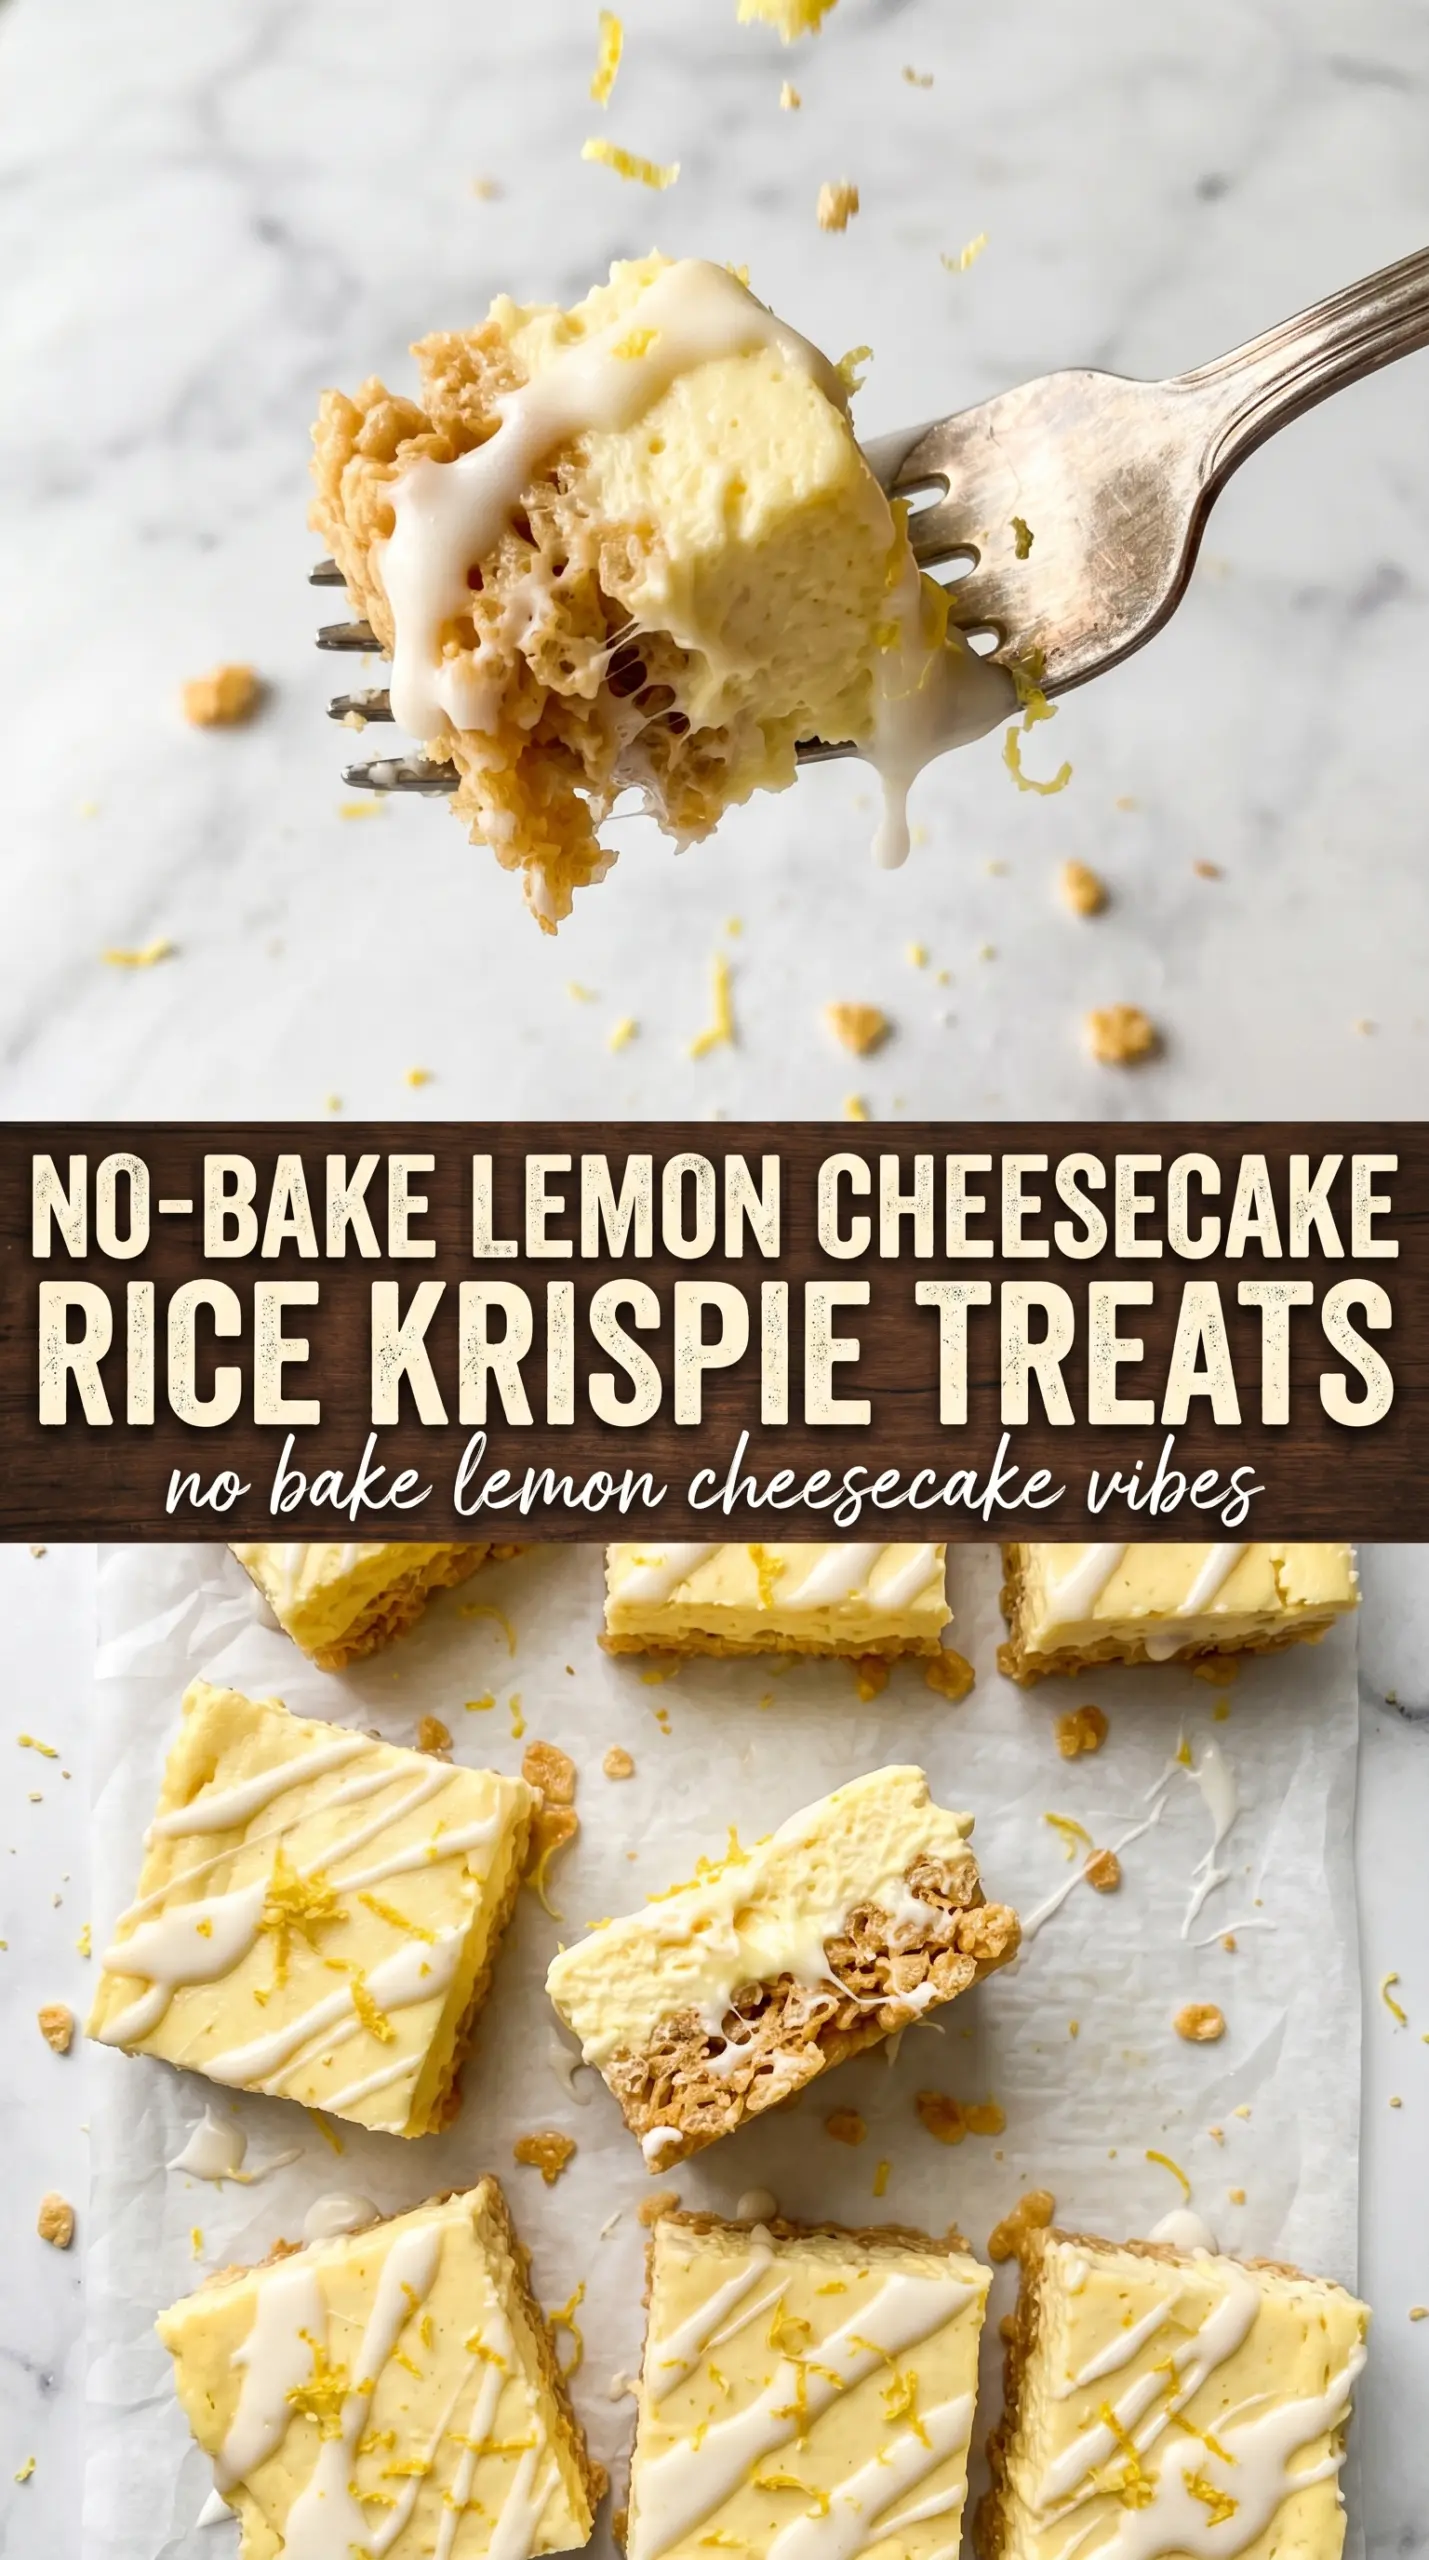
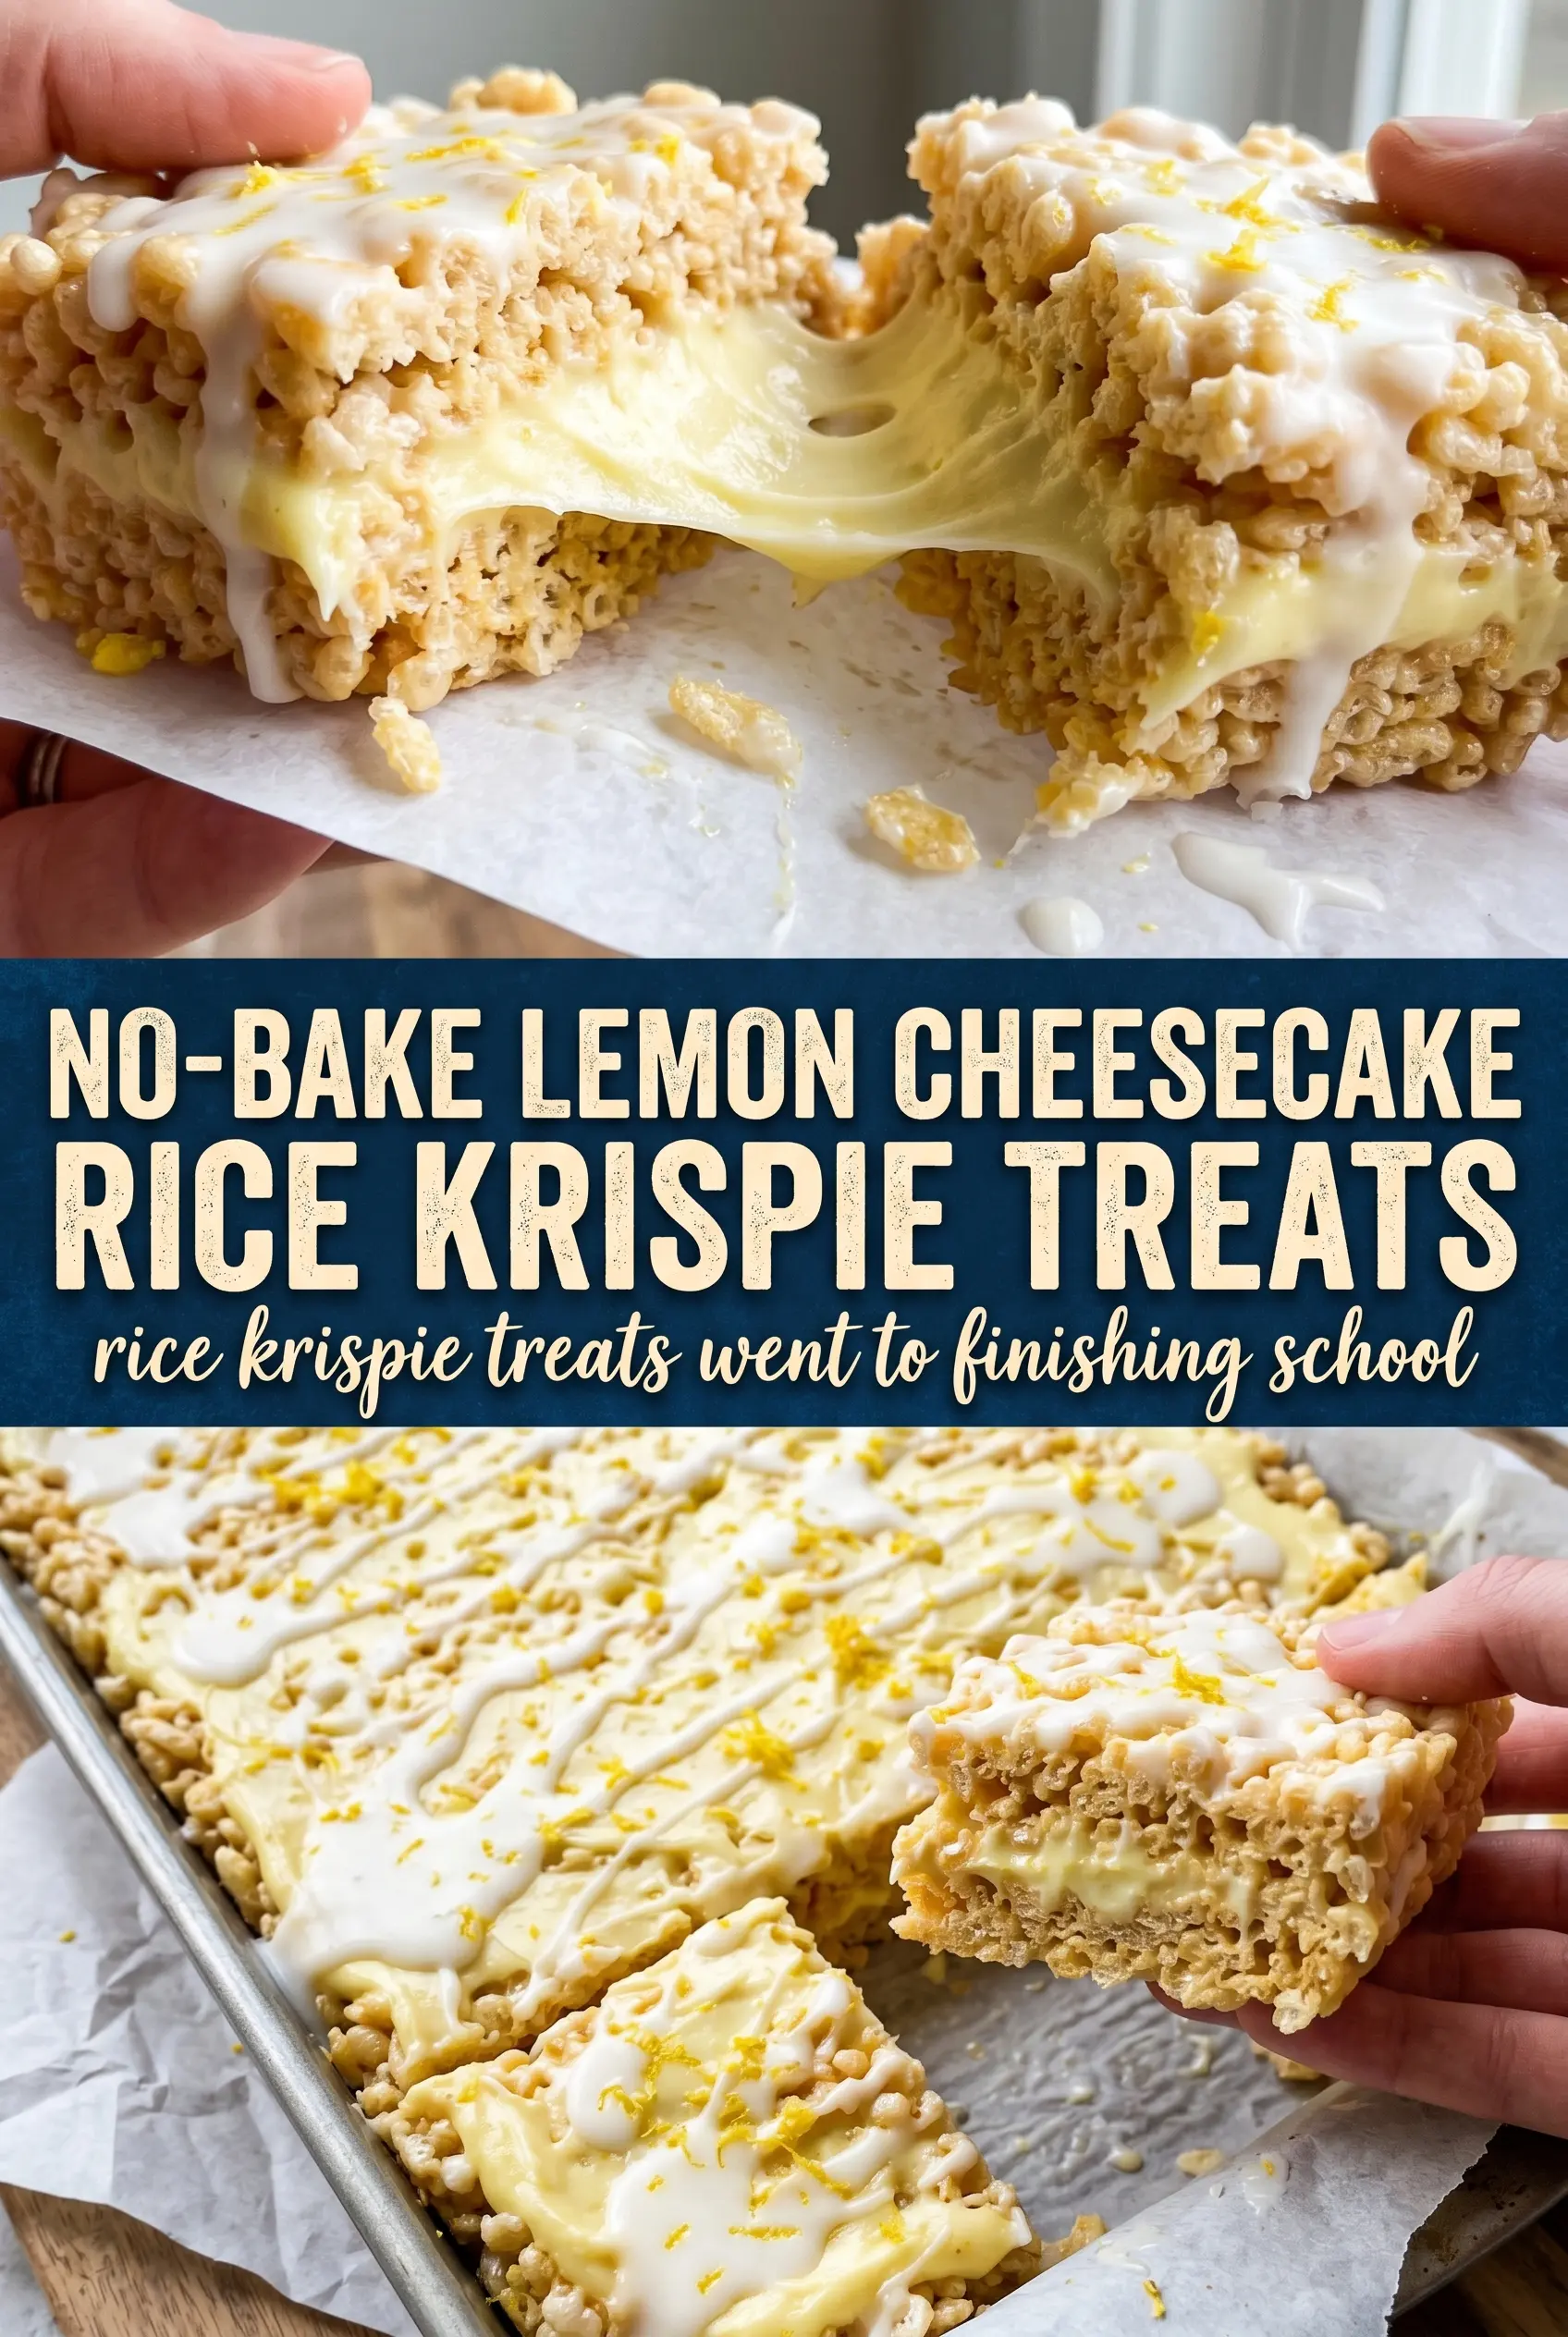
These no-bake lemon cheesecake Rice Krispie treats hit that sweet spot between chewy, creamy, and bright. The base stays soft and marshmallowy, the lemon cheesecake layer adds a cool tang, and the white chocolate drizzle gives each square a clean finish that makes them feel a little more special than a standard cereal bar.
What makes this version work is the balance of texture and the way the lemon gets layered in two places. The zest goes into the melted marshmallow mixture, which perfumes the base without making it wet, then the cheesecake layer gets both zest and juice for a sharper, creamier lemon flavor. Folding in whipped topping keeps the topping light enough to slice cleanly after chilling instead of turning dense and heavy.
Below, I’ve included the little things that matter most: how to keep the base from getting hard, why the cheesecake layer needs to be spread only after the bars cool, and a few smart swaps if you need to work with what’s already in the fridge.
The lemon flavor came through in both layers, and the cheesecake topping set up smooth instead of sliding off when I cut them. My pan disappeared fast.
These lemon cheesecake Rice Krispie bars stay chewy, creamy, and bright — perfect when you want a chilled dessert with real lemon flavor.
The Mistake That Makes Rice Krispie Layers Turn Hard
The most common problem with cereal bars is pressing them down too aggressively or cooking the marshmallows too long. Both of those things squeeze out the air that keeps the base tender. You want the marshmallows melted, glossy, and just loose enough to coat the cereal without turning sticky and stiff.
Lemon zest helps here because it gives flavor without adding extra liquid. Fresh juice belongs in the cheesecake layer, not the cereal base, where it would soften the crunch and make the bars uneven. The other timing detail that matters is cooling the base before the topping goes on. If you spread the cheesecake layer over warm bars, the bottom starts to melt and the top slides.
What Each Ingredient Is Actually Doing In These Bars
- Mini marshmallows — These melt into the glue that holds the base together. Fresh marshmallows melt smoother than old ones, so if yours are dry or sticky in the bag, the bars can turn grainy.
- Lemon zest — This is where the brightest lemon flavor comes from. Don’t skip the zest or swap in extra juice, because juice adds tartness but not the same aromatic lemon punch.
- Cream cheese — Use full-fat cream cheese for the cheesecake layer. Lower-fat versions tend to be softer and can weep a little after chilling.
- Whipped topping — This lightens the filling so it spreads easily and holds up in squares. If you use fresh whipped cream instead, the layer will be softer and should be eaten the same day.
- White chocolate chips — The drizzle adds a sweet finish and helps the top look polished. A good-quality white chocolate melts more smoothly; if it seizes, it was overheated, so melt it gently and stop stirring while a few small pieces still remain.
Building the Base and Cream Layer Without Losing the Texture
Melting the Marshmallows the Right Way
Start with the butter over medium-low heat, then add the marshmallows and stir until they’re fully melted and glossy. Pull the pot off the burner before adding the lemon zest so the zest stays fragrant instead of cooking off. As soon as the cereal goes in, work fast and fold just until coated; if you stir too long, the mixture gets stiff before it reaches the pan.
Pressing the Pan Without Compacting It
Spread the mixture into the lined pan and press it down firmly enough to level it, but not so hard that it becomes dense. A sheet of parchment or lightly buttered hands helps keep the mixture from sticking while you smooth the top. If the base feels overly packed, the finished bars will be chewy in a tight, hard way instead of soft and springy.
Making the Cheesecake Layer Smooth
Beat the cream cheese, powdered sugar, lemon juice, lemon zest, and vanilla until no lumps remain, then fold in the whipped topping gently. Folding keeps the layer airy and prevents it from turning thin and runny. If your cream cheese is even a little cold, you’ll see tiny bumps in the filling, so let it soften fully before mixing.
Finishing and Chilling for Clean Squares
Spread the cheesecake layer over the cooled base in an even layer, then drizzle with melted white chocolate and finish with extra zest. The bars need a full hour in the refrigerator to set before cutting, and colder is better if you want crisp edges. Use a sharp knife wiped clean between cuts so the topping stays smooth and the layers stay distinct.
How to Adjust These Bars for Different Kitchens
Dairy-Free Version With Coconut-Based Swaps
Use plant-based butter, dairy-free cream cheese, and a dairy-free whipped topping. The texture will still be creamy, but the flavor reads a little softer and less tangy, so the lemon zest matters even more here.
Extra-Lemon Bars for People Who Want More Puckery Bite
Add another teaspoon of zest to the cheesecake layer and finish with a little extra over the top. I wouldn’t add more juice unless you also add a little more powdered sugar, because too much acid can thin the filling.
No White Chocolate Drizzle
Skip the drizzle and top the bars with extra lemon zest only. You lose a touch of sweetness and the finished look is simpler, but the bars still slice beautifully and the lemon flavor comes through even more clearly.
Storage and Reheating
- Refrigerator: Store covered for up to 4 days. The base stays chewy, though it softens a little under the cheesecake layer.
- Freezer: These freeze well in a single layer, wrapped tightly and stored in a freezer container for up to 1 month. Thaw in the refrigerator so the topping doesn’t sweat.
- Reheating: No reheating needed. Serve chilled or slightly softened from the fridge; microwaving will melt the cheesecake layer and ruin the texture.
Answers to the Questions Worth Asking
No-Bake Lemon Cheesecake Rice Krispie Treats
Ingredients
Equipment
Method
- Line a 9x13 pan with parchment paper and spray lightly so the bars release cleanly.
- Melt butter in a large pot over medium-low heat, then add mini marshmallows and stir until fully melted, 2-3 minutes, with a glossy melted look.
- Remove from heat and stir in lemon zest so the mixture turns lightly fragrant and evenly speckled.
- Fold in Rice Krispies cereal and press firmly into the prepared pan; use firm pressure for a tight, thick base.
- Cool the pressed Krispie base until set, about 5 minutes.
- Beat cream cheese, powdered sugar, lemon juice, lemon zest, and vanilla until smooth, with no lumps.
- Fold in whipped topping until creamy and thick, with a smooth pale texture.
- Spread the lemon cheesecake layer evenly over the cooled Krispie base for an even top.
- Drizzle melted white chocolate over the top in a zigzag pattern so it forms thin lines across every piece.
- Scatter extra lemon zest over the top for a bright finish.
- Refrigerate for 1 hour before cutting into 16 bars, until the cheesecake layer is firm.