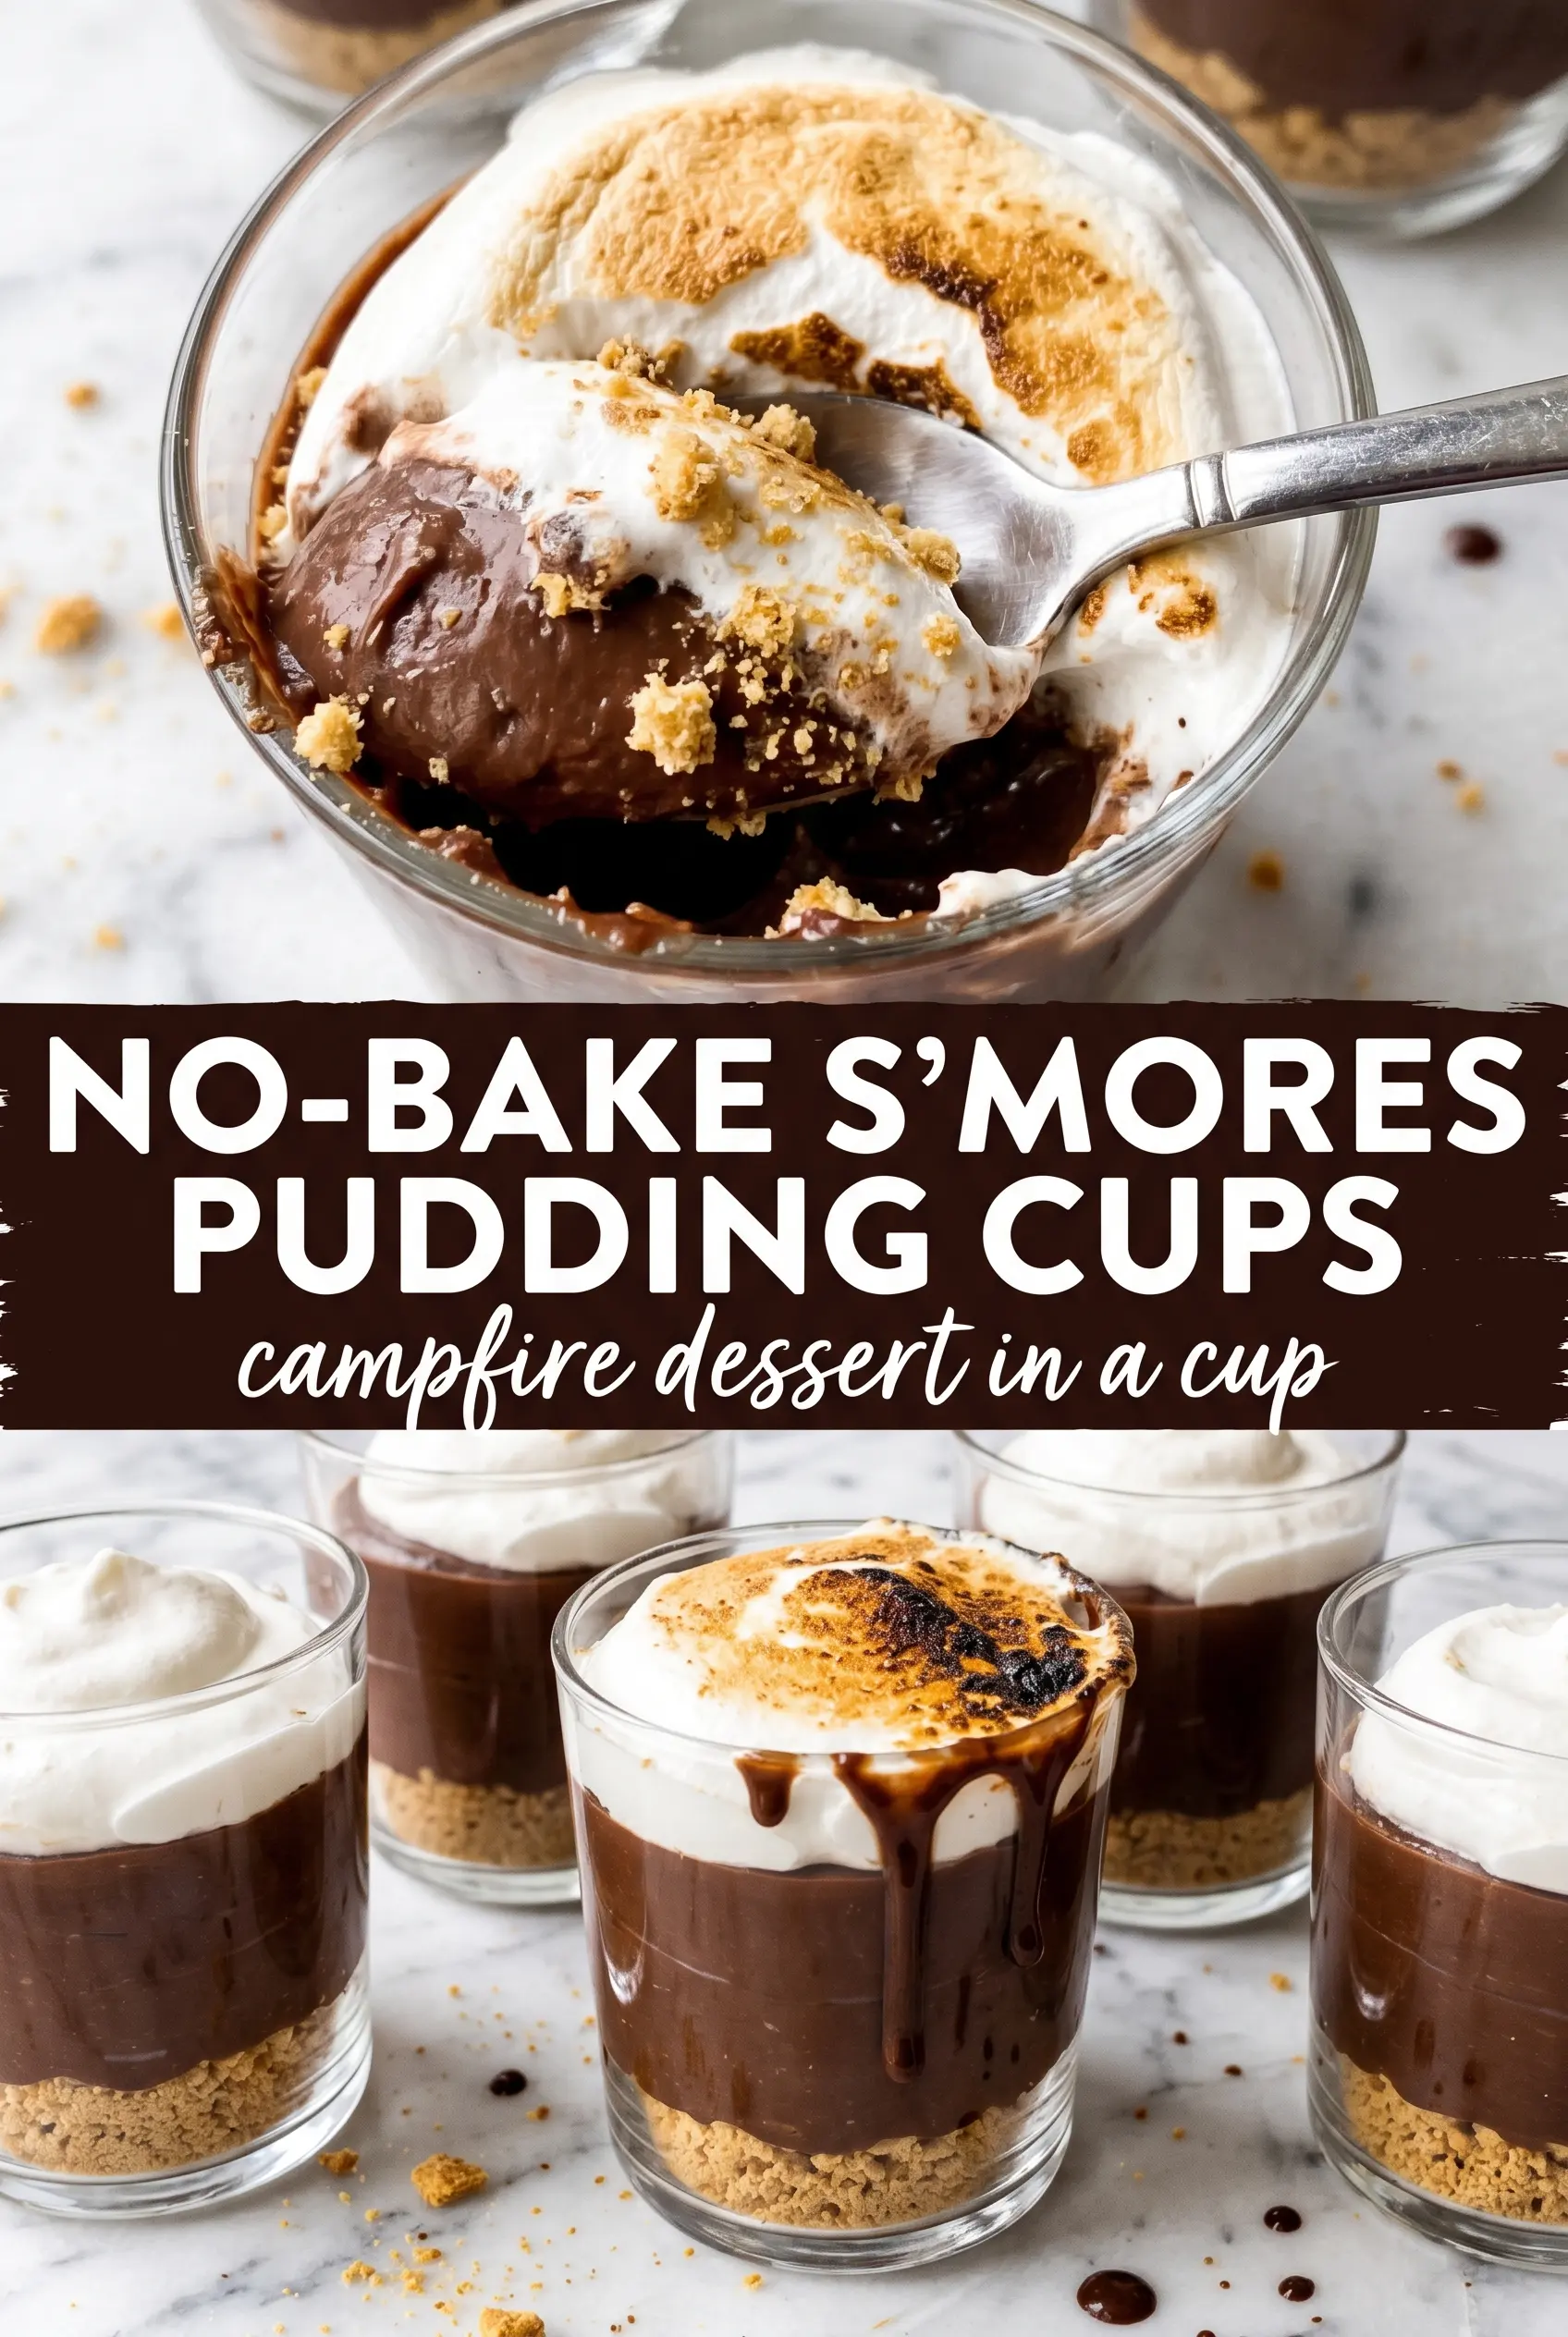
Layers of buttery graham cracker crumble, thick chocolate pudding, and fluffy marshmallow cream turn these no-bake s’mores pudding cups into the kind of dessert that disappears fast. They hit all the campfire notes without needing an oven, and the individual cups keep every layer clean and spoonable from the first bite to the last.
The texture is what makes them work. The graham layer needs enough butter to hold together but not so much that it turns greasy, and the pudding needs that full two minutes of whisking so it sets up with a proper spoonable thickness. The marshmallow layer stays light because the cream cheese gets beaten smooth first, then the whipped topping is folded in instead of whipped aggressively.
Below, I’ve included the one chilling step you shouldn’t rush, plus a few swaps that keep the dessert balanced if you want to make it your own.
The pudding set up beautifully and the marshmallow layer stayed fluffy even after chilling. I loved the little crunch from the graham crackers between the creamy layers.
Save these no-bake s’mores pudding cups for a layered chocolate-and-marshmallow dessert that chills up neatly in individual cups.
The Trick to Keeping the Layers Clean Instead of Muddy
The biggest mistake in layered pudding cups is building them before the components have enough structure. If the pudding is still loose, the graham layer softens immediately and the whole dessert starts sliding together. These cups work best when each layer has a little body before the next one goes on. That gives you the clean stripes you see in the glass.
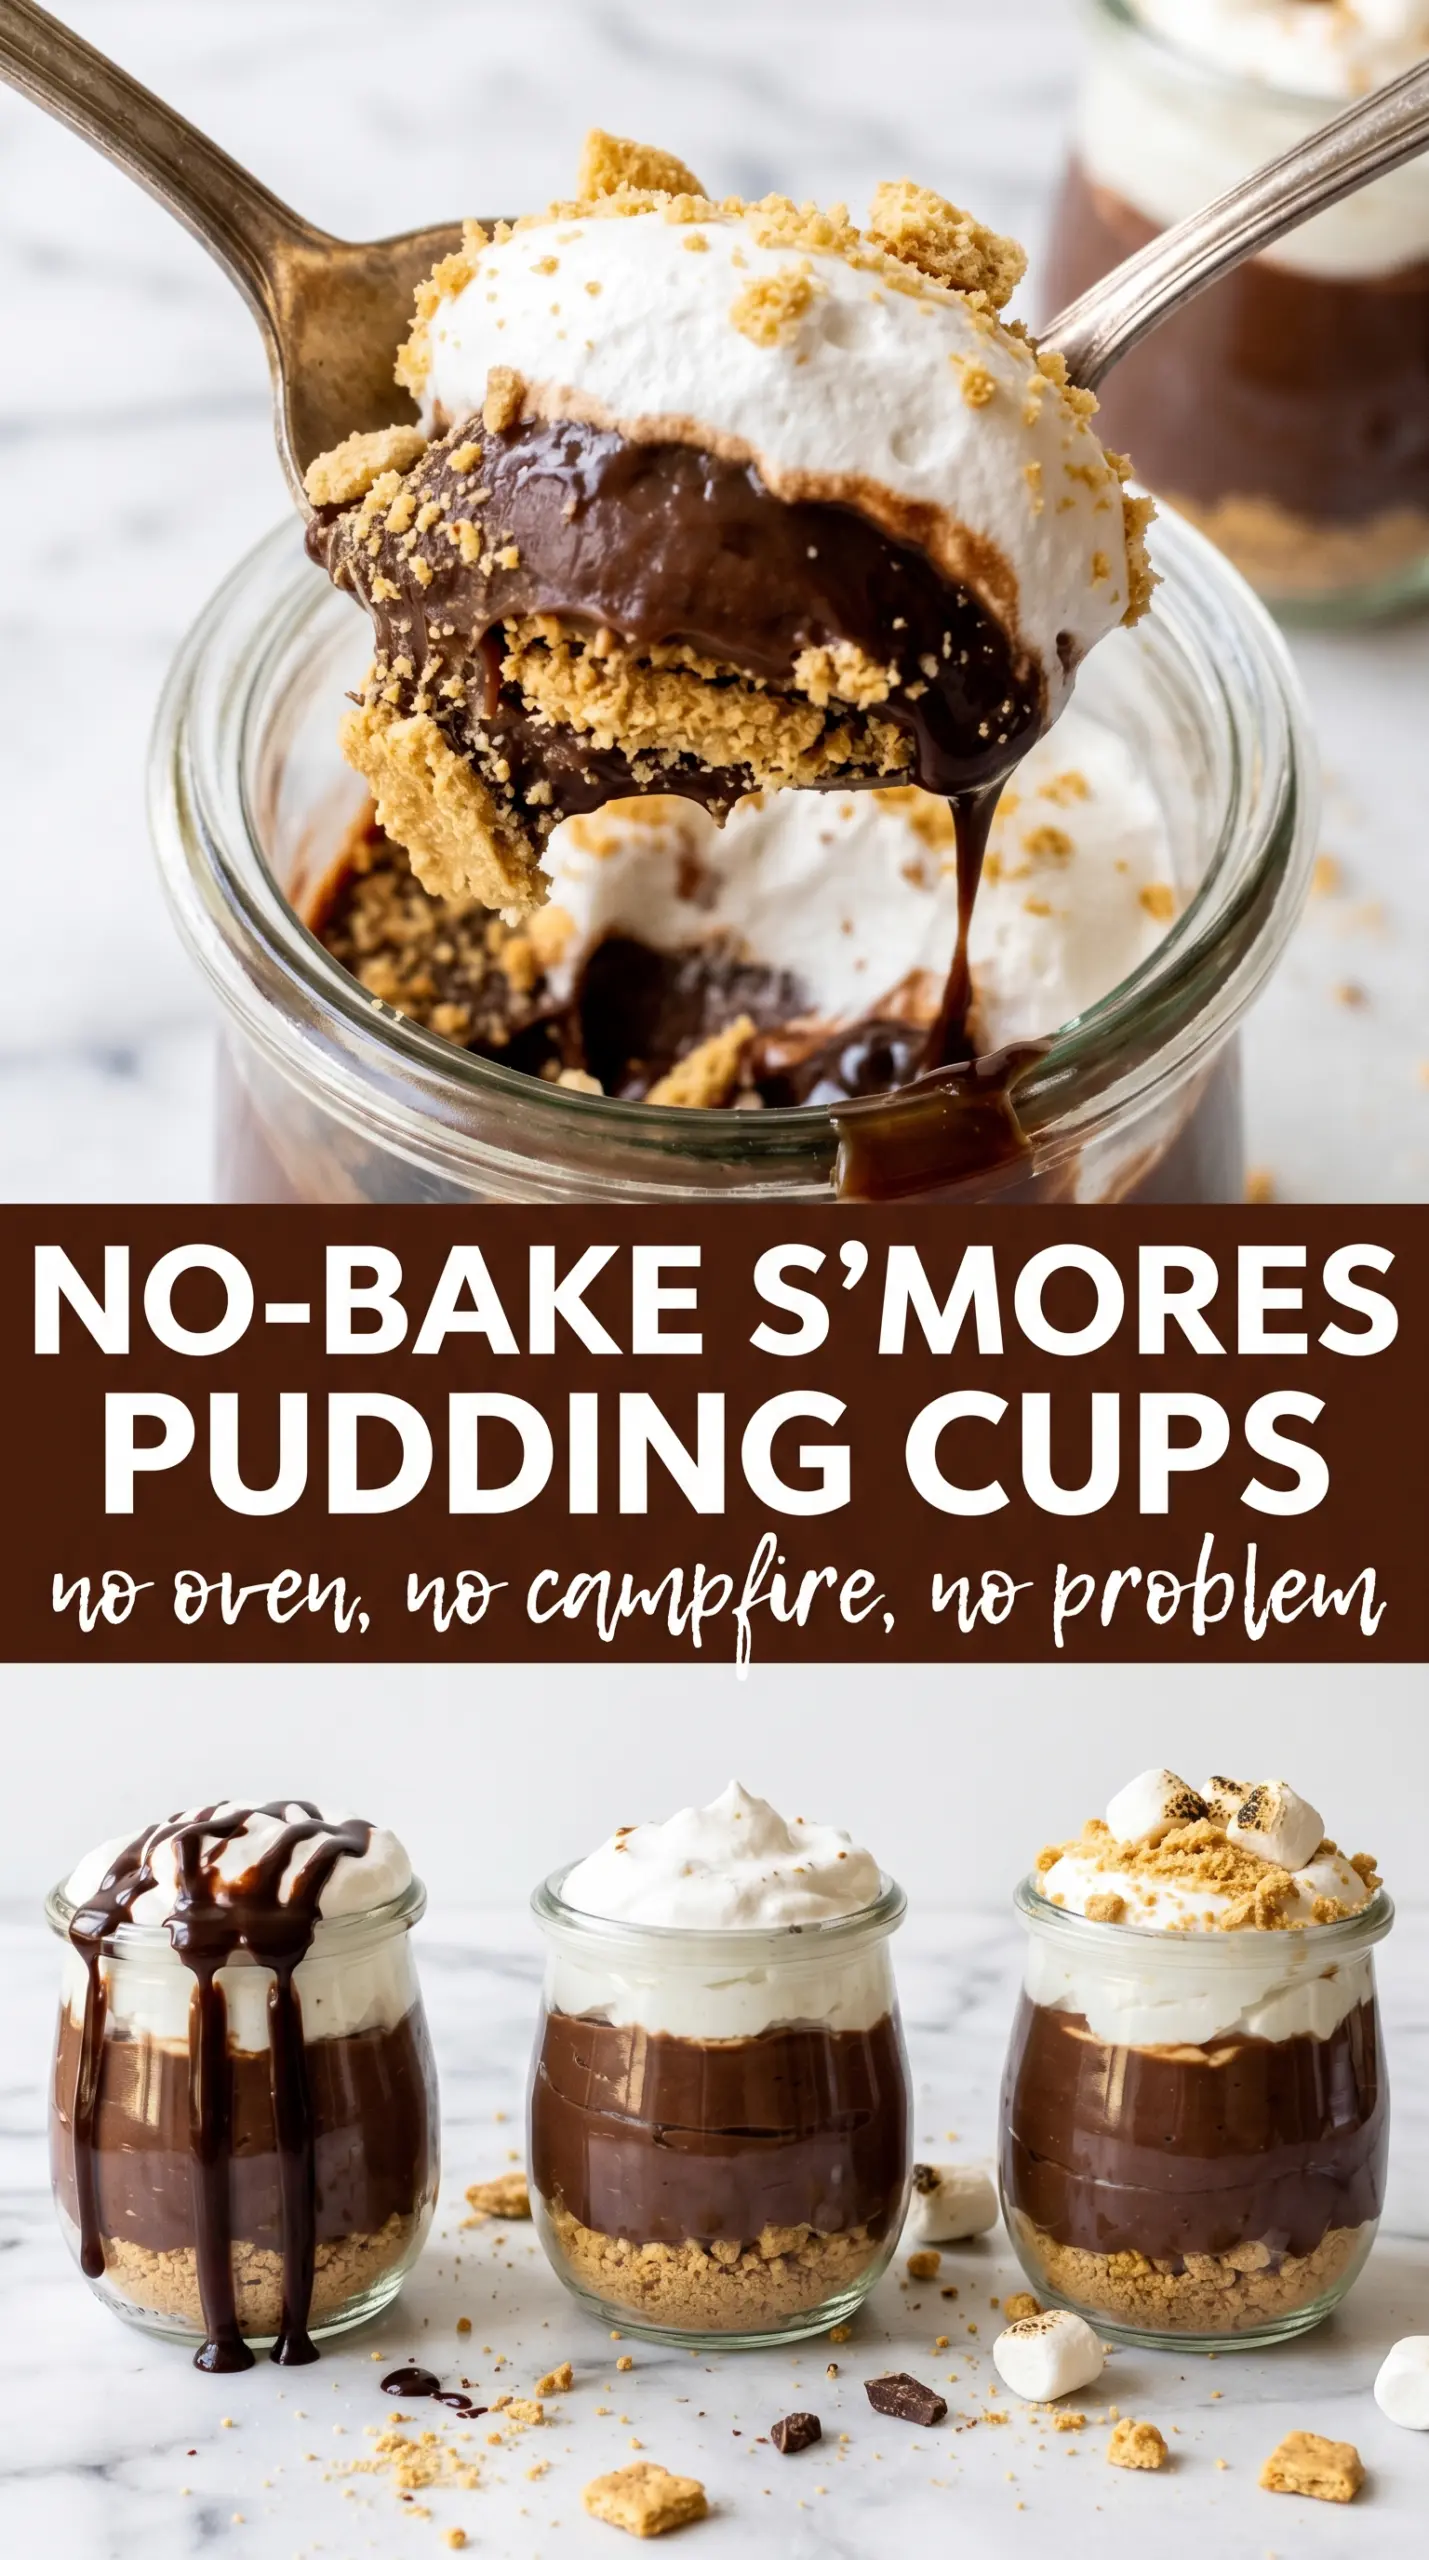
Chilling matters twice here: first for the pudding, which needs a short rest after whisking, and again after assembly so the layers can settle and hold their shape. If you rush either one, the dessert still tastes fine, but it won’t slice through the same way with a spoon. For the best look, use clear cups or small glasses and spoon the layers in gently along the side of the glass.
What Each Layer Is Actually Doing Here
- Graham cracker crumbs — These give you the s’mores base and the little sandy crunch that keeps the dessert from feeling too soft. Fresh crumbs from actual graham crackers hold up better than a boxed crust mix here because they stay a little more textured after chilling.
- Butter — The butter binds the crumbs so the base can sit in a cup without turning dusty. Melted butter is the right choice; anything less won’t coat the crumbs evenly, and you’ll end up with loose pockets at the bottom of the glass.
- Instant chocolate pudding — Instant pudding sets quickly and gives these cups the firm, creamy middle layer they need. Cook-and-serve pudding won’t behave the same way in a no-bake dessert and usually comes out too loose once layered with the other fillings.
- Marshmallow fluff and cream cheese — This combo gives the top layer the sweetness of marshmallow with enough structure to sit on the pudding instead of melting into it. The cream cheese needs to be softened all the way through before mixing, or you’ll end up with little lumps that don’t smooth out later.
- Whipped topping — Folded in at the end, it lightens the marshmallow layer without making it runny. Real whipped cream can work, but it won’t hold as long in the fridge, so use it only if you plan to serve the cups the same day.
Building the Cups So Each Layer Stays Separate
Mix the Crumb Base Until It Holds Together
Stir the graham cracker crumbs, melted butter, and sugar until every crumb looks evenly coated and the mixture starts to clump when pressed between your fingers. It should feel like damp sand, not wet paste. If the mixture looks shiny or greasy, the butter is too warm or there is a little too much for the amount of crumbs.
Whisk the Pudding Until It Thickens Fast
Pour the cold milk into the pudding mix and whisk steadily for a full two minutes. The pudding should go from thin and glossy to thick enough to mound slightly on the whisk. If it stays loose, the milk wasn’t cold enough or the pudding wasn’t whisked long enough, and it won’t set cleanly between the layers.
Make the Marshmallow Cream Smooth and Light
Beat the marshmallow fluff and softened cream cheese until there are no streaks left and the mixture looks smooth and pale. Then fold in the whipped topping with a spatula, using broad turns instead of stirring hard. If you beat it too much, the filling can loosen and lose the cloud-like texture that makes this layer work.
Assemble and Chill Before Serving
Layer the crumble, pudding, and marshmallow cream in the cups, then repeat if your glasses are tall enough. Spoon the fillings gently so the sides stay clean and the layers stay visible. Finish with a little extra crumble, mini marshmallows, and chocolate shavings, then chill the cups for at least two hours so everything firms up and the flavors settle together. If you torch the marshmallows, do it right before serving so they stay toasted instead of melting into the top.
How to Adapt These Cups Without Losing the S’mores Feel
Make it gluten-free
Use gluten-free graham-style crackers for the base and keep the rest of the recipe the same. The texture stays nearly identical, but you may need to press the crumbs a little more firmly into the cups since some gluten-free brands are drier and more crumbly.
Swap in homemade whipped cream
You can replace the whipped topping with lightly sweetened whipped cream, but serve the cups the same day. Homemade cream tastes fresher and lighter, yet it softens faster in the fridge, so the marshmallow layer won’t stay as tall after a long chill.
Make them richer with dark chocolate pudding
A dark chocolate pudding mix gives the cups a deeper cocoa note that plays nicely against the sweet marshmallow layer. It cuts some of the candy-like sweetness, which is useful if you want the dessert to lean more grown-up and less sugary.
Storage and Reheating
- Refrigerator: Store covered for up to 3 days. The graham layer softens a bit after the first day, but the cups still hold their shape.
- Freezer: I don’t recommend freezing these. The pudding and marshmallow layer both change texture after thawing and can turn watery.
- Reheating: No reheating needed. Serve straight from the fridge, and if you torch the marshmallows, do it at the last minute so the tops stay intact.