Golden-skinned chicken thighs tucked into herb-scented rice is the kind of dinner that lands on the table looking like you worked harder than you did. The rice cooks underneath the chicken, catching every bit of seasoned drippings, so each spoonful tastes like broth, onion, garlic, and crisp-edged chicken skin all at once. It’s the sort of baked dish that disappears fast because it gives you contrast in every bite: tender meat, fluffy rice, and a top layer that turns deeply savory in the oven.
What makes this version work is the order. The rice goes in raw with broth and aromatics, then the chicken sits right on top so the fat renders downward as everything bakes. Bone-in, skin-on thighs hold up best here because they stay juicy through the full bake, and the skin has enough fat to crisp once the foil comes off. Long-grain white rice is the right choice too; it stays separate and fluffy instead of collapsing into a soft, sticky mass.
Below, you’ll find the small details that keep the rice from turning gummy and the chicken from steaming under the foil. I’ve also included the swaps that still work when you need to change the cut of chicken or adjust for what’s in your pantry.
The rice came out fluffy all the way through and soaked up the chicken broth without getting mushy. I took the foil off for the last 15 minutes and the skin got beautifully crisp.
Save this one-pan chicken and rice bake for nights when you want crispy chicken skin and fluffy rice without washing a pile of pans.
The Trick Is Letting the Rice Cook Under the Chicken, Not Beside It
The biggest mistake with chicken and rice bakes is treating the rice like a side dish that happens to be in the same pan. If the rice sits too dry or too exposed, it cooks unevenly and the top layer hardens before the center is tender. Here, the chicken does the work of shielding the rice while the broth steams through the dish, so the grains cook in a steady, enclosed environment.
Foil matters for the first stretch of baking. It traps the moisture you need at the start, which is what lets the rice absorb liquid without scorching on top. Then the uncovered finish gives the chicken skin a chance to brown and the top layer of rice a little texture. If you skip that second phase, the chicken will cook, but it won’t have the same crisp, roasted finish.
What Each Ingredient Is Actually Doing in This Bake
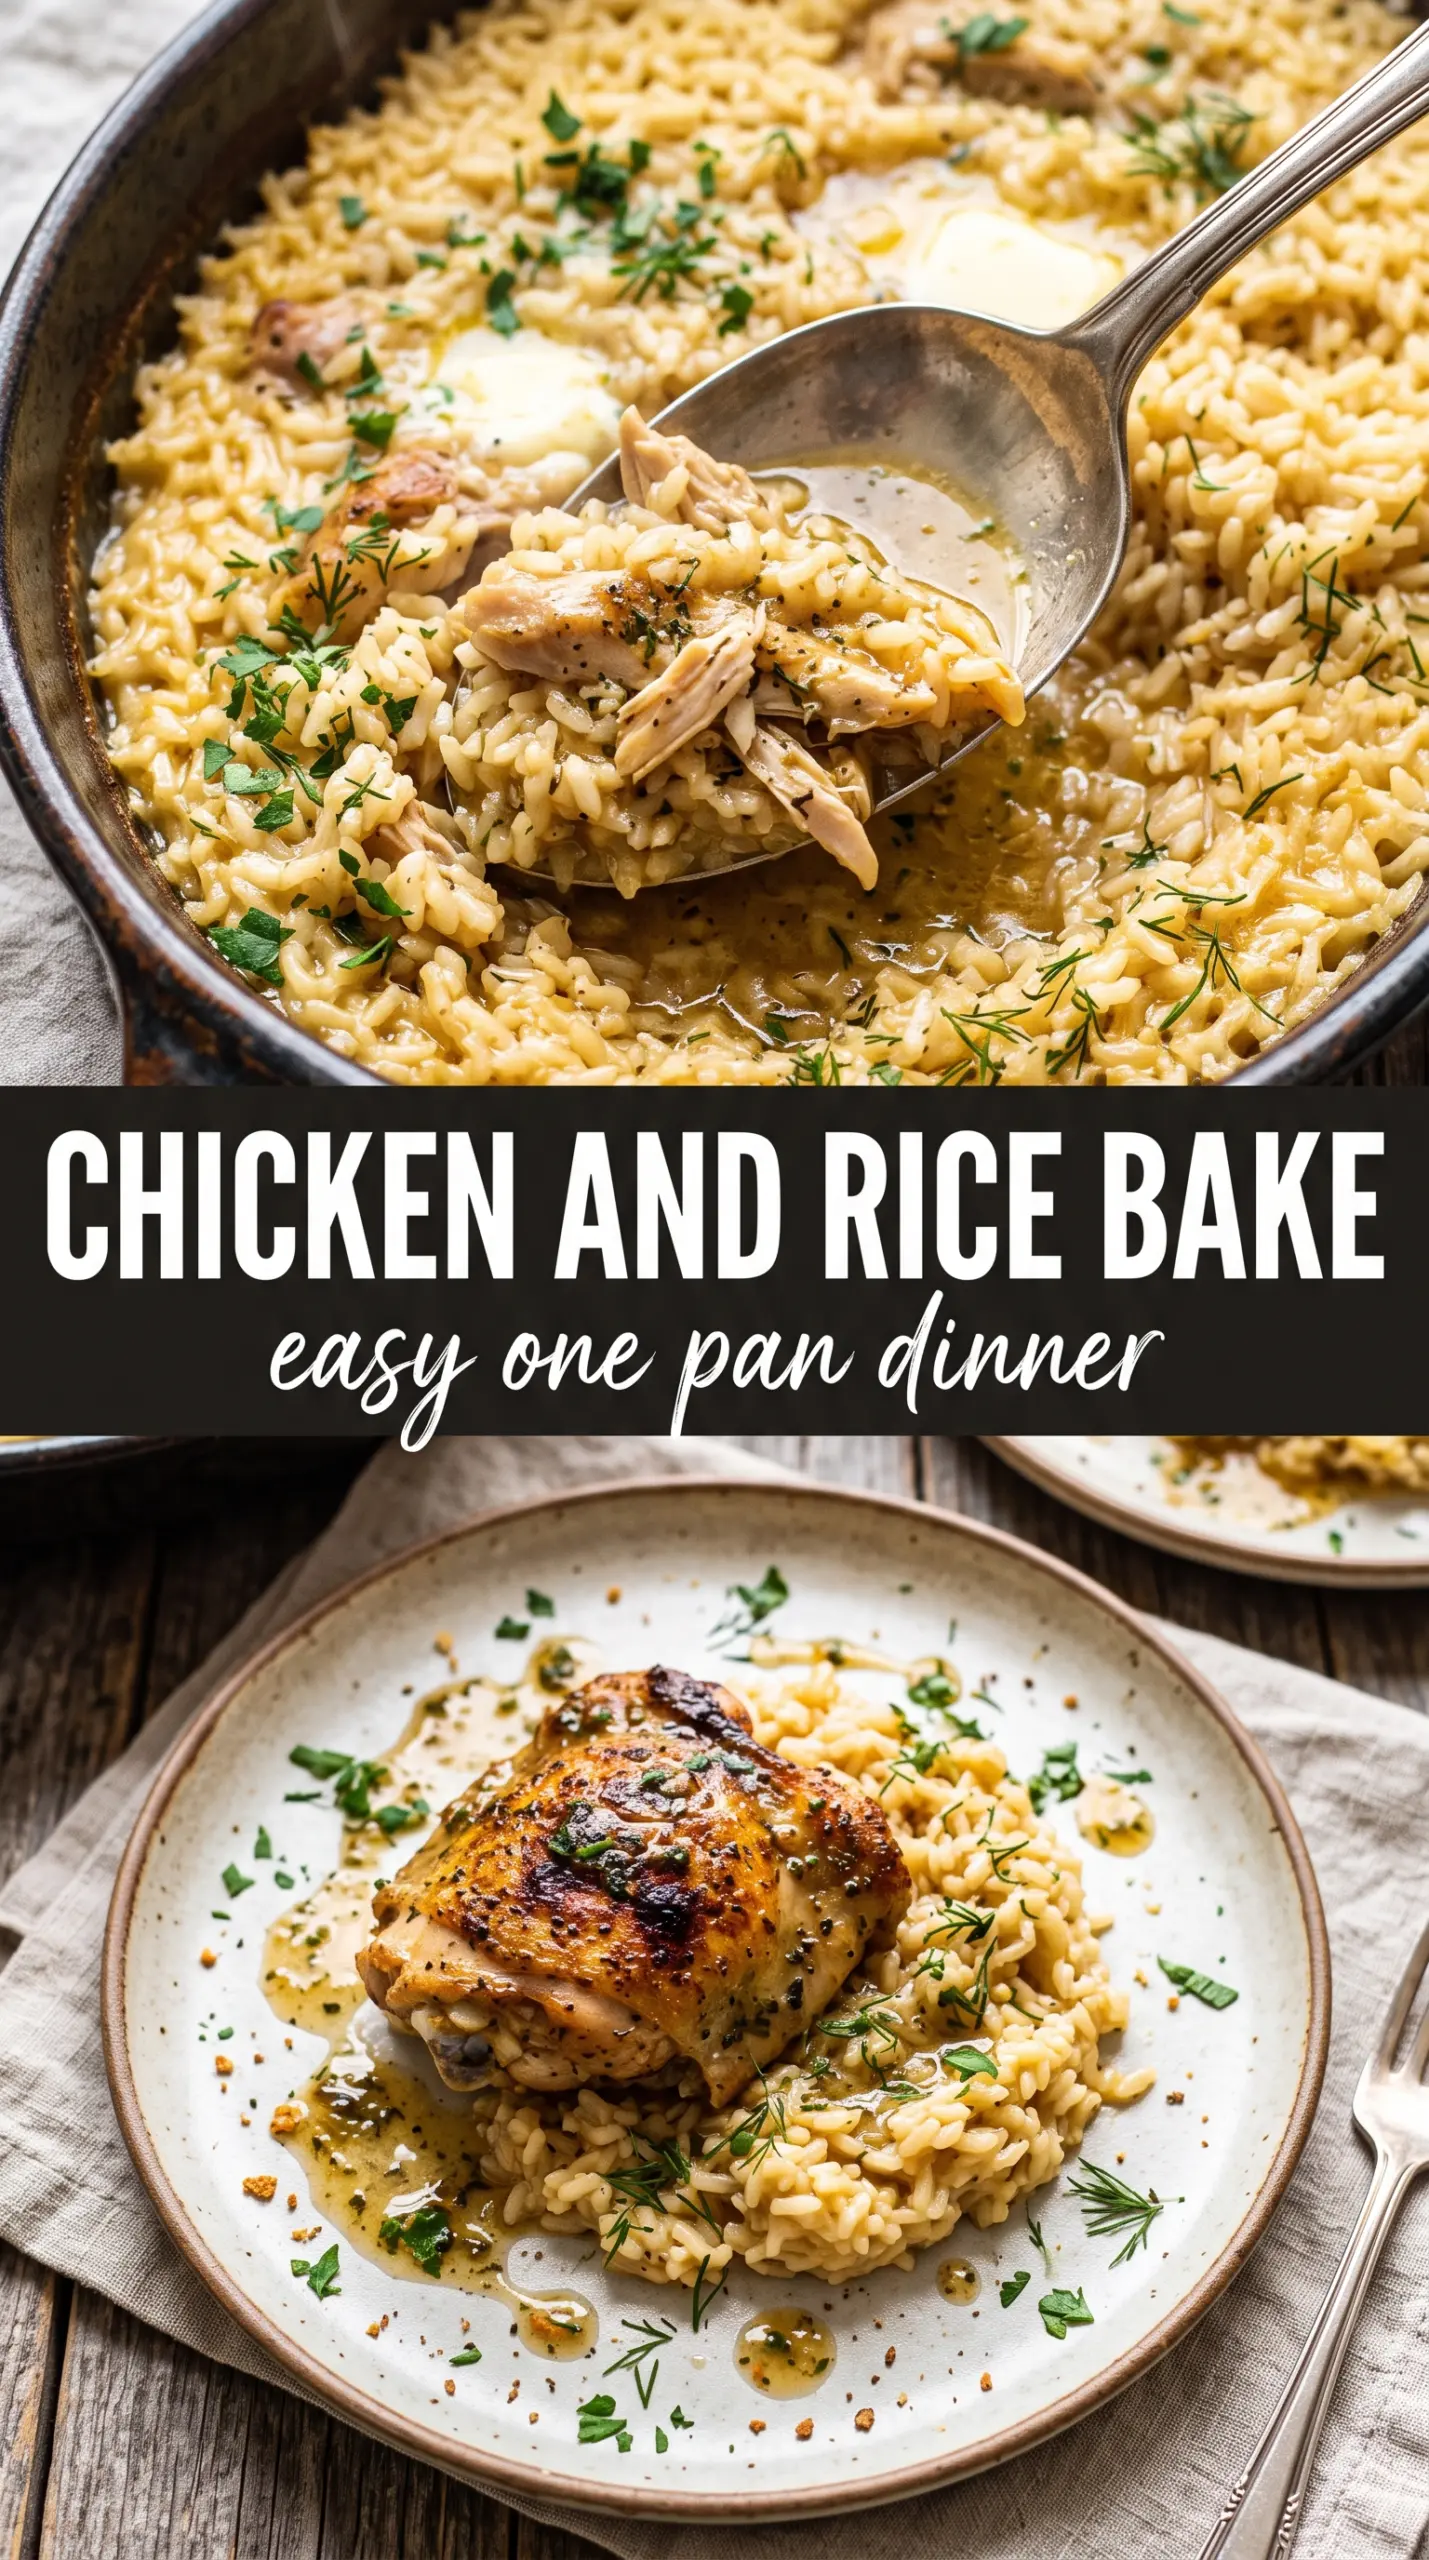
- Bone-in, skin-on chicken thighs — These bring the fat and flavor that make the rice taste rich instead of plain. Boneless thighs will cook faster, but they won’t give you the same drippings or the same crisp top. If you swap, reduce the oven time and start checking earlier so the rice doesn’t overcook while the chicken catches up.
- Long-grain white rice — This is the rice that stays fluffy in a baked dish. Short-grain rice turns sticky, and brown rice needs more liquid and a much longer cook. If you only have jasmine rice, it works, but keep an eye on it because it can soften a little faster than standard long-grain rice.
- Chicken broth — This is the liquid that seasons the rice from the inside out. Water will work in a pinch, but the dish will taste flatter unless you add more salt. A low-sodium broth is the safest choice because the chicken seasoning and pan drippings add their own salt.
- Onion, garlic, thyme, and Italian seasoning — These build the base flavor before the oven even turns on. The onion softens into the rice, the garlic mellows as it bakes, and the herbs keep the whole dish from tasting one-note. Fresh thyme can replace dried thyme at a 3:1 ratio if that’s what you have.
- Olive oil — A light drizzle helps the skin turn golden instead of pale and dry. You don’t need much, but the oil helps the seasonings cling and encourages browning once the foil comes off.
How to Bake It So the Rice Stays Fluffy and the Chicken Skin Gets Crisp
Building the Rice Base
Mix the uncooked rice, broth, onion, garlic, thyme, Italian seasoning, and salt right in the baking dish. Stir until the rice looks evenly distributed and no dry pockets are hiding in the corners, because those dry spots stay hard even after the rest of the pan is done. The liquid should look loose and soupy at this stage; that’s normal and necessary for proper steaming.
Seasoning and Nestling the Chicken
Pat the chicken dry before seasoning it well on all sides. Dry skin browns; damp skin steams. Nestle each thigh skin-side up so it sits on the rice instead of disappearing into it, and leave a little space if you can. Crowding traps steam and softens the skin, which is the opposite of what you want here.
The Covered Bake
Cover the dish tightly with foil and bake for 40 minutes. Tight foil is the difference between tender rice and undercooked, patchy rice because it holds the steam in place. If the foil is loose, the top can dry out before the grain is done, so press the edges sealed around the dish.
The Uncovered Finish
Remove the foil and bake for another 15 minutes, until the chicken skin turns golden and the rice has absorbed the liquid. If the top still looks wet when time is up, give it a few more minutes uncovered rather than covering it again. You’re looking for visible steam to slow down, edges that look set, and chicken skin that has taken on a deeper color and feels crisp when tapped with a spoon.
How to Adapt This for a Smaller Pan, Different Chicken, or a Dairy-Free Table
Use chicken breasts instead of thighs
Chicken breasts cook faster and dry out sooner, so they need a shorter uncovered finish. Start checking early, and pull the pan when the thickest part reaches doneness even if the rice still needs a couple more minutes. You’ll lose some richness from the skin and drippings, but the dish still works if you keep the breasts on the thicker side.
Make it dairy-free
This recipe is already naturally dairy-free as written, which is one reason it’s such a dependable weeknight pan dinner. The broth and chicken fat do all the heavy lifting, so you don’t need cream or butter to get a rich result. Keep using a broth you like because that’s the main flavor base for the rice.
Add vegetables without upsetting the texture
Small diced carrots, peas, or chopped bell pepper can go into the rice mixture before baking. Keep the pieces small so they cook through in the same time as the rice, and avoid watery vegetables like zucchini unless you sauté them first. Too much extra moisture can leave the rice soft on top and undercooked underneath.
Storage and Reheating
- Refrigerator: Store leftovers in an airtight container for up to 4 days. The rice firms up as it chills, but the flavor stays good.
- Freezer: This freezes well in portions. Cool it completely, wrap tightly, and freeze for up to 2 months. The rice softens a little after thawing, but it still reheats well.
- Reheating: Reheat covered in a 325°F oven with a splash of broth or water until hot. The extra liquid keeps the rice from drying out, which is the most common mistake with leftovers. A microwave works too, but stop halfway to stir the rice so the edges don’t turn tough.
Answers to the Questions Worth Asking
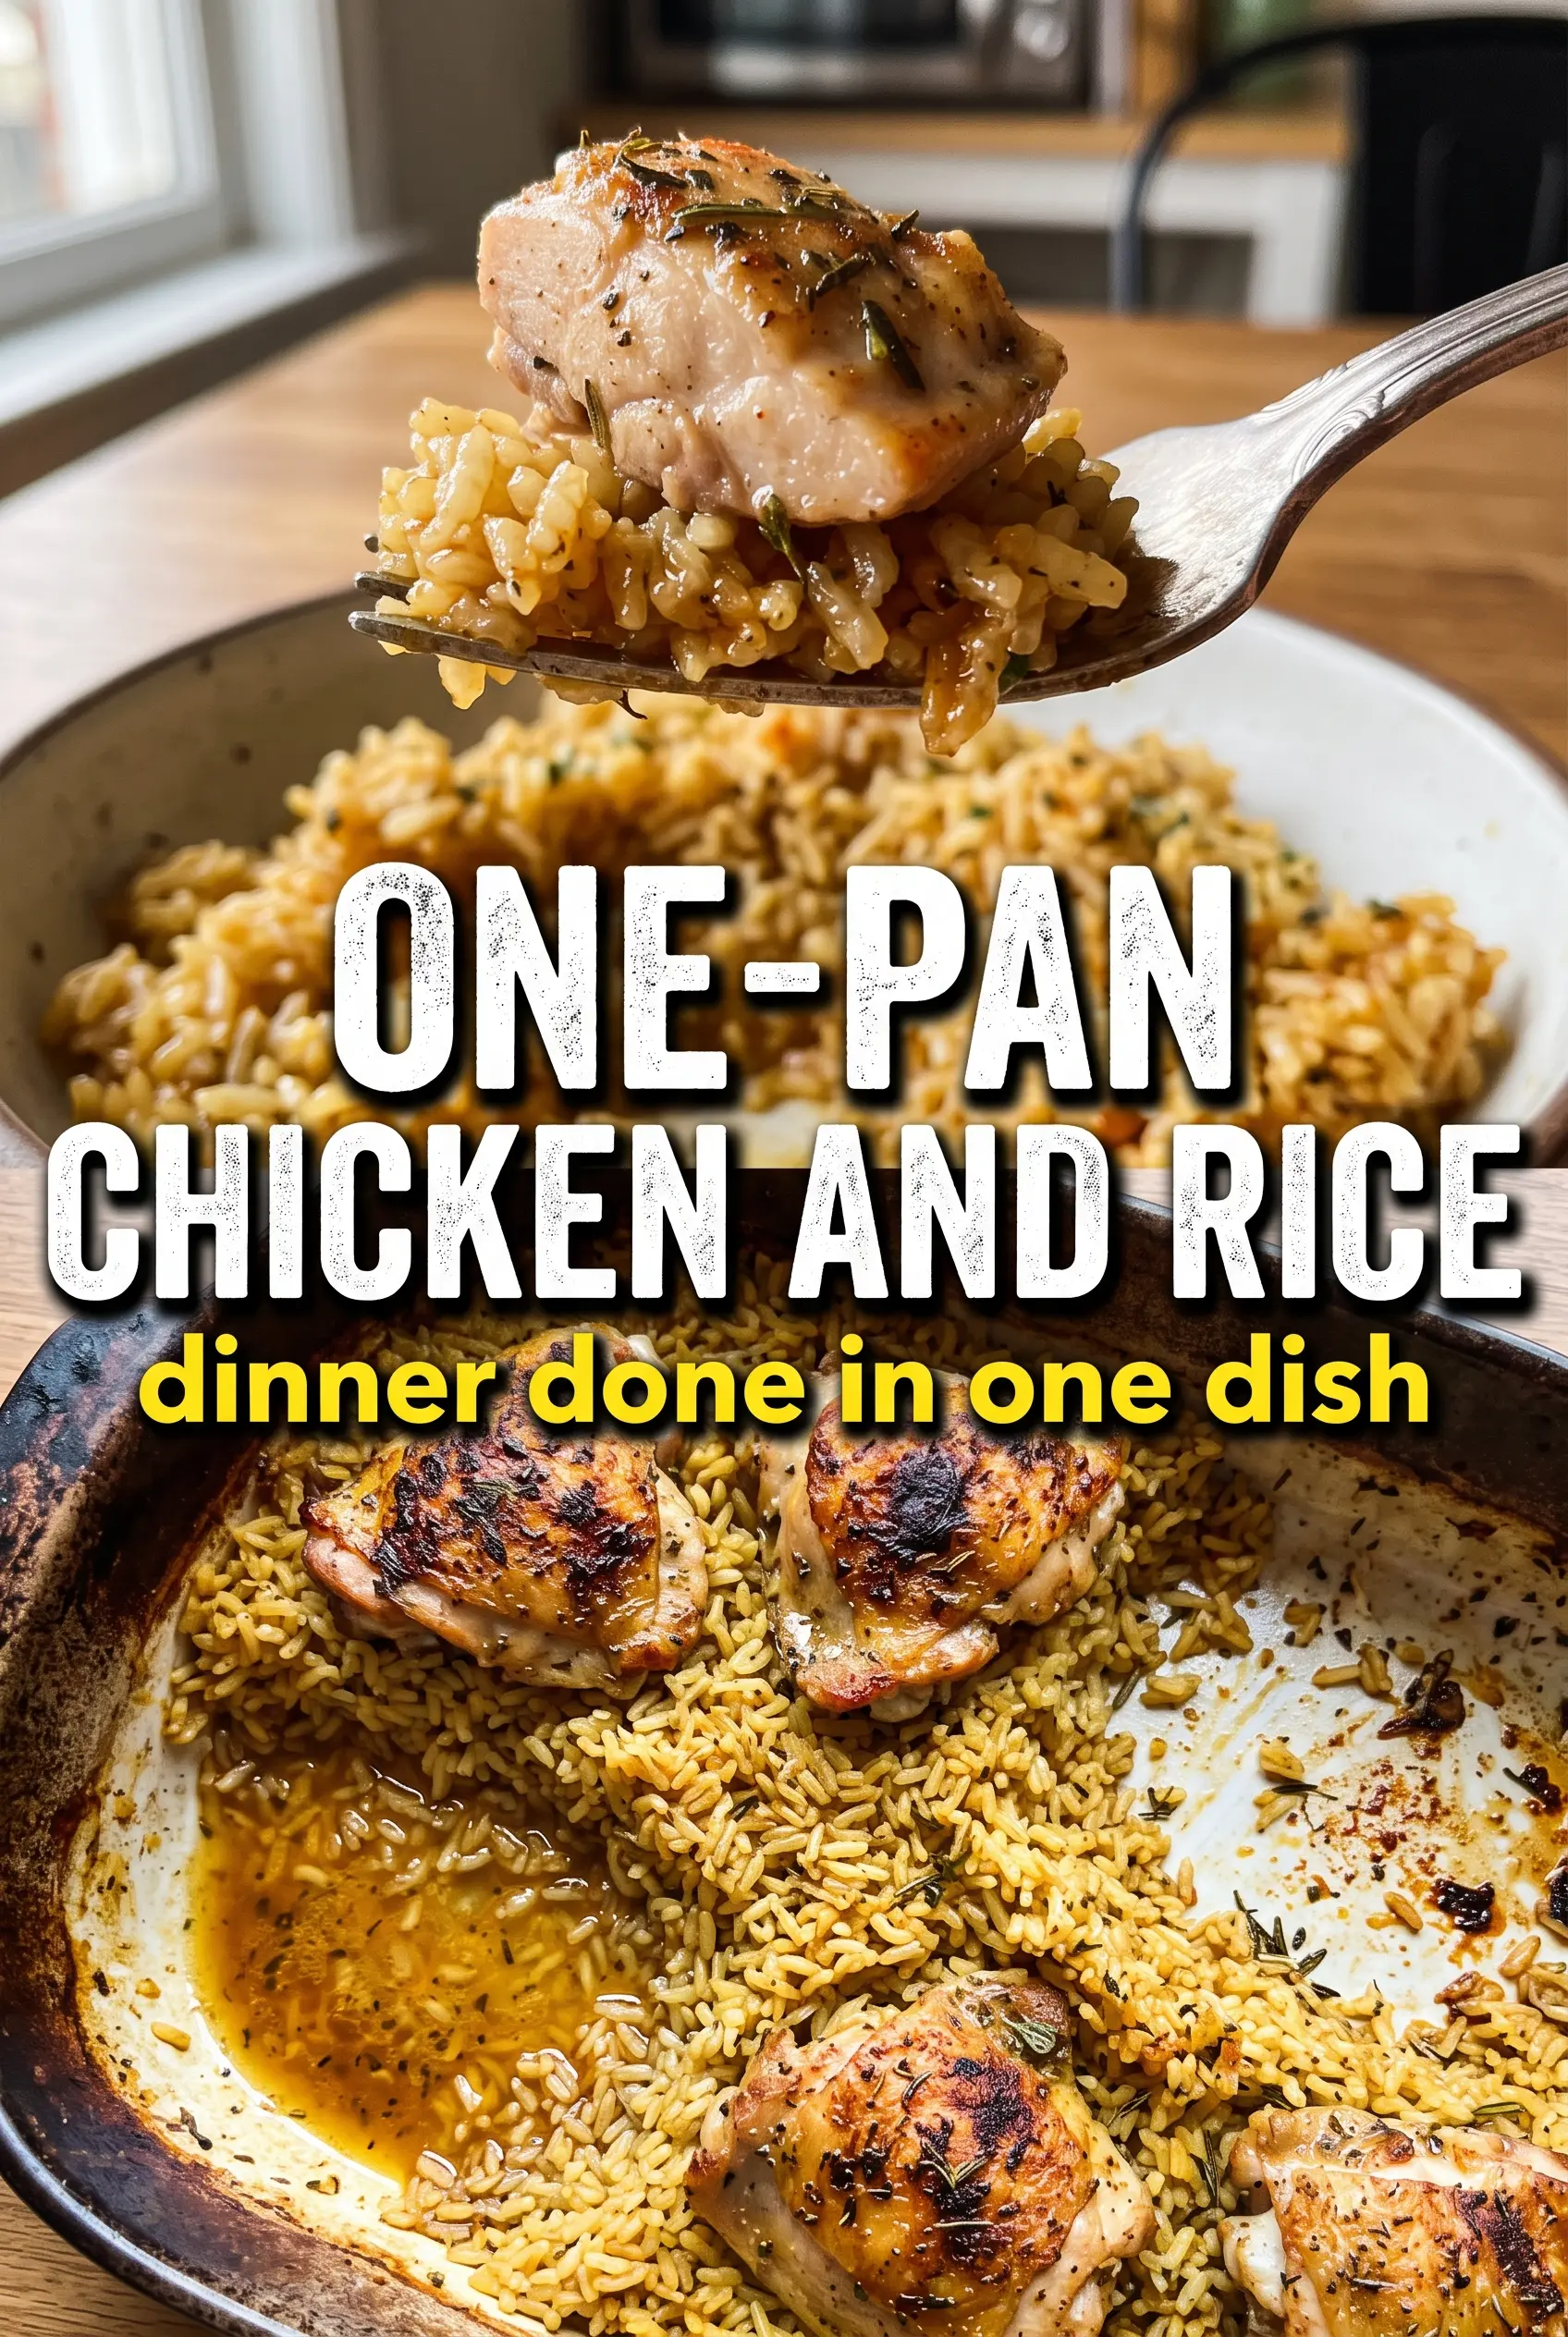
One-Pan Chicken and Rice Bake
Ingredients
Equipment
Method
- Preheat the oven to 375°F.
- Mix the long-grain white rice, chicken broth, diced medium onion, minced cloves garlic, dried thyme, dried Italian seasoning, and salt in a 9x13 baking dish, then stir to combine.
- Season the bone-in skin-on chicken thighs generously on all sides with pepper, garlic powder, and paprika, plus Italian seasoning to taste.
- Nestle the chicken skin-side up on top of the rice mixture, then drizzle with olive oil.
- Cover tightly with foil and bake for 40 minutes.
- Remove the foil and bake for another 15 minutes, until the skin is golden and the rice has absorbed all liquid.
- Garnish with fresh parsley and serve directly from the baking dish.