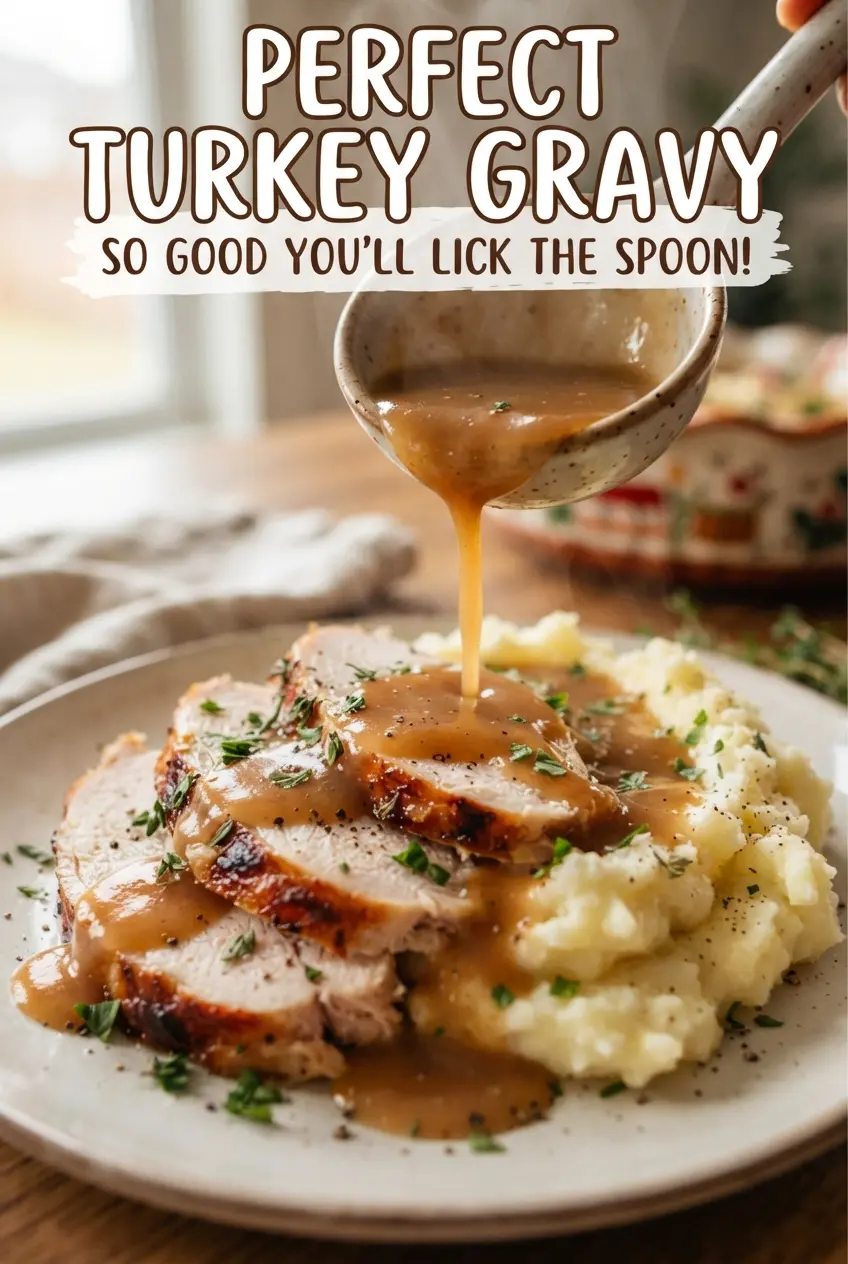
Silky turkey gravy changes the whole plate. It should cling to mashed potatoes in a glossy ribbon, settle into the creases of sliced turkey, and taste like the best parts of the roast pulled together into one spoonful. This version stays smooth, deepens in color as it cooks, and has enough body to hold its shape for a moment before melting into everything underneath it.
The trick is starting with the fat from the roasting pan and cooking the flour long enough to lose that raw edge. That step gives the gravy a nutty backbone and keeps it from tasting pasty. Warm stock matters too. Cold liquid slows everything down and makes lumping more likely, while warm stock lets the roux loosen evenly and thicken into that classic silky finish.
Below, I’ve included the small details that keep gravy from going grainy or thin, plus the one seasoning move that makes the flavor taste rounder without turning it salty.
The gravy turned out smooth and glossy, and the thyme with just a little soy sauce gave it that deep turkey flavor I usually only get at the holiday table.
Save this turkey gravy for the moment the pan drippings, warm stock, and thyme come together into a smooth, spoon-coating sauce.
The Roux Is Where Gravy Either Sings or Turns Pastier Than It Should
The flour has to cook in the fat long enough to lose its raw, dusty taste, but not so long that it darkens past golden brown and starts tasting bitter. That middle ground is what gives turkey gravy its clean, roasted flavor. If the roux is undercooked, the gravy can taste chalky even when the seasoning is right. If it’s overcooked, it can thin out less predictably and lose the gentle body you want on the plate.
The other place people run into trouble is the stock. Add it gradually and whisk constantly, especially at the start. The roux needs a few seconds to absorb each splash before the next one goes in. That’s what keeps the sauce smooth instead of lumpy, and it’s why warm stock works better than cold stock for this style of gravy.
What the Pan Drippings and Soy Sauce Are Actually Doing Here

- Turkey pan drippings — This is the flavor base. The fat carries roasted turkey flavor, and the browned bits from the pan bring depth you can’t fully fake with butter alone. If your drippings are scarce, use butter for the fat and add every drop of strained pan juice you have.
- Warm turkey or chicken stock — Warm liquid blends into the roux more smoothly and gets the gravy thickening faster. Chicken stock works fine if turkey stock isn’t available, but choose one that tastes savory rather than aggressively salty.
- Thyme — Fresh thyme gives the gravy a clean herbal note that cuts through the richness. Dried thyme will work in a pinch, but use less because it reads sharper and can take over if you’re heavy-handed.
- Soy sauce — This doesn’t make the gravy taste like soy sauce. It deepens the color and adds a little umami, which makes the gravy taste more roasted and complete. Worcestershire can work too, but it brings a different kind of tang.
Building the Gravy So It Stays Silky
Start With the Fat, Not Just the Drippings
Pour the roasting pan drippings into a measuring cup and let the fat rise to the top, then spoon off what you need. That fat is what carries the roux, so the texture depends on it. If there isn’t enough turkey fat to reach 1/4 cup, top it off with butter and carry on. A good gravy is flexible at this stage, and the flavor still lands because the pan juices go in later.
Cook the Roux Until It Smells Toasty
Whisk the flour into the hot fat over medium heat and keep it moving for 3 to 4 minutes. You’re looking for a pale golden color and a smell that shifts from raw flour to something nutty. If it gets too dark, the gravy can taste harsh, so don’t walk away. The roux should look smooth and slightly foamy before you add the stock.
Whisk in the Stock a Little at a Time
Add the warm stock slowly at first, whisking hard until the mixture loosens, then pour in the rest in a steady stream. This is the point where most lumps form, and they happen when cold liquid hits flour all at once. If the gravy looks bumpy, keep whisking over gentle heat; many small lumps smooth out as the sauce comes up to temperature. Add the strained pan juices here too so they become part of the base instead of getting lost at the end.
Finish With Simmer Time and Seasoning
Stir in the thyme and soy sauce, then let the gravy simmer for 8 to 10 minutes until it lightly coats the back of a spoon. It should look glossy, not gluey. If it gets too thick, splash in a little more warm stock. Season with salt and pepper at the end, then strain it if you want a perfectly smooth finish for serving.
Ways to Adjust This Gravy Without Losing the Good Part
Make It With Butter Instead of Pan Drippings
If you don’t have enough turkey fat, use butter for all or part of the roux base. You’ll lose a little roasted intensity, but the gravy will still be rich and smooth. Add the pan juices and a touch of soy sauce to bring back the savory depth.
Gluten-Free Gravy
Swap the all-purpose flour for a gluten-free flour blend that thickens one-for-one, or use a cornstarch slurry if that’s what you keep on hand. The texture will be a little glossier and slightly lighter, but it still coats a spoon well. Cornstarch should go in near the end, since boiling it too hard can make the texture thin out again.
Dairy-Free and Naturally Rich
This recipe is already dairy-free if you use turkey fat or a neutral oil instead of butter. What matters most is keeping the fat-to-flour ratio steady so the gravy thickens properly. If you use oil, choose one with a clean taste; olive oil can work, but it adds its own flavor.
Make It Ahead for a Crowd
Gravy thickens as it cools, so when you make it ahead, stop cooking while it’s a little looser than you want. Reheat it gently with a splash of stock, and whisk until it looks silky again. That keeps it from turning pasty on the table.
Storage and Reheating
- Refrigerator: Store in an airtight container for up to 4 days. It will thicken as it chills.
- Freezer: It freezes well for up to 2 months, though the texture can loosen a little after thawing. Freeze in a flat, sealed container and whisk well after reheating.
- Reheating: Warm it slowly over low heat with a splash of stock or water. Don’t boil it hard, or it can break and turn grainy before it smooths back out.
Questions I Get Asked About This Recipe
Perfect Turkey Gravy
Ingredients
Equipment
Method
- Pour the roasting pan drippings into a measuring cup and let the fat rise to the top.
- Spoon 1/4 cup of the fat into a saucepan over medium heat — whisk in flour.
- Cook the roux 3-4 minutes, whisking constantly, until golden brown.
- Gradually whisk in warm stock and the defatted pan juices until smooth.
- Add thyme and soy sauce — simmer 8-10 minutes, whisking occasionally, until thick enough to coat a spoon.
- Season with salt and pepper to taste.
- Strain if desired and serve hot.