Pumpkin season is here, and I’m so excited to share two of my favorite fall dessert recipes with you. If you love the creamy taste of cheesecake and the warm spices of pumpkin, you’re absolutely in the right place.
These recipes for pumpkin cheesecake bars are simple to make and perfect for sharing with family and friends. I’ll walk you through each one, making sure your kitchen smells amazing and your dessert plate looks fantastic for any autumn gathering.
Jump to Recipe:
Perfect Pumpkin Cheesecake Bars for Fall
These pumpkin cheesecake bars are a classic fall treat that everyone loves. They feature a smooth, creamy pumpkin cheesecake layer on a buttery graham cracker crust, making them a wonderful dessert for any occasion.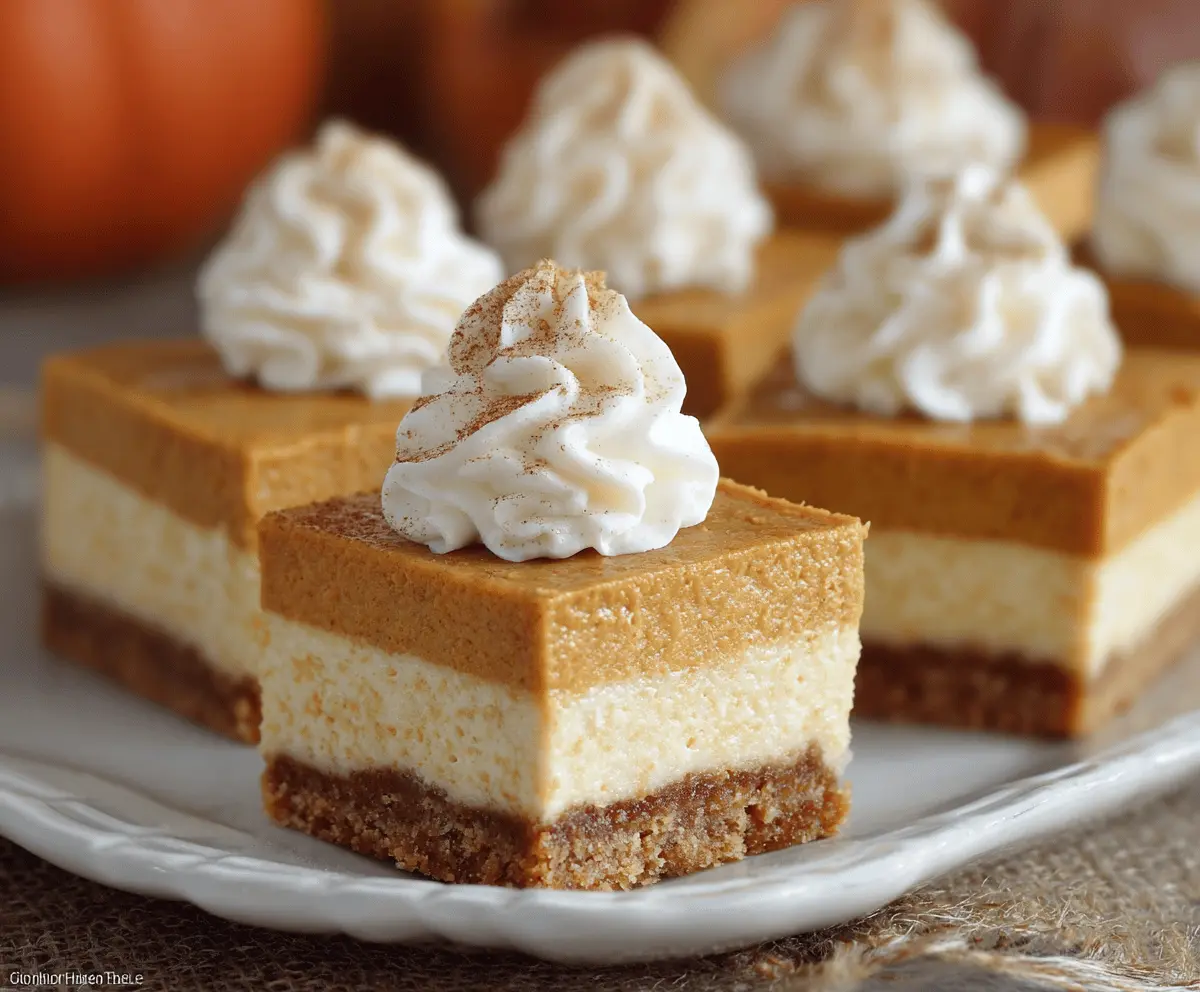
Key Ingredients & Tips for Pumpkin Cheesecake
- Room Temperature Cream Cheese: Use full-fat cream cheese that has softened at room temperature. This helps you get a very smooth, lump-free cheesecake filling.
- Quality Pumpkin Puree: Make sure you are using 100% pure pumpkin puree, not pumpkin pie filling, for the best flavor and texture in your bars.
What You Need for Pumpkin Cheesecake Bars
- 1 ½ cups graham cracker crumbs
- ¼ cup granulated sugar
- ½ cup unsalted butter, melted
- 2 (8-ounce) blocks cream cheese, softened
- ½ cup granulated sugar
- 1 cup canned pumpkin puree
- 2 large eggs
- 1 tsp pumpkin pie spice
- ½ tsp vanilla extract
⏱️ Time: 1 hour 15 mins🍽️ Yields: 16 bars
How to Make Pumpkin Cheesecake Bars
Step 1: Prepare the Graham Cracker Crust
First, preheat your oven to 350°F (175°C). In a medium bowl, mix the graham cracker crumbs and ¼ cup granulated sugar. Stir in the melted butter until it’s all combined. Press this mixture firmly into the bottom of a 9×13 inch baking pan. Bake the crust for 8-10 minutes, or until it looks lightly golden. Let it cool slightly.
Step 2: Make the Pumpkin Cheesecake Filling
While the crust cools, beat the softened cream cheese and ½ cup granulated sugar in a large bowl until it’s very smooth. Add the pumpkin puree, eggs, pumpkin pie spice, and vanilla extract. Mix everything together just until it’s well combined and creamy. Pour this delicious filling over your prepared crust.
Step 3: Bake and Chill Your Bars
Bake the bars for 45-55 minutes. The edges should be set, but the center might still be a little jiggly. Turn off the oven and let the bars cool inside with the door slightly ajar for 15 minutes, then remove them and let them cool completely on a wire rack. Once fully cooled, chill them in the refrigerator for at least 4 hours before cutting into bars and serving.
📝 Final Note on Storage
For the best results, always store any leftover pumpkin cheesecake bars in an airtight container in the refrigerator. They will stay fresh and tasty for up to 3-4 days.
Creamy Pumpkin Pie Cheesecake Bars Recipe
These bars perfectly combine the comforting flavors of a classic pumpkin pie with the rich texture of a cheesecake. They’re a fantastic, crowd-pleasing dessert for the holidays or any time you want a special sweet treat.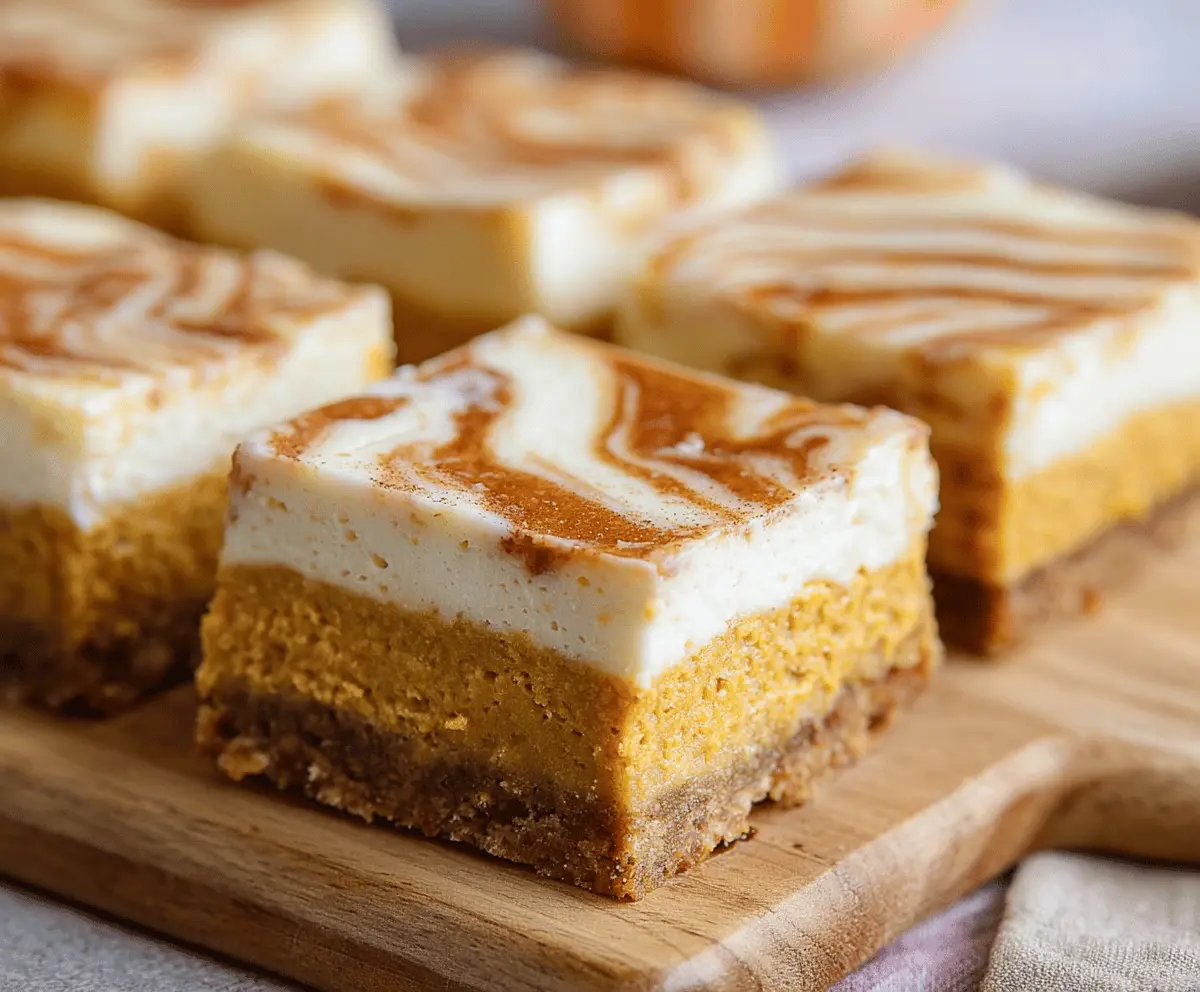
Key Ingredients & Tips for Pumpkin Pie Cheesecake
- Pre-made Pie Crust: Using a store-bought, refrigerated pie crust makes these bars quick and easy. This is a great shortcut for busy bakers.
- Chill Time is Important: These bars need ample time to chill in the refrigerator. This helps them set up completely, giving you clean, beautiful slices.
What You Need for Pumpkin Pie Cheesecake Bars
- 1 (14.1-ounce) refrigerated pie crust, rolled out
- 2 (8-ounce) blocks cream cheese, softened
- ½ cup packed light brown sugar
- 1 cup canned pumpkin puree
- 2 large eggs
- ½ cup heavy cream
- 1 ½ tsp pumpkin pie spice
- 1 tbsp cornstarch
⏱️ Time: 1 hour 30 mins🍽️ Yields: 12 bars
How to Make Pumpkin Pie Cheesecake Bars
Step 1: Prepare the Pie Crust
First, preheat your oven to 375°F (190°C). Carefully press the rolled-out refrigerated pie crust into a 9×9 inch baking dish. Prick the bottom of the crust several times with a fork. If you like a crispier bottom, you can blind bake it for about 10 minutes, then let it cool slightly before adding the filling.
Step 2: Mix the Delicious Filling
In a large bowl, beat the softened cream cheese with the brown sugar until the mixture is light and fluffy. Add the pumpkin puree, eggs, heavy cream, pumpkin pie spice, and cornstarch. Mix everything until the filling is very smooth and well combined. Pour this delicious mixture evenly into your prepared pie crust.
Step 3: Bake and Thoroughly Chill
Bake the bars for 50-60 minutes, or until the edges are set and the center has only a slight jiggle. Let the bars cool completely at room temperature on a wire rack. Once cooled, transfer them to the refrigerator to chill for at least 6 hours, or even better, overnight. This will ensure perfect slices when you cut and serve them.
📝 Final Note on Serving
These pumpkin pie cheesecake bars are wonderful on their own, but a dollop of fresh whipped cream or a sprinkle of extra cinnamon on top makes them extra special. They truly taste even better the day after they are made!