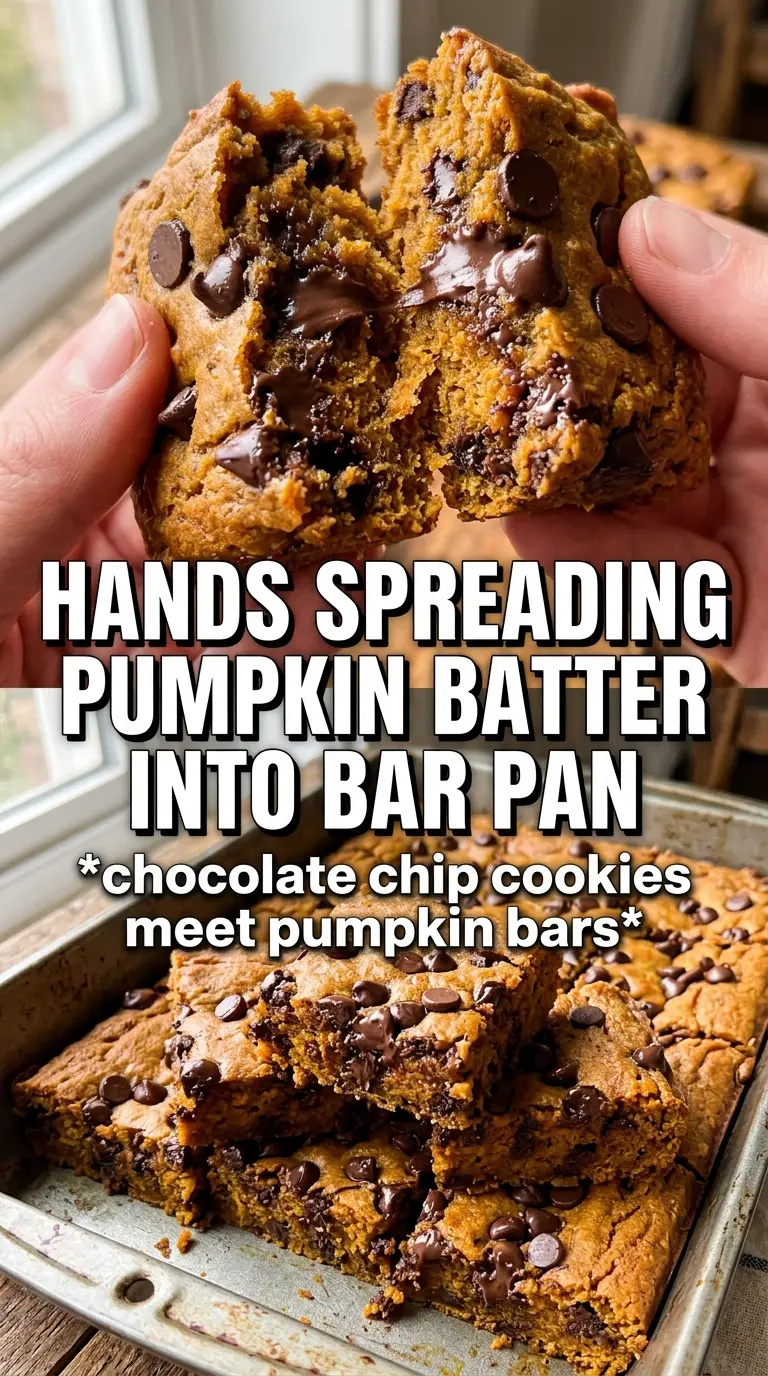
These pumpkin chocolate chip bars bake up soft, thick, and tender with that unmistakable pumpkin-spice aroma running straight through every bite. The crumb stays moist for days, but the top sets just enough to hold a generous layer of chocolate chips without feeling cakey or heavy. They slice cleanly once cooled, which makes them the kind of dessert that disappears fast from a potluck tray and still works beautifully for an afternoon snack with coffee.
What makes this version work is the balance. Pumpkin brings moisture and body, while oil keeps the bars plush instead of dry. A full teaspoon of vanilla and two sugars give the batter enough depth to keep the chocolate from tasting flat, and the spice blend is strong enough to show up without overpowering the pumpkin. If you’ve ever had pumpkin bars turn gummy in the middle, the fix is simple: mix just until the flour disappears and pull them when the center is set instead of waiting for them to brown heavily.
Below you’ll find the one thing that matters most for a tender crumb, plus the swaps that still keep these bars soft and sliceable.
The bars came out incredibly moist and the chocolate stayed in little pockets instead of sinking. I baked them 29 minutes and they cut perfectly once cooled, even the next day.
Pumpkin chocolate chip bars stay soft, slice cleanly, and keep the chocolate in every bite.
The Part That Keeps Pumpkin Bars Tender Instead of Heavy
Pumpkin bars can tip into dense and gummy if the batter gets overworked or if they stay in the oven until the top is deeply browned. That isn’t a sign of doneness here. The better cue is a set center and a toothpick that comes out mostly clean, with a few moist crumbs at most. The bars finish setting as they cool in the pan, which is why cutting them early turns the middle into a mess.
Oil plays a bigger role than butter in this recipe. It coats the flour more evenly and keeps the crumb soft even after the bars have sat overnight. The pumpkin puree adds moisture, but it also weighs the batter down, so the baking soda and baking powder need to be fully whisked into the dry ingredients before they meet the wet mixture. That keeps the lift even instead of patchy.
- Pumpkin puree — Use pure pumpkin, not pie filling. Pie filling is already sweetened and spiced, which throws off both the flavor and the texture.
- Vegetable oil — This is what keeps the bars plush. Melted butter can work in a pinch, but the crumb will be a little firmer and less tender the next day.
- Brown sugar — It adds a deeper, almost caramel note that plays well with the chocolate chips. If you use only white sugar, the bars taste flatter.
- Chocolate chips — Semi-sweet chips hold their shape best against the sweet batter. Mini chips spread more evenly if you want chocolate in every forkful.
What Each Ingredient Is Actually Doing in These Bars
- All-purpose flour — Gives the bars enough structure to slice cleanly. A 1:1 gluten-free baking blend can work, but the texture will be a touch more delicate.
- Pumpkin pie spice and cinnamon — The spice blend gives the bars their warm background flavor, while extra cinnamon keeps the pumpkin from tasting muddy. If your pumpkin pie spice is old, the bars will taste dull, so use a fresh jar if you have one.
- Baking soda and baking powder — This combination gives lift without making the bars cakey. The soda reacts with the pumpkin and sugar for browning, while the baking powder helps the batter rise evenly.
- Eggs — They bind the batter and help the bars set in the middle. Room-temperature eggs mix in more smoothly, but cold eggs will still work if you whisk the batter well.
- Vanilla — It rounds out the pumpkin and chocolate so the bars taste fuller. It doesn’t need to be expensive, just real vanilla extract.
Mixing and Baking the Bars Without Losing the Soft Crumb
Whisk the Dry Ingredients First
Start by whisking the flour, spices, baking soda, baking powder, and salt together until the color looks even. You want the leavening and spice spread through the flour before anything gets wet, because uneven mixing shows up as bitter pockets or patchy rise. If you skip this step and dump everything together at once, the bars can bake with streaks of unmixed spice or a few dense spots.
Build the Pumpkin Batter Until Smooth
Whisk the pumpkin puree, both sugars, oil, eggs, and vanilla until the mixture looks glossy and completely blended. The sugar should be mostly dissolved into the wet ingredients, and the batter will look thick but pourable. If it still looks streaky, keep whisking a little longer; those streaks can leave you with unevenly sweet bars and a patchy texture.
Fold, Don’t Beat
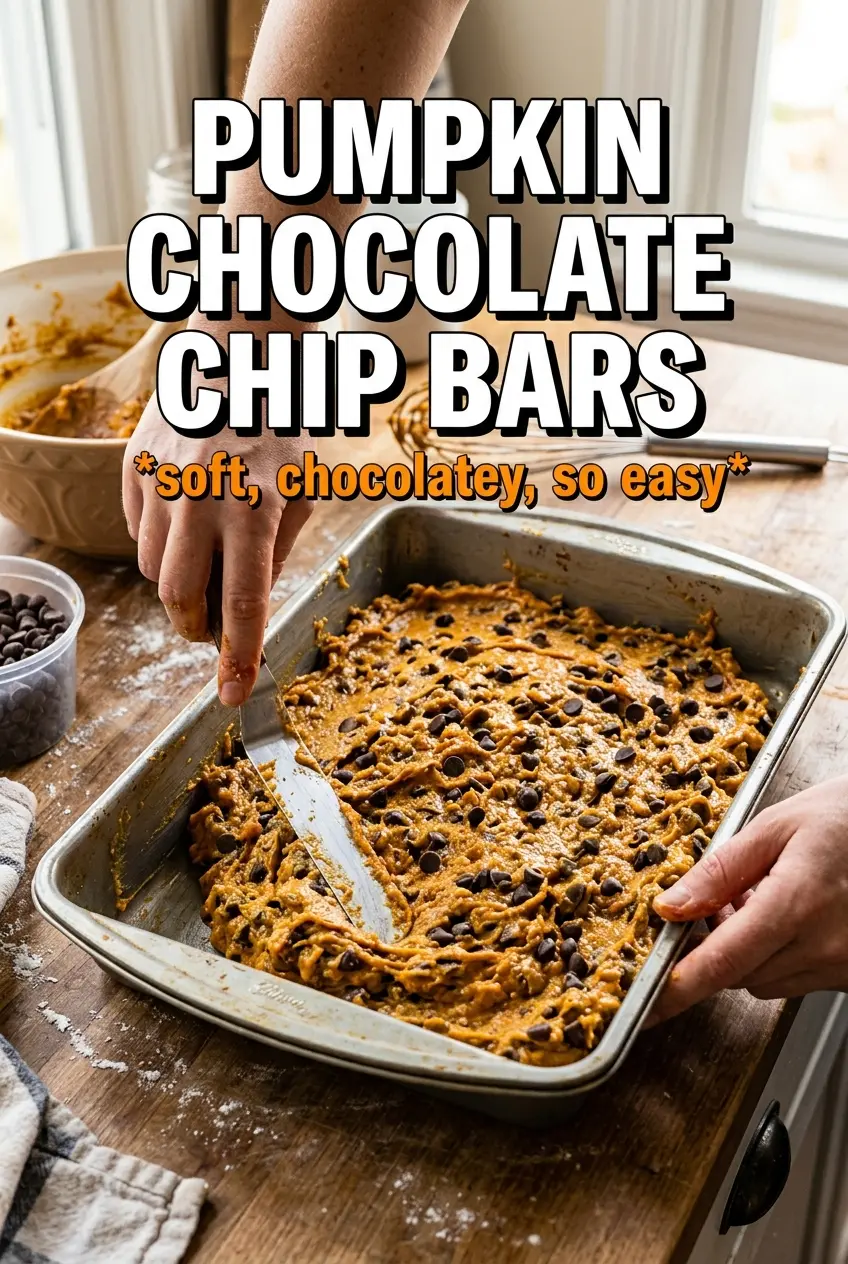
Add the dry ingredients to the wet mixture and fold just until no dry flour remains, then fold in the chocolate chips. Stop as soon as the batter comes together. Overmixing builds too much gluten and turns a soft bar into something closer to quick bread, which is the fastest way to lose that tender crumb.
Bake Until the Center Is Set
Spread the batter evenly in a greased 9×13 pan and bake at 350°F for 25 to 30 minutes. The top should look matte, the edges will pull slightly from the pan, and a toothpick inserted in the center should come out clean or with a few moist crumbs. If the toothpick comes out coated in wet batter, give it a few more minutes; if you wait for deep browning, the bars will dry out before the middle catches up.
Use Walnuts for a Little Crunch
Replace 1 cup of the chocolate chips with chopped walnuts if you want more texture and a slightly more grown-up finish. The nuts keep the bars from feeling too soft, but they also make the bars less kid-friendly and a little more rustic.
Make Them Dairy-Free
These bars are already dairy-free as written if your chocolate chips are dairy-free too. That keeps the texture unchanged, which is one of the nice things about using oil instead of butter.
Gluten-Free Version
Swap the flour for a cup-for-cup gluten-free baking blend that includes xanthan gum. The bars will still be moist, but they may crumble a little more when warm, so let them cool completely before cutting.
Turn Them Into Muffin Bars
Bake the batter in lined muffin cups for about 18 to 22 minutes. You’ll get a more portable, cupcake-like version with crisp edges and a slightly taller rise, though the centers won’t stay quite as soft as the 9×13 pan version.
Storage and Reheating
- Refrigerator: Store in an airtight container for up to 5 days. The bars stay moist, though the chocolate firms up a bit when chilled.
- Freezer: They freeze well. Wrap individual bars tightly and freeze for up to 2 months, then thaw at room temperature.
- Reheating: Warm a bar in the microwave for 10 to 15 seconds if you want the chocolate soft again. Don’t overheat them or the crumb turns dry at the edges.
Questions I Get Asked About This Recipe
Pumpkin Chocolate Chip Bars
Ingredients
Equipment
Method
- Preheat oven to 350°F and grease a 9x13 pan with a light coating so the bars release cleanly.
- Whisk all-purpose flour, pumpkin pie spice, cinnamon, baking soda, baking powder, and salt until evenly combined and no streaks remain.
- Whisk pumpkin puree, granulated sugar, brown sugar, vegetable oil, eggs, and vanilla until smooth, thick, and glossy.
- Fold the flour mixture into the wet mixture just until combined to keep the crumb tender.
- Fold in semi-sweet chocolate chips until evenly distributed like dark pockets throughout the batter.
- Spread the batter evenly in the greased 9x13 pan and level the top for consistent baking.
- Bake 25-30 minutes at 350°F until a toothpick inserted in the center comes out clean or with just a few moist crumbs.
- Cool completely before cutting so the bars set and slice cleanly without crumbling.