Pumpkin chocolate chip cookies are at their best when the edges set into a light caramel crunch and the centers stay soft, almost fudgy, with little pools of melted chocolate in every bite. The pumpkin brings warmth and color, but it also brings moisture, which is where most versions go wrong. When these cookies are handled the right way, they bake up thick enough to hold their shape and tender enough to feel rich instead of cakey.
The difference here is in the prep. Blotting the pumpkin dry sounds fussy, but it keeps the dough from turning into a wet batter and lets the cookies spread just enough in the oven. Using only the egg yolk helps too, since the extra white would add more water than this dough needs. That combination gives you cookies with crisp edges, a soft center, and chocolate that stays in distinct puddles instead of disappearing into the dough.
Below, I’ll walk through the one step people skip most often, plus the easiest way to store these so they still taste fresh the next day.
The pumpkin flavor came through without making the cookies cakey, and the edges actually got those little crisp bits I was hoping for. Blotting the puree made a bigger difference than I expected.
Love these pumpkin chocolate chip cookies? Save them for the days when you want soft centers, crisp edges, and plenty of melted chocolate.
The Pumpkin Puree Trap That Makes Cookies Pasty Instead of Crisp
Pumpkin is the ingredient that gives these cookies their character, but it also carries enough water to ruin the texture if you treat it like normal cookie dough. Most pumpkin cookies spread poorly because the dough is too wet, then they bake up soft all the way through with no structure at the edges. Blotting the puree until it looks almost dry fixes that. It sounds excessive, but it’s the difference between a cookie and a muffin-shaped disappointment.
The other quiet safeguard is the egg yolk. Yolks add richness and help bind without the extra moisture from the white, which matters here because the pumpkin is already doing plenty. If your dough still feels loose after mixing, the pumpkin was likely not dry enough. Don’t add more flour right away. Chill the dough for a few minutes first and see if it firms up.
What Each Ingredient Is Actually Doing in These Cookies
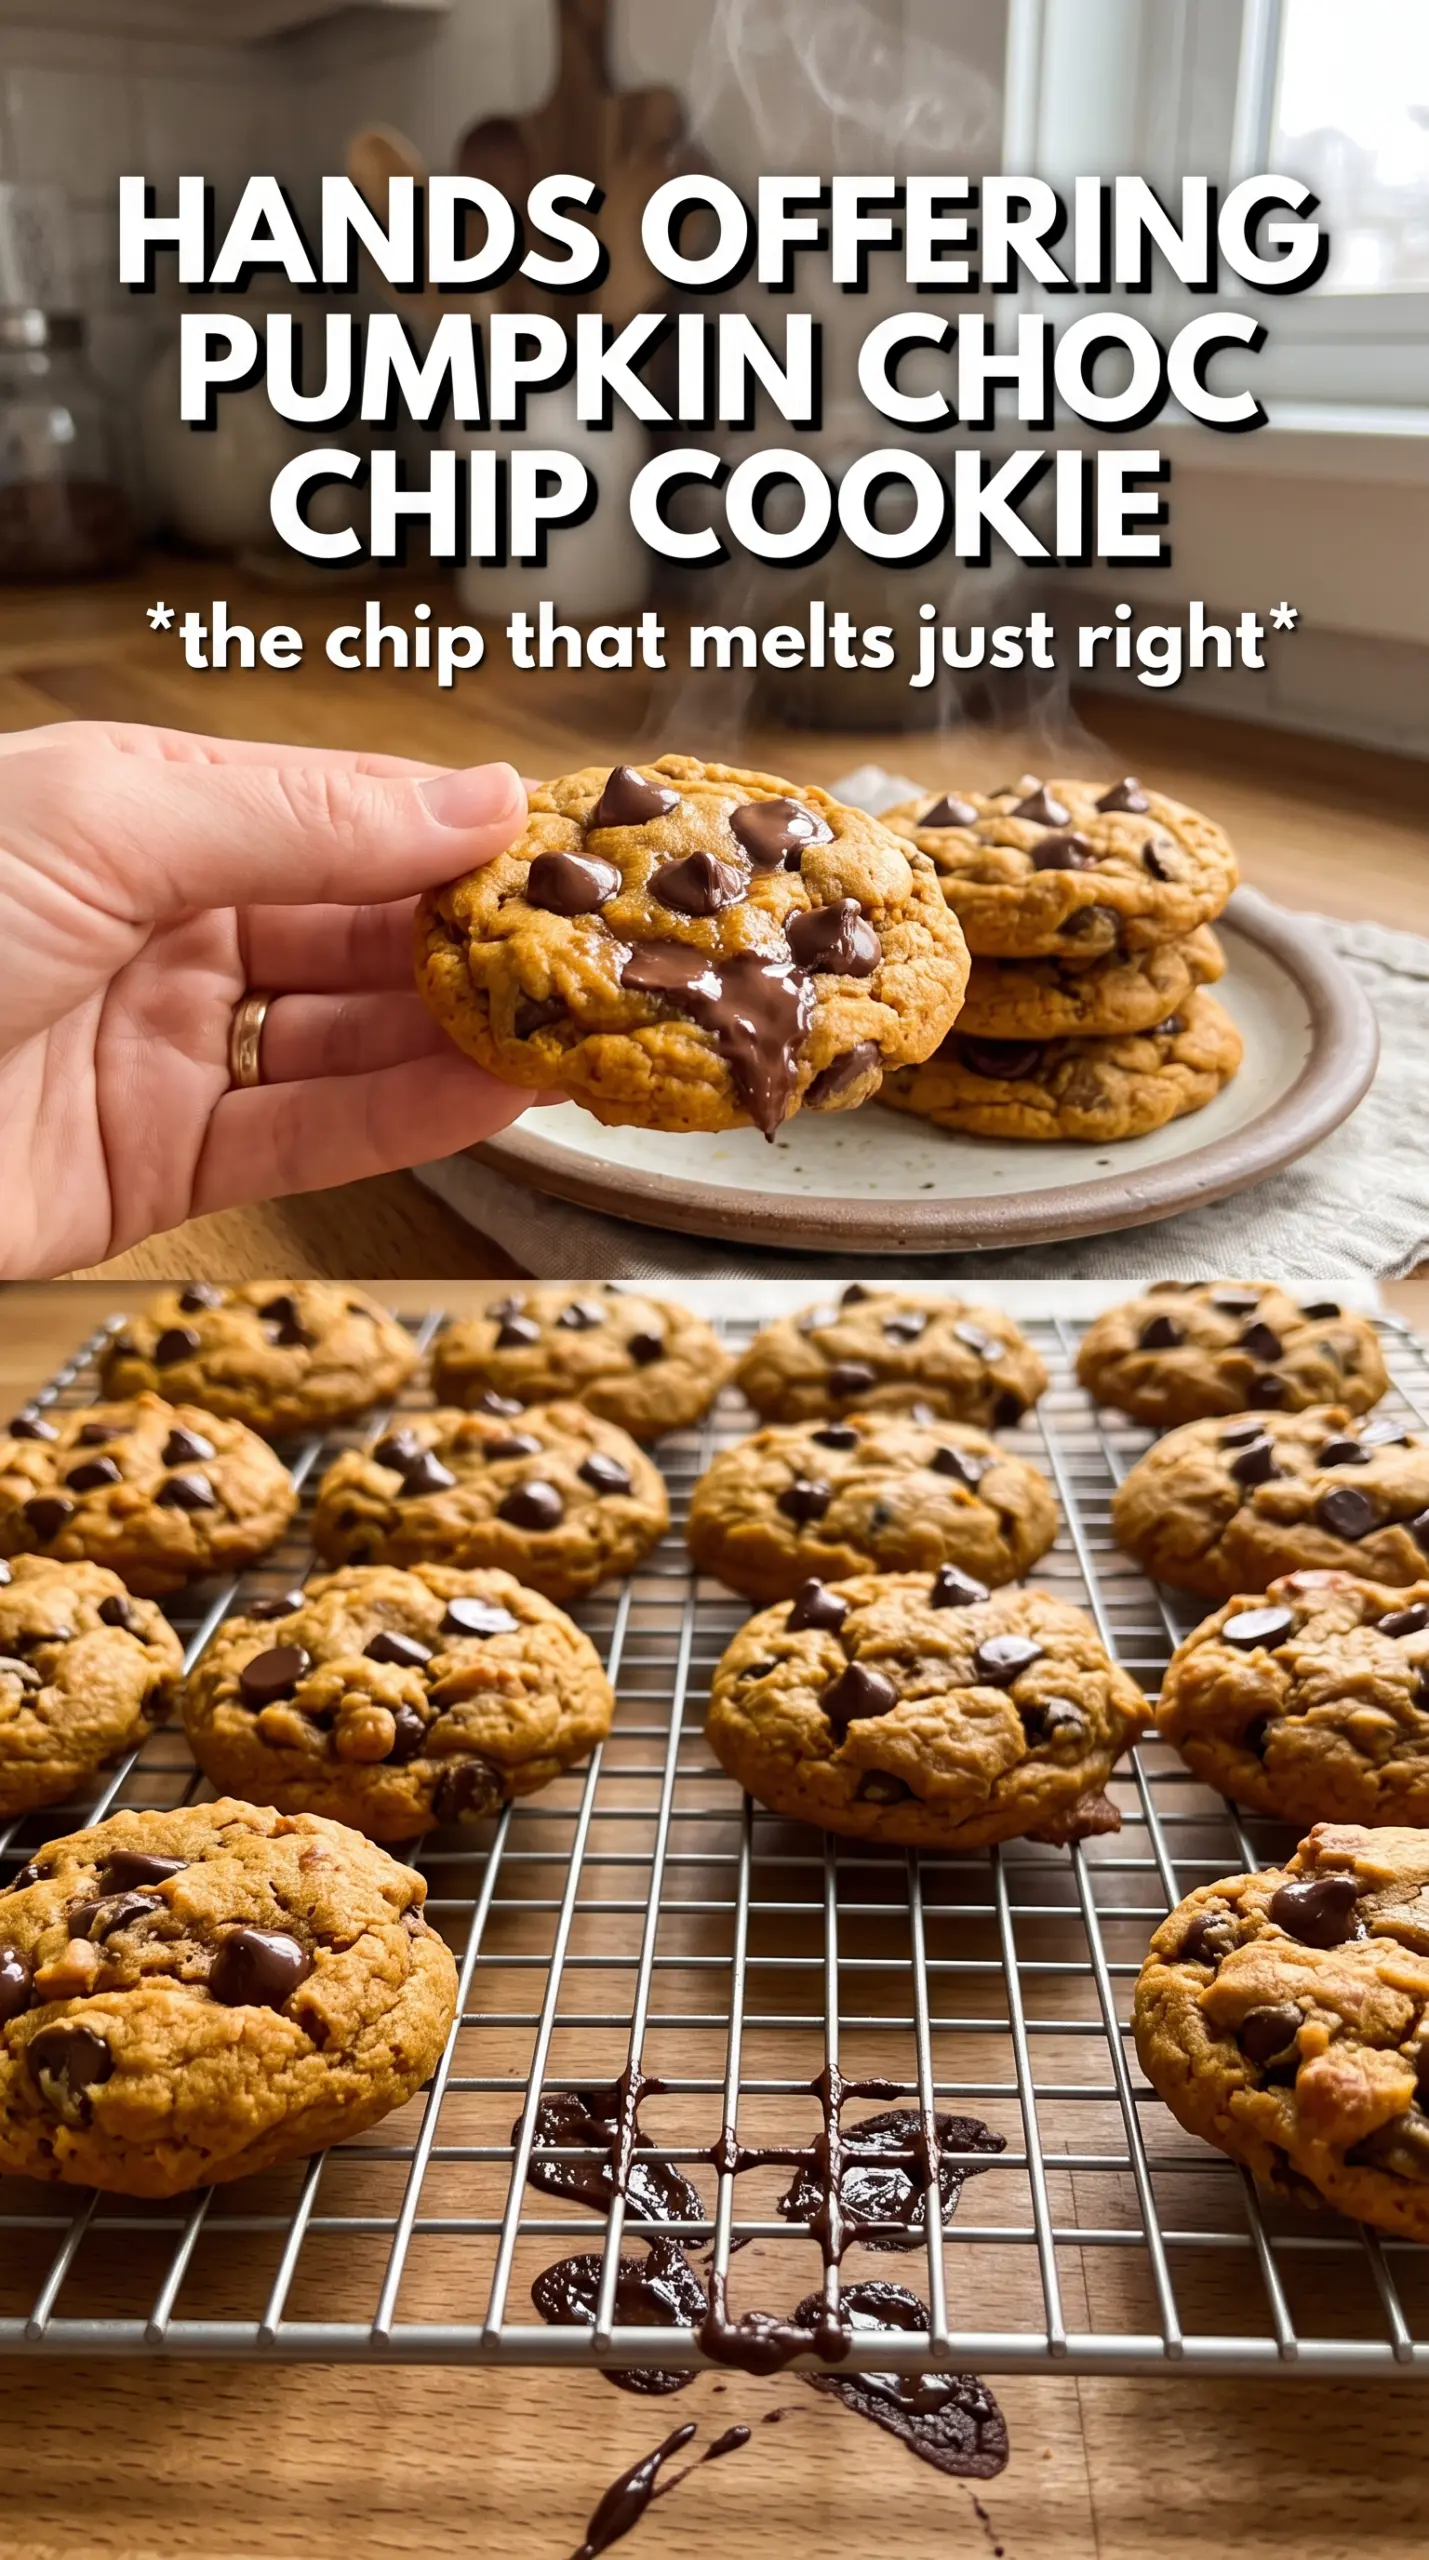
- Pumpkin puree — This gives the cookies their color and that subtle pumpkin flavor, but only if it’s blotted dry. Canned pumpkin is fine; just press it between layers of paper towels until it loses that glossy, wet look.
- Butter — Softened butter creams with the sugars to trap air, which helps the cookies bake up tender instead of dense. If the butter is melted, the dough will spread too quickly and the edges won’t set properly.
- Brown sugar — This keeps the centers chewy and adds a deeper caramel note that works with pumpkin and chocolate. Light or dark brown sugar both work, but dark brown sugar gives a little more molasses flavor.
- Egg yolk — The yolk binds the dough without adding extra liquid. Don’t swap in a whole egg unless you want a softer, more cake-like cookie.
- Chocolate chips — Dark or semi-sweet chips both work, but the slightly bitter edge of dark chocolate keeps the cookies from tasting too sweet. If you only have chopped chocolate, that works too and gives bigger melted pockets.
- Flaky sea salt — This is the last small touch that makes the chocolate pop. Use a light hand; you want a few bright hits on top, not a salty crust.
Building the Dough So the Cookies Stay Thick
Drying the Pumpkin First
Start by blotting the pumpkin puree between layers of paper towels until it feels thick and paste-like. You’re not trying to remove every bit of moisture, just enough to keep the dough from turning slack. If the pumpkin still looks shiny, keep blotting. This step protects the texture more than anything else in the recipe.
Creaming for Structure
Beat the butter with the granulated sugar and brown sugar until the mixture looks fluffy and a little paler. That trapped air gives the cookies lift, and it helps the edges set before the centers dry out. Once the pumpkin, egg yolk, and vanilla go in, mix only until combined. Overmixing after the flour is added can make the cookies tough.
Baking to the Right Edge Color
Scoop the dough into 2-tablespoon rounds and bake just until the edges are golden and the centers still look a touch soft. They’ll finish setting on the pan. If you wait for the tops to look fully dry in the oven, you’ve gone too far and the cookies will bake up dry instead of tender. A five-minute rest on the pan is part of the process, not an afterthought.
Three Ways to Adjust These Cookies Without Losing the Texture
Gluten-Free Version
Use a 1:1 gluten-free baking flour blend that includes xanthan gum. The cookies will be a little more delicate when warm, but the flavor stays the same. Let them cool fully on the pan before moving them so they don’t fall apart.
Dairy-Free Swap
Use a plant-based butter stick with a firm texture, not a soft tub spread. The cookies will still brown nicely, but they may spread a little less evenly, so watch the first pan and adjust if needed.
Extra Chocolate, Less Sweet
Swap half the chips for chopped dark chocolate. You’ll get bigger chocolate puddles and a slightly less sweet cookie, which works especially well if your pumpkin pie spice is on the sweeter side.
Storage and Reheating
- Refrigerator: Store in an airtight container for up to 5 days. The cookies stay soft, though the chocolate will firm up overnight.
- Freezer: These freeze well. Freeze baked cookies in a single layer, then move them to a freezer bag for up to 2 months.
- Reheating: Warm a cookie in the microwave for 8 to 10 seconds, just until the chocolate loosens. Longer heat dries out the edges and makes the pumpkin flavor fade.
Questions I Get Asked About This Recipe
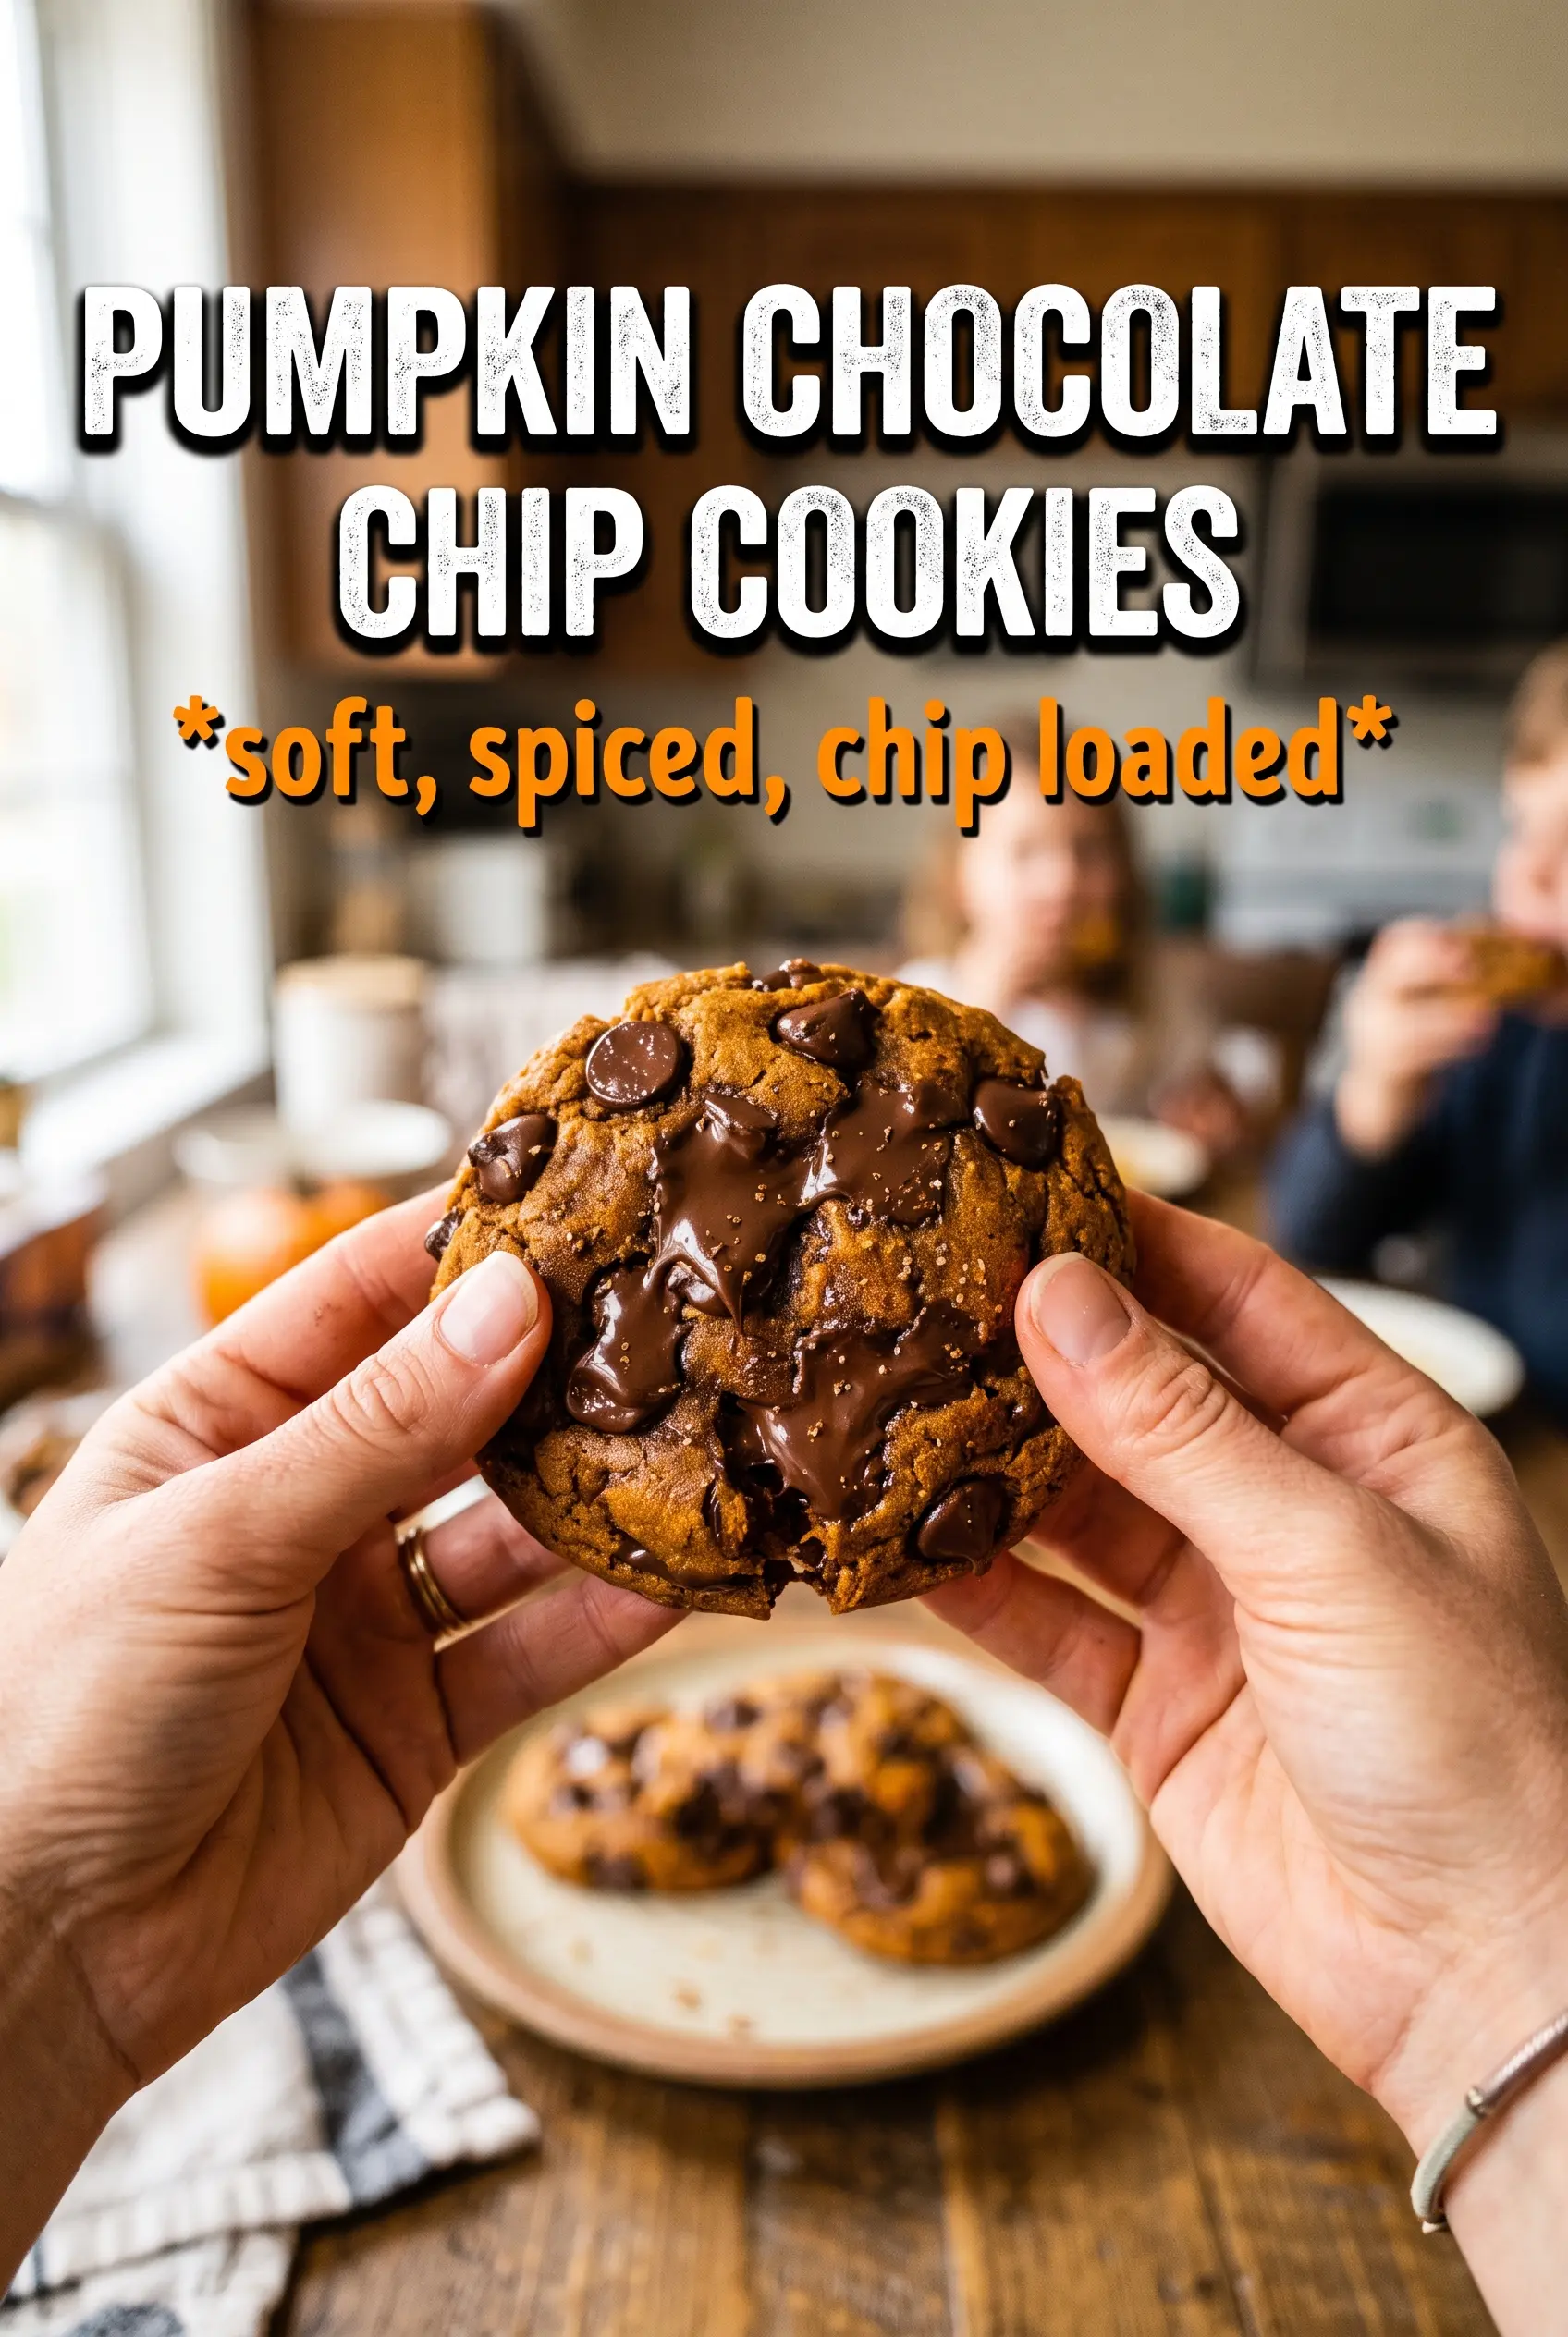
Pumpkin Chocolate Chip Cookies
Ingredients
Equipment
Method
- Preheat the oven to 375°F and line baking sheets with parchment to prevent sticking and help browning.
- Blot pumpkin puree between many layers of paper towels until very dry, using the dryness as a visual cue to limit spread and encourage crisp edges.
- Whisk all-purpose flour, baking soda, baking powder, pumpkin pie spice, cinnamon, and salt until evenly combined and no spice streaks remain.
- Beat softened unsalted butter, granulated sugar, and brown sugar until fluffy; the mixture should look lighter in color and hold a ribbon briefly.
- Mix in the blotted pumpkin puree, egg yolk, and vanilla extract until the dough looks cohesive with no dry pockets.
- Fold the flour mixture into the wet ingredients until just combined, then fold in the chocolate chips.
- Scoop dough into 2-tablespoon rounds and bake for 11–13 minutes at 375°F until the edges turn golden while the centers still look slightly set.
- Sprinkle flaky sea salt on top, cool on the pan for 5 minutes, then serve once cookies firm up at the edges.