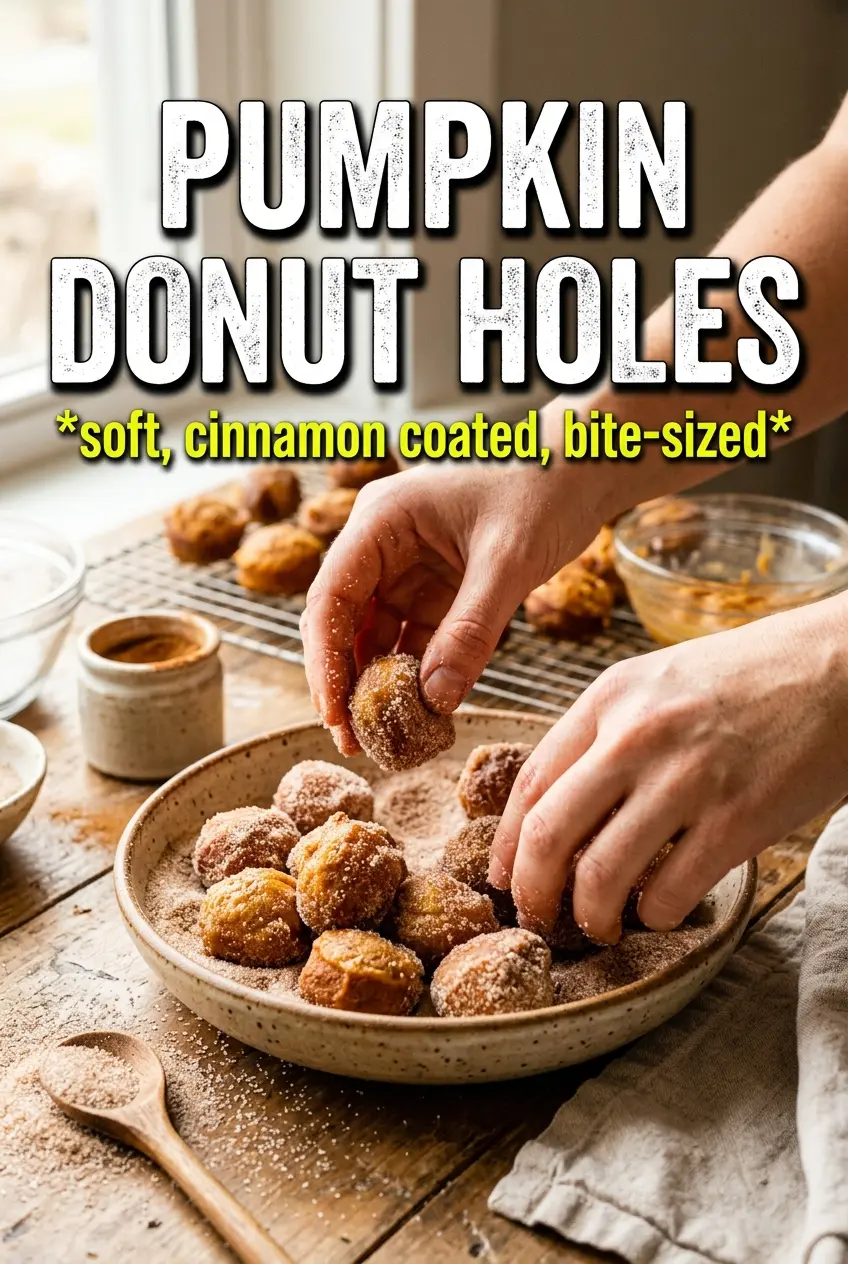
These pumpkin donut holes bake up tender inside with a lightly crisp edge, then turn into little sugar-coated bites that disappear fast once they hit the table. The pumpkin keeps them moist, the spice blend gives them that warm bakery smell, and the butter-and-cinnamon coating seals the deal. They taste like the best part of fall baking, just in a smaller, easier-to-eat form.
What makes this version work is the balance. There’s enough pumpkin puree for flavor and softness, but not so much that the dough turns heavy or gummy. The batter stays quick and straightforward, which matters here because overmixing will tighten the crumb and make the donut holes less tender. If you fry them, the oil temp needs to stay steady at 350°F; if you bake them, the mini muffin tin gives them the right shape and keeps the centers from drying out.
Below, I’ve included the frying and baking options, plus the one coating step that turns these from good to hard-to-stop-eating.
I baked these in the mini muffin tin and they came out with that soft, cakey center and a little golden edge. Rolling them in the cinnamon sugar while they were still warm made the coating stick perfectly.
Save these pumpkin donut holes for the morning when you want warm spice, a soft center, and that cinnamon sugar coating.
The Trick to Keeping Pumpkin Donut Holes Light Instead of Dense
Pumpkin donut holes can go heavy fast because pumpkin puree adds moisture without adding structure. The fix is simple: keep the wet and dry ingredients separate until the last minute, then fold just until the flour disappears. A few streaks are better than a batter that’s been worked smooth. Once the flour is fully mixed in, stop. That’s the difference between a soft, cake-like crumb and a tight little puck.
The other place people run into trouble is temperature. If the oil is too hot, the outside browns before the center cooks. If it’s too cool, the donut holes soak up oil and turn greasy. For baking, the mini muffin tin helps the batter rise upward instead of spreading out, which keeps the texture closer to a proper donut hole than a muffin top.
What Each Ingredient Is Actually Doing in These Donut Holes
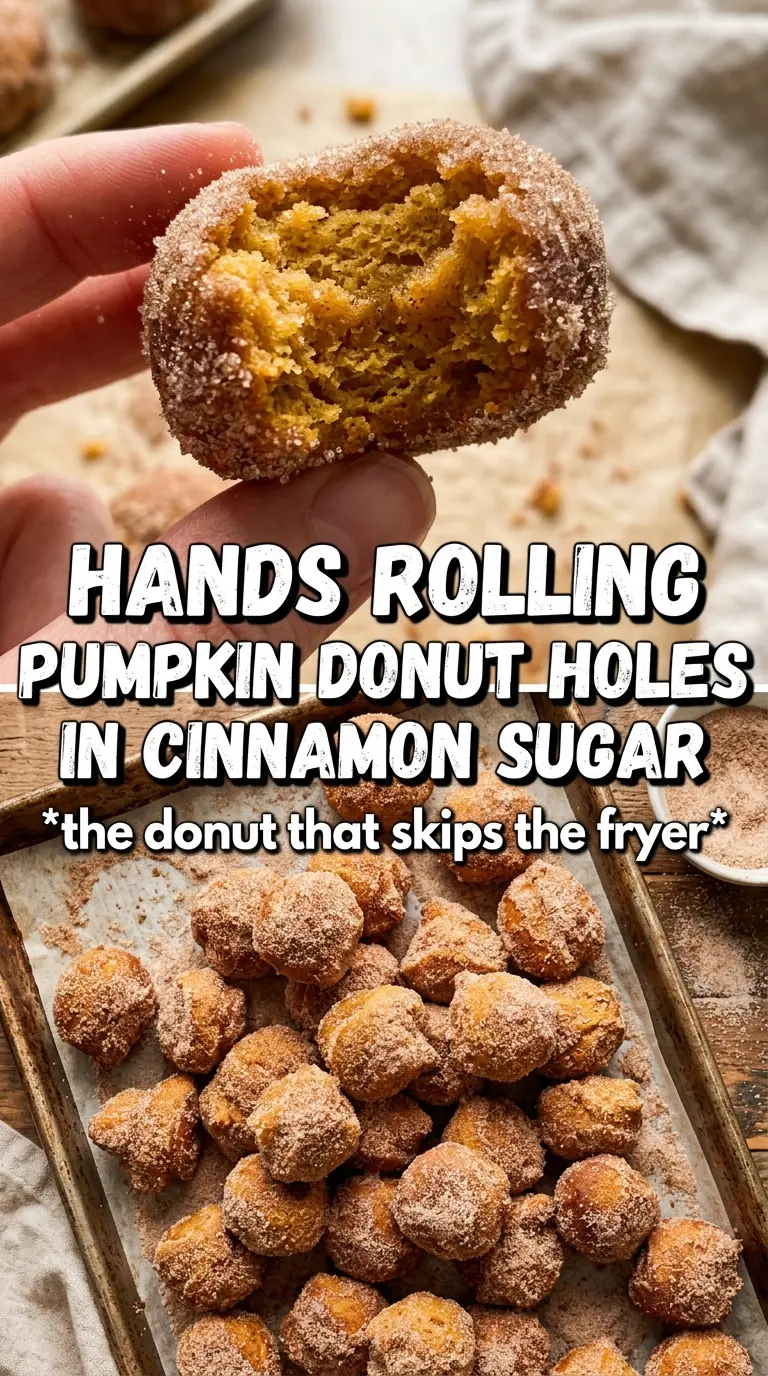
- Pumpkin puree — This brings the signature flavor and the soft, tender texture. Use plain pumpkin puree, not pumpkin pie filling, or the sweetness and spices will throw off the balance.
- Brown sugar — Brown sugar adds depth and a little molasses note that plays well with the spice. Granulated sugar works in a pinch, but the donut holes will taste flatter.
- Pumpkin pie spice and cinnamon — Together they give the batter and coating that warm bakery flavor. If you’re short on pumpkin pie spice, use extra cinnamon plus a pinch of nutmeg and ginger.
- Milk and melted butter — These loosen the batter just enough for a tender crumb. Whole milk gives the best richness, but 2% will still work if that’s what you have.
- Coating sugar — Toss the donut holes while they’re still warm so the melted butter clings and the sugar sticks evenly. If they cool first, the coating slides right off.
Frying First, Then Coating While They’re Still Warm
Mix the batter gently
Whisk the dry ingredients in one bowl and the wet ingredients in another, then fold them together just until combined. The batter should look thick and a little rustic, not silky. If you stir until it’s completely smooth, the flour starts developing gluten and the donut holes lose that tender, cakey bite. Stop as soon as the last dry streaks disappear.
Choose the cooking method that fits your kitchen
For frying, heat the oil to 350°F and keep the pieces small so they cook through before the exterior gets too dark. Drop them carefully and fry until they’re evenly golden, turning as needed. For baking, use a greased mini muffin tin and fill each cup about three-quarters full; that keeps them rounded and gives you the right size for coating later. If you overfill the tin, they’ll mushroom over the sides and lose the donut-hole shape.
Finish with butter and spice sugar
Brush the warm donut holes with melted butter, then roll or toss them in the cinnamon-sugar mixture right away. Warm surfaces grab the coating best, so don’t wait for them to cool. If the sugar looks patchy, add a little more butter and roll again. The coating should cling in an even, sparkly layer, not fall off in dry crumbs.
How to Adapt These for Different Kitchens and Different Moods
Bake Them Instead of Frying
The baked version is the easiest route and the cleanest one too. The texture comes out a little more muffin-like and slightly less crisp than fried, but the cinnamon sugar coating still gives you that donut-shop finish. Use the mini muffin tin and pull them as soon as the tops spring back when touched.
Make Them Dairy-Free
Swap the milk for an unsweetened non-dairy milk and use plant-based butter for both the batter and coating. The flavor stays close to the original, though the coating may not cling quite as thickly if the butter substitute is very soft. Chill the melted plant butter for a minute before brushing if it seems loose.
Lean Into the Spice
Add an extra half teaspoon of cinnamon or a pinch of cloves if you want a stronger spice finish. This doesn’t change the structure, just the aroma and the aftertaste. Go slowly with cloves, though, because they take over fast and can flatten the pumpkin flavor.
Storage and Reheating
- Refrigerator: Store in an airtight container for up to 3 days. The coating softens a bit, but the inside stays tender.
- Freezer: Freeze the uncoated baked donut holes for up to 2 months. Thaw, warm, then brush with butter and coat in sugar so the finish stays fresh.
- Reheating: Warm in a 300°F oven for a few minutes or in the microwave in short bursts. Don’t reheat too long or the sugar coating will melt into a sticky glaze.