Soft pumpkin cakes with a thick layer of cream cheese filling are the kind of dessert that disappears fast because they eat like a cross between a cookie and a hand pie. The cakes stay tender and cakey instead of dry, with warm spice in every bite, and the filling brings just enough tang to keep the sweetness in check.
What makes these work is the balance: enough pumpkin for flavor and moisture, but not so much that the batter turns heavy. The butter and brown sugar give the cakes a little chew around the edges, while the dry ingredients are folded in just until combined so the crumb stays light. The filling is built to hold its shape, not slide out the sides the second you bite in.
Below, I’ve shared the texture cues that tell you when the cakes are done and the easiest way to sandwich them without squeezing the filling out. There’s also a quick note on make-ahead storage, which matters here because whoopie pies are even better once the filling has had a little time to settle.
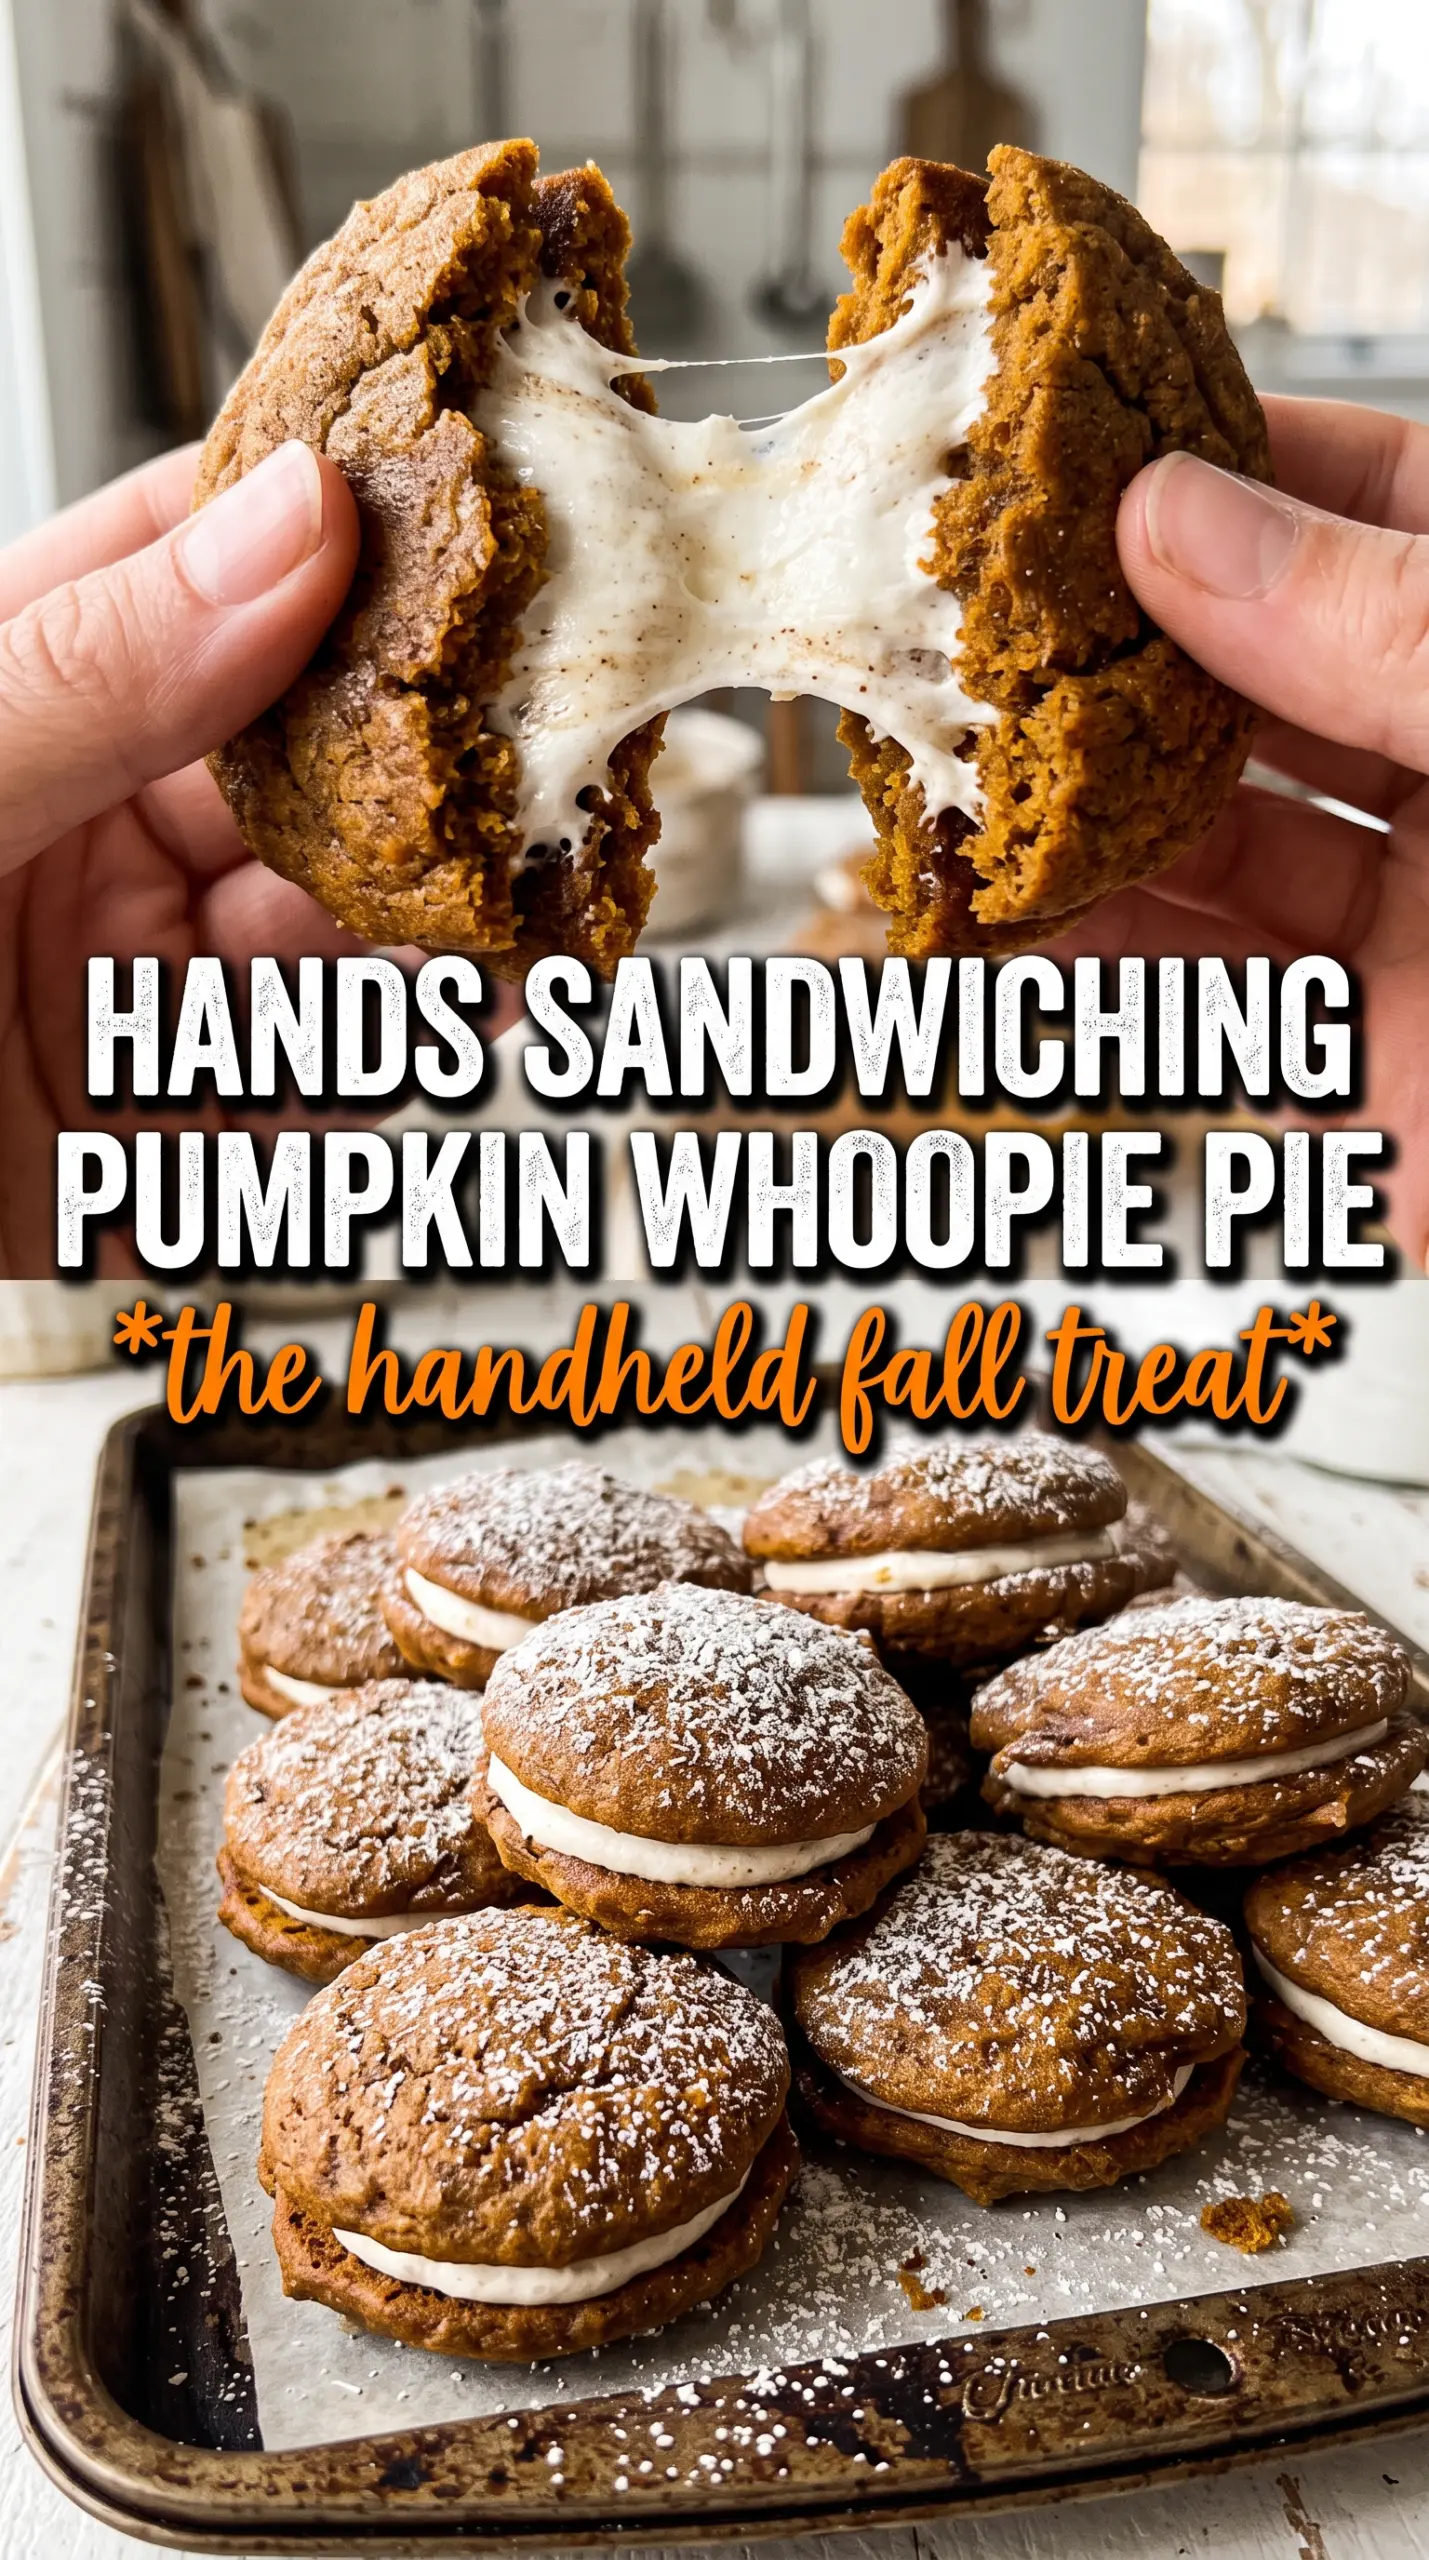
The pumpkin cakes baked up soft and fluffy, and the cream cheese filling stayed thick enough that it didn’t squeeze out when I pressed the tops together. I dusted a little cinnamon on top and my kids thought they came from a bakery.
Save these pumpkin whoopie pies for the days when you want soft spice cakes and thick cream cheese filling in one handheld dessert.
The Secret to Whoopie Pies That Stay Soft Instead of Dry
Pumpkin whoopie pies can go dry fast if the batter is overmixed or the cookies are baked until they look fully finished in the oven. They should come out when the tops spring back lightly and the centers are just set. They keep cooking on the pan for a minute or two, and that carryover heat is what gives them the right texture without turning them bready.
The other trap is using pumpkin puree like it’s a wet frosting ingredient. It adds moisture, yes, but it also adds structure when it’s mixed with flour and eggs. That means the batter should be thick and scoopable, not pourable. If it spreads too much, the cakes will bake up flat and lose the soft, domed shape that makes whoopie pies feel special.
- Brown sugar — This gives the cakes a deeper flavor and keeps them soft after cooling. Light or dark brown sugar both work; dark brown sugar makes them a little richer.
- Pumpkin puree — Use plain pumpkin puree, not pumpkin pie filling. The filling has added sugar and spices that throw off both the texture and the balance.
- Pumpkin pie spice and cinnamon — The spice blend carries the warm pumpkin flavor, while the extra cinnamon sharpens it. If you only have pumpkin pie spice, use a little more of that and skip the separate cinnamon in the cake batter.
- Cream cheese — Full-fat cream cheese gives the filling the right tang and body. Lower-fat versions tend to soften too much and can turn loose once the pies sit out.
What Each Ingredient Is Actually Doing in This Recipe
- Primary ingredient (the star) — Quality matters most. Choose the best you can find.
- Cooking medium (oil, butter, or broth) — This carries flavors and prevents dryness.
- Seasonings (salt, pepper, spices, herbs) — Layer flavors so nothing overpowers. Build depth gradually.
- Aromatics (garlic, onion, herbs) — Cook with fat to bloom flavors. Become the foundation.
- Supporting ingredients — Complement the main ingredient without overpowering it.
- Sauce or liquid (if applicable) — Brings flavors together. Balance richness with acid.
- Acid (lemon, vinegar, wine, or other) — Brightens and prevents flat-tasting results.
- Final finish (garnish, glaze, or sauce) — Prevents one-dimensional taste and adds visual appeal.
Building the Batter and Filling Without Losing the Texture
Mix the Butter, Sugar, and Pumpkin the Right Way
Beat the softened butter and brown sugar until the mixture looks fluffy and a little lighter in color. That step adds air, which helps the cakes rise without turning cakey. Add the eggs one at a time, then mix in the pumpkin and vanilla just until the batter looks smooth. If the mixture looks slightly curdled at this stage, it usually comes back together when the dry ingredients go in.
Fold in the Dry Ingredients Just Until the Flour Disappears
Whisk the flour, baking soda, baking powder, spices, and salt together first, then fold them into the wet mixture in two additions. Stop as soon as you stop seeing dry streaks. Overmixing tightens the batter and makes the cakes tougher, which is the fastest way to lose that soft, cake-like crumb. The finished batter should be thick enough to hold its shape on the baking sheet when scooped.
Bake Until the Tops Set and the Centers Bounce Back
Drop the batter in 2-tablespoon rounds with enough space between them for a little spread. Bake at 350F for 10 to 12 minutes, watching for the tops to look matte and set instead of shiny and wet. Touch the center gently with a fingertip; it should spring back without leaving a dent. If they brown too much on the edges, they’ve gone too far for a soft whoopie pie.
Beat the Filling Until It Holds Its Shape
Start with softened cream cheese and butter, then beat them together until completely smooth before adding the powdered sugar. If the cream cheese is cold, the filling turns lumpy and stays that way. Add the cinnamon and vanilla at the end, then beat until the filling is thick, fluffy, and spreadable. If it seems loose, give it another minute or two of mixing before adding more sugar.
How to Adapt Pumpkin Whoopie Pies for Different Kitchens and Pans
Dairy-Free Version
Swap the butter in both the cakes and filling for a plant-based baking stick, not a soft tub spread. Use a dairy-free cream cheese that’s meant for baking, then chill the filling briefly if it seems too loose. The flavor stays close, but the filling may be a little softer and less tangy than the original.
Gluten-Free Adjustment
Use a cup-for-cup gluten-free flour blend that already includes xanthan gum. The cakes will still be tender, but they may spread a little less and bake up more delicate, so let them cool fully before moving them. A plain rice-flour blend without binders usually falls apart here.
Extra-Spiced Bakery-Style Filling
Add an extra 1/2 teaspoon cinnamon or a pinch of pumpkin pie spice to the filling if you want the spice to carry all the way through the middle. This makes the filling taste more intentional and less like plain cream cheese frosting. Don’t overdo it, or the tang from the cream cheese gets buried.
Storage and Reheating
- Refrigerator: Store assembled whoopie pies in an airtight container for up to 4 days. The cakes soften a little as they sit, which is part of what makes them taste even better on day two.
- Freezer: They freeze well. Freeze the filled pies on a tray until firm, then wrap individually and store for up to 2 months. Thaw in the refrigerator so the filling doesn’t weep.
- Reheating: These are best served at cool room temperature, not warmed. If they’ve been chilled, let them sit out for 15 to 20 minutes before serving so the filling softens and the cake texture comes back. Microwaving makes the filling slippery and can collapse the sandwich.
Questions I Get Asked About This Recipe

Pumpkin Whoopie Pies
Ingredients
Equipment
Method
- Preheat the oven to 350F and line baking sheets with parchment or a nonstick liner.
- Beat the softened unsalted butter and packed brown sugar until smooth.
- Add the eggs, pumpkin puree, and vanilla, then beat until well combined.
- In a separate bowl, whisk the all-purpose flour, baking soda, baking powder, pumpkin pie spice, cinnamon, and salt.
- Fold the whisked dry ingredients into the pumpkin mixture just until no dry streaks remain.
- Drop 2-tablespoon rounds onto the lined baking sheets, spaced apart.
- Bake for 10-12 minutes, until the tops look set and the cookies hold their shape.
- Cool the cakes completely before filling.
- Beat the softened cream cheese and softened unsalted butter until smooth.
- Beat in the powdered sugar, cinnamon, and vanilla until the filling is thick and creamy.
- Sandwich a generous spoonful of cream cheese filling between two cooled pumpkin cakes.