Vivid red velvet edible cookie dough hits the sweet spot between nostalgic cake batter flavor and a spoonable dessert that actually holds its shape. The dough stays soft and creamy, but the white chocolate chips give it a little snap and the cocoa keeps the sweetness from tasting flat. It’s the kind of bowl people keep circling back to for “just one more bite.”
What makes this version work is the balance of cream cheese, butter, and heat-treated flour. The cream cheese brings that tangy red velvet note, while the flour gets baked first so the dough is safe to eat without losing the raw-cookie-dough texture people are after. A short chill at the end matters too; it firms the dough just enough to scoop cleanly and lets the color settle into that deep crimson shade.
Below, I’ve included the small details that keep the texture soft instead of greasy, plus the easiest way to adjust the color and sweetness if you want a stronger red velvet flavor.
The dough chilled up perfectly and the cream cheese gave it that real red velvet taste instead of just sweet cookie dough. My kids kept sneaking spoonfuls before I could even get the chips mixed in.
Love the bold color and creamy texture of red velvet edible cookie dough? Save this one for the days when you want a no-bake dessert that still feels special.
Why Heat-Treating the Flour Matters More Than the Color
Raw flour is the part that can make edible cookie dough feel risky, and this is the one step people skip when they’re rushing. Baking the flour for five minutes does more than make it safer to eat; it also dries it slightly, which helps the dough stay thick instead of turning pasty when you mix in the milk and cream cheese.
The other place this recipe can go wrong is with the color. Red food coloring goes in with the wet ingredients, not after the flour, so it disperses evenly before the dough tightens up. If you add it too late, you’ll chase streaks forever and overwork the dough.
- Heat-treated flour — This is what makes the recipe safe to eat. Cool it completely before mixing, or the warm flour will melt the butter and give you a greasy dough.
- Cream cheese — It gives the dough that tangy red velvet flavor and a softer, richer bite. Use full-fat cream cheese if you can; reduced-fat versions can make the texture loose.
- White chocolate chips — They add sweetness and contrast against the cocoa and cream cheese. Mini chips work too if you want a more even distribution in every scoop.
- Red food coloring — Liquid coloring works here, but gel gives a deeper color with less added moisture. If your dough looks more pink than red, the cocoa powder may be too strong or the coloring too weak.
What Each Ingredient Is Actually Doing in This Recipe

- Primary ingredient (the star) — Quality matters most. Choose the best you can find.
- Cooking medium (oil, butter, or broth) — This carries flavors and prevents dryness.
- Seasonings (salt, pepper, spices, herbs) — Layer flavors so nothing overpowers. Build depth gradually.
- Aromatics (garlic, onion, herbs) — Cook with fat to bloom flavors. Become the foundation.
- Supporting ingredients — Complement the main ingredient without overpowering it.
- Sauce or liquid (if applicable) — Brings flavors together. Balance richness with acid.
- Acid (lemon, vinegar, wine, or other) — Brightens and prevents flat-tasting results.
- Final finish (garnish, glaze, or sauce) — Prevents one-dimensional taste and adds visual appeal.
Building the Dough Before It Turns Sticky
Creaming the Base
Beat the butter, cream cheese, granulated sugar, and brown sugar until the mixture looks fluffy and lighter in color. This step matters because it gives the dough body before the flour goes in. If the mixture still looks grainy, keep beating for another minute; that graininess shows up later in the finished dough.
Adding the Color and Cocoa
Mix in the milk, vanilla, cocoa powder, red food coloring, and salt until the dough turns evenly red. The dough should look glossy and soft at this point, not loose and wet. If the color looks blotchy, scrape the bowl well and mix again before moving on.
Bringing in the Flour
Add the cooled heat-treated flour and stir just until a soft dough forms. Overmixing after the flour goes in makes the dough dense and a little gummy, which is the opposite of what you want here. Stop as soon as the last streaks disappear, then fold in the white chocolate chips.
Chilling for the Right Scoop
Refrigerate the dough for 30 minutes before serving. That short rest firms the butter and cream cheese enough that you can scoop cleanly, and it gives the cocoa and vanilla time to settle into one flavor. If you skip the chill, the dough will taste fine but it will spread and slump in the bowl.
How to Adapt the Dough Without Losing the Red Velvet Feel
Dairy-Free Version
Swap the butter for a plant-based stick butter and use dairy-free cream cheese. The texture will stay soft and scoopable, though the tang will be a little less sharp, so a tiny extra pinch of salt helps the flavor read more like red velvet instead of plain sweet dough.
Less Sweet, More Cocoa
Cut the granulated sugar to 1/2 cup if you want the chocolate and cream cheese to stand out more. The dough will still hold together, but it will taste a little less like cake batter and a little more like a classic red velvet cookie.
No White Chocolate Chips
Use chopped vanilla baking bars or even mini marshmallows for a different kind of sweetness. White chocolate gives the cleanest red-and-white contrast, but the dough still works without it if you want the color to stay front and center.
Storage and Reheating
- Refrigerator: Store in an airtight container up to 5 days. The dough firms up a little more each day, so let it sit at room temperature for 10 minutes before scooping if it gets too stiff.
- Freezer: It freezes well for up to 2 months. Portion it into scoops first, freeze on a tray, then transfer to a container so you can grab single servings without thawing the whole batch.
- Reheating: This doesn’t need reheating, but if it’s been chilled hard, let it soften on the counter instead of microwaving it. Heat will melt the white chocolate chips and make the texture oily instead of creamy.
Answers to the Questions Worth Asking
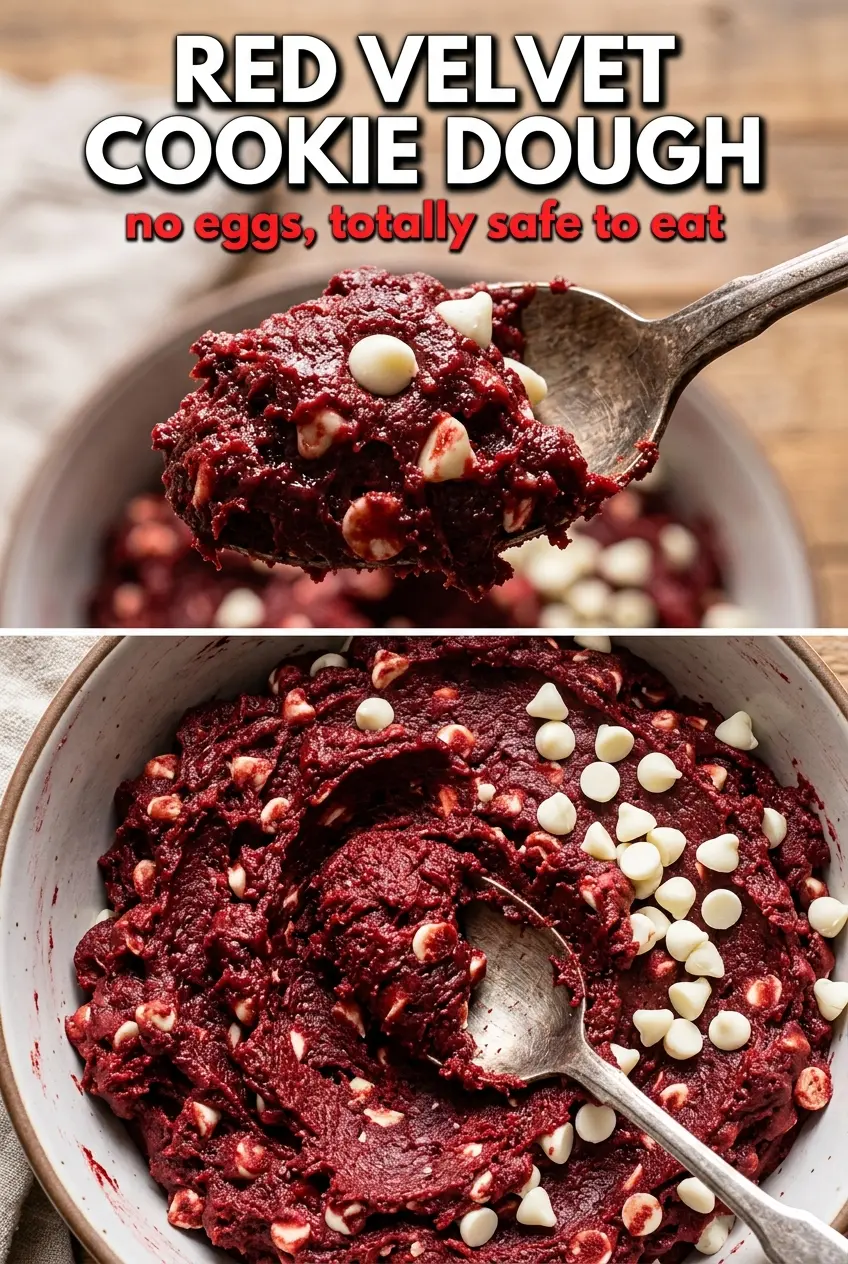
Red Velvet Edible Cookie Dough
Ingredients
Equipment
Method
- Spread the all-purpose flour on a sheet pan and bake at 350°F for 5 minutes to heat-treat; spread in a thin, even layer so it heats quickly. Let it cool completely before using—no steaming should remain.
- Beat the butter, cream cheese, granulated sugar, and brown sugar until light and fluffy. Stop once the mixture looks paler and aerated, with no visible sugar clumps.
- Mix in whole milk, vanilla extract, unsweetened cocoa powder, red food coloring, and salt until evenly combined and vibrant red. Scrape the bowl so the color is uniform, not streaky.
- Stir in the heat-treated all-purpose flour until a soft dough forms. It should hold together when pressed but still look spoonable.
- Fold in the white chocolate chips so they’re distributed throughout the vivid red dough. Stop folding as soon as the chips are evenly visible.
- Refrigerate the dough for 30 minutes before serving to firm it slightly. You should be able to scoop cleanly, with chips still clearly visible.
- Scoop the red velvet edible cookie dough into bowls or cones and serve with a spoon. Store refrigerated up to 5 days for best texture.