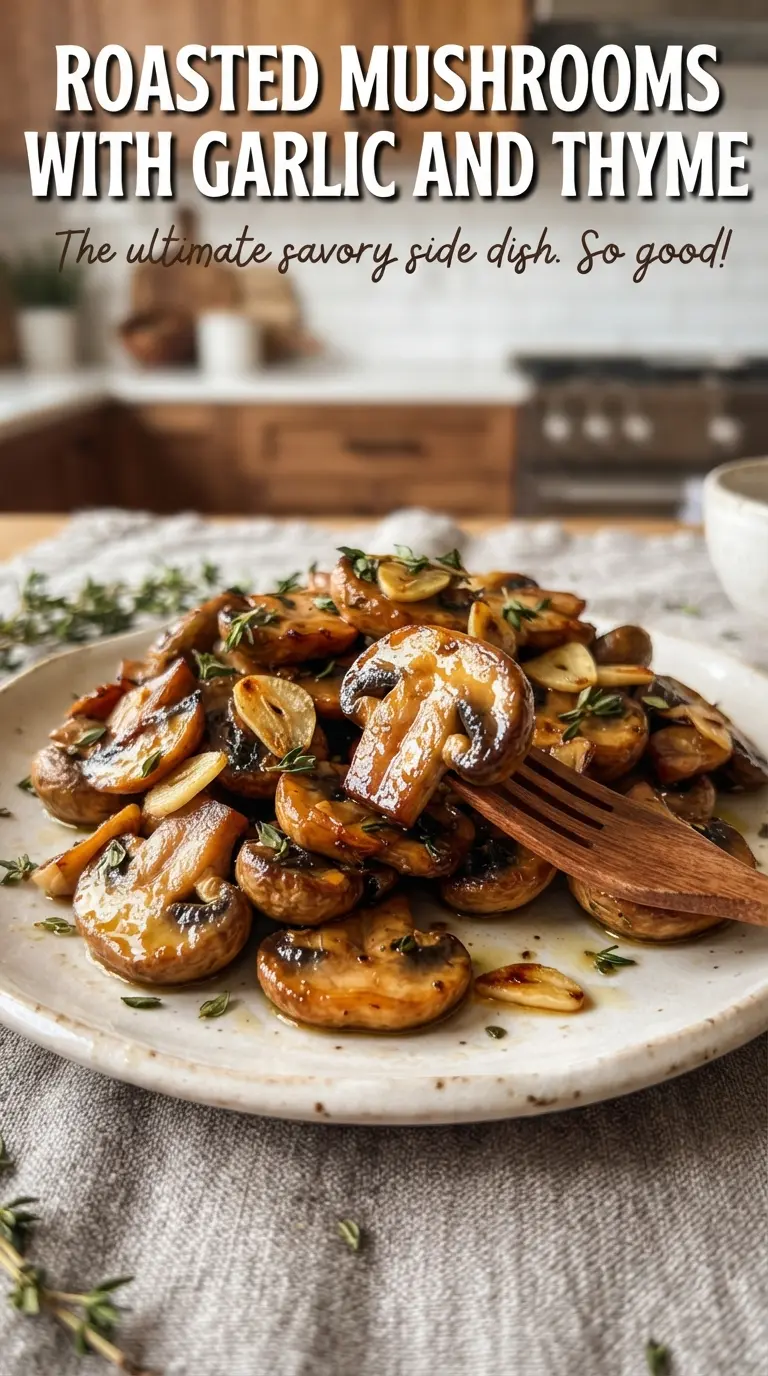
Deeply browned roasted mushrooms with garlic and thyme have a way of disappearing the second they hit the table. The edges turn almost meaty, the centers stay tender, and the little bit of butter and lemon at the end makes every bite taste finished instead of just cooked. This is the kind of side dish that works next to roast chicken, a steak, polenta, or a simple pile of greens, and it never feels like an afterthought.
The key is giving the mushrooms enough space and enough heat. A crowded pan traps the steam they release, which leaves you with soft mushrooms instead of those bronzed, wrinkled edges people actually want. I also wait to add the garlic and butter until the first roast has driven off most of the moisture, because garlic can go bitter fast and butter can disappear before it has a chance to coat everything properly.
Below, I’ll walk through the part that matters most: how to get real browning instead of soggy mushrooms, plus the small finishing step that makes the flavor pop. If you’ve ever had roasted mushrooms come out a little dull, this version fixes that.
The mushrooms browned beautifully instead of steaming, and adding the garlic halfway through kept it from burning. I served them over steak and had almost no leftovers.
Save these roasted mushrooms with garlic and thyme for the nights when you want a fast French-inspired side with deep browning and a bright lemon finish.
The Real Secret to Roasted Mushrooms Is Letting Them Sweat First
Most roasted mushroom recipes fail for one simple reason: the pan is overcrowded or the mushrooms are pulled too early. Mushrooms hold a lot of water, and when they don’t have room to shed it, they steam in their own moisture and stay pale and soft. The first roast in this recipe is there to drive off that liquid before the garlic and butter go in.
That timing matters because garlic burns faster than mushrooms brown. If you add it at the beginning, it can turn harsh before the mushrooms ever develop color. Waiting also keeps the butter from disappearing into the pan too soon; once the mushrooms have shrunk and dried a bit, the fat coats the surfaces instead of just pooling underneath.
- Use cremini mushrooms for the best balance. They have a deeper flavor than white button mushrooms and hold their shape well in the oven.
- Spread them in a single layer. If they overlap, they trap steam and you lose browning.
- Roast hot. A 425°F oven gives you the kind of heat that drives moisture off quickly and starts caramelization.
- Add the garlic later. This keeps it fragrant and sweet instead of bitter.
What Each Ingredient Is Actually Doing in This Pan
- Cremini mushrooms — These are the backbone of the dish. Their firmer texture and deeper flavor make them better for roasting than delicate mushrooms that collapse before they brown.
- Olive oil — This helps the mushrooms start roasting before the butter goes in. A good everyday olive oil is fine here because the oven is doing the heavy lifting.
- Garlic — Fresh minced garlic gives the dish its sharp, savory edge, but it needs the later addition so it doesn’t scorch. If you substitute garlic powder, the flavor stays flatter and less aromatic.
- Fresh thyme — Thyme stands up well to heat and brings that classic French-inspired note. Dried thyme works in a pinch, but use less because it concentrates as it cooks.
- Butter — This rounds out the roasted flavor and gives the mushrooms a glossy finish. Add it after the first roast so it clings to the mushrooms instead of burning on the pan.
- Lemon juice and parsley — These finish the dish with brightness and freshness. Skip either one and the mushrooms taste heavier; the lemon especially keeps the butter from flattening the flavor.
Getting the Browning Right from the First Roast to the Finish
Start with a Hot, Open Pan
Heat the oven fully before the mushrooms go in. Toss them with olive oil, salt, and pepper until every piece is lightly coated, then spread them out without piling them up. You’ll know the pan is working when you hear a steady sizzle and see liquid start to collect around the mushrooms instead of on top of them. If they’re crowded, they’ll sit in that liquid and stay gray.
Let the First Roast Push Out the Moisture
After about 15 minutes, the mushrooms should look shrunken and a little glossy, with liquid in the pan and the first signs of browning at the edges. That stage is the turning point. Stir in the garlic, thyme, and butter only after the mushrooms have had time to release their moisture, because this is what keeps the garlic from burning and the butter from turning greasy. Toss well so every surface gets touched by the fat.
Finish Until Deeply Golden
Return the pan to the oven for 8 to 10 minutes more. You’re looking for deep brown edges, a concentrated mushroom aroma, and no watery puddles left behind. When they come out, drizzle with lemon juice and scatter over the parsley while they’re still hot so the herbs stick and the acid lifts the whole dish. If the pan still has a lot of liquid, give it a few more minutes; mushrooms that finish wet never taste as good.
How to Adapt These Roasted Mushrooms Without Losing the Good Parts
Dairy-Free Version
Swap the butter for another tablespoon of olive oil. You’ll lose a little of the round, rich finish, but the mushrooms still brown well and the garlic-thyme combination stays front and center.
Extra Savory With Parmesan
Add a small handful of finely grated Parmesan right at the end, after the mushrooms come out of the oven. It melts lightly over the hot mushrooms and adds a salty, nutty finish without interfering with the browning.
Make It Vegan
Use all olive oil and skip the butter. To keep the final flavor from feeling flat, lean on the lemon juice at the end and don’t skimp on the parsley, which helps brighten the dish after roasting.
Double the Batch for a Crowd
Use two sheet pans instead of loading one pan too heavily. If the mushrooms are packed together, they’ll steam no matter how long you roast them, so the extra pan is the difference between deep browning and a soggy pile.
Storage and Reheating
- Refrigerator: Store in an airtight container for up to 4 days. They soften a bit as they sit, but the flavor holds up well.
- Freezer: They freeze, but the texture gets softer after thawing. If you do freeze them, cool completely first and reheat from thawed for the best result.
- Reheating: Warm them in a skillet over medium heat or in a 400°F oven until hot. The mistake to avoid is microwaving them too long, which makes them rubbery and watery.
Answers to the Questions Worth Asking
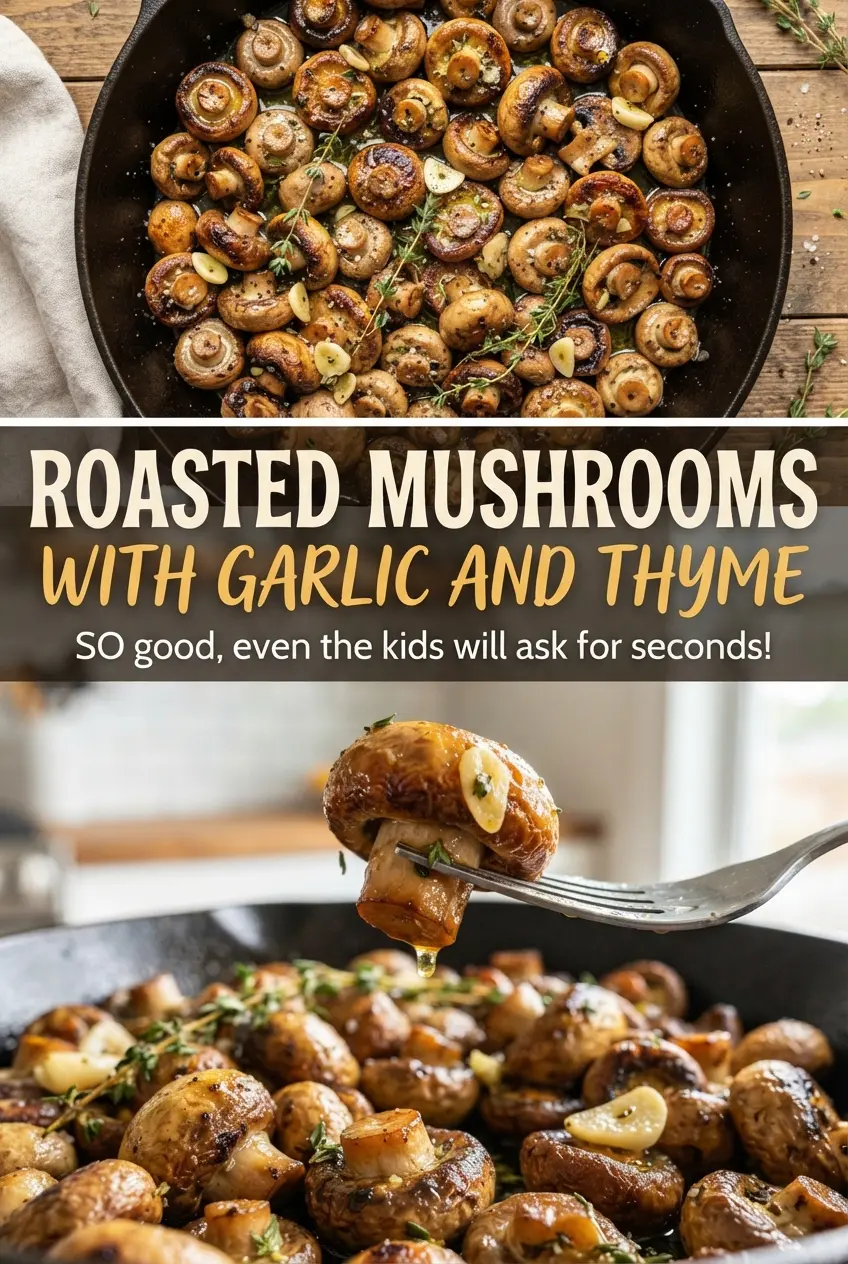
Roasted Mushrooms with Garlic and Thyme
Ingredients
Equipment
Method
- Preheat oven to 425F and position a rack in the center. This ensures fast browning for the mushrooms.
- Toss halved cremini mushrooms with olive oil, salt, and black pepper, then spread in a single layer on a sheet pan. Keep them spaced so they roast instead of steam.
- Roast for 15 minutes at 425F until mushrooms release their liquid and begin to brown, visible at the edges. You should see bubbling from the released moisture and early caramel color.
- Add minced garlic, fresh thyme leaves, and butter to the hot mushrooms, then toss to coat. Stir so the butter melts and coats the mushrooms evenly.
- Roast for 8-10 minutes more at 425F until deeply golden, with darker browned spots and a glossy garlic-butter sheen. Taste-test for doneness by checking that the mushrooms look caramelized, not pale.
- Drizzle with fresh lemon juice and sprinkle with fresh parsley, then serve hot. The herbs should look bright green against the browned mushrooms.