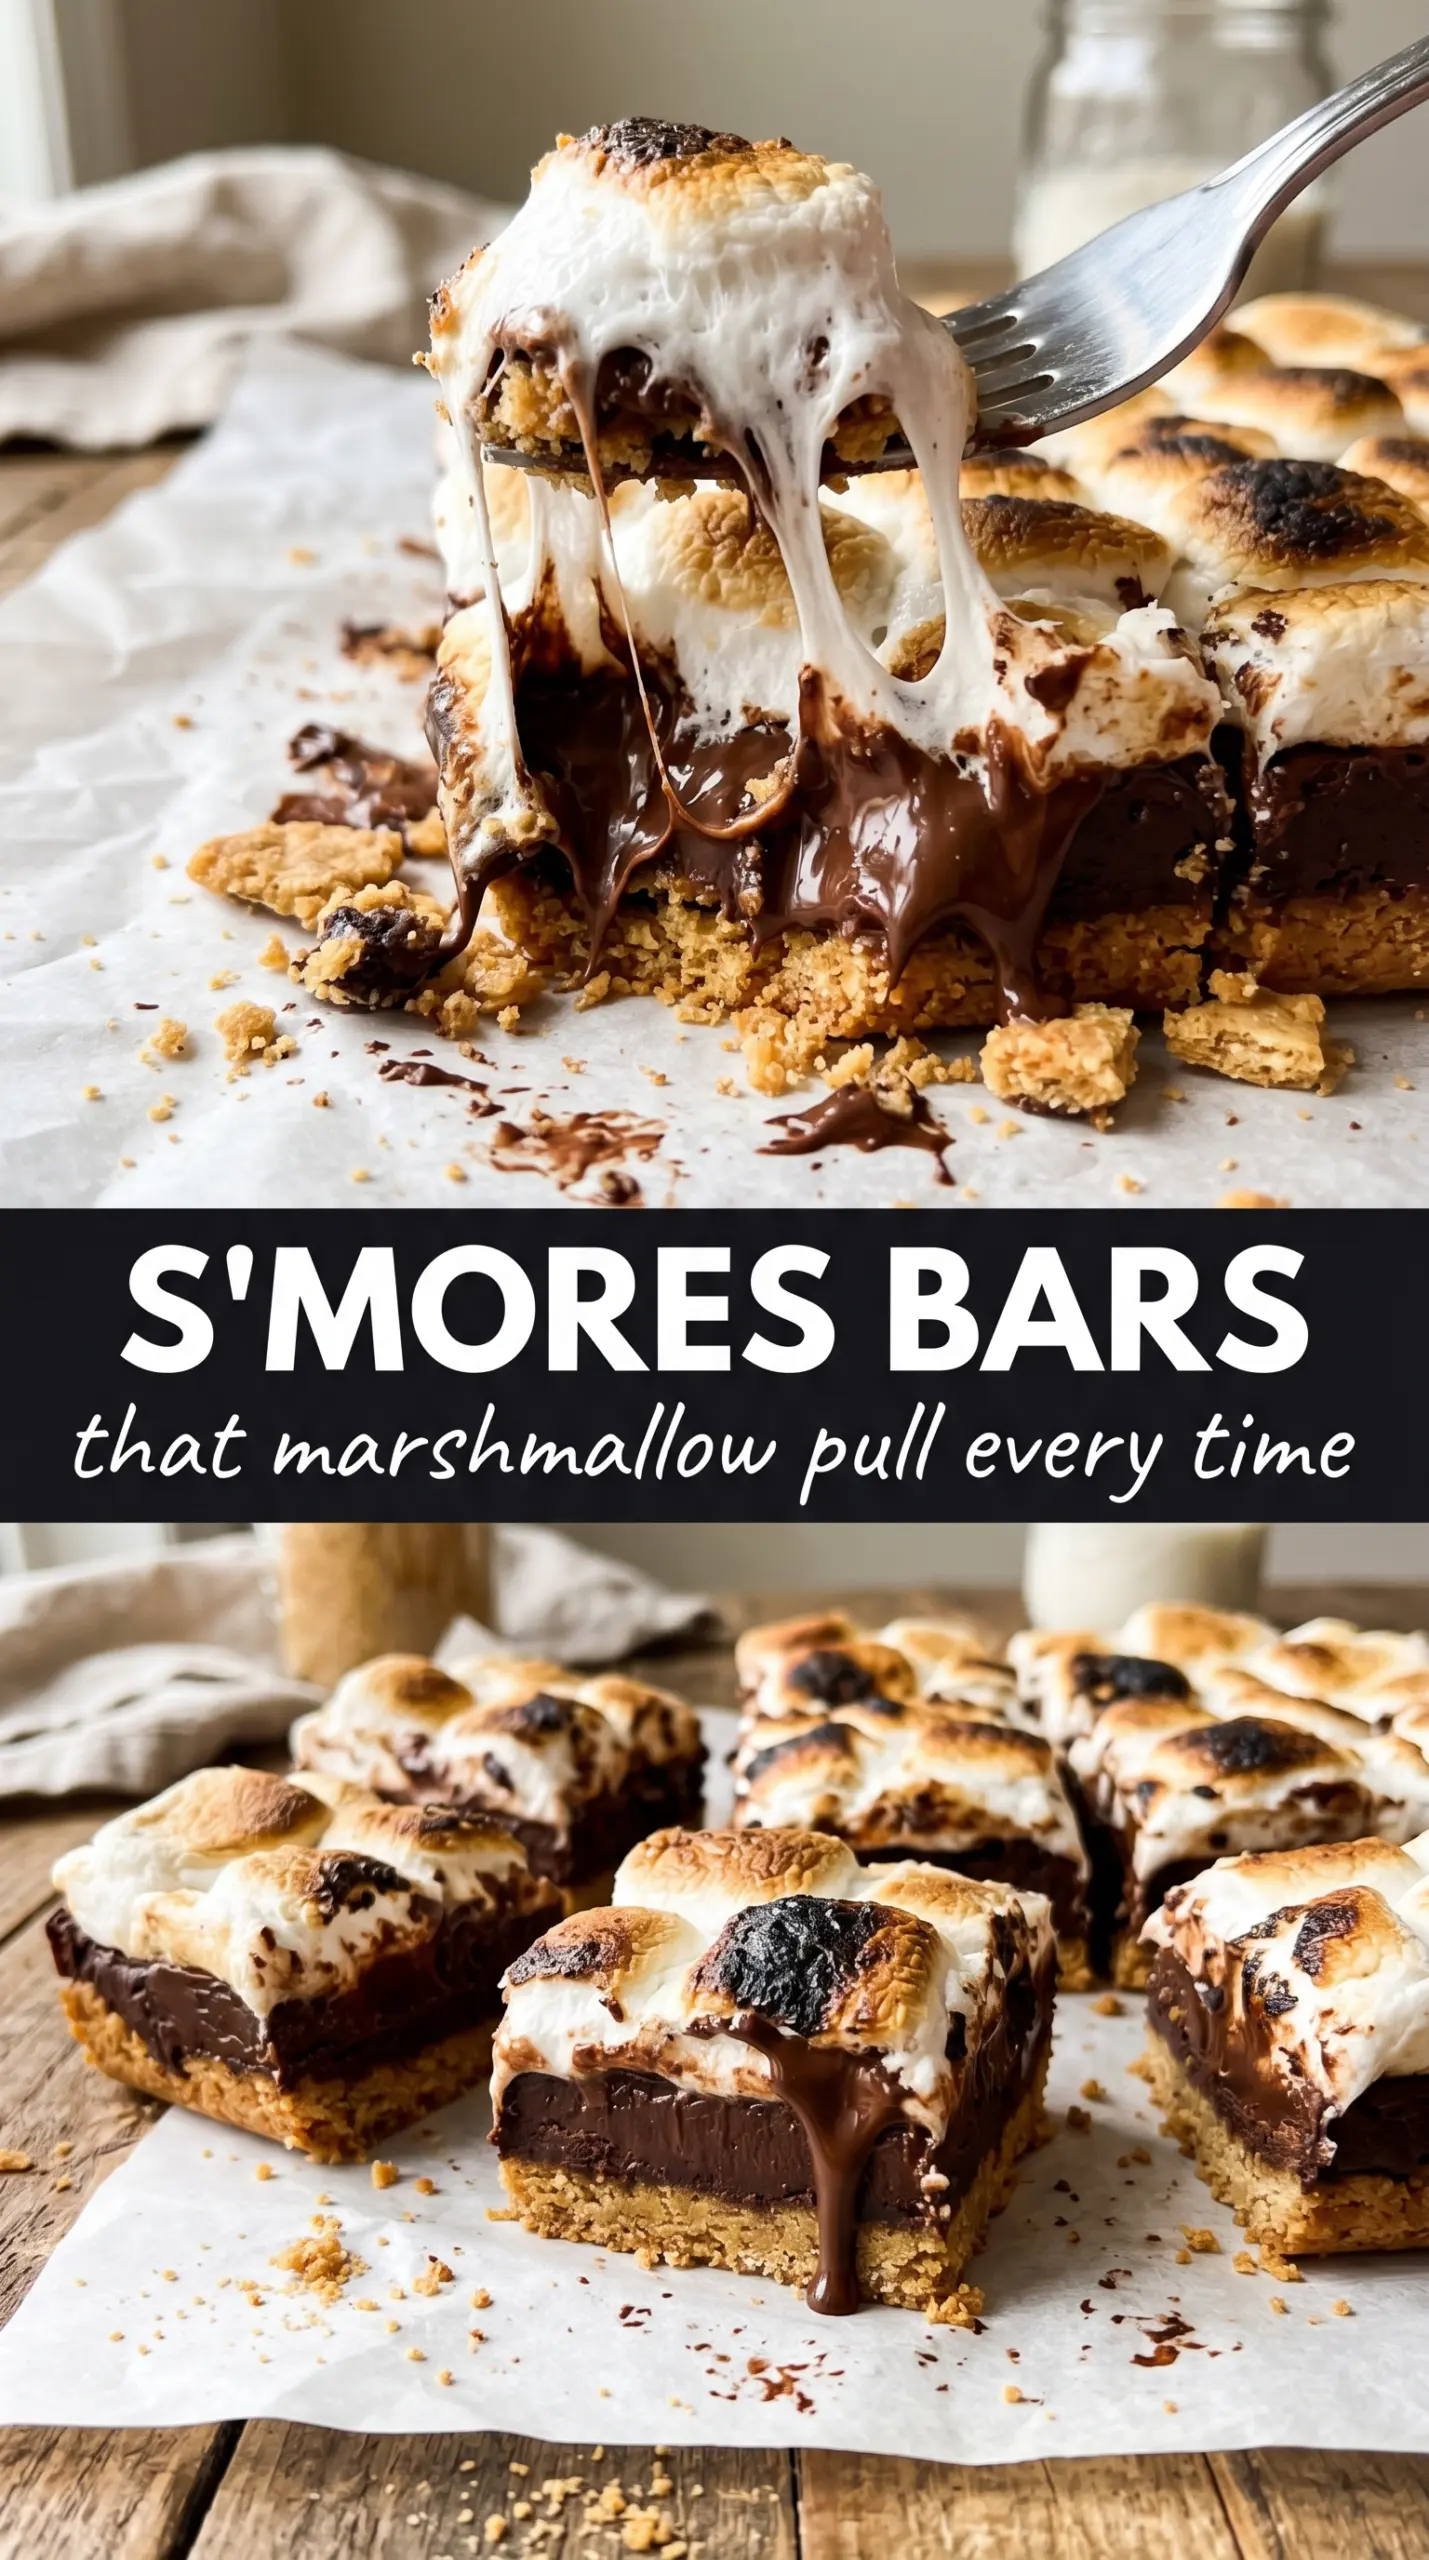
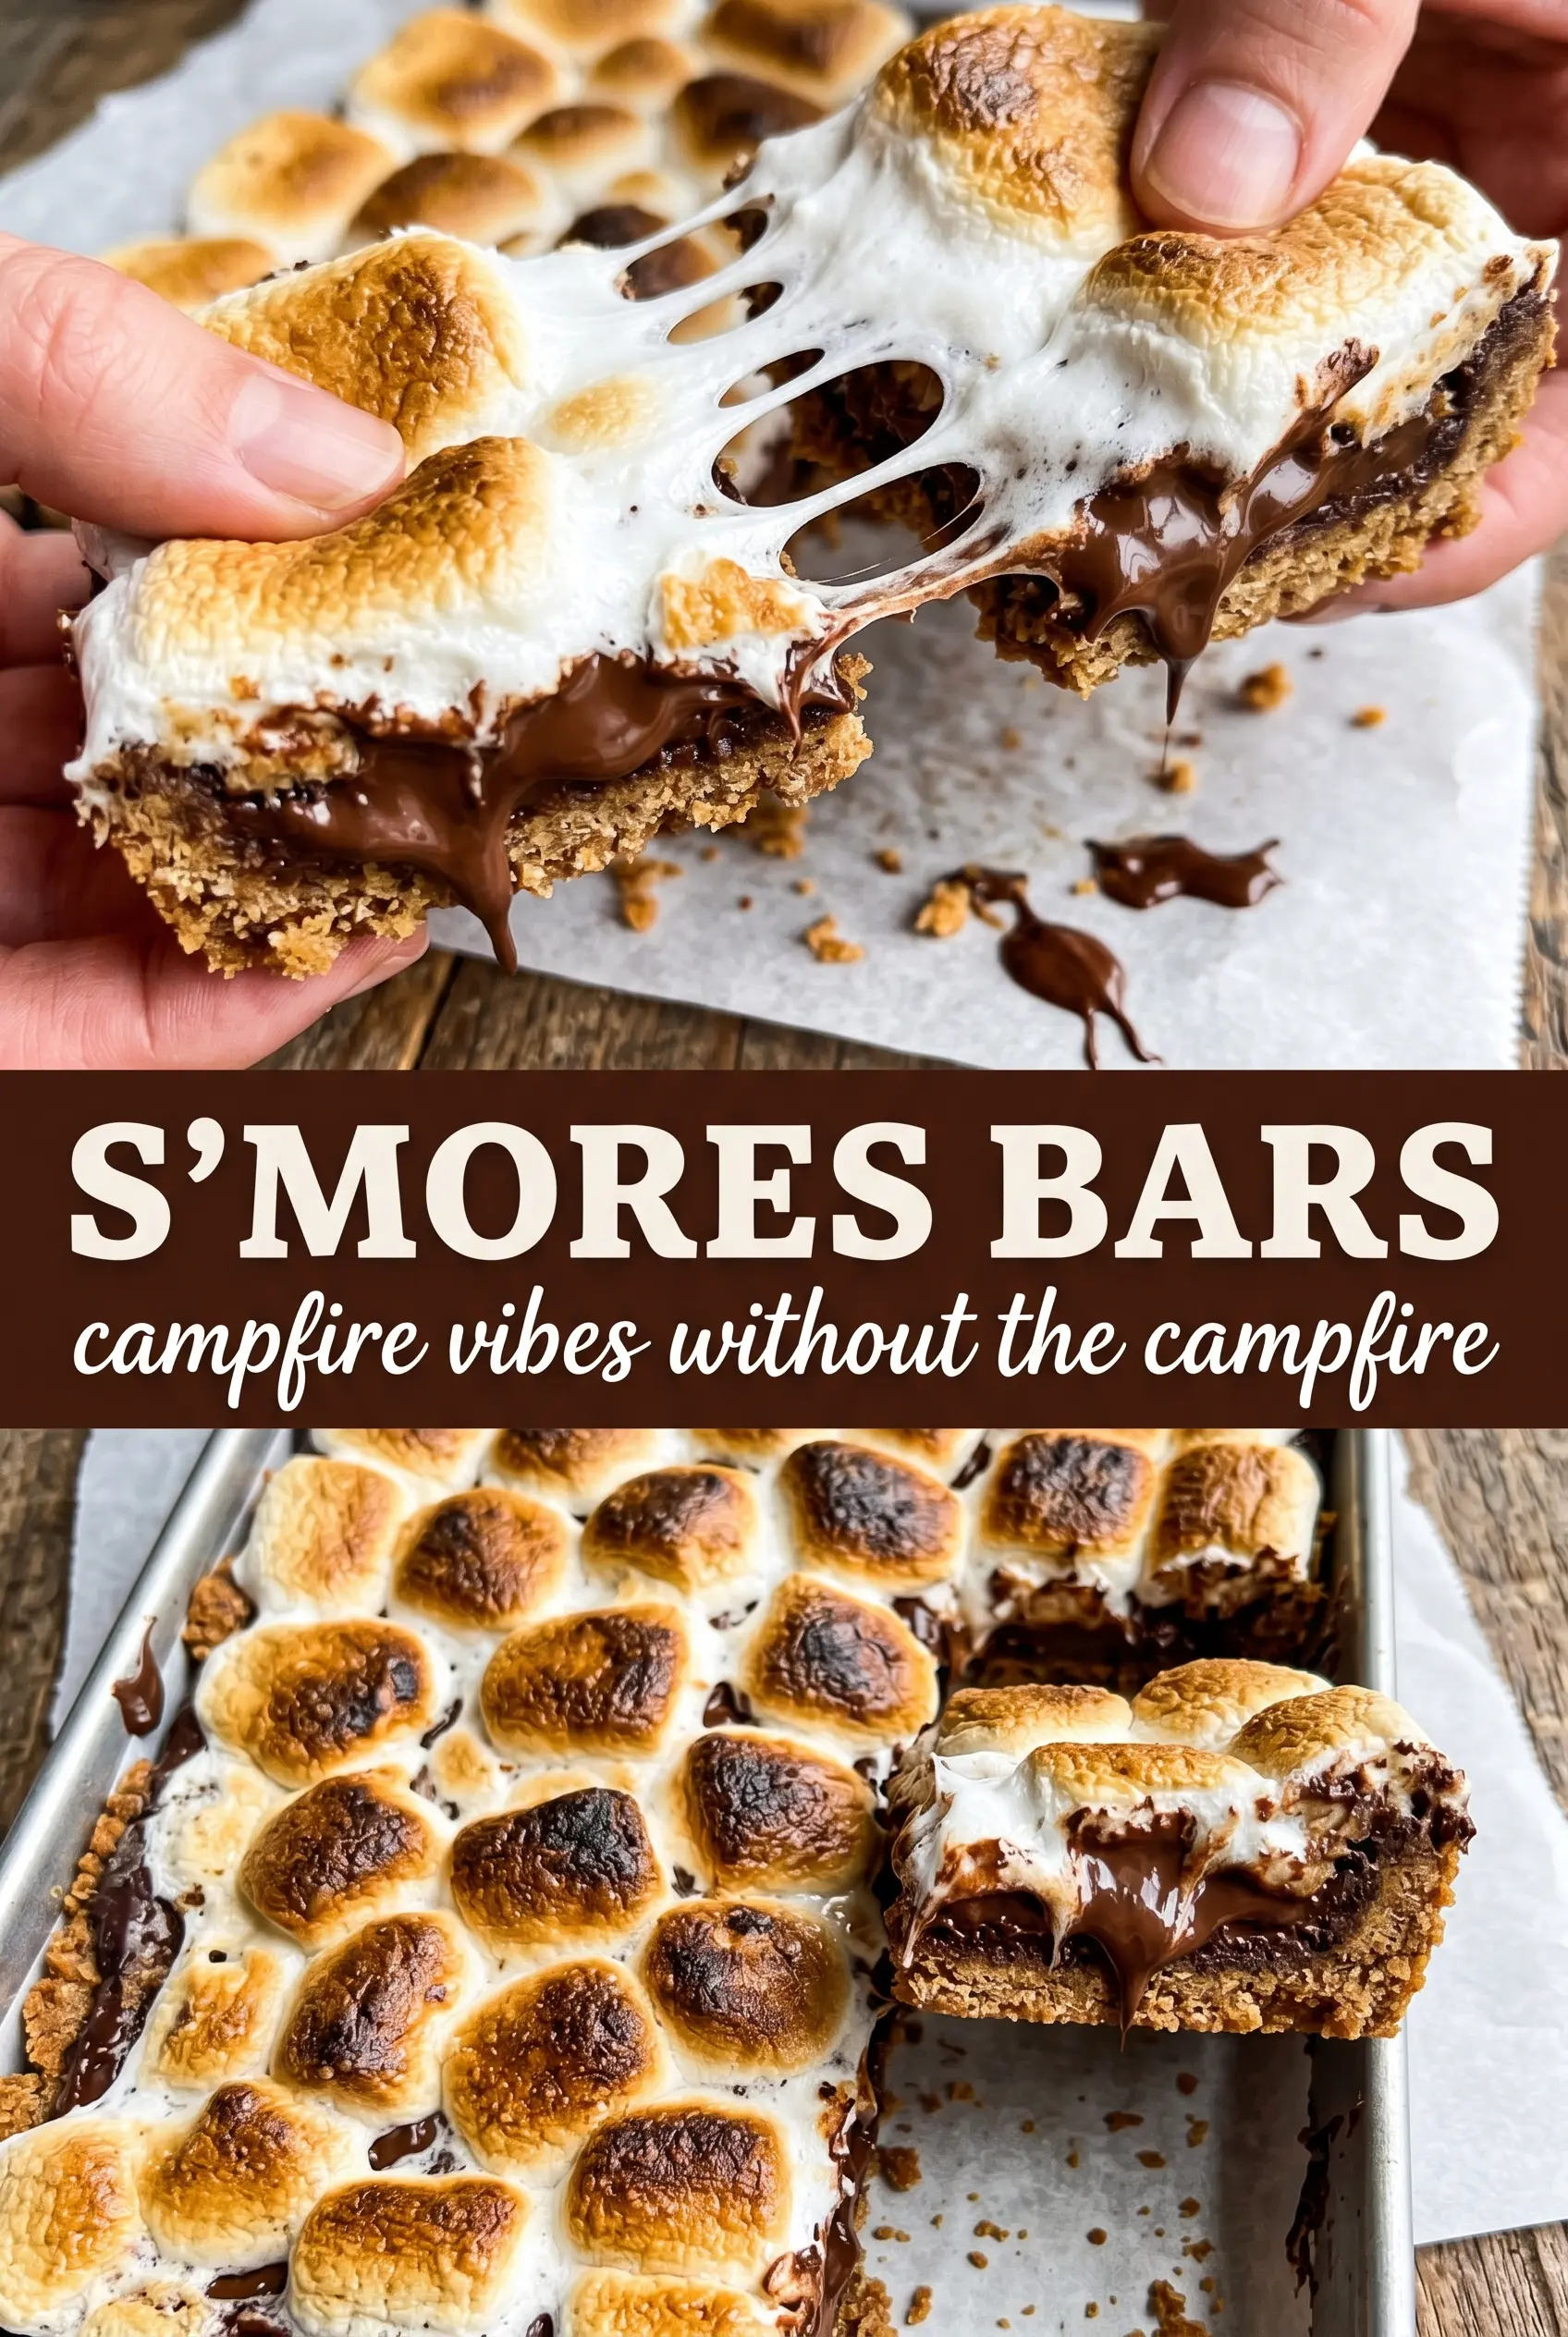
Thick s’mores bars hit the sweet spot between a fudgy brownie and a campfire classic. The graham cracker base stays crisp enough to give each bite some structure, the chocolate layer bakes up dense and rich, and the marshmallow top turns glossy and toasted without disappearing into the batter.
What makes this version work is the timing. The crust gets a short bake first so it doesn’t go soggy under the chocolate. The marshmallows go on after the bars are nearly set, which keeps them puffed and dramatic instead of melting into a sticky blanket. Broiling for just a minute or two gives you that burnished top, but it needs close attention because marshmallows go from golden to scorched fast.
Below you’ll find the small details that matter most: how to keep the crust from crumbling, when the bars are done in the center, and the easiest way to slice clean squares without dragging the marshmallow layer all over the pan.
The crust stayed crisp under the chocolate and the marshmallows browned evenly without melting away. I cut them after cooling and got clean, bakery-style squares.
Save these s’mores bars for the nights when you want a fudgy chocolate center, toasted marshmallow top, and a crisp graham crust in one pan.
The Trick to a Clean Cut: Let the Marshmallow Top Set Before You Slice
The part that trips people up here isn’t the chocolate layer. It’s the marshmallow top. If you cut the bars while the marshmallows are still hot and stretchy, the topping drags into strings and pulls the whole square apart. Letting the pan cool for at least 30 minutes gives the center time to firm up and the marshmallows time to settle into a sliceable layer.
The other thing worth watching is doneness in the chocolate layer. You want it just set in the center, not fully dry. It finishes firming as it cools, and if you overbake it, the bars lose that dense brownie-like texture that makes them feel special.
- Graham cracker crumbs — Fine crumbs pack down into a sturdier crust than coarse pieces. If yours are a little chunky, pulse them a few more times so the base holds together after baking.
- Butter — You need enough fat to bind the crust and give the chocolate layer a fudgy texture. Melted butter also helps the batter spread cleanly over the crust without tearing it up.
- Cocoa powder — Unsweetened cocoa brings the deep chocolate flavor without making the bars cakey. Natural cocoa works fine here; Dutch-process will taste a little darker and smoother.
- Mini marshmallows — Minis melt and toast more evenly, which makes the top easier to cover without gaps. If you only have large marshmallows, halving them keeps them from collapsing into giant puddles before they brown.
What Each Ingredient Is Actually Doing in This Recipe
- Primary ingredient (the star) — Quality matters most. Choose the best you can find.
- Cooking medium (oil, butter, or broth) — This carries flavors and prevents dryness.
- Seasonings (salt, pepper, spices, herbs) — Layer flavors so nothing overpowers. Build depth gradually.
- Aromatics (garlic, onion, herbs) — Cook with fat to bloom flavors. Become the foundation.
- Supporting ingredients — Complement the main ingredient without overpowering it.
- Sauce or liquid (if applicable) — Brings flavors together. Balance richness with acid.
- Acid (lemon, vinegar, wine, or other) — Brightens and prevents flat-tasting results.
- Final finish (garnish, glaze, or sauce) — Prevents one-dimensional taste and adds visual appeal.
Building the Layers So the Bars Stay Fudgy, Not Dry
The Graham Cracker Base
Mix the crumbs, sugar, and melted butter until every crumb looks evenly moistened, then press the mixture firmly into a parchment-lined 9×13 pan. Use the bottom of a measuring cup to pack it down; a loose crust crumbles when you cut the bars. The short 8-minute bake sets the base just enough so the chocolate layer doesn’t soak through it.
The Chocolate Batter
Melt the butter in a saucepan, then stir in the sugar, eggs, and vanilla until the mixture looks glossy and smooth. Add the dry ingredients and stir just until the batter comes together with no dry streaks. If you overmix once the flour goes in, the bars turn more cake-like and less dense, so stop as soon as everything looks uniform.
Baking to the Right Set
Spread the batter over the crust and bake until the center is just set and no longer looks wet or sloshy when you gently shake the pan. You’re aiming for a soft middle that still has a slight wobble, because the residual heat finishes the job during cooling. If the top looks firm all the way across, it has probably gone a little too far.
Toasting the Marshmallow Finish
Scatter the marshmallows over the hot bars as soon as they come out of the oven, then return the pan for a few minutes until they puff and start turning golden. Switch to broil only at the end, and stay at the oven door the whole time. Marshmallows can go from toasted to burnt in seconds, especially if the pan sits too close to the broiler.
Gluten-Free S’mores Bars
Use a good 1:1 gluten-free flour blend in the chocolate layer and swap in gluten-free graham crackers for the crust. The bars still bake up fudgy, but the crust may be a touch more delicate, so press it down firmly and let it cool completely before slicing.
Extra Toasted Campfire Bars
If you like a darker marshmallow top, broil for the shortest possible time and rotate the pan once if your oven browns unevenly. The flavor gets a little more caramelized and the top takes on that campfire edge, but you need to watch closely so the marshmallows don’t collapse or burn.
Dairy-Free Version
Use plant-based butter in both the crust and chocolate layer, then top with marshmallows that don’t contain gelatin if that matters for your diet. The texture stays close to the original, though the chocolate layer may taste a little less rich than the butter version.
Storage and Reheating
- Refrigerator: Store in an airtight container for up to 4 days. The marshmallows will lose some of their gloss, but the bars stay tasty.
- Freezer: Freeze cut bars between layers of parchment for up to 2 months. Thaw in the fridge so the topping doesn’t get tacky from condensation.
- Reheating: Warm a bar for 10 to 15 seconds in the microwave if you want the chocolate layer slightly soft again. Don’t overheat it or the marshmallows will melt into a sticky mess.
Answers to the Questions Worth Asking
S'mores Bars
Ingredients
Equipment
Method
- Preheat oven to 350°F and line a 9x13 pan with parchment paper for easy lifting.
- Mix graham cracker crumbs, granulated sugar, and melted butter, then press firmly into the bottom of the pan.
- Bake the crust at 350°F for 8 minutes until set, then cool slightly.
- Melt butter in a saucepan over low heat, then stir in granulated sugar, eggs, and vanilla extract until smooth.
- Mix in cocoa, all-purpose flour, baking powder, and salt until smooth, then spread the batter over the cooled crust.
- Bake at 350°F for 18-20 minutes until just set in the center and the top looks set but not dry.
- Remove from the oven and immediately cover the entire top with mini marshmallows in an even layer.
- Return to the oven at 350°F for 3-4 minutes until marshmallows puff and start to turn golden.
- Switch to broil and cook for 1-2 minutes until marshmallows are golden brown, watching closely to prevent burning.
- Cool for 30 minutes before cutting with a buttered knife so the layers slice cleanly and pull with melted chocolate.