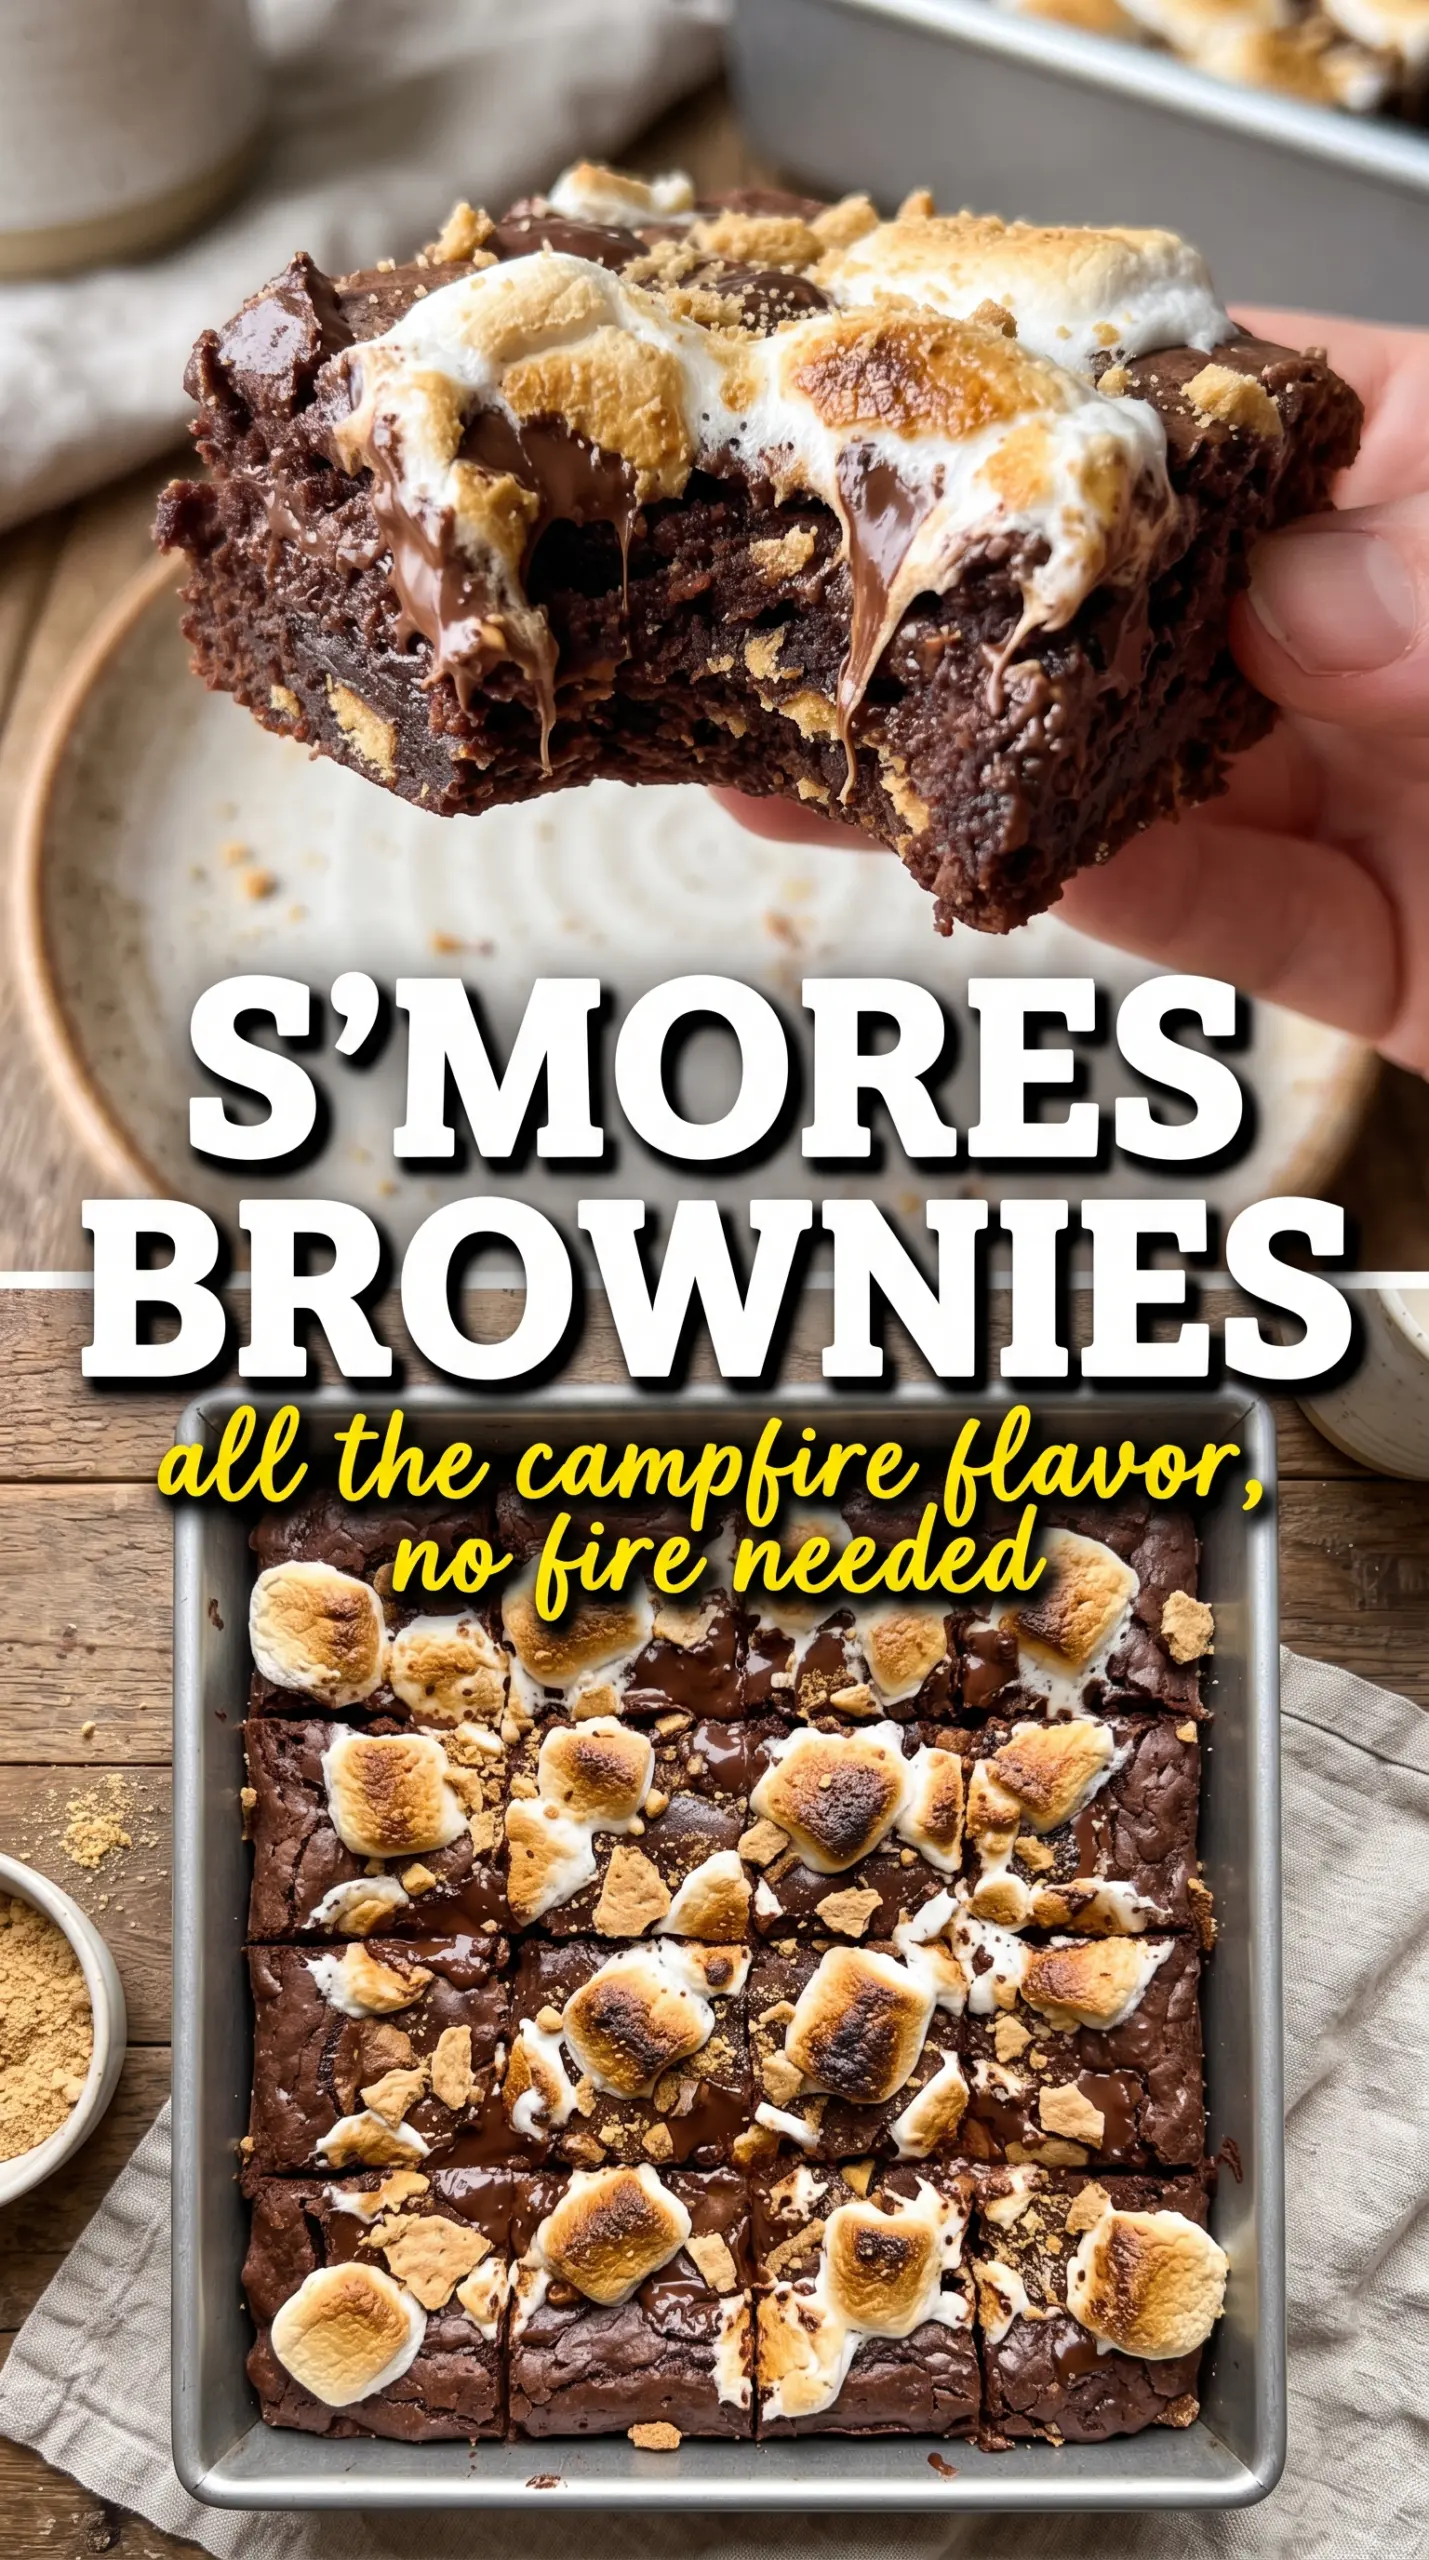
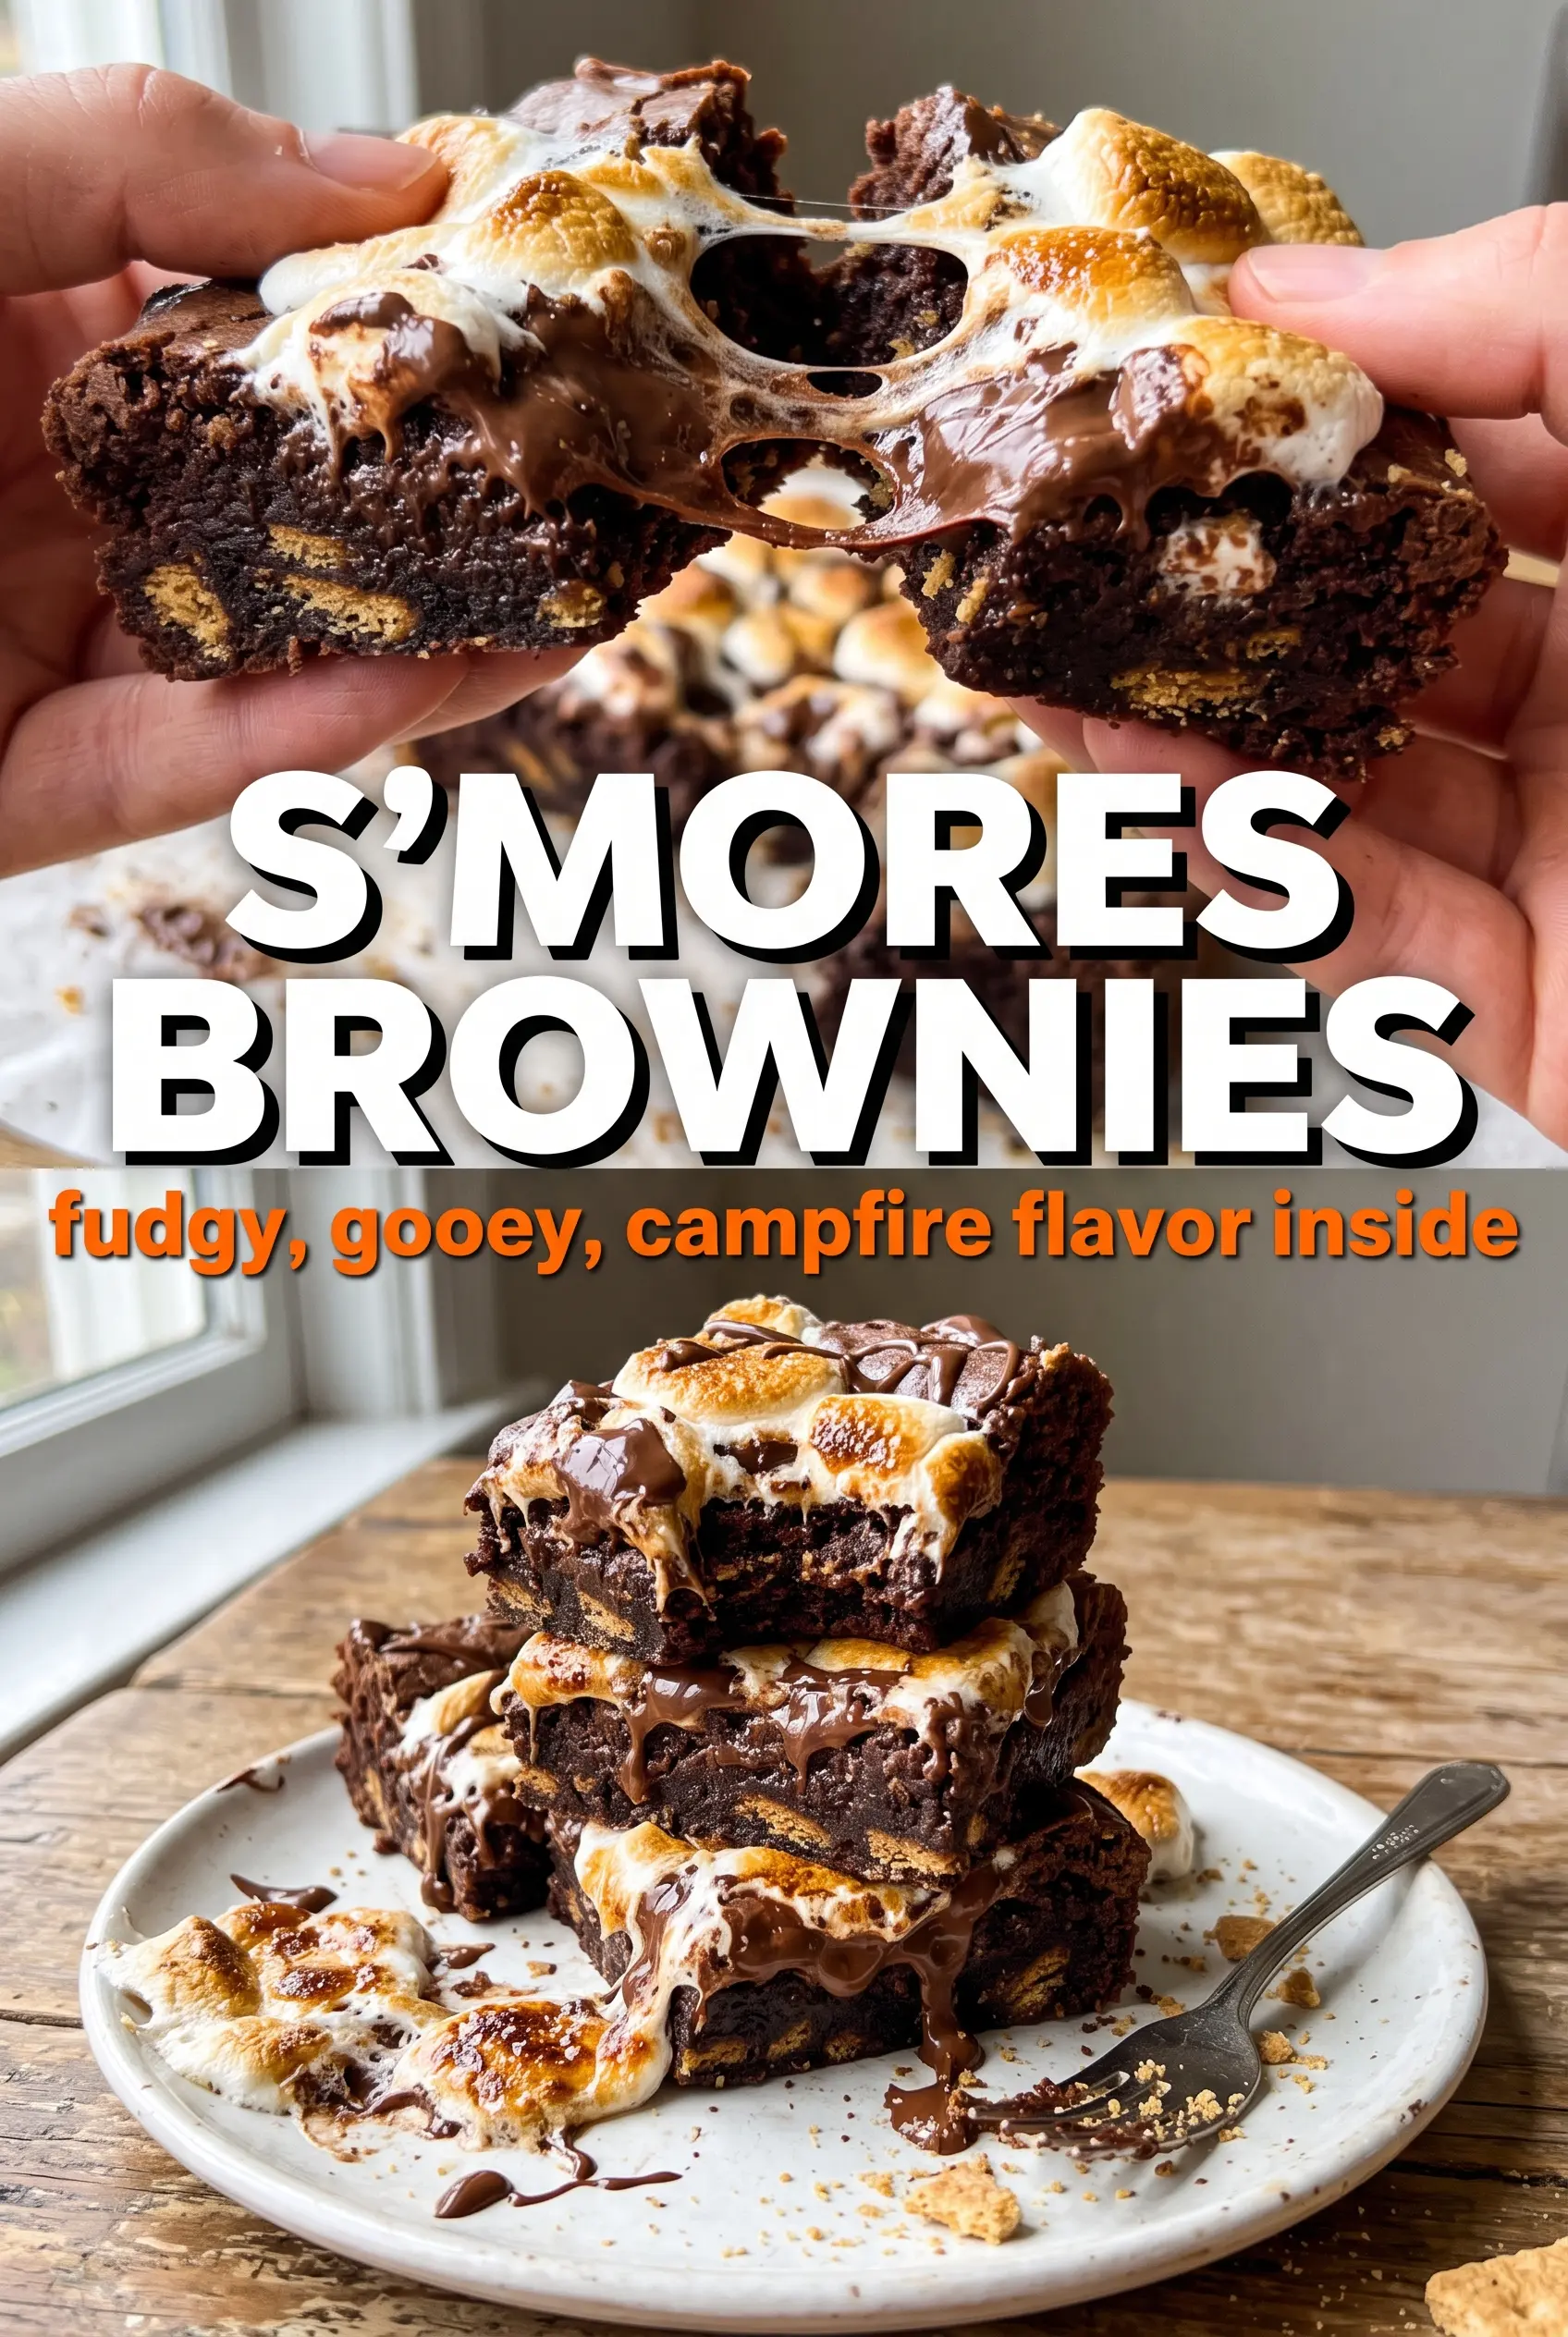
Fudgy brownies, a crisp graham cracker base, and a cap of toasted marshmallows make these s’mores brownies hit every note you want in a campfire-style dessert without needing a fire pit. The bottom layer stays sturdy enough to slice cleanly, while the brownie itself bakes up dense and rich, with just enough structure to hold the marshmallow topping. The chocolate drizzle on top finishes the whole pan with that classic s’mores look and a little extra bite of chocolate in every square.
What makes this version work is the layering. The graham crust gets a quick pre-bake so it doesn’t soften into the brownie batter, and the brownie layer is mixed just enough to stay fudgy instead of turning cakey. The marshmallows go on at the end and spend only a minute or two under the broiler, which is what gives you that toasted, bubbly top instead of a melted puddle.
Below, you’ll find the little details that keep the crust crisp, the brownie layer rich, and the marshmallows golden instead of scorched. I also included a few swaps and storage notes so you can make these ahead without losing that fresh-from-the-pan texture.
The graham layer stayed crisp, the brownies baked up fudgy, and the marshmallows browned in under two minutes. I cut them after cooling and they held their shape perfectly.
Love the toasted marshmallow top and fudgy brownie layers? Save these s’mores brownies for the next time you want a campfire-style dessert from the oven.
The Reason the Graham Cracker Crust Stays Crisp Under the Brownie Layer
The biggest mistake with layered brownie bars is skipping the crust bake. If the graham mixture goes in raw, the brownie batter seeps into it and turns the bottom soft and pasty instead of giving you that clean, sandy snap when you bite in. Six minutes in the oven is enough to set the butter and sugar so the crust can hold its shape under the batter.
Press the crust firmly and evenly across the pan, especially into the corners. A loose crust falls apart when you cut the bars, and a thin spot bakes up brittle instead of sturdy. The goal is a packed base that acts like a foundation, not a crumbly topping pretending to be one.
- Graham cracker crumbs — Fine crumbs pack best. If yours are coarse, pulse them a little more so the crust slices cleanly.
- Melted butter — This is what binds the crumbs and helps the crust set during the short bake. Anything less leaves dry pockets that fall apart.
- Sugar — It sweetens the crust and helps it crisp at the edges. Granulated sugar works best here; brown sugar makes the crust softer.
What the Brownie Batter Is Doing Before the Marshmallows Go On
Butter gives the brownies their dense, rich texture and keeps them from baking up dry. Melted butter is exactly what you want here because it mixes smoothly with the sugar and gives the batter that glossy, fudgy finish.
Cocoa powder carries the chocolate flavor, and since there’s no melted chocolate in the batter, its quality matters. Use a cocoa you actually like the taste of on its own. Eggs provide structure and chew, while flour gives the brownies enough body to support the marshmallow topping without turning cakey. The most important part is not overmixing once the flour goes in; stir just until the batter looks smooth and combined. Overmixing builds too much gluten, and that’s how fudgy brownies turn bready.
- Vanilla — It rounds out the cocoa and makes the chocolate taste fuller.
- Baking powder — Just a small amount gives the brownie a little lift so it doesn’t bake into a brick.
- Salt — It sharpens the chocolate flavor and keeps the sweetness from flattening out.
Building the Layers Without Losing the Texture
Start With the Crust
Mix the graham cracker crumbs, sugar, and melted butter until every crumb looks evenly damp, then press it into the pan in a tight, level layer. Bake it just long enough to set the base, not color it deeply. If it bakes too long, the crust gets hard and the finished bars can be tough to cut cleanly.
Mix the Brownie Batter Gently
Whisk the melted butter and sugar first, then add the eggs and vanilla until the mixture looks glossy. Stir in the dry ingredients until the streaks disappear and stop there. If you keep beating after the flour is in, the brownies lose that dense, fudgy bite and head straight toward cakey.
Watch the Center, Not the Clock
Bake until a toothpick comes out with a few moist crumbs, not wet batter. The brownies finish setting as they cool, so pulling them when the center still has a little give is what keeps them fudgy. If the top looks dry and the edges are pulling from the pan, they’re already past the ideal point.
Toast the Marshmallows Fast
Scatter the mini marshmallows over the warm brownies and broil on high for a minute or two, watching constantly. The tops should puff, blister, and turn golden in spots. Marshmallows go from perfect to burnt in a heartbeat, so don’t walk away even for a second.
Chocolate Chip Swirl
Drizzle the melted chocolate more heavily over the top if you want a stronger chocolate hit and a more dramatic finish. A thin drizzle keeps the marshmallows front and center, while a heavier hand makes the bars taste closer to a loaded brownie than a classic s’more.
Gluten-Free Version
Use gluten-free graham-style crumbs and a 1:1 gluten-free flour blend in the brownie layer. The texture stays close to the original, though the bars may be a touch more delicate when warm, so give them the full cooling time before slicing.
Dairy-Free Swap
Use plant-based butter in both the crust and brownie layer, then finish with dairy-free chocolate chips. The flavor stays rich, but the crust may brown a little less aggressively, so rely on texture and timing instead of color.
Storage and Reheating
- Refrigerator: Store in an airtight container for up to 5 days. The marshmallows soften a bit after the first day, but the bars still slice well.
- Freezer: Freeze the bars without the chocolate drizzle for up to 2 months. Wrap individual squares tightly so the topping doesn’t pick up freezer odors, then thaw in the fridge.
- Reheating: Warm a square for 10 to 15 seconds in the microwave if you want the brownie layer a little softer. Don’t overheat it or the marshmallow top turns sticky and the crust loses its bite.
Answers to the Questions Worth Asking
S'mores Brownies
Ingredients
Equipment
Method
- Preheat oven to 350°F and line a 9x13 pan with parchment paper.
- Mix graham cracker crumbs, sugar, and melted butter, then press firmly into the bottom of the pan.
- Bake the crust for 6 minutes to set it, then remove from the oven.
- Whisk melted butter and granulated sugar until glossy, then whisk in the eggs and vanilla extract.
- Stir in cocoa powder, all-purpose flour, baking powder, and salt until the batter is smooth.
- Spread the brownie batter evenly over the baked graham cracker crust.
- Bake at 350°F for 22-25 minutes until a toothpick comes out with a few moist crumbs.
- Scatter mini marshmallows over the top in an even layer.
- Broil on HIGH for 1-3 minutes, watching carefully until marshmallows are golden and bubbly (do not walk away).
- Cool for 30 minutes before cutting.
- Drizzle melted chocolate over the entire surface, then cut into 16 squares with a buttered knife.