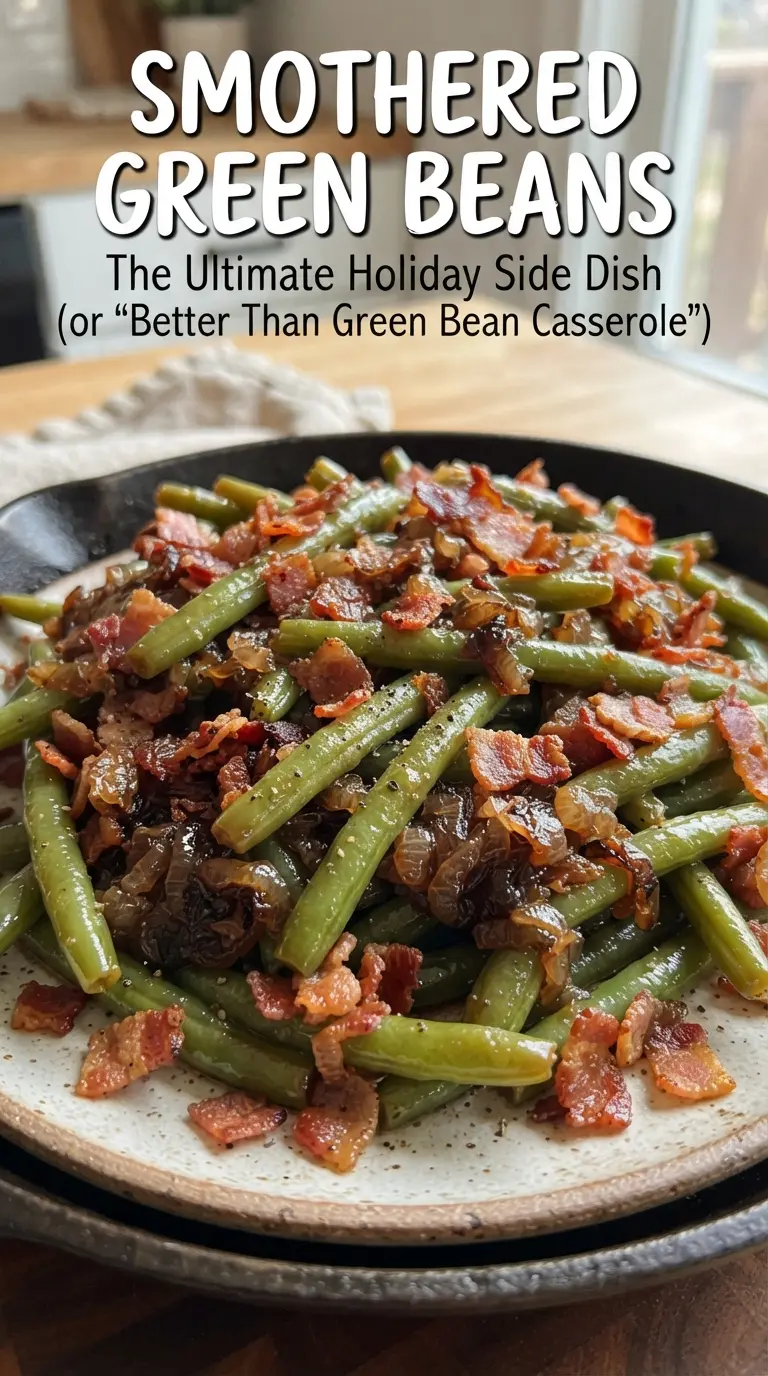
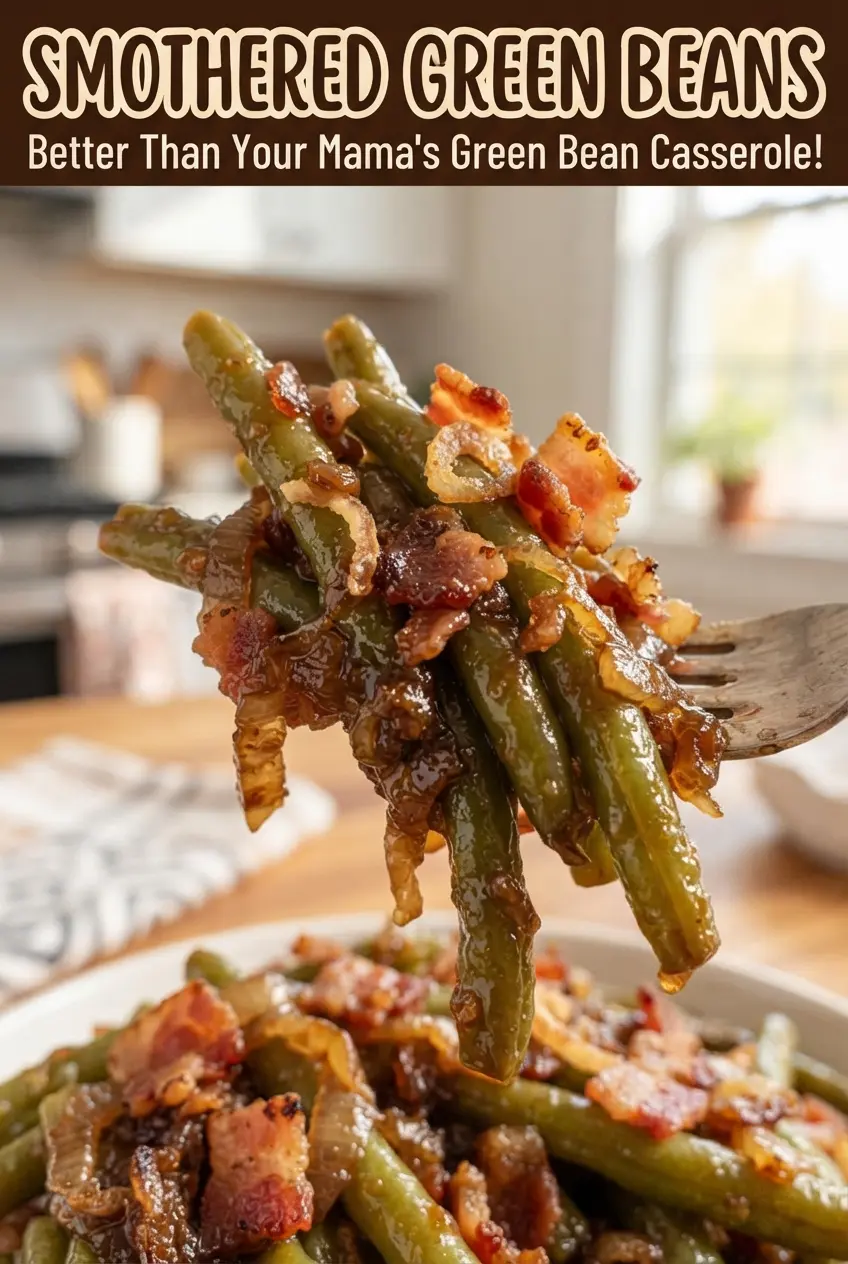
Smothered green beans come out glossy, savory-sweet, and tender enough to lean on the fork without falling apart. The bacon gives the dish its backbone, but the real payoff is the brown sugar butter sauce that settles into the beans and turns the whole pan into something you’ll want beside almost any roast or holiday main. It’s the kind of side dish that disappears fast because it tastes like it took more work than it did.
The trick is in the balance and the order. The bacon and onion go in first so the drippings have a chance to flavor everything, and the sauce gets whisked separately so the sugar dissolves before it hits the oven. That keeps the finished dish glossy instead of grainy, and it helps the beans hold onto the sauce instead of swimming in a greasy puddle. Canned green beans work here because they soak up the sauce without needing a long cook time.
Below, I’ll walk through the part that matters most: getting the sauce to coat instead of separate, plus a few swaps that still keep the dish in the same Southern lane.
The sauce baked down into this glossy, sticky coating and the beans weren’t watery at all. I stirred once halfway through like you said and the bacon stayed crisp enough to still have some bite.
Save these smothered green beans for the nights when you want a glossy bacon-and-brown-sugar side dish that bakes up tender and full of flavor.
The Sauce Stays Glossy When You Don’t Rush the Bacon Drippings
Most smothered green bean recipes go flat when the sauce never fully comes together. The bacon fat, butter, and brown sugar need enough time to emulsify in the oven, and the beans need to be coated, not drowned. If the sauce looks greasy when you pull the dish out, it usually means the sugar wasn’t whisked well enough before baking or the foil came off too early and the mixture never had a chance to settle.
Canned green beans are the right choice here because they’re already tender. Fresh beans would need blanching first, or they’d stay too firm while the sauce overcooks. The oven time is there to marry the flavors and let the sauce thicken around the beans, not to cook the vegetables from raw.
- Bacon drippings — Don’t drain the skillet after cooking the bacon and onion. That fat carries the smoky flavor into the baking dish and gives the sauce a richer finish.
- Brown sugar — Packed brown sugar melts into the butter and helps the sauce turn glossy. Light or dark both work; dark brown sugar brings a deeper molasses note.
- Foil — The cover traps steam at first so the beans heat through and the sugar melts evenly. If you bake uncovered the whole time, the top can dry out before the sauce thickens.
What Each Ingredient Is Actually Doing in This Dish
- Canned cut green beans — They hold up to the sweet-savory sauce and save a lot of prep time. Drain them well so the dish doesn’t turn watery.
- Bacon — This is the main source of salt and smoke. Thick-cut bacon works, but regular bacon crisps faster and blends better into the sauce.
- Onion — It softens in the bacon fat and gives the dish a little sweetness of its own. Dice it small so it melts into the background instead of staying sharp.
- Soy sauce — It deepens the sauce and keeps the sweetness from tasting one-note. Worcestershire can stand in if that’s what you have, but soy sauce gives a cleaner savory edge.
- Butter — It carries the brown sugar and helps the sauce coat the beans instead of clumping. Melt it fully before whisking so the sauce starts smooth.
How to Build the Pan So the Beans Bake Into the Sauce
Cooking the Bacon and Onion Together
Cook the chopped bacon and onion until the bacon is mostly crisp and the onion has gone soft and translucent. The onions should pick up the bacon fat and lose their raw bite before anything goes into the baking dish. If the bacon is still floppy, it won’t hold up after the long bake, and the final texture turns chewy instead of crisp around the edges.
Whisking the Sauce Until It Looks Smooth
Whisk the brown sugar, melted butter, soy sauce, garlic powder, and black pepper until the sugar starts to disappear into the liquid. You don’t need a perfectly silky sauce, but you do want it uniform enough that no dry sugar sits on the beans and burns in patches. Pour it over the top while it’s still warm so it spreads evenly through the pan.
Baking Under Foil, Then Stirring Once
Cover the dish tightly with foil and bake until the sauce looks glossy and the beans are hot all the way through. Stir once during baking so the beans at the bottom pick up the sauce and the bacon doesn’t all sit on top. If you stir too often, the bacon loses its crisp edges and the beans break up more than they need to.
Finishing for the Right Texture
When the beans come out, they should be tender, shiny, and coated with a sticky sauce that clings to the back of a spoon. Let them sit for a few minutes before serving so the sauce settles instead of running off the first time you scoop. That short rest makes a bigger difference than people expect.
How to Adapt These Green Beans for the Table You’re Feeding
Use fresh green beans instead of canned
Blanch trimmed fresh beans for 3 to 4 minutes first, then drain them well before assembling. They’ll keep a brighter color and a firmer bite, but they won’t absorb the sauce quite as quickly as canned beans, so the finished dish feels a little less soft and a little more vegetable-forward.
Make it gluten-free
Use a certified gluten-free soy sauce or tamari. The sauce tastes the same in the finished dish, but tamari gives you a slightly rounder, less sharp savory note.
Cut the sweetness back
Drop the brown sugar to 1/3 cup if you want a more savory side dish. You’ll lose some of the sticky glaze, but the bacon and onion stand out more and the beans taste closer to a classic Southern skillet vegetable.
Skip the bacon
For a pork-free version, cook the onion in 2 tablespoons of butter until soft, then add a pinch of smoked paprika to replace some of the bacon depth. You won’t get the same salty chew, but you’ll still have a glossy, rich casserole-style side dish.
Storage and Reheating
- Refrigerator: Store leftovers in an airtight container for up to 4 days. The sauce will thicken as it chills.
- Freezer: Freezing isn’t my first choice here. The beans soften a lot after thawing, and the sauce can turn a little loose.
- Reheating: Warm gently in a covered dish at 325F until hot, or reheat individual portions in the microwave at medium power. High heat dries out the beans and makes the sauce split at the edges.
Answers to the Questions Worth Asking
Smothered Green Beans
Ingredients
Equipment
Method
- Preheat oven to 350F.
- Cook bacon and diced onion in a skillet for 8 minutes until bacon is mostly crisp, and do not drain the drippings.
- Place drained green beans in a 9x13-inch baking dish, then top with bacon, onion, and all skillet drippings.
- Whisk brown sugar, melted butter, soy sauce, garlic powder, and black pepper until combined, then pour over the beans.
- Cover with foil and bake at 350F for 35 to 40 minutes, stirring once, until the sauce is glossy and bubbling.
- Stir the green beans and serve warm.