
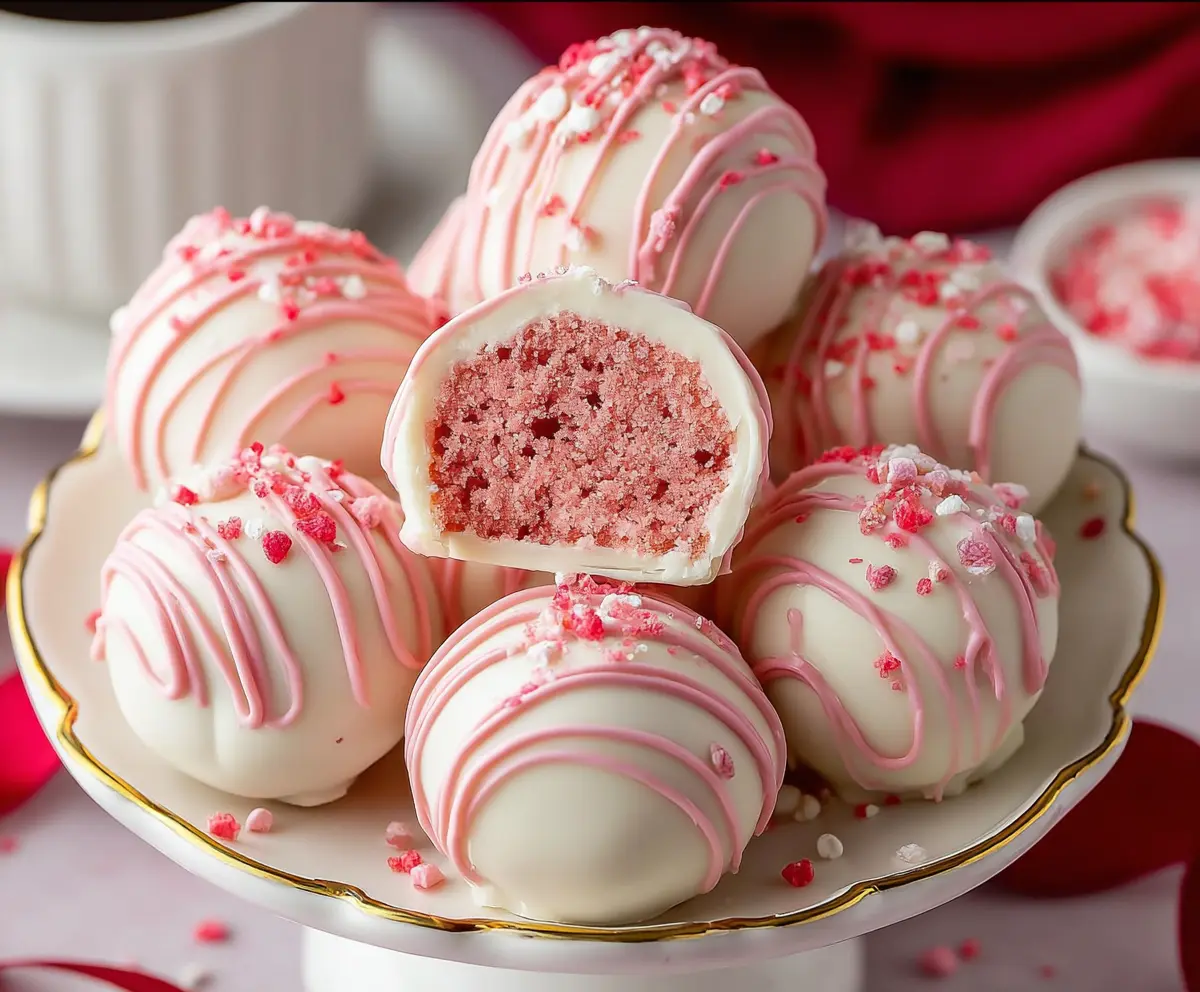
These strawberry cake balls are tiny bites of joy! Made with moist strawberry cake and creamy frosting, they’re covered in sweet chocolate. Perfect for sharing or sneaking one for yourself!
Every time I make these, I feel like a little kid again—who can resist a tasty ball of cake? I love to pop them in the fridge for a cool treat later. Yum!
Key Ingredients & Substitutions
Strawberry Cake Mix: This is the star of the show! Look for a good quality strawberry cake mix to ensure a flavorful base. You can substitute it with any other flavored cake mix if you’re feeling adventurous, like vanilla or chocolate.
Cream Cheese: Cream cheese adds delicious richness and moisture to the cake balls. If you’re looking for a lower-fat option, you can try using Greek yogurt; it’s tangy and works well in a pinch.
White Chocolate: I love using white chocolate for coating since it adds a sweet touch. If you’re not a fan, you can opt for dark chocolate or even milk chocolate – just keep in mind it will change the flavor profile!
Pink Candy Melts: These are optional but bring a fun pop of color if you want to drizzle on top. If you can’t find them, just use additional white chocolate with a drop of red food coloring to get that pink hue.
Freeze-Dried Strawberries: I enjoy the crunchy texture they add. If you can’t find them, consider using chopped nuts or coconut flakes for extra garnish. Sprinkles are always a festive choice too!
How Do You Ensure Your Cake Balls Hold Their Shape?
The key to perfectly shaped cake balls is chilling the mixture after forming the balls. This helps the balls firm up, making them easier to coat. Here’s how to do it:
- After mixing in the cream cheese, form the mixture into 1-inch balls.
- Place the balls on a parchment-lined tray, ensuring they are not touching.
- Refrigerate for at least 1 hour or freeze for 20 minutes. This step is crucial!
Also, when you’re dipping them in chocolate, let any excess drip off. If the chocolate coating seems too thick, you might need to melt it down a little more for better coverage.
How to Make Strawberry Cake Balls
Ingredients You’ll Need:
For the Cake:
- 1 box (15.25 oz) strawberry cake mix
- Ingredients needed to prepare the cake (usually eggs, oil, water as per package instructions)
For the Filling:
- 1/2 cup (4 oz) cream cheese, softened
For the Coating:
- 12 oz white chocolate or white candy melts
- 2 oz pink candy melts or white chocolate tinted pink (optional, for drizzle)
For Garnish:
- Freeze-dried strawberry pieces
- Pink sprinkles
How Much Time Will You Need?
This recipe takes about 15 minutes of preparation time, plus additional chilling time. You’ll need to chill the cake balls for at least 1 hour in the refrigerator or 20 minutes in the freezer before coating them. Total time including chilling is about 1 hour and 15 minutes.
Step-by-Step Instructions:
1. Prepare the Cake:
Start by preparing the strawberry cake according to the package instructions. Mix together the cake mix with the necessary ingredients like eggs, oil, and water. Bake it in the oven, then let it cool completely.
2. Crumble the Cake:
Once your cake is completely cool, crumble it into a large mixing bowl. Make sure to break it down into fine crumbs, so it blends well with the cream cheese.
3. Mix in the Cream Cheese:
Add the softened cream cheese to the crumbled cake. Mix everything together until you get a smooth, dough-like consistency. This is important for shaping the cake balls!
4. Shape the Cake Balls:
Using your hands or a small cookie scoop, form the mixture into 1-inch balls. Place each ball on a parchment-lined baking sheet. It’s okay if they’re not perfect; they’ll taste great regardless!
5. Chill the Cake Balls:
Now, it’s time to firm them up. Chill the cake balls in the refrigerator for at least 1 hour, or pop them in the freezer for 20 minutes. This will make them easier to coat later.
6. Melt the Coating:
In a microwave-safe bowl, melt the white chocolate or candy melts. Heat them in 20-30 second intervals, stirring in between, until smooth. Be careful not to overheat; you want it silky and easy to dip.
7. Coat the Cake Balls:
Dip each chilled cake ball into the melted chocolate using a fork or dipping tool. Make sure to coat the entire ball, then let any excess chocolate drip off before placing it back on the parchment-covered sheet.
8. Add Decoration:
If you’d like an extra touch, melt some pink candy melts and drizzle them over the coated cake balls. While the drizzle is still wet, sprinkle some freeze-dried strawberry pieces or pink sprinkles on top for a lovely finish!
9. Let It Set:
Allow the coated cake balls to set either at room temperature or in the refrigerator until the chocolate is fully hardened. This may take about 30 minutes.
10. Serve and Store:
These strawberry cake balls can be served chilled or at room temperature. If you have leftovers, store them in an airtight container in the refrigerator to keep them fresh. Enjoy your delicious treats!
Can I Use a Different Flavor of Cake Mix?
Absolutely! While strawberry cake mix is delicious, feel free to experiment with other flavors like vanilla, chocolate, or even lemon. Just be aware that the flavor profile of the cake balls will change accordingly!
What Can I Use Instead of Cream Cheese?
If you’re looking for a substitute, Greek yogurt works well as a lower-fat alternative. You can also use mascarpone cheese or even a dairy-free cream cheese for a similar texture and flavor.
How to Store Leftover Cake Balls?
Store any leftover cake balls in an airtight container in the refrigerator for up to one week. For longer storage, consider freezing them; just be sure to thaw them in the refrigerator before serving!
Can I Make These Cake Balls Vegan?
Yes, you can make these cake balls vegan! Use a vegan cake mix, substitute the eggs with flax eggs or applesauce, and use dairy-free cream cheese and chocolate. Just check the ingredients for a vegan-friendly option!