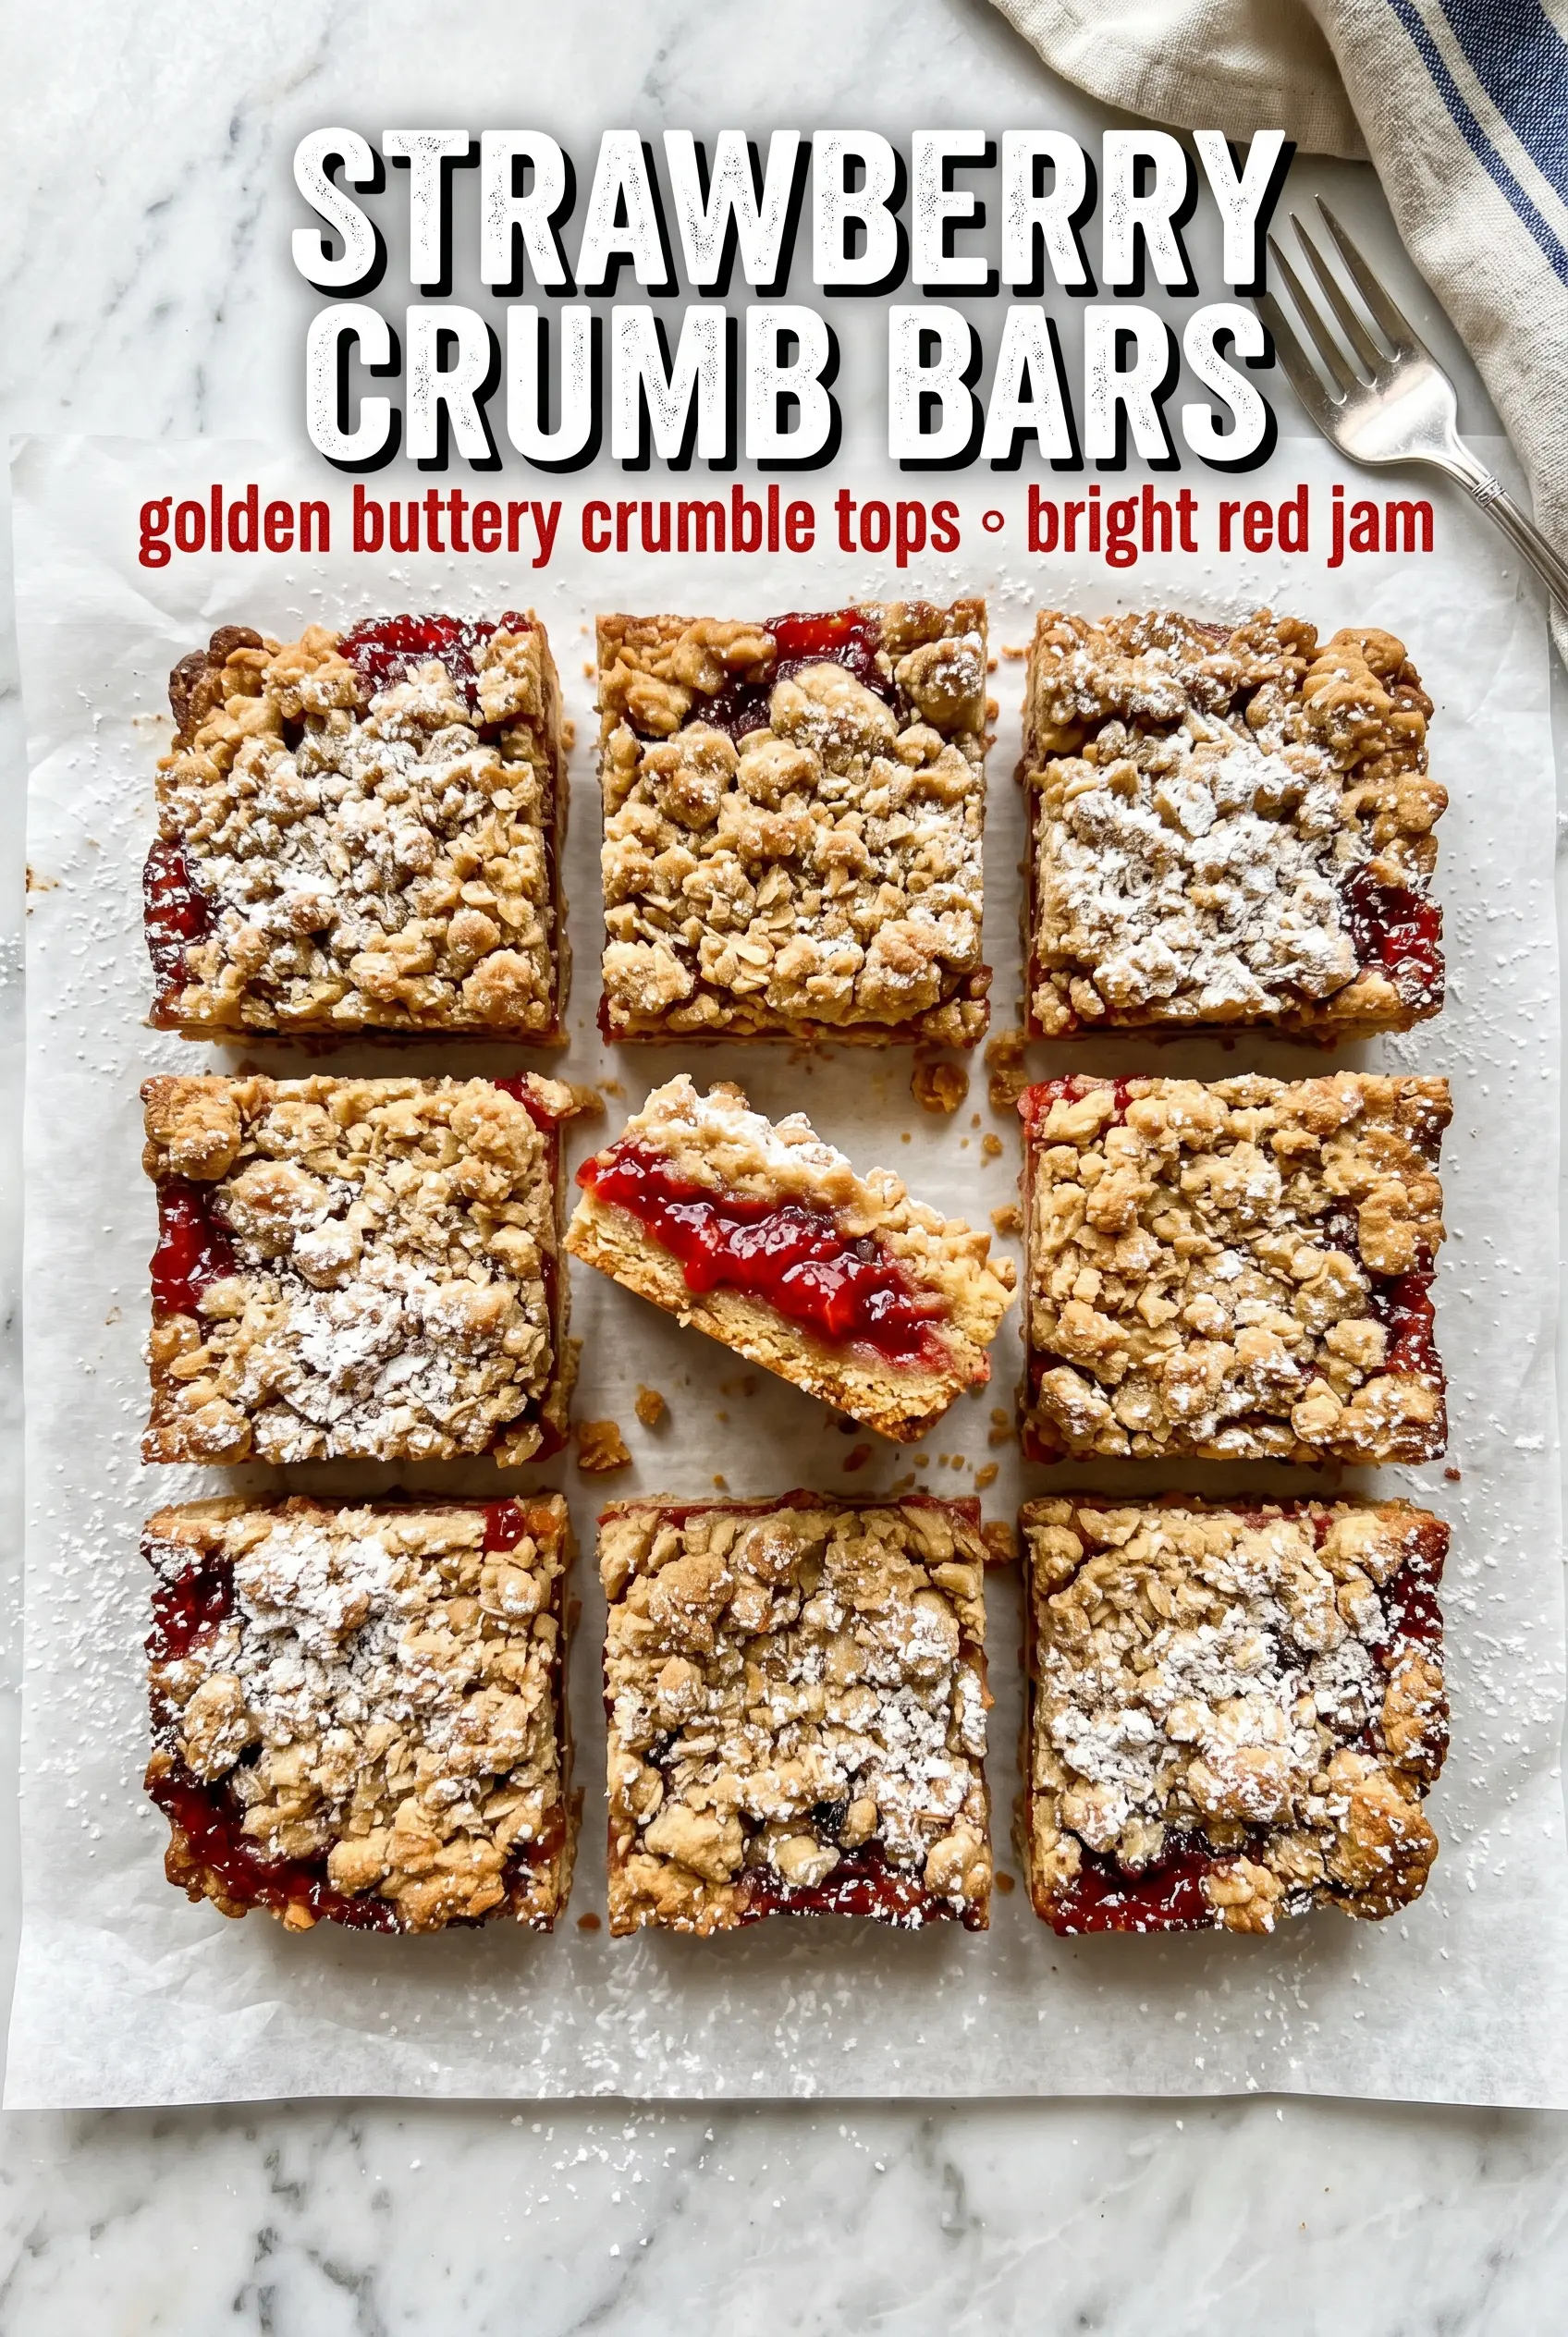
Strawberry crumb bars land in that sweet spot between a pie and a cookie bar: buttery, jammy, and sturdy enough to hold in your hand once they’ve cooled. The top turns golden and crisp while the middle stays soft with a bright strawberry layer that tastes fresh instead of heavy. They slice cleanly, stack neatly, and disappear fast from a dessert table.
The thing that makes these bars work is the balance between the crumb and the fruit. The oat mixture gets pressed into the pan for the base, then scattered over the strawberries in clumps so the top bakes into little crunchy pockets instead of sealing the filling in. Cornstarch matters here because fresh strawberries release a lot of juice; without it, the bars can turn loose and messy. Lemon juice wakes up the filling and keeps the sweetness from flattening out.
Below you’ll find the small details that keep the crust from turning dry, the filling from running, and the bars from falling apart when you cut them. There’s also a few smart swaps for when your strawberries are extra juicy or you want to make the bars ahead.
The strawberry layer thickened up beautifully and the crumb topping stayed crisp even after sitting out for an hour. I used berries that were a little soft, and they baked up into the perfect jammy center without making the bottom soggy.
Save these strawberry crumb bars for the kind of dessert that slices cleanly, travels well, and keeps that bright berry center tucked between buttery layers.
The Trick to Keeping the Strawberry Layer from Turning Watery
The most common failure with fruit bars is a filling that looks fine in the pan but runs the second you cut it. Fresh strawberries give off juice as they heat, and that juice has to be controlled before it can soak into the crust. Cornstarch handles that job here, turning the strawberry juices into a thick, glossy layer instead of a puddle.
The other thing that matters is how you treat the topping. If you pack the crumb mixture down too firmly over the strawberries, it bakes into a solid lid and traps steam underneath. A light press is enough to help the top hold together while still leaving gaps for the filling to bubble and set. That’s how you get clean slices with distinct layers instead of a soft, soggy middle.
What Each Ingredient Is Actually Doing in These Bars
- All-purpose flour — This gives the bars their structure. The recipe needs enough flour to hold the crumb together, but not so much that the texture turns dry and sandy.
- Old-fashioned oats — Oats bring chew and that rustic crumb texture that makes these bars feel like more than a basic fruit square. Quick oats will work in a pinch, but the bars will be less nubby and a little softer.
- Brown sugar and granulated sugar — The mix of sugars matters. Brown sugar adds depth and a slight caramel note, while white sugar helps the crumb bake up lighter and keeps the strawberry filling bright.
- Butter — Softened butter is what lets the dry ingredients turn into a proper crumb. Cold butter can still work if you cut it in carefully, but softened butter gives you a more even texture and makes it easier to press half the mixture into the pan.
- Fresh strawberries — Fresh berries give the cleanest flavor and the best texture. Frozen strawberries release too much liquid for this formula unless you thaw, drain, and reduce them first, which changes the whole feel of the filling.
- Cornstarch — This is the thickener that keeps the filling set. Flour won’t give the same clear, glossy finish, and the bars can taste dull or pasty if you use too much of it.
- Lemon juice — Just a little sharpness keeps the filling from tasting flat. It doesn’t make the bars taste lemony; it just lifts the berry flavor.
The Part Where the Crumb Turns into a Bar Instead of a Pile
Mix the crumb until it looks like wet sand with some larger pieces
Stir the flour, oats, sugars, and salt first, then work in the softened butter until the mixture clumps when you squeeze it. You want a coarse crumb with a few bigger bits, not a smooth dough. If it looks too dry to press, keep mixing for another minute before adding anything else; the butter needs time to distribute evenly.
Press the base, don’t pack it hard
Scatter just over half the crumb mixture into a greased 9×13-inch pan and press it into an even layer. Use the bottom of a measuring cup or your fingertips and stop once it’s flat and compact enough to hold together. If you press it like a pie crust, it can bake up dense and tough instead of tender.
Cook the strawberry layer just long enough to look glossy
Toss the chopped strawberries with cornstarch, sugar, and lemon juice until everything looks evenly coated. The berries should start to glisten as the cornstarch clings to their surface. Spread them across the crust in an even layer, all the way to the corners, because thin spots bake down fast and can leave the bottom layer dry.
Finish with a loose top and bake until the edges are deeply golden
Sprinkle the remaining crumb mixture over the strawberries and press down gently just in a few places so it stays scattered. Bake at 350°F until the top is golden and the fruit is bubbling around the edges, about 33 to 35 minutes. If the top looks pale, give it another few minutes; underbaked crumb bars tend to fall apart when cooled.
Let the bars set before cutting
The cooling time is part of the recipe, not an extra step. Give the pan at least 15 minutes so the filling firms up and the layers stop shifting. If you cut too early, the center will ooze and the base can crumble even if the bars were baked properly.
How to Adjust These Bars When Your Fruit or Pantry Runs Low
Use frozen strawberries if that’s what you have
Frozen berries can work, but they need a little extra care. Thaw them first, drain off the excess liquid, then toss them with the cornstarch mixture. If you skip that step, the filling will be looser and the crust is more likely to get soggy.
Make them gluten-free with a good oat-friendly flour blend
A 1:1 gluten-free flour blend can replace the all-purpose flour without changing the method. The bars will be a little more delicate, so let them cool fully before cutting. Use certified gluten-free oats if cross-contamination matters.
Swap in raspberries or a berry mix for a sharper filling
Raspberries give the bars a more tart edge and a softer filling, while a mixed berry blend makes them taste a little more jammy. Keep the cornstarch amount the same, but expect a looser texture if you use very soft berries like raspberries or blackberries.
Storage and Reheating
- Refrigerator: Store in an airtight container for up to 4 days. The crumb softens slightly after the first day, but the bars still hold together well.
- Freezer: These freeze well. Wrap the cut bars tightly and freeze for up to 2 months, then thaw in the refrigerator so the filling doesn’t weep.
- Reheating: Eat them cold, room temperature, or warmed for a few seconds in the microwave. If you reheat too long, the filling loosens and the top loses its texture.
Answers to the Questions Worth Asking
Strawberry Crumb Bars
Ingredients
Equipment
Method
- Preheat oven to 350°F, then grease a 9x13 inch baking pan. Visual cue: the pan is lightly coated so the bars release cleanly.
- Mix together all-purpose flour, old-fashioned oats, granulated sugar, brown sugar, and salt. Visual cue: the mixture looks evenly speckled.
- Cut in softened butter until the mixture resembles coarse crumbs. Visual cue: you can pinch it and it holds together in small clumps.
- Press half of the crumb mixture into the greased 9x13 inch baking pan. Visual cue: the crust forms an even, firm layer across the bottom.
- Toss chopped fresh strawberries with cornstarch, 2 tablespoons granulated sugar, and lemon juice in a bowl. Visual cue: berries look glossy and lightly thickened.
- Spread the strawberry mixture evenly over the crust. Visual cue: the filling reaches the edges in an even layer.
- Sprinkle the remaining crumb mixture over the strawberries, pressing down gently. Visual cue: there are crumbly gaps that still let some filling show through.
- Bake for 33-35 minutes at 350°F until golden brown. Visual cue: the top looks set and browned at the edges.
- Cool for 15 minutes before cutting into bars. Visual cue: the bars firm up enough to slice without the filling running.